현재 리액트 서버는 http://localhost:3000 노드 서버는 http://localhost:3002에서 실행되고 있다.
이 때 브라우저는 각기 다른 서버(리액트, 노드)에 요청을 하게 되기 때문에 CORS 정책의 이유로 에러가 발생한다.
그렇기 때문에 브라우저와 서버 사이에 중계 할 수 있는 것을 두어 브라우저와 서버가 통신할 때 중계하는 것이 필요하다.
- 이것이 바로 프록시(Proxy)
설정 : Proxy 설정
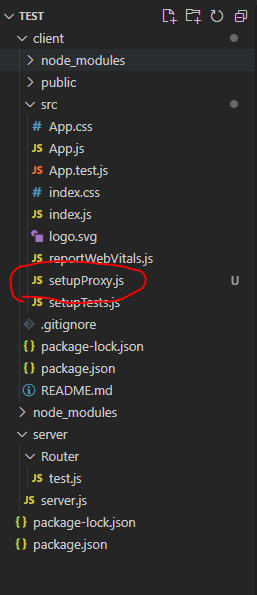
client의 src 폴더에 setupProxy.js를 생성한다.
http-proxy-middleware 모듈 설치
//npm
npm install --save-dev http-proxy-middleware

//yarn
yarn add http-proxy-middleware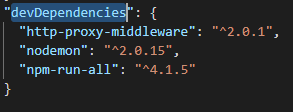
package.json의 devDependencies에서 확인
setupProxy.js 설정한다.
http-proxy-middleware의 버전이 1.x.x 이상일 때와 1.x.x보다 작을때 코드가 다르기 때문에 1.x.x 보다 작을 때는 docs 확인
//http-proxy-middleware 1.x.x 이상
const { createProxyMiddleware } = require('http-proxy-middleware');

module.exports = function(app) {
    app.use(
        createProxyMiddleware("/api", {
            target: "http://localhost:3002",
            changeOrigin: true
        })
    );
};
통신 : axios 라이브러리 설치
fetch API 대신 axios 라이브러리를 사용
client폴더에서 axios를 설치한다.
//npm
npm install axios

//yarn
yarn add axios
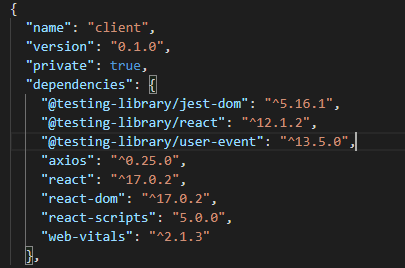
client의 package.json에서 axios가 있는지 확인해 설치가 제대로 되었는지 체크
노드 서버와 리액트의 데이터 통신 테스트를 위해 server/Router/test.js 와 client/src/App.js 내용 수정한다.
//test.js
const express = require('express');
const router = express.Router();

router.get("/", (req, res) => {
    res.send({test : "hi"});
});

module.exports = router;
//App.js
import './App.css';
import axios from "axios";
import {useEffect} from "react";
function App() {
const callApi = async () => {
axios.get('/api')
.then((res) => {
console.log(res.data.test)
})
.catch((err) => {
console.log(err);
})
};
useEffect(() => {
callApi();
}, []);
return (
<div>test</div>
);
}
export default App;
프로젝트 폴더 위치에서 npm start 명령어를 통해 실행해 테스트한다.
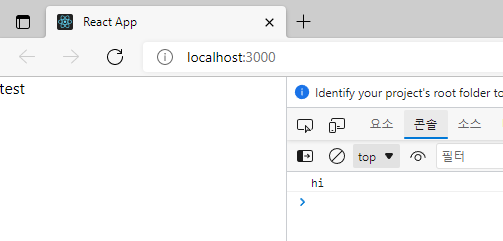
콘솔에 hi가 제대로 출력된다면 성공

좋은 글 감사합니다~