Nest.js
Nest.js
-
express 기반으로 제작되었으며, node.js에 백엔드를 구성할 수 있도록 해준다.
-
기본적으로 typescript를 지원하며, javascript로 어플리케이션을 작성하는 것도 가능하다.
-
다른 node.js의 프레임워크에는 없는 구조를 가지고 있다.
-
nest.js는 구조를 갖고 있고, 그 구조 덕분에 순서와 룰도 있어서 이를 따르기만 하면 큰 규모의 백엔드를 쉽게 만들 수 있다.(미리 셋팅된 여러 기능들을 제공하기 때문에 수동으로 생성하지 않아도 된다.)
-
node.js 어플리케이션을 빌드하는데 유용하며, 객체지향 프로그래밍(Object Oriented Programming)과 함수형 프로그래밍(Functional Programming), 함수 반응형 프로그래밍(Functional Reactive Programming)의 요소도 일부분 사용한다.
setting
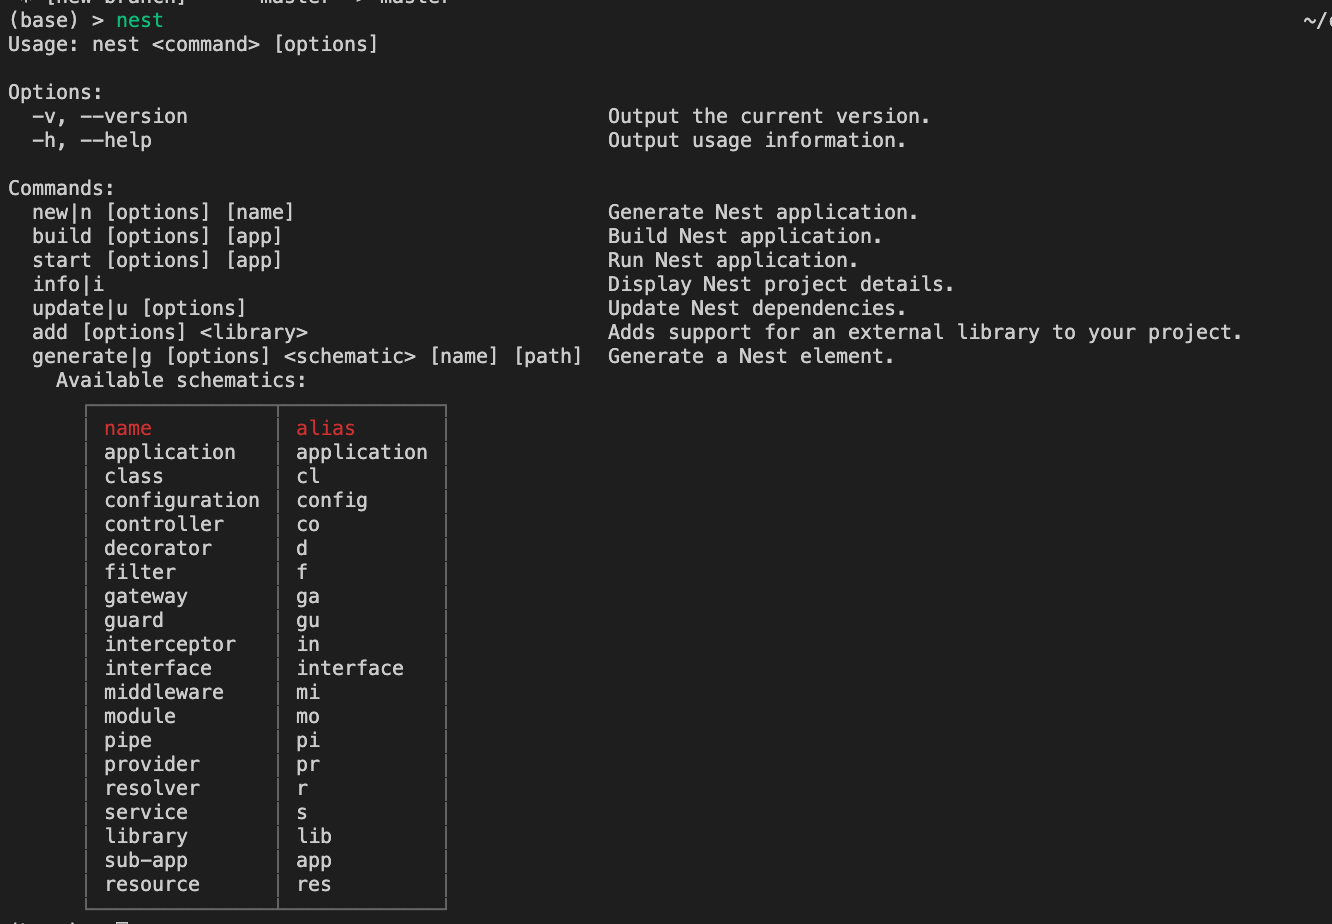
 npm i -g @nestjs/cli

//nest 설치 후 다음 명령어를 입력하면 폴더 이름을 묻는 질문과 함께 구조를 만들어 폴더가 생성된다.
nest new
nest-cli
- 다음의 커맨드 라인으로 필요한 것을 생성하고 모두 import 해준다.
Controllers
-
nest.js 어플리케이션은 main.ts에서 시작한다. 하나의 모듈(AppModule(root module))에서 어플리케이션을 생성한다.
-
controller는 기본적으로 url을 가져오고 함수를 실행한다.(express의 router와 같은 역할을 한다.)
main.ts
-
이름은 변경하지 않는다.
-
Nest application 인스턴스를 만드는 core 함수인 NestFactory를 사용하는 application의 entry file이다.
-
NestFactory는 어플리케이션 인스턴스를 만들 수 있게 해주는 몇몇의 static method들을 노출시켜 준다.
-
create()메서드는 INestApplication Interface를 수행하는 application object를 반환하며, 해당 오브젝트는 다양한 methods set을 제공한다.
src/main.ts
import { NestFactory } from '@nestjs/core';
import { AppModule } from './app.module';

async function bootstrap() {
  const app = await NestFactory.create(AppModule);
  await app.listen(3000);
}
bootstrap();
app.module.ts
src/app.module.ts
import { Module } from '@nestjs/common';
import { AppController } from './app.controller';
import { AppService } from './app.service';

@Module({
  imports: [],
  controllers: [AppController],
  providers: [AppService],
})
export class AppModule {}
app.controller.ts
-
@controller() decorator는 관련된 라우트들을 쉽게 그룹화 해주고, 반복되는 코드를 최소화해준다.
-
에를 들어, /customers라는 라우트를 통해 customer entity와 상호작용을 위해 필요한 라우트 그룹을 형성하고 싶다면, @Controller() decorator에 customers 라는 경로 prefix를 사용할 수 있고, 해당 경로로 연결하기 위한 부분을 반복할 필요가 없다.
-
라우팅 경로는 해당 컨트롤러를 위해 선언된 prefix와, request decorator에 선언된 특정 경로와 결합되어서 결정된다.
src/app.controller.ts

import { Controller, Get } from '@nestjs/common';
import { AppService } from './app.service';

@Controller()
export class AppController {
  constructor(private readonly appService: AppService) {}

  @Get() //express의 get 라우터와 같은 역할
  getHello(): string {
    return this.appService.getHello();
  }

  @Get('/hello')
  //string 타입을 return
  sayHello(): string {
    return this.appService.getHi();
  }

  @Get('search')
  search(@Query('year') searchingYear: string) {
    return `We are searching for a movie with a made after ${searchingYear}`;
  }

  @Get('/:id')
  getOne(@Param('id') id: string) {
    return `This will return one movie id:${id}`;
  }


  @Post()
  create() {
    return 'This will create a movie';
  }

  @Delete('/:id')
  remove(@Param('id') movieID: string) {
    return `This will delete a movie id:${movieID}`;
  }

  @Patch('/:id')
  patch(@Param('id') movieID: string) {
    return `This will patch movie id${movieID}`;
}-
controller는 url('/hello')의 요청을 받아 sayHello라는 함수를 실행한다.(Get decorator를 붙이면 hello 라는 url을 요청 받으면 다음 함수를 실행해야하는 것을 nest가 알고 있으며 데코레이터는 꾸며주는 함수나 클래스와 붙어있어야 한다.)
-
parameter decorator를 사용하면 nest.js는 url에 있는 id parameter를 원한다는 것을 알 수 있다.
-
@Body를 사용하여 body를 가져올 수 있고 @Query를 사용하여 쿼리 스트링을 가져올 수 있다.
Service
-
nest.js는 controller와 비즈니스 로직을 분리한다. controller는 단순히 url을 가져오는 역할을 한다.
-
실제 function을 갖는 비즈니스로직은 서비스에서 정의한다.
app.service.ts
src/app.service.ts

import { Injectable } from '@nestjs/common';

@Injectable()
export class AppService {
  getHello(): string {
    return 'Hello World!';
  }
  getHi():string{
  	return 'Hi nest '
  }
}
DTO(Data Transfer Object)
-
네트워크를 통해 데이터가 어떻게 전송될지를 정의한 객체로, DTO 스키마를 TypeScript 인터페이스를 혹은 간단한 클래스를 통해 결정할 수 있다.
-
Nest에서는 이 객체를 클래스로 정의할 것을 추천한다. 클래스는 ECMA의 표준에 속하고, 컴파일된 JS에서도 실제 entities로서 다룰 수 있지만 interface는 컴파일 과정에서 삭제되기 때문에 런타임에서 Nest가 참조할 수가 없게 된다.
-
이러한 차이는 런타임에 이러한 메타데이터(class또는 interface로 정의된 DTO와 같은)에 접근해야 하는 Pipe와 같이 추가적인 가능성들을 더해주는 기능들이 있기 때문에 중요하다.
npm i class-validator class-transformer - ValidationPipe와 그걸로 검사하는 CreateMovieDto를 사용하여 typescript로 실시간 코드의 유효성을 체크할 수 있다.
create-movie.dto.ts

import { IsNumber, IsString } from 'class-validator';

export class CreateMovieDto {
  @IsString()
  readonly title: string;

  @IsNumber()
  readonly year: number;

  @IsString({ each: true })
  readonly genres: string[];
}
main.ts
async function bootstrap() {
const app = await NestFactory.create(AppModule);
app.useGlobalPipes(
new ValidationPipe({
whitelist: true,
forbidNonWhitelisted: true,
transform: true,
}),
);
await app.listen(3000);
}
bootstrap();- 유효하지 않는 데이터는 validator에 도달하지 않게 whitelist를 사용할 수 있고, forbidNonWhitelisted를 사용하여 request를 막을 수 있다.
{
    "statusCode": 400,
    "message": [
        "property hacked should not exist",
        "title must be a string",
        "year must be a number conforming to the specified constraints",
        "each value in genres must be a string"
    ],
    "error": "Bad Request"
}-
transform을 사용하면 실제 데이터 타입으로 변환해준다.
-
mapped-types는 타입을 변환시키고 사용할 수 있게 한다.(DTO를 변환시키는 것을 도와준다.)
npm i @nestjs/mapped-types import { PartialType } from '@nestjs/mapped-types';
import { CreateMovieDto } from './create-movie.dto';
export class UpdateMovieDto extends PartialType(CreateMovieDto) {}- PartialType을 이용하여 UpdateMovieDto에서 CreateMovieDto의 타입을 이용할 수 있다.
modules and dependency injection
modules
-
nest.js에서 앱은 여러개의 모듈로 구성되는데, app.module.ts에서는 app controller와 app service만 갖고 있어야 한다.
-
module은 어플리케이션의 일부분으로 장고에서 앱과 같은 의미이다.(한가지의 역할을 하는 앱으로 인증을 담당하는 어플리케이션이 있다면 users의 모듈이 될 수 있고, 인스타그램을 만든다면 사진, 비디오와 같은 모듈이 필요할 수 있다.)
-
앱을 만들 때 모듈로 분리해야 좋기 때문에 app.module.ts 에서 import해와 사용한다.
-
여러가지 모듈을 import 할 수 있고, nest.js가 앱을 구동하면 하나의 모듈로 생성해준다.
app.module.ts

import { Module } from '@nestjs/common';

import { MoviesModule } from './movies/movies.module';

@Module({
  imports: [MoviesModule],
  controllers: [],
  providers: [],
})
export class AppModule {}
-
providers: Nest의 injector에 의해 인스턴스화되고, 인스턴스들은 이 모듈 안에서 최소한으로 공유된다.
-
controllers: 해당 모듈에서 정의된 인스턴스화 되어야 하는 컨트롤러의 모음
-
exports: 다른 모듈에서 import 할 때 사용된다.
movies.module.ts

import { Module, Global } from '@nestjs/common';
import { MoviesController } from '../movies/movies.controller';
import { MoviesService } from '../movies/movies.service';

@Global()
@Module({ controllers: [MoviesController], providers: [MoviesService] })
export class MoviesModule {}
-
여러 Provider들 집합을 어디서든 제공해주고 싶다면 @Global()를 사용하여 모듈을 global로 만든다.
-
@Global() 데코레이터는 모듈을 글로벌 범위로 만들어준다. 글로벌 모듈은 한 번만 등록될 수 있고, 일반적으로 루트나 코어 모듈에 의해 등록된다.
-
어디서나 쓸 수 있고, 사용하고 싶은 모듈들은 moviesModule을 임포트 할 필요 없이 의존성 주입할 수 있다.
dependency injection
- provider를 두면 nest.js가 service를 import 하고 controller에 inject한다.
//movies.module.ts

import { Module } from '@nestjs/common';
import { MoviesController } from '../movies/movies.controller';
import { MoviesService } from '../movies/movies.service';

@Module({ controllers: [MoviesController], providers: [MoviesService] })
export class MoviesModule {}
//movies.controllers.ts

import {
  Controller,
  Delete,
  Get,
  Param,
  Post,
  Patch,
  Body,
  Query,
} from '@nestjs/common';
import { CreateMovieDto } from './dto/create-movie.dto';
import { UpdateMovieDto } from './dto/update-movie.dto';
import { Movie } from './entities/movie.entity';
import { MoviesService } from './movies.service';

@Controller('movies')
export class MoviesController {
  constructor(private readonly moviesService: MoviesService) {}
  @Get()
  getAll(): Movie[] {
    return this.moviesService.getAll();
  }

  @Get('search')
  search(@Query('year') searchingYear: string) {
    return `We are searching for a movie with a made after ${searchingYear}`;
  }

  @Get('/:id')
  getOne(@Param('id') movieID: number): Movie {
    return this.moviesService.getOne(movieID);
  }

  @Post()
  create(@Body() movieData: CreateMovieDto) {
    return this.moviesService.create(movieData);
  }

  @Delete('/:id')
  remove(@Param('id') movieID: number) {
    return this.moviesService.deleteOne(movieID);
  }

  @Patch('/:id')
  patch(@Param('id') movieID: number, @Body() updateData: UpdateMovieDto) {
    return this.moviesService.update(movieID, updateData);
  }
}
//movies.service.ts
import { Injectable, NotFoundException } from '@nestjs/common';
import { CreateMovieDto } from './dto/create-movie.dto';
import { UpdateMovieDto } from './dto/update-movie.dto';
import { Movie } from './entities/movie.entity';
@Injectable()
export class MoviesService {
private movies: Movie[] = [];
getAll(): Movie[] {
return this.movies;
}
getOne(id: number): Movie {
const movie = this.movies.find(movie => movie.id === id);
if (!movie) {
throw new NotFoundException(`movie with ID ${id} not found`);
}
return movie;
}
deleteOne(id: number) {
this.getOne(id);
this.movies = this.movies.filter(movie => movie.id !== id);
}
create(movieData: CreateMovieDto) {
this.movies.push({
id: this.movies.length + 1,
...movieData,
});
}
update(id: number, updateData: UpdateMovieDto) {
const movie = this.getOne(id);
this.deleteOne(id);
this.movies.push({ ...movie, ...updateData });
}
}
Express on NestJS
-
nest.js는 express, 그리고 fastify와 호환이 가능하다.(fastify는 express 보다 2배 정도 빠르다.)
-
platform-express : Express는 Node진영에서 가장 유명한 웹 프레임워크로 많은 resource들이 있고, @nestjs/platform-express 패키지를 default로 제공한다.
-
platform-fastify: Fastify는 높은 퍼포먼스와 낮은 오버헤드를 가지는 library이며, 효율성과 스피드에 중점을 두고 있다.
-
platform을 선택하면, NestFactory.create() 메서드를 사용할 때, NestExpressApplication, NestFastifyApplicaition중에서 선택해서 사용하면 된다.
Test
-
nest.js는 jest를 사용하여 테스팅 할 수 있도록 미리 셋팅되어있다.
-
.spec은 테스트를 포함한 파일이며 이 파일 이름은 convention이다. movies.controller.ts 라는 파일을 테스팅하고 싶다면, movies.controller.spec.ts라는 파일이 존재해야한다.
-
nest.js에는 jest가 .spec.ts 파일들을 찾아볼 수 있도록 설정되어있다.
unit test
- 서비스에서 분리된 유닛을 테스트한다.(함수 단위로 테스트한다.)
e2e(end-to-end) test
- 모든 시스템을 테스팅한다.
- 사용자 관점에서 사용자가 취할만한 액션들을 처음부터 끝까지 테스트한다.