PhotoGallery
지난번에 이어 갤러리에서 사진을 가져오는 작업을 추가한다.
extension ViewController: PHPickerViewControllerDelegate{
    func picker(_ picker: PHPickerViewController, didFinishPicking results: [PHPickerResult]) {

        self.dismiss(animated: true)
    }


}
result에 이미지 고유 ID가 들어있다.
ID들을 collection view에 불러들이는 과정이 필요한데,
중요한 점은 사진의 저화질, 고화질 설정과 requestimage 를 어디서 선언할 것이냐. 그리고 사진의 크기 이다.
extension ViewController: PHPickerViewControllerDelegate{
    func picker(_ picker: PHPickerViewController, didFinishPicking results: [PHPickerResult]) {

        let idendifiers = results.map{ $0.assetIdentifier ?? "" }

        self.fetchResult = PHAsset.fetchAssets(withLocalIdentifiers: idendifiers, options: nil)

        self.PhotoCollectionview.reloadData()

        self.dismiss(animated: true)


    }
}
델리게이트 익스텐션 부분에서 사진 고유 ID값들을 identifiers에 map을 사용하여 저장하고,
class ViewController: UIViewController {

    var fetchResult: PHFetchResult<PHAsset>?
미리 선언해둔 PHAsset 객체들 변수로 갤러리에서 선택한 이미지의 ID를 받아 PHAsset타입으로 이미지를 저장한다.
그리고 PhotoCell 클래스에서
func loadImage(asset: PHAsset){
        let imageManager = PHImageManager()
        let scale = UIScreen.main.scale
        let imagesize = CGSize(width: 150 * scale, height: 150 * scale)

        let options = PHImageRequestOptions()
        options.deliveryMode = .highQualityFormat  //fastFormat 저화질

        self.photoIamgeView.image = nil //처음에 거슬리는 거 삭제

        imageManager.requestImage(for: asset, targetSize: imagesize, contentMode: .aspectFill, options: nil) { image, info in
            self.photoIamgeView.image = image
        }
    }

    @IBOutlet weak var photoIamgeView: UIImageView!{
        didSet{
            photoIamgeView.contentMode = .scaleAspectFill
        }
    }
이미지 사이즈, 및 이미지를 받는 퀄리팉를 설정한다.
이미지 뷰에 사진 사이즈가 딱 맞길 원한다면 이미지 뷰IBOutlet에서
photoIamgeView.contentMode = .scaleAspectFill 선언을 해주어야한다.
그리고나서 메인 뷰컨트롤러에서
extension ViewController: UICollectionViewDataSource{
    func collectionView(_ collectionView: UICollectionView, numberOfItemsInSection section: Int) -> Int {
        return self.fetchResult?.count ?? 0
    }

    func collectionView(_ collectionView: UICollectionView, cellForItemAt indexPath: IndexPath) -> UICollectionViewCell {
        let cell = collectionView.dequeueReusableCell(withReuseIdentifier: "PhotoCell", for: indexPath) as! PhotoCell

       if let asset = self.fetchResult?[indexPath.row] {
            cell.loadImage(asset: asset)
        }

        return cell
    }


}
우선, 첫번째로 return 값을 fetchResult의 개수로 바꿔주고 컬렉션뷰를 포토셀로 타입캐스팅을 통해 loadImage함수를 사용할 수 있게 하고 컬렉션 뷰에 fetchresult에 저장되었던 사진들을 뿌려준다. 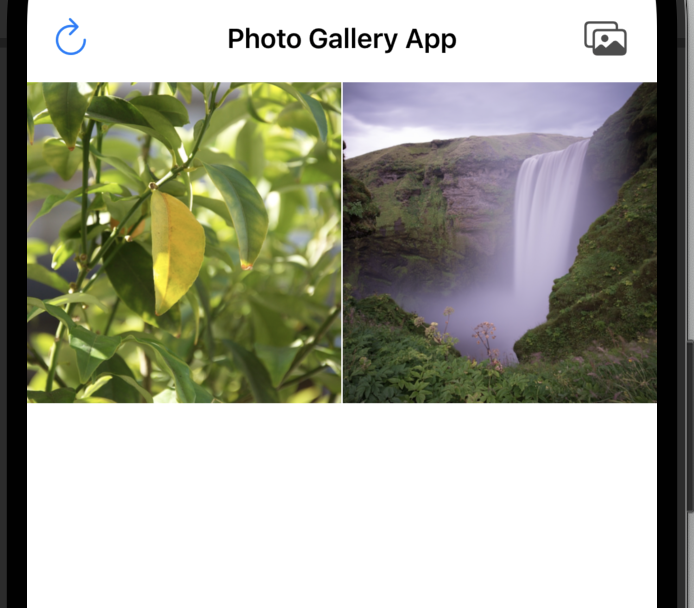
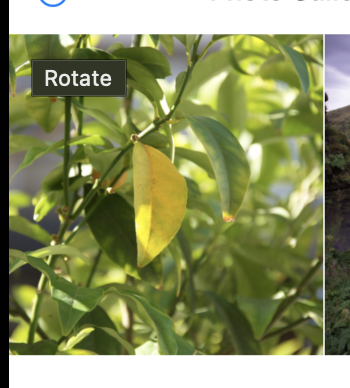
그리고 refresh 함수에
@objc func refresh(){
            self.PhotoCollectionview.reloadData()

        }
를 넣어주고 왼쪽 상단 버튼을 눌러주면 저화질로 변했다가 고화질로 변한다.
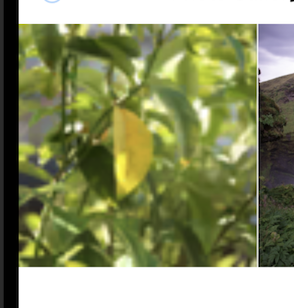
기본적으로 포토셀에
imageManager.requestImage(for: asset, targetSize: imagesize, contentMode: .aspectFill, options: nil) { image, info in
            self.photoIamgeView.image = image
        }
이 세팅은 저화질과 고화질을 모두 받는다. 그래서 저화질 -> 고화질로 변경되는 형식이다.
그래서
let options = PHImageRequestOptions()
        options.deliveryMode = .highQualityFormat
이런식으로 옵션으로 따로 화질을 설정해줘야한다.