airflow에서 dag 실행
이전 포스트 참고 !
이전 포스트에 이어 ,,,
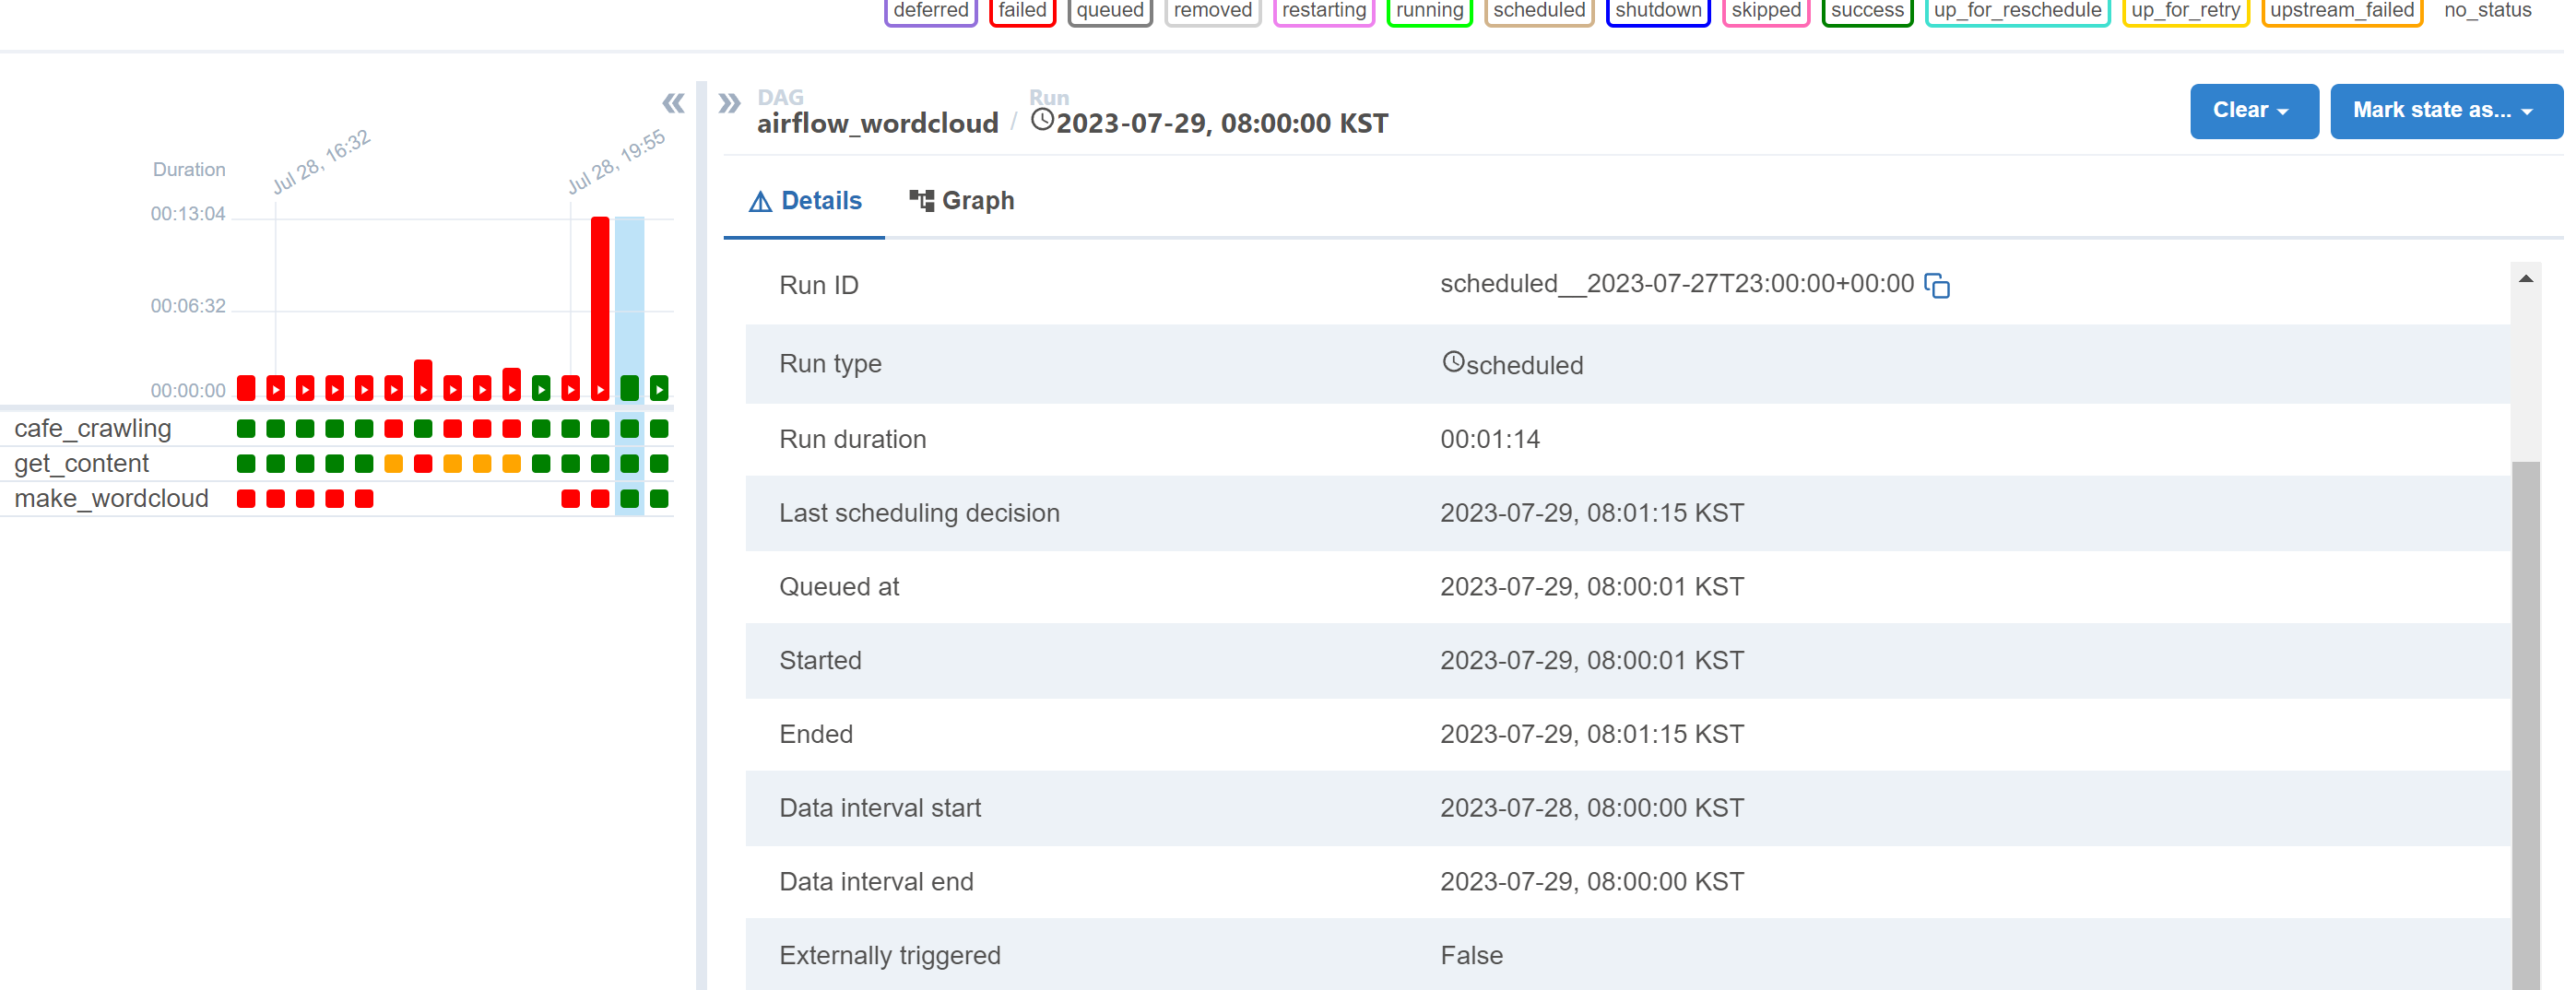
airflow dag 파일을 실행해보면 task1, task2는 제대로 실행이 되는데 task3는 오류가 나는 걸 볼 수 있다. 로그를 확인해보자 !
dag 실행, task3 error(log 확인)
-
로그 속 확인되는 error는
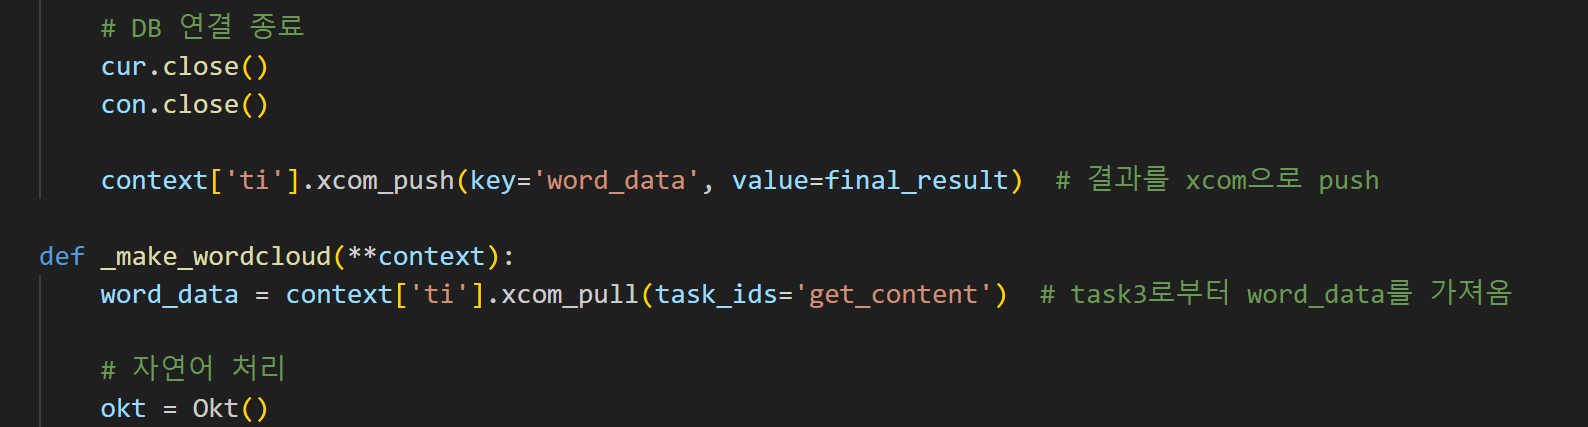
TypeError: _make_wordcloud() takes 0 positional arguments but 115827 were given이는
def _get_content마지막에 return 대신context['ti'].xcom_push(key='word_data', value=final_result)를 추가해 이 함수에서 반환되는 값을 XCom으로 받게하고,def _make_wordcloud초반에word_data = context['ti'].xcom_pull(task_ids='get_content', key='word_data')를 추가해서 XCom으로 반환한 값을 받는 문구를 추가하면 해결된다.
- 그 다음 오류는
jpype._jvmfinder.JVMNotFoundException: No JVM shared library file (libjvm.so) found. Try setting up the JAVA_HOME environment variable properly.이는 내 dag 파일에서 wordcloud를 생성하려면 java가 환경에 설치되어있어야 한다. 그런데 지금 만들어둔 airflow docker 상에는 java가 깔려있지 않다. 그래서 java를 추가로 설치하려했지만 잘 설치가 되지 않아 그냥 dockerfile를 새로 만들어서 그것을 기반으로 docker를 띄우려고 했다.
FROM apache/airflow:2.2.0
# 루트 권한으로 변경
USER root
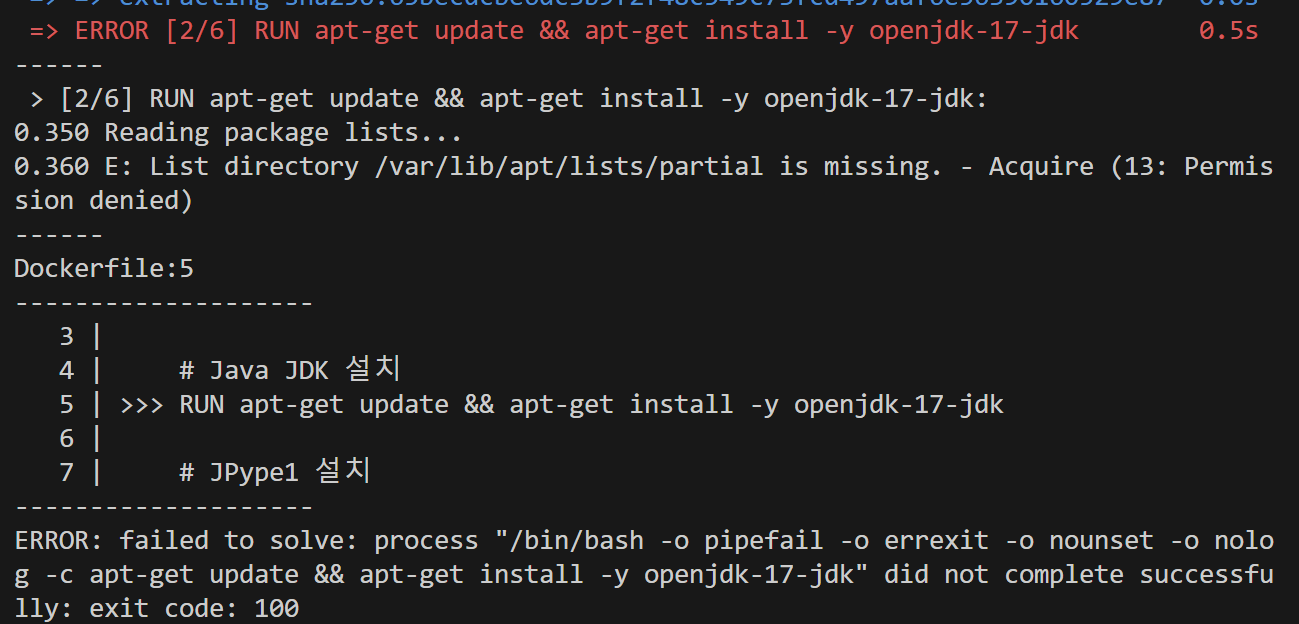
# Java JDK 설치
RUN apt-get update && apt-get install -y default-jdk
# JPype1 설치
RUN pip install JPype1
# Nanum 글꼴 설치
RUN apt-get install -y fonts-nanum*
# 각종 파이썬 패키지 설치
RUN pip install requests bs4 pendulum pandas pymysql wordcloud konlpy pillow matplotlib apache-airflow
# DAG 파일을 저장할 폴더 생성
RUN mkdir /opt/airflow/dags
# 컨테이너 내부의 DAG 폴더와 호스트의 DAG 폴더를 연결합니다.
VOLUME /opt/airflow/dags
# Airflow 환경변수 설정
ENV AIRFLOW__CORE__DAGS_FOLDER=/opt/airflow/dags- 만든 dockerfile로 새로운 docker image build
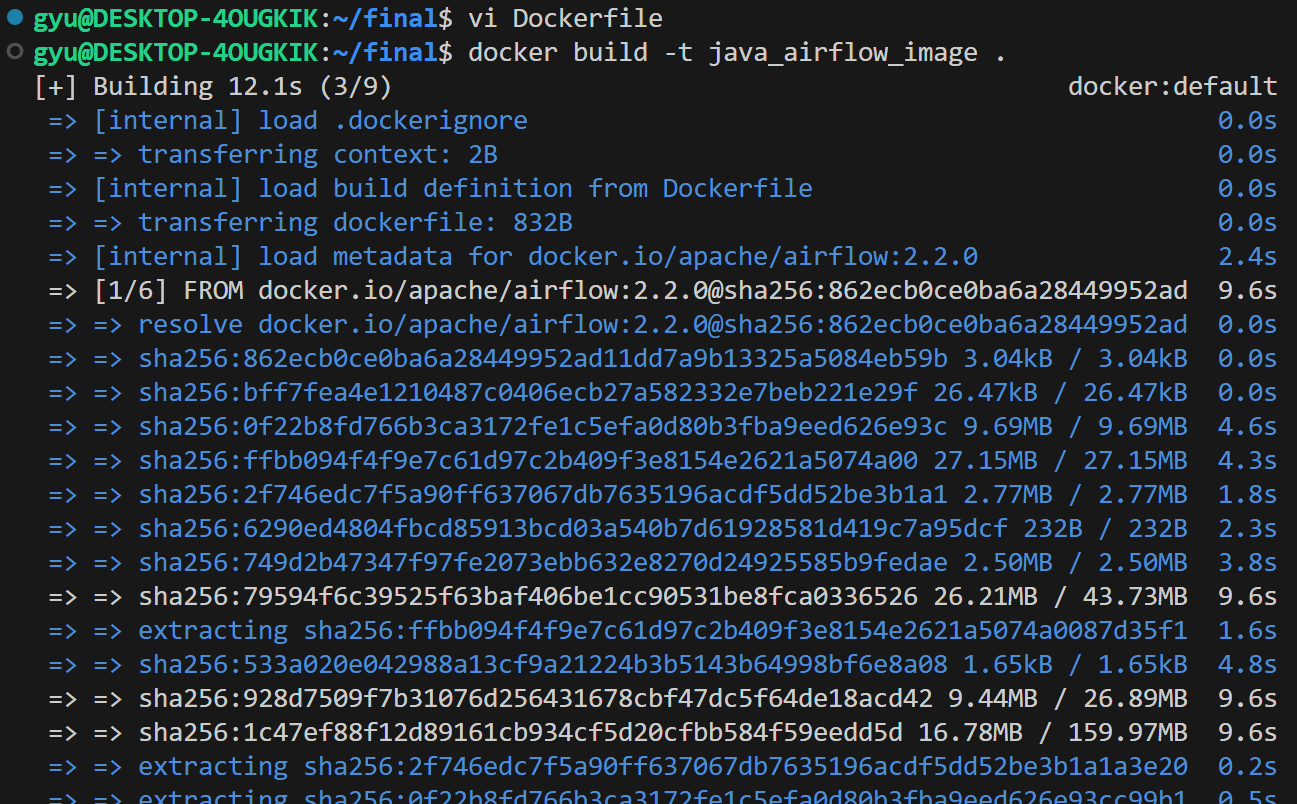
image를 build하다가
permission denied오류가 뜨면,# 루트 권한으로 변경 USER root이 문구를 dockerfile에 넣어주면 된다.
- 그러면 이제 실행되려나 ,, 했으나 image build하는 부분에서 20여분동안 같은 화면이 지속됨 ... (포기)
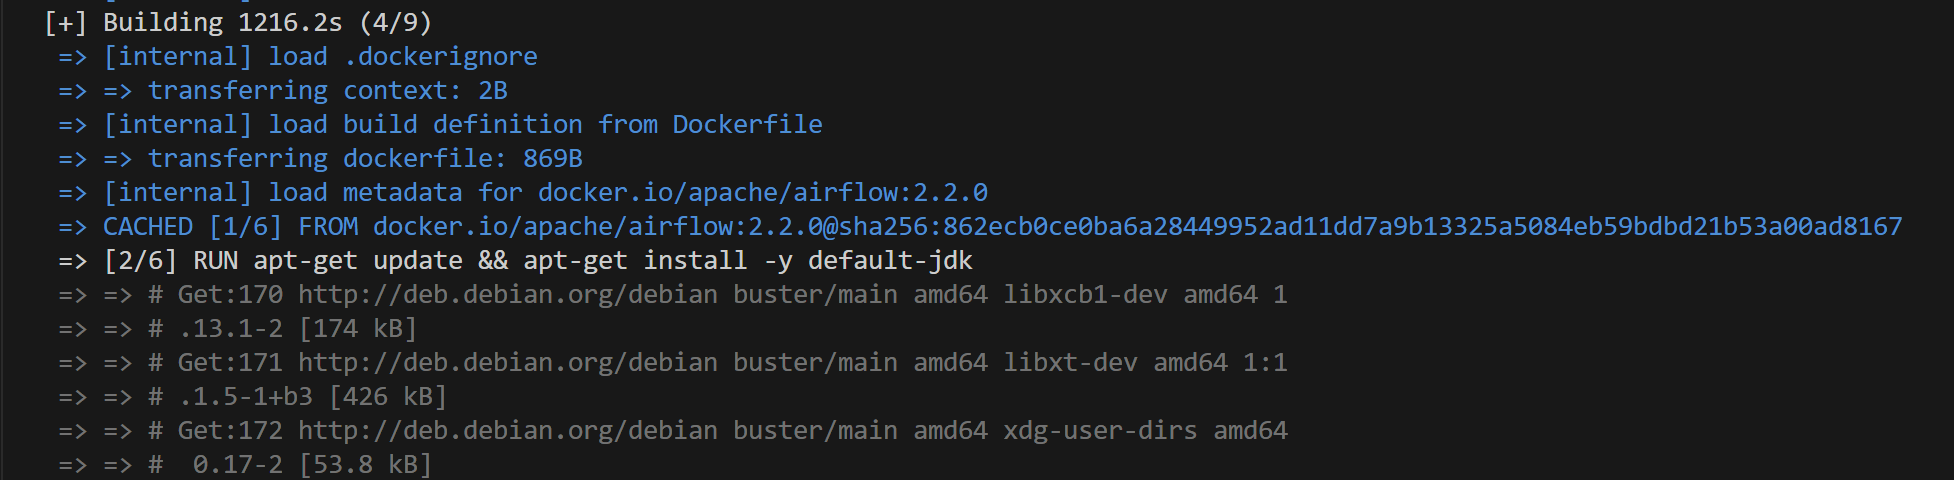
그냥 docker에서 올려서 작업하는 건 포기하고 어차피 gcp서버에서 다시 환경세팅해야하기 때문에 그냥 gcp에서 java설치 및 환경설정을 다시 하기로 했다 ^_^
GCP 서버에서 airflow 작업
GCP 서버 환경 설정
1. 서버 최신화
sudo apt -y upgrade
2. java 설치
sudo apt install openjdk-17-jdk
3. JPype1 설치
pip install Jpype1
4. 필요한 패키지 설치
pip install requests bs4 pendulum pandas pymysql wordcloud konlpy pillow matplotlib
5. 글꼴 설치
1) 나눔 폰트 설치
sudo apt-get install fonts-nanum
2) wordcloud 설치 경로 확인
python3 -c "import wordcloud; print(wordcloud.__file__)"
->/usr/local/lib/python3.10/dist-packages/wordcloud/__init__.py
3) 폰트 위치 복사
cp /usr/share/fonts/truetype/nanum/Nanum* /usr/local/lib/python3.10/dist-packages/wordcloud/
GCP 서버 airflow dag 실행
-
putty로 서버 접속
-
filezilla로 서버 내 디렉토리 확인
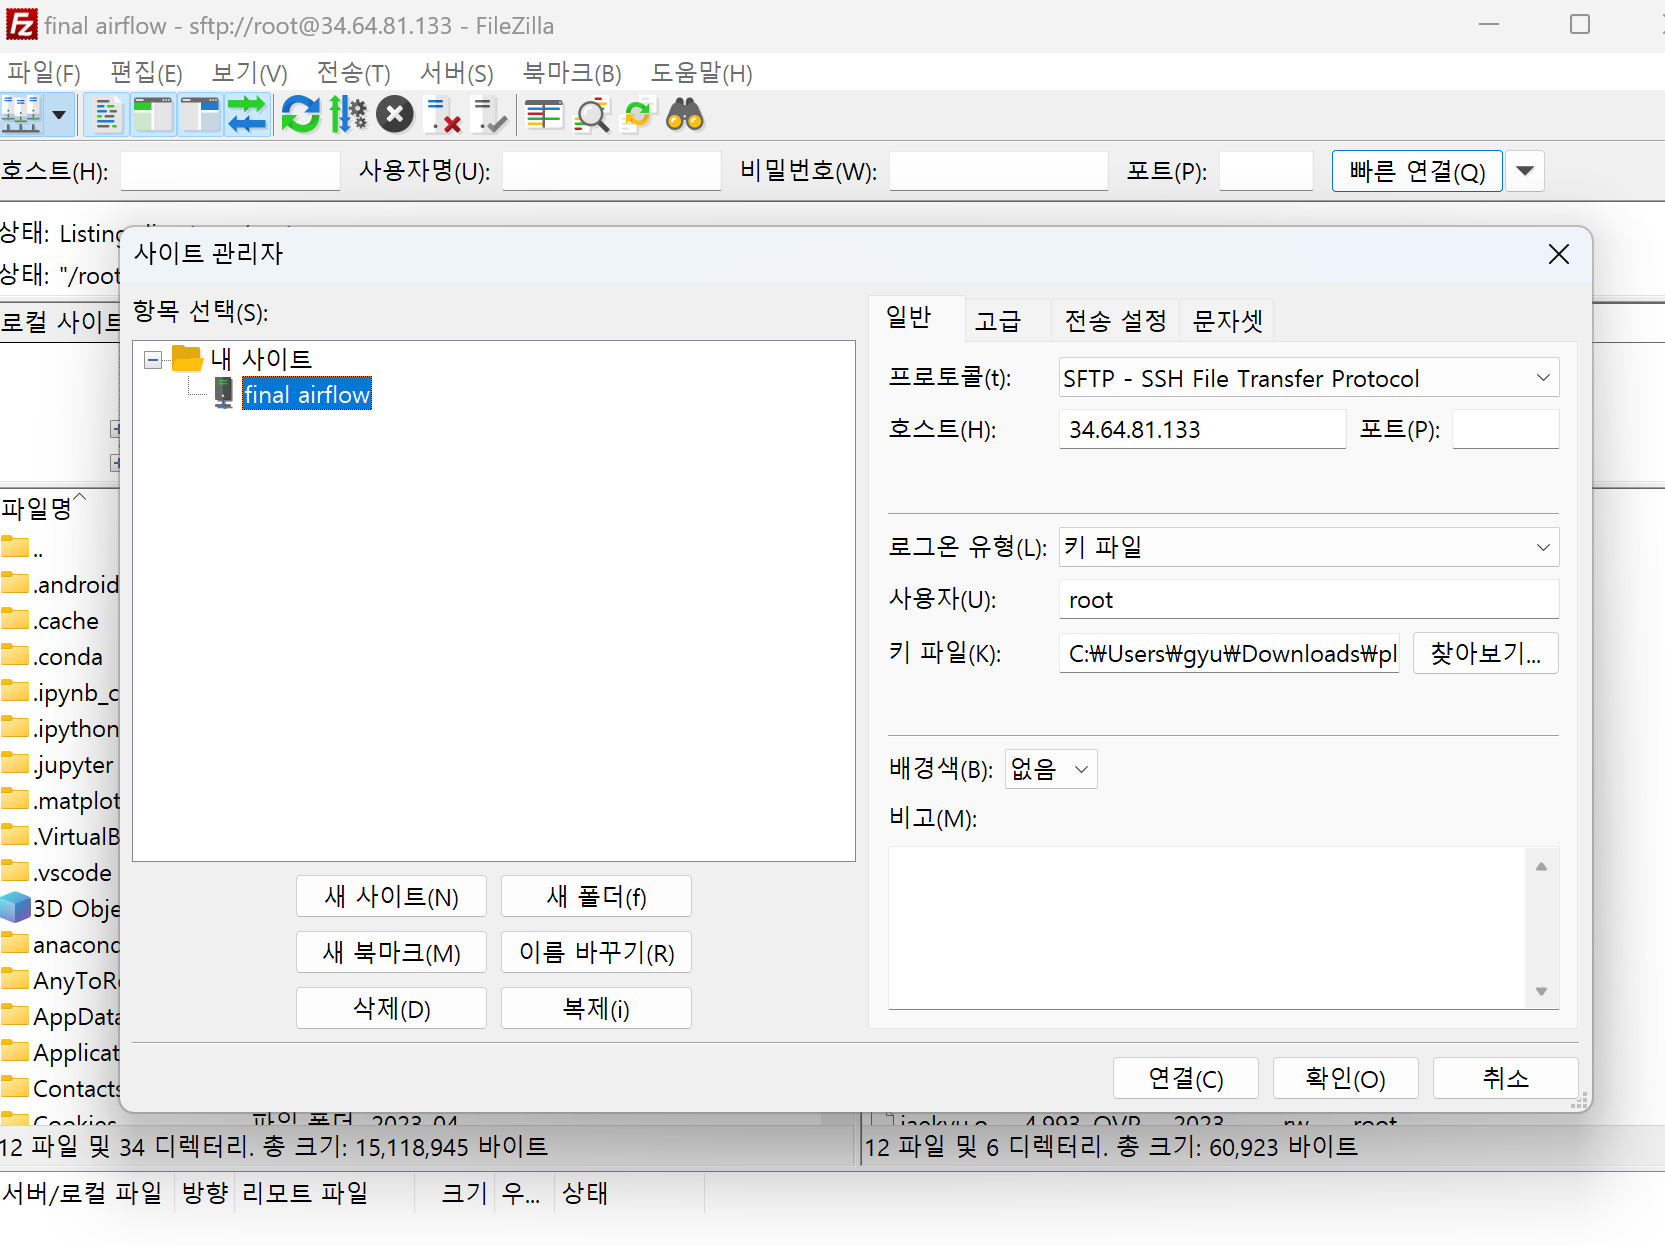
-
root-airflow-dags에 나의 dag 파일 넣기 -
airflow webserver 접속
gcp 서버 ip:8080
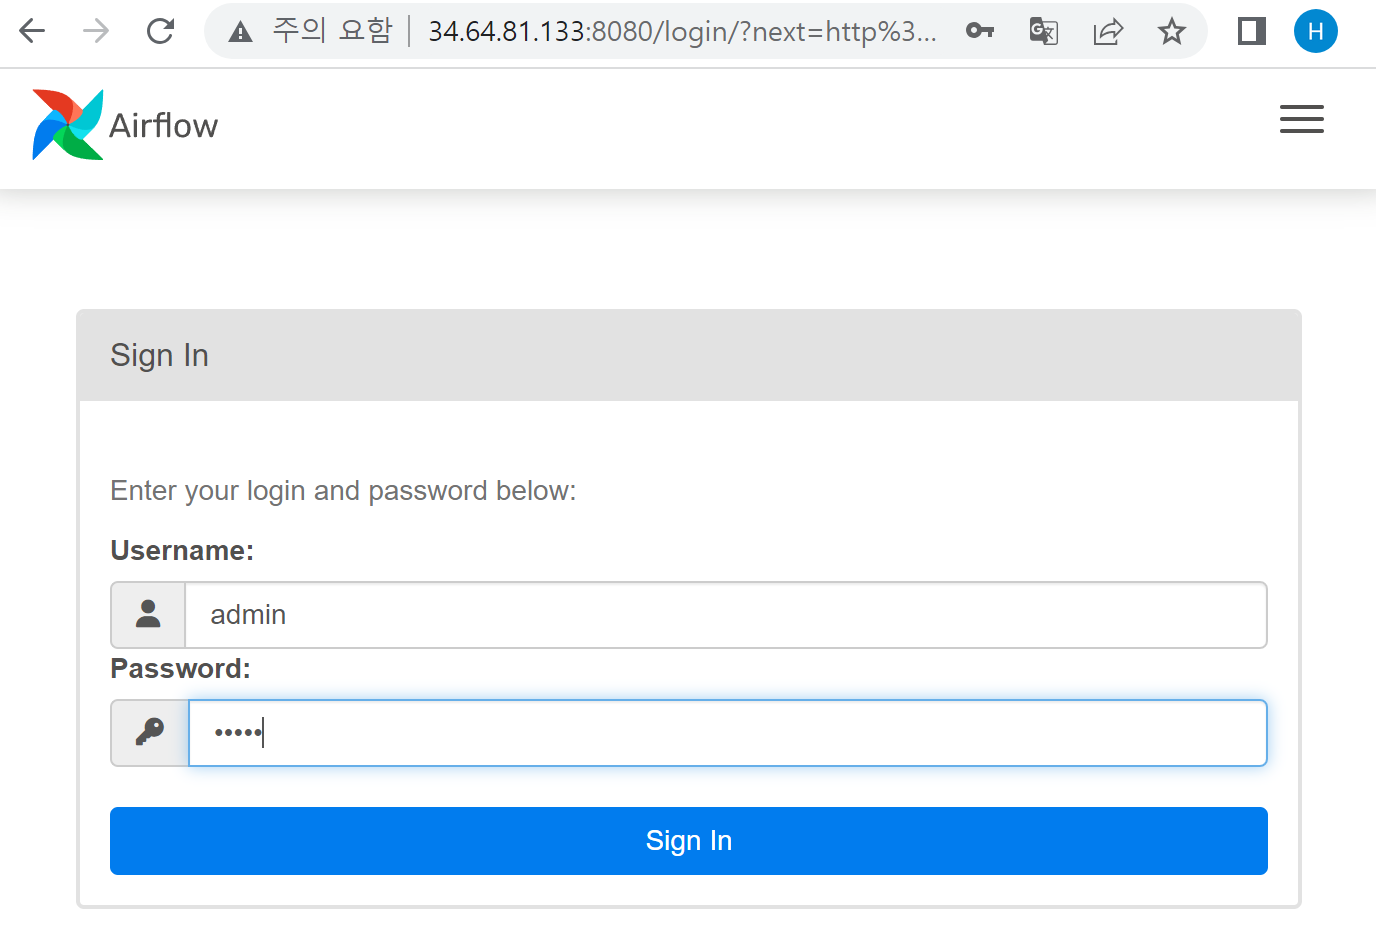
-
dag list 확인
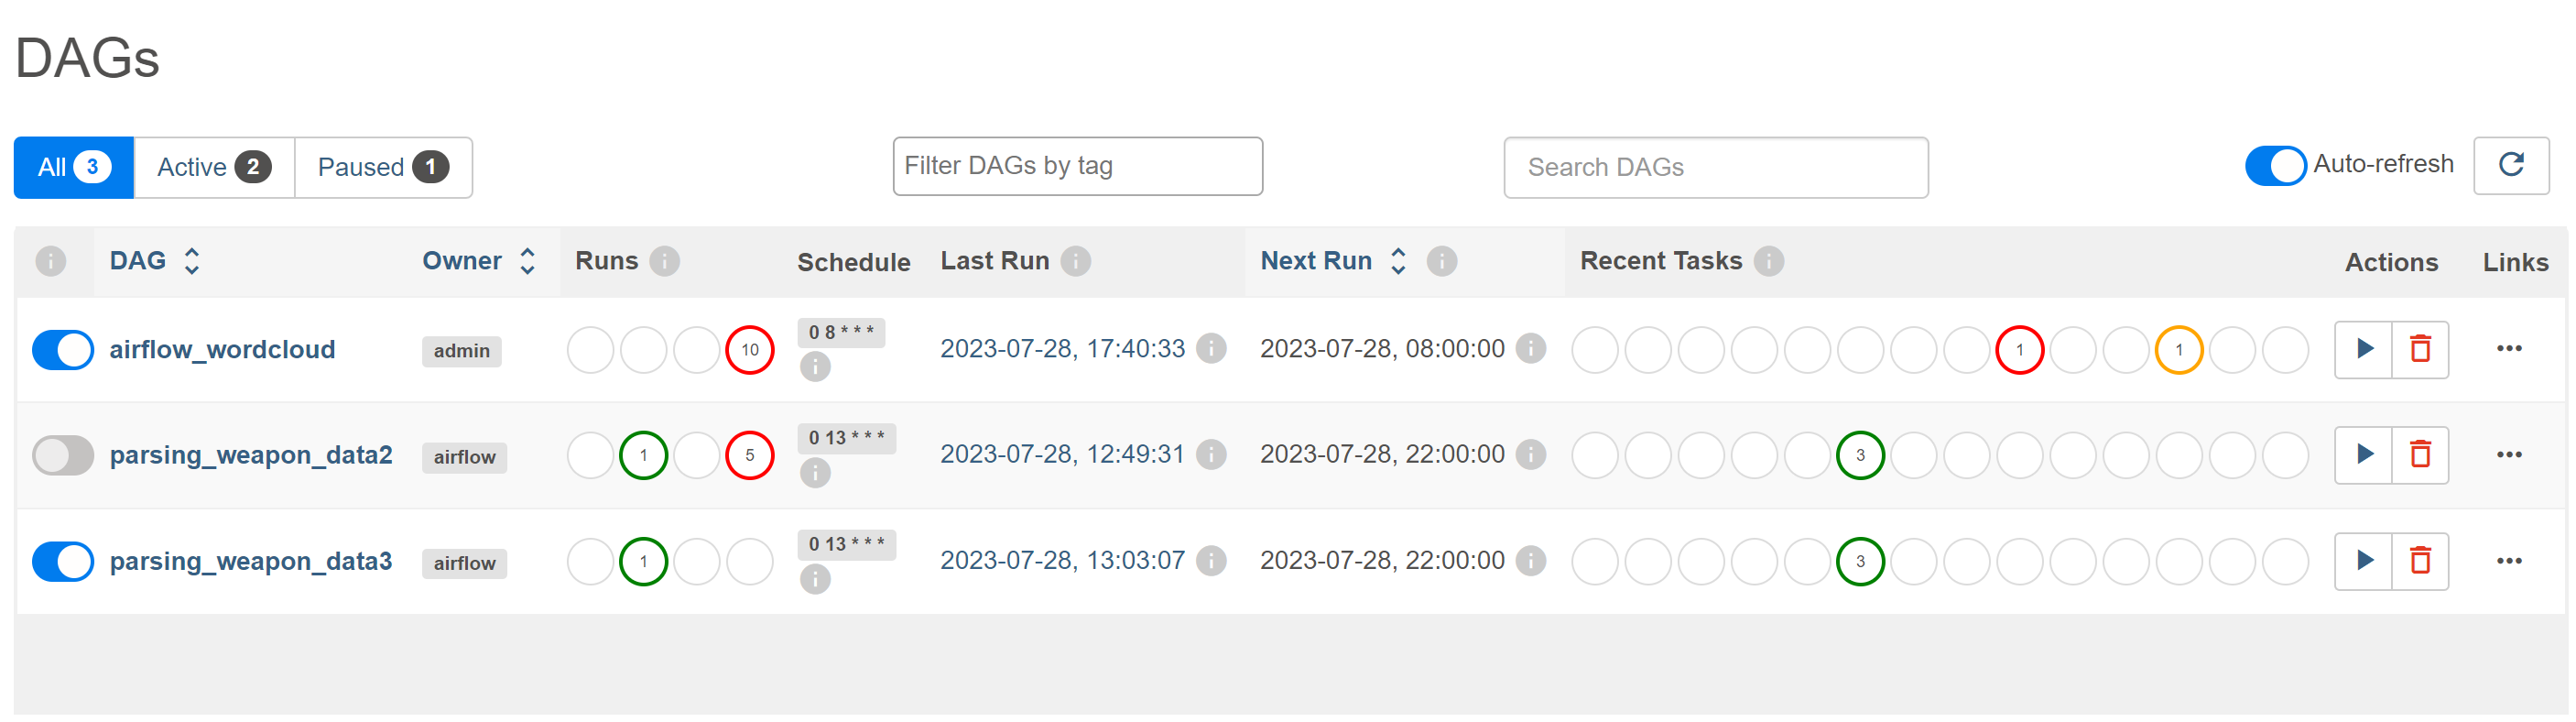
-
airflow dag 실행
dag 최종수정본
import requests
from bs4 import BeautifulSoup
import pendulum
from datetime import datetime, timedelta
import pandas as pd
import pymysql
import re
from wordcloud import WordCloud
from PIL import Image
import matplotlib.pyplot as plt
from collections import Counter
import numpy as np
from konlpy.tag import Okt

from airflow import DAG
from airflow.operators.python import PythonOperator
# from airflow.operators.bash import BashOperator

# 기본 UTC 시간에서 Asia/Seoul로 변경
local_tz = pendulum.timezone("Asia/Seoul")

# default_args 정의
default_args = {
    "owner" : "admin",
    "start_date" : datetime(2023, 7, 27, tzinfo=local_tz),
    # dag 실행 중 오류 발생하면 발송하는 메일 비활성화
    "email_on_failure" : False
}

dag = DAG(
    dag_id="airflow_wordcloud",
    max_active_runs = 1, # dag 동시 실행 방지
    default_args = default_args, # 위에서 선언한 기본 args
    # 분 시 일 월 요일 순으로 실행 주기 설정
    schedule_interval="0 8 * * *", #매일 오전 8시 실행
    # 이전 dag가 오래걸려서 다음 dag 시작 시간을 초과한 경우,
    # True면 이전 dag 종료 이후 다음 dag 실행, False면 이전 dag 실행 중 다음 dag 실행
    catchup = False
)


def _cafe_crawling(start=1, article_num=0, **context):
    # DB 연결
    con = pymysql.connect(
        host='db서버 ip',
        port=3306,
        user='root',
        password='비밀번호',
        database='project'
    )
    cur = con.cursor()

    # 기존 DB에 적재된 데이터 중 가장 최신 id값 가져오기
    cur.execute('select max(id) from wordcloud;')
    recent_article_id = cur.fetchall()[0][0]

    article_id = recent_article_id + 1
    while article_id <= recent_article_id + 100: # 한번 크롤링 할때마다 100개씩 추출
        url = f"https://apis.naver.com/cafe-web/cafe-articleapi/v2.1/cafes/28866679/articles/{article_id}?query=&menuId=1&boardType=L&useCafeId=true&requestFrom=A"
        response = requests.get(url)
        data = response.json()

        # 게시글 정보 추출
        article = data.get('result', {}).get('article', {})
        article_timestamp = article.get('writeDate', 0) / 1000  # 작성일자를 밀리초에서 초로 변환

        # 작성일자를 datetime 형식으로 변환
        article_time = datetime.fromtimestamp(article_timestamp)

        # 게시글 작성일자가 현재 이후 또는 삭제된 게시글인 경우 None 반환
        if (article_time >= datetime.now()) or (not article.get('menu')):
            article = None
            comments = None
            article_time = None

        # 댓글 정보 추출
        comments = data.get('result', {}).get('comments', {}).get('items', [])

        if article is not None: #게시글 정보가 있는 경우
            article_menu = article.get('menu', {}).get('name', '')
            article_subject = article.get('subject', '')

            # 게시글 내용 추출
            article_content_html = article.get('contentHtml', '')
            article_content_soup = BeautifulSoup(article_content_html, 'html.parser')
            article_content = article_content_soup.find('div', class_='se-component se-text se-l-default')
            if article_content:
                article_content = article_content.text.strip()
            else:
                article_content = ""

            # 댓글 내용 추출
            comment_contents = []
            for comment in comments:
                comment_contents.append(comment.get('content', ''))
            article_comment = ' '.join(comment_contents)

            # 정규표현식 전처리
            article_menu = re.sub(r'[^ㄱ-ㅎㅏ-ㅣ가-힣 ]', '', article_menu)
            article_subject = re.sub(r'[^ㄱ-ㅎㅏ-ㅣ가-힣 ]', '', article_subject)
            article_content = re.sub(r'[^ㄱ-ㅎㅏ-ㅣ가-힣 ]', '', article_content)
            article_comment = re.sub(r'[^ㄱ-ㅎㅏ-ㅣ가-힣 ]', '', article_comment)

            # DB에 적재
            try:
                cur.execute(f'insert into wordcloud values("{article_id}", "{article_menu}", "{article_subject}", "{article_content}", "{article_comment}", "{article_time}")')
                con.commit()
            except Exception as e:
                print(f"에러 발생: {str(e)}")

            article_num += 1 # 방금 크롤링으로 DB에 적재된 데이터 개수

        # article_id 증가
        article_id += 1
        start += 1

    # DB 연결 종료
    cur.close()
    con.close()

    return article_num

# 해당 기간동안의 크롤링 데이터 DB에서 불러오기
def _get_content(**context):
    # DB 연결
    con = pymysql.connect(
        host='db서버 ip',
        port=3306,
        user='root',
        password='비밀번호',
        database='project'
    )
    cur = con.cursor()

    # 불러오고 싶은 기간 선택(인자 days, 여기선 일주일로 함)
    today = datetime.now()
    select_day = datetime.strftime(today - timedelta(days=7),"%Y-%m-%d %H:%M:%S")

    # db에 적재된 게시글들의 정보 불러오기
    cur.execute(f"SELECT subject,content,comment FROM wordcloud WHERE time > '{select_day}';")
    result = cur.fetchall()

    # 데이터 한 문자열로 합치기
    join_result = [' '.join(sub_tuple) for sub_tuple in result]
    word_data = ' '.join(join_result) if join_result else ""

    # DB 연결 종료
    cur.close()
    con.close()

    # file = open("test.txt", "w")
    # file.write(word_data)
    # file.close()

    return word_data

def _make_wordcloud(**context):
    word_data = context['task_instance'].xcom_pull(task_ids="get_content", key="return_value")  # Task2에서 반환한 값을 가져옴

    # 자연어 처리
    okt = Okt()
    nouns = okt.nouns(word_data) # 명사인 것들만 추출
    words = [n for n in nouns if len(n) > 1] # 단어가 1글자 이상인 것만 추출

    word_counts = Counter(words) # 빈도수 count

    # 워드클라우드 만들기
    wc = WordCloud(
    font_path="./NanumGothic.ttf", # 폰트 지정 << 경로 문제 발생 가능
    width=400, # 너비 지정
    height=400, # 높이 지정
    max_font_size=100, # 가장 빈도수 높은 단어의 폰트 사이즈 지정
    background_color="white" # 배경색 지정
    )
    word_cloud = wc.generate_from_frequencies(word_counts) # 워드클라우드 빈도수 지정

    # 워드클라우드 그래프 출력
    plt.figure()
    plt.imshow(word_cloud)
    plt.axis("off")

    # 워드클라우드 PNG 파일로 저장
    today = datetime.now().date()
    word_cloud.to_image().save(f"./wordcloud/wc_{today}.png", format='PNG')


task1 = PythonOperator(
    task_id='cafe_crawling',
    python_callable=_cafe_crawling,
    # provide_context=True,
    dag=dag
)

task2 = PythonOperator(
    task_id='get_content',
    python_callable=_get_content,
    # provide_context=True,
    dag=dag
)

task3 = PythonOperator(
    task_id='make_wordcloud',
    python_callable=_make_wordcloud,
    # provide_context=True,
    dag=dag
)

task1 >> task2 >> task3
실행 결과
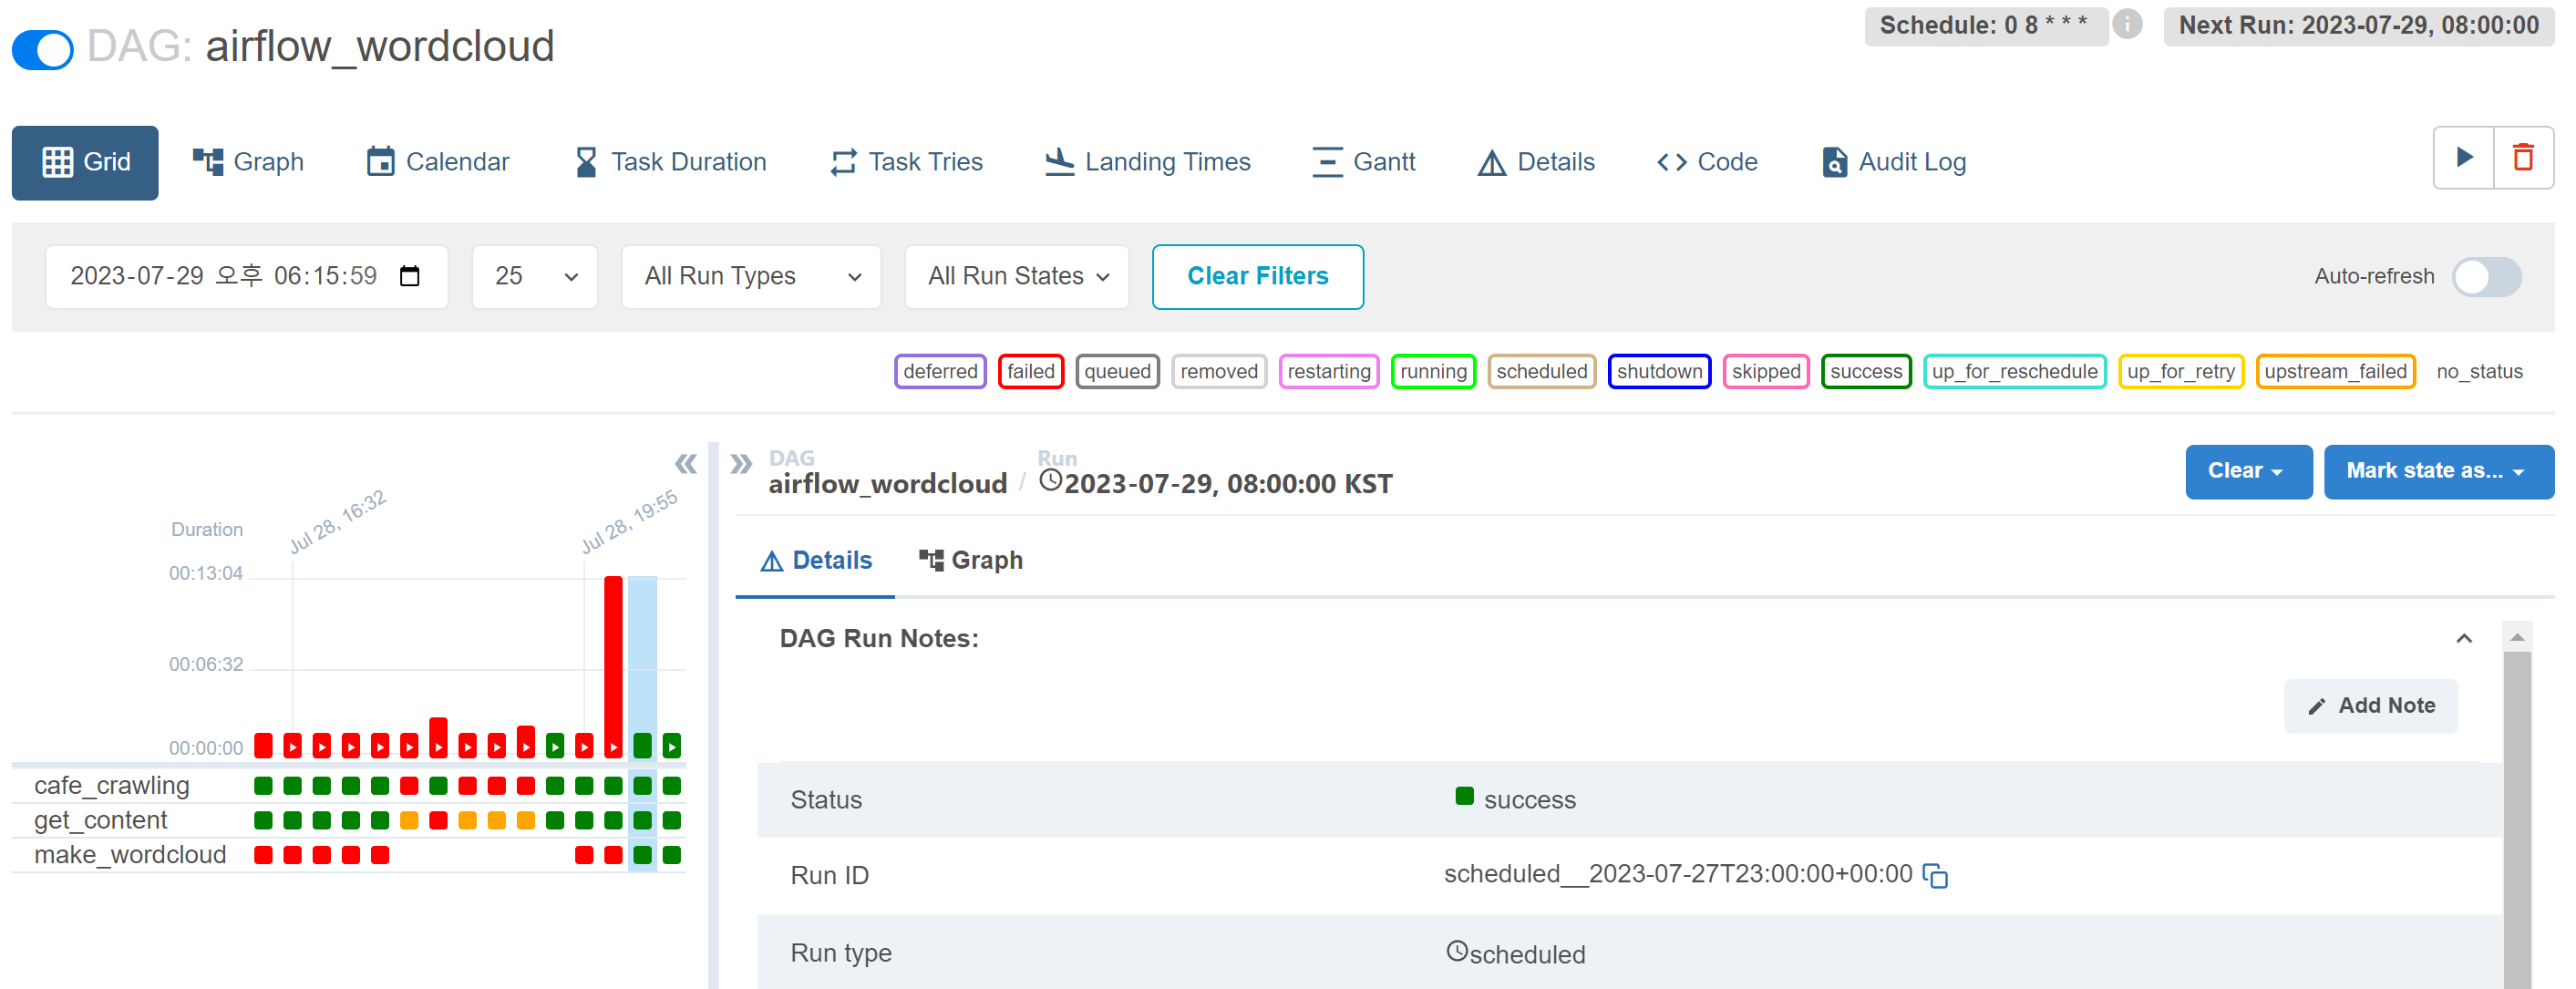
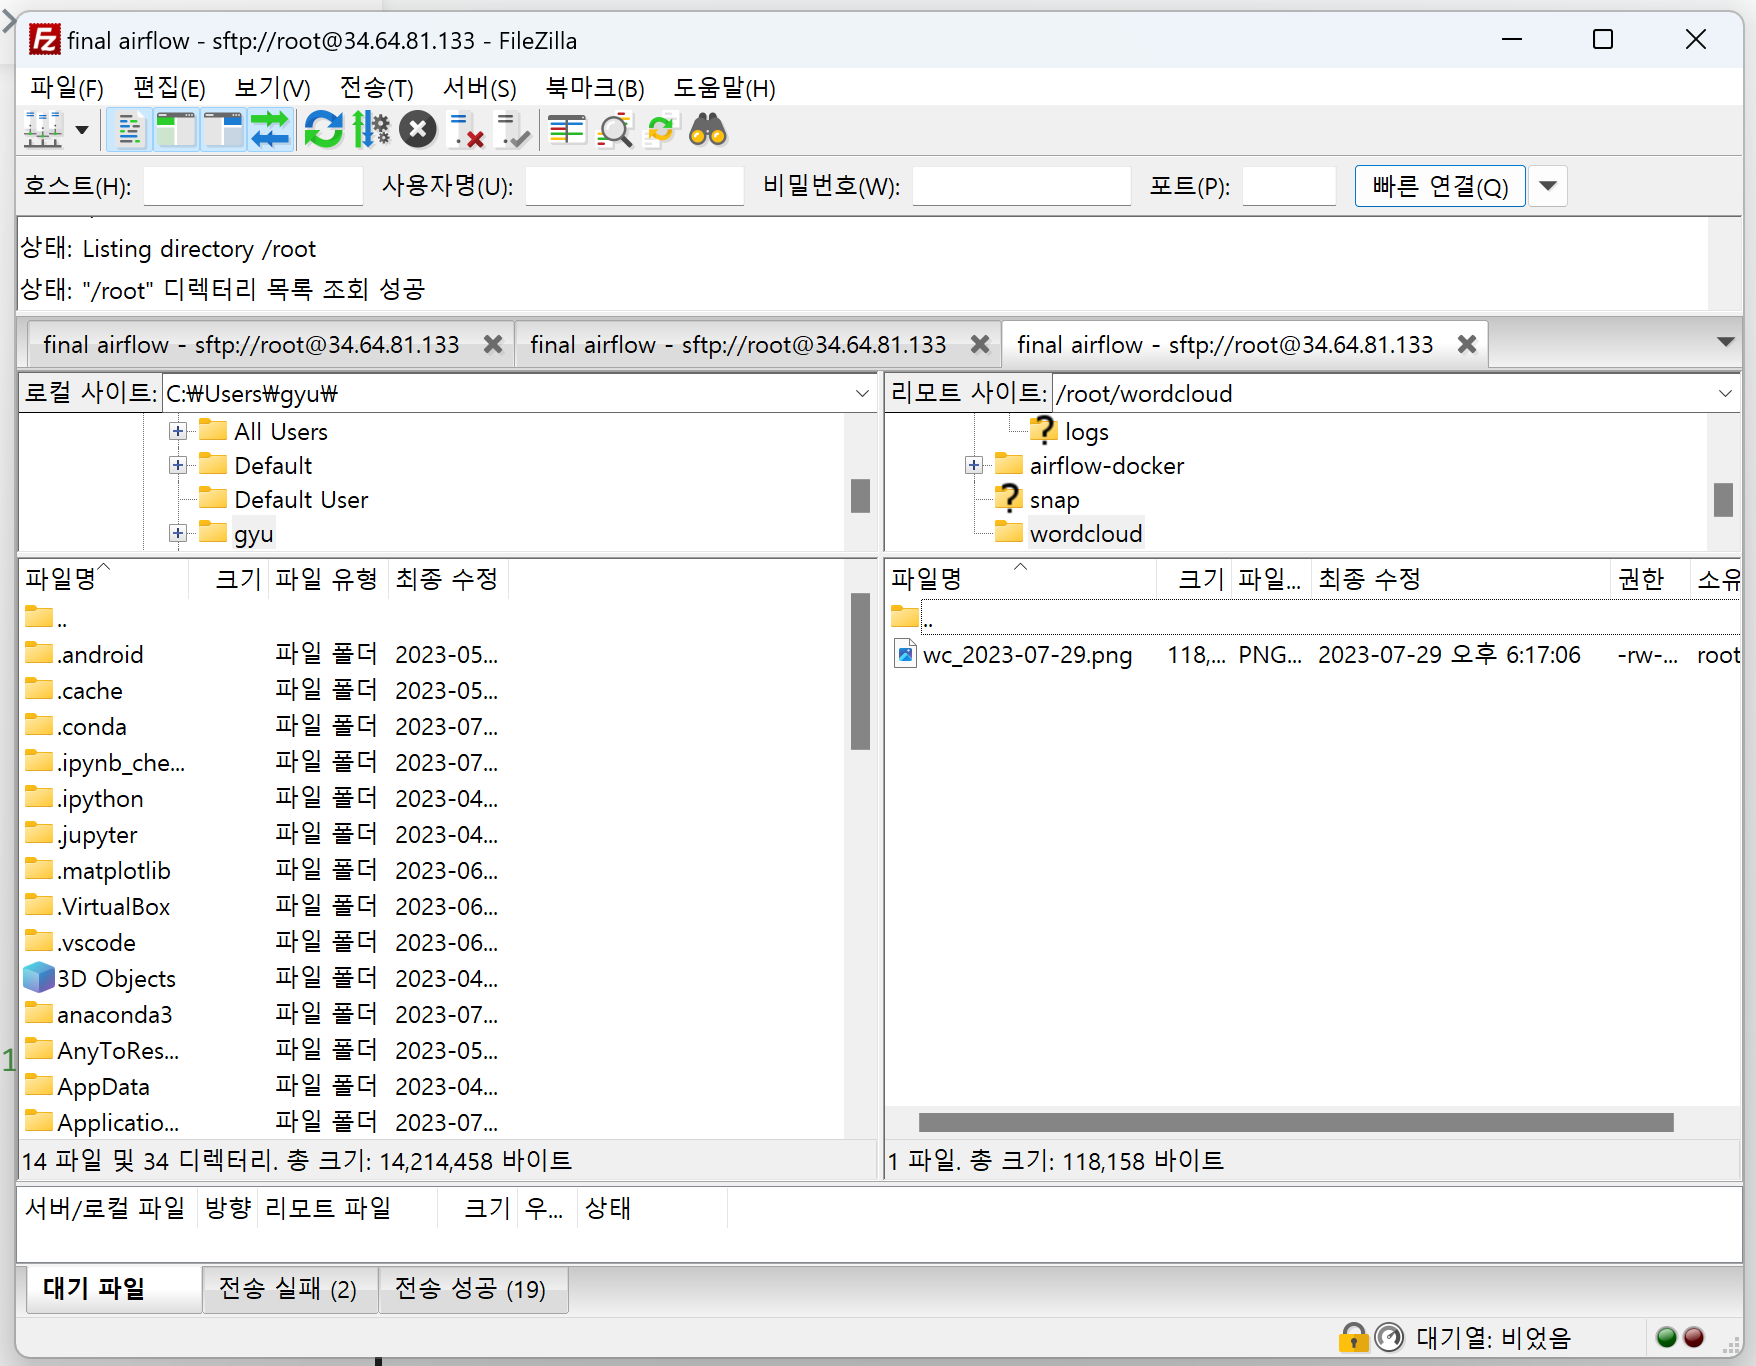
잘 실행되어 wordcloud.png 파일이 저장된 airflow를 볼 수 있다 !!
심지어 매일 아침 8시에 실행하도록 코드를 설정했는데, 이것도 잘 실행된 걸 볼 수 있음 !!

덕분에 워드클라우드가 뭔지 에어플로우를 어떻게 하셨는지 잘 배우고 갑니다~