
공지사항 무한스크롤
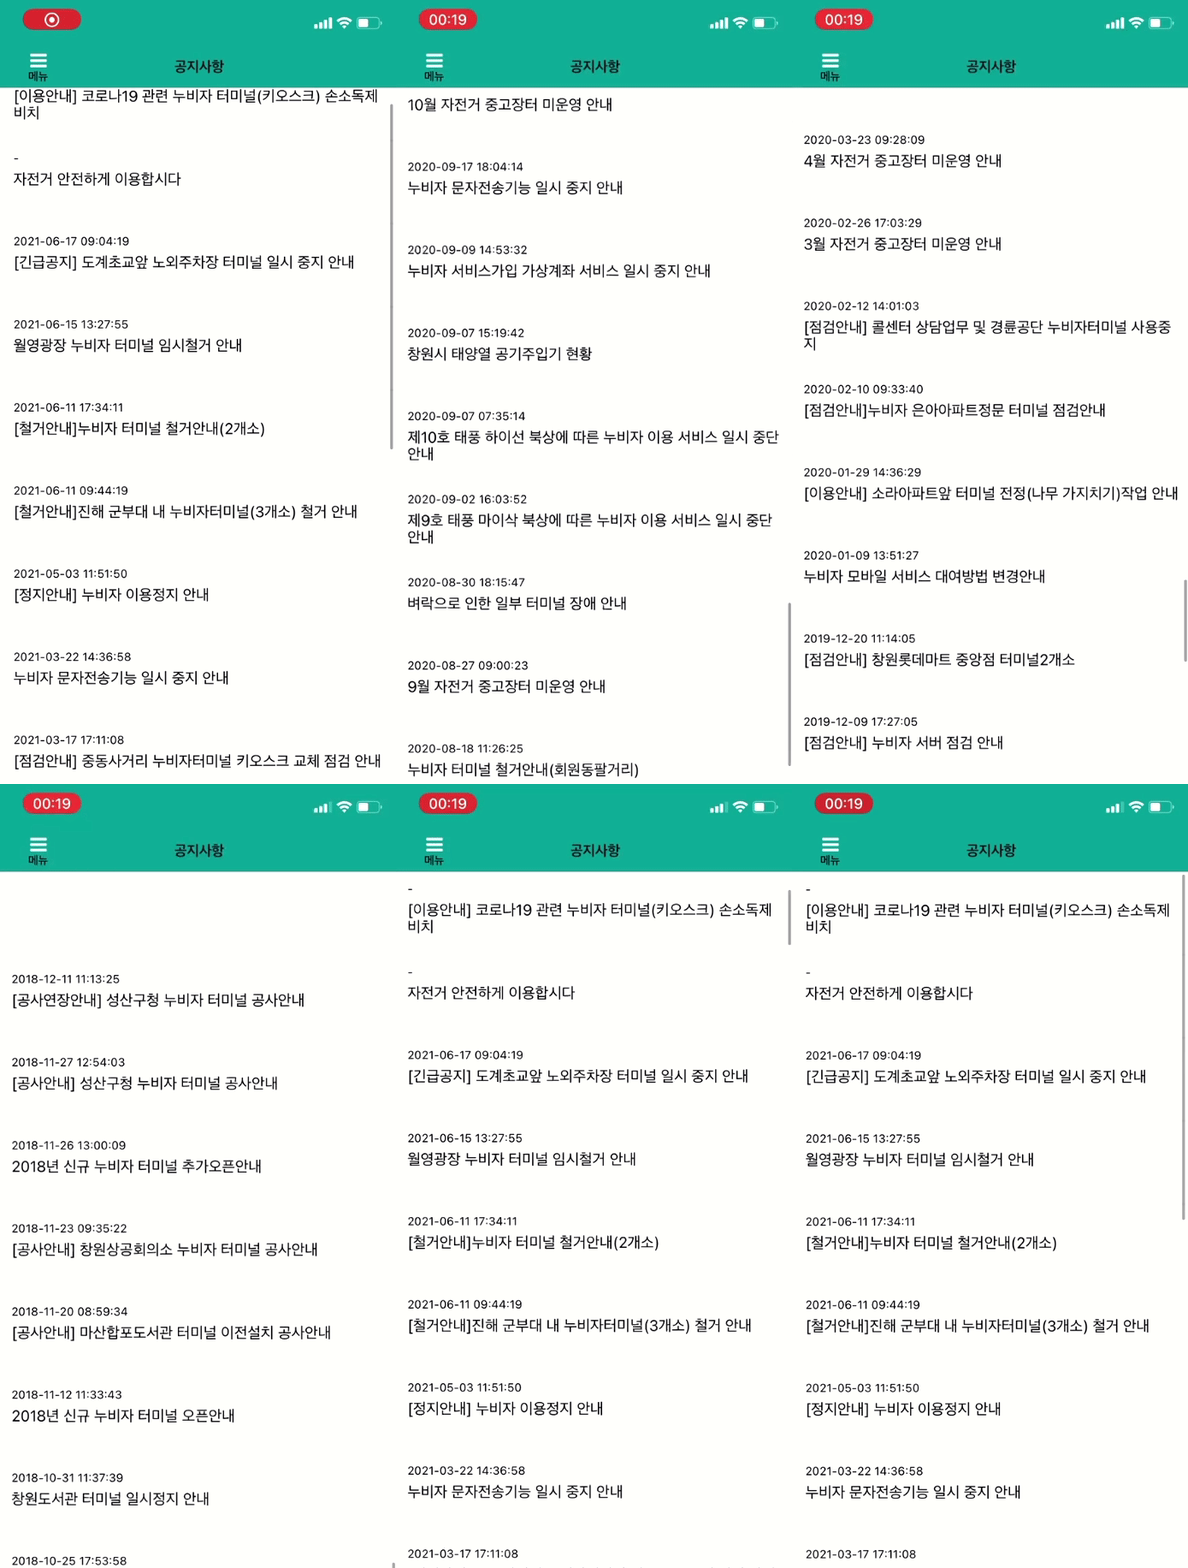
(스크롤 길이를 주목해서 봐주세요!!!)
화면 끝까지 스크롤이 내려가면 데이터를 추가로 불러오고 맨위에서 당기면 새로고침이 되도록 작성해보았습니다.
누비자 공지사항 데이터 불러오기
const cheerio = require("cheerio-without-node-native");
// const request = require("requestretry");

export default async function getPage(page) {
	// let pageNum = 1;
	let result = [];
	let ulList = [];
	// 전체 페이지 리스트 구하기
	let url = `https://www.nubija.com/board/getList.do?bdno=2&currPage=${page}`;
	const options = {
		method: "GET",
		encoding: null,
		headers: {
			"User-Agent":
				"Mozilla/5.0 (Windows NT 10.0; Win64; x64) AppleWebKit/537.36 (KHTML, like Gecko) Chrome/79.0.3945.130 Safari/537.36",
			Accept:
				"text/html,application/xhtml+xml,application/xml;q=0.9,image/avif,image/webp,image/apng,*/*;q=0.8,application/signed-exchange;v=b3;q=0.9",
			"Content-Type": "application/x-www-form-urlencoded",
			Cookie:
				"WMONID=m2zajRZqm5f; _ga=GA1.2.1860211416.1622781690; _gid=GA1.2.882171542.1623936429; JSESSIONID=DFFB23E27EFF9769B473D12C31A83487; _gat=1",
		},
	};

	let html = await fetch(url, options);
	let responseOK = html && html.ok;
	if (responseOK) {
		let data = await html.text();
		const $ = cheerio.load(data);
		const $list = $("#notice_border tbody tr td:nth-of-type(2) a").toArray();
		const $maxPageNum = $("#list_number span:nth-of-type(2)")
			.text()
			.split("/")[1];
		$list.map((el, idx) => {
			ulList[idx] = parseInt($(el).attr("onclick").split("'")[1]);
		});
		// console.log(ulList, $maxPageNum);
	}

	// 페이지별 데이터 구하기

	await Promise.all(
		ulList.map((el, idx) => {
			let liUrl = `https://www.nubija.com/board/getView.do?bdno=2&blno=${el}`;
			return fetch(liUrl, options)
				.then((res) => res.text())
				.then((data) => {
					const $ = cheerio.load(data);
					//trim으로 공백 제거
					result.push({
						id: idx + 1 + 20 * (page - 1),
						title: $(".view_title").text().trim(),
						content: $("#board_contents").text().trim(),
						date: $("#border_view tbody tr:nth-of-type(2) td:nth-of-type(1)")
							.text()
							.trim(),
					});
				});
		})
	);
	return result;
}
무한스크롤 작성
flatlist 태그에
onEndReached,onEndReachedThreshold, refreshing, onRefresh 를 추가해줍니다.
		<View style={{ flex: 1, justifyContent: "center", alignItems: "center" }}>
			<FlatList
				data={noticeData}
				renderItem={renderItem}
				//key 값은 문자여야한다.
				keyExtractor={(item) => String(item.id)}
				extraData={selectedId}
				onEndReached={() => fetchData()}
				onEndReachedThreshold={1}
				refreshing={refreshing}
				onRefresh={() => {
					setRefresh();
				}}
			/>
		</View>
무한스크롤을 구현하기 위해서는 아래 4개가 필수입니다.
onEndReached: 화면 아래에 도달하면 실행되는 함수를 작성합니다.onEndReachedThreshold:화면의 크기를 정하는 숫자 비율 값을 설정합니다. 최대가 1 이고, 1을 설정하면 화면 전체를 최대길이로 설정하고, 0.5이면 화면길이의 절반되는 길이가 최대길이가 됩니다.refreshing: true로 설정되면 로딩 이미지를 보여줍니다. 데이터를 로딩하는 동안은 true로 하고 데이터를 다 로딩받았다면 false로 바꾸어 주면 되겠습니다.onRefresh: 화면 제일 상단에서 아래로 스크롤을 당길 경우 발생하는 함수를 작성하면 됩니다. 저는 1페이지의 데이터만 받아오는 함수를 작성했습니다.
const [noticeData, setNoticeData] = useState([]);
	const [page, setPage] = useState(1);
	const [refreshing, setRefreshing] = useState(false);

	const fetchData = async () => {
		// console.log(refreshing);
		const notice = await getPage(page);
		notice.sort((a, b) => {
			//id를 오름차순으로 정렬하는 방법
			//이전 값인 b.id가 a.id보다 크면 -1로 바꾸어주는 형식
			return a.id < b.id ? -1 : a.id > b.id ? 1 : 0;
		});
		setNoticeData(noticeData.concat(notice));
		setPage(page + 1);
		setRefreshing(false);
	};

	const setRefresh = async () => {
		// 새로고침하면 1페이지만 다시 로딩
		setRefreshing(true);
		const notice = await getPage(1);
		notice.sort((a, b) => {
			//id를 오름차순으로 정렬하는 방법
			//이전 값인 b.id가 a.id보다 크면 -1로 바꾸어주는 형식
			return a.id < b.id ? -1 : a.id > b.id ? 1 : 0;
		});
		setNoticeData(notice);
		setPage(2);
		setRefreshing(false);
	};
	useEffect(() => {
		//데이터 불러오기
		fetchData();
	}, []);
처음 페이지가 로딩되면 1페이지만 불러오도록 useEffect를 설정합니다. 그리고 스크롤을 아래로 내릴때는 fetchData, 새로고침할 때는 setRefresh가 실행되도록 작성했습니다.
1차 디자인(매우 간단)
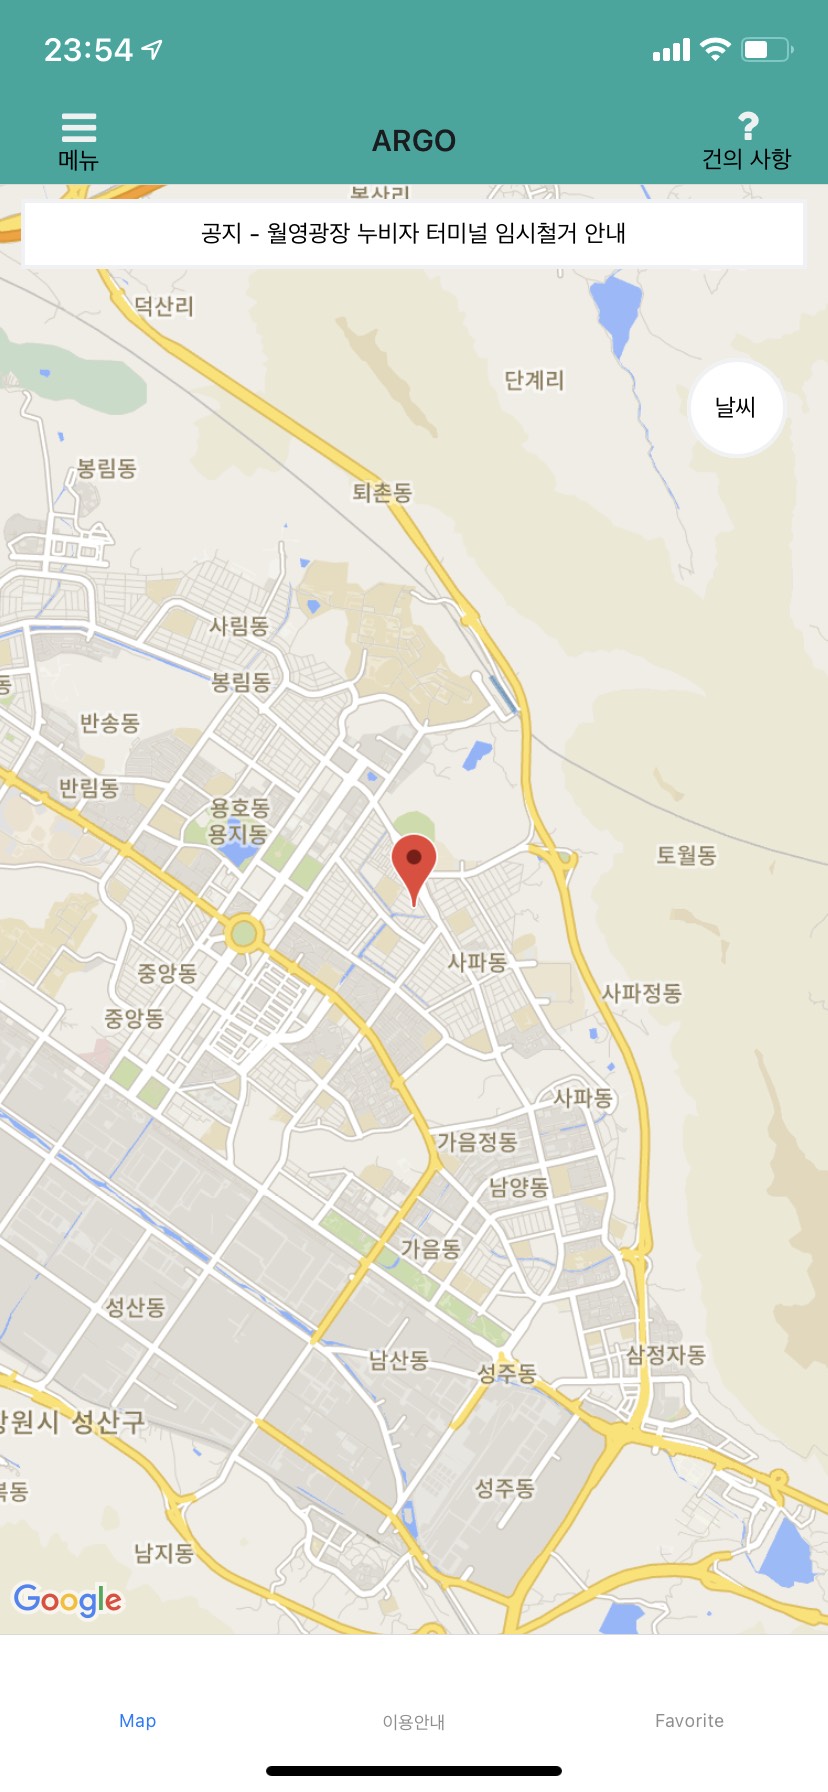
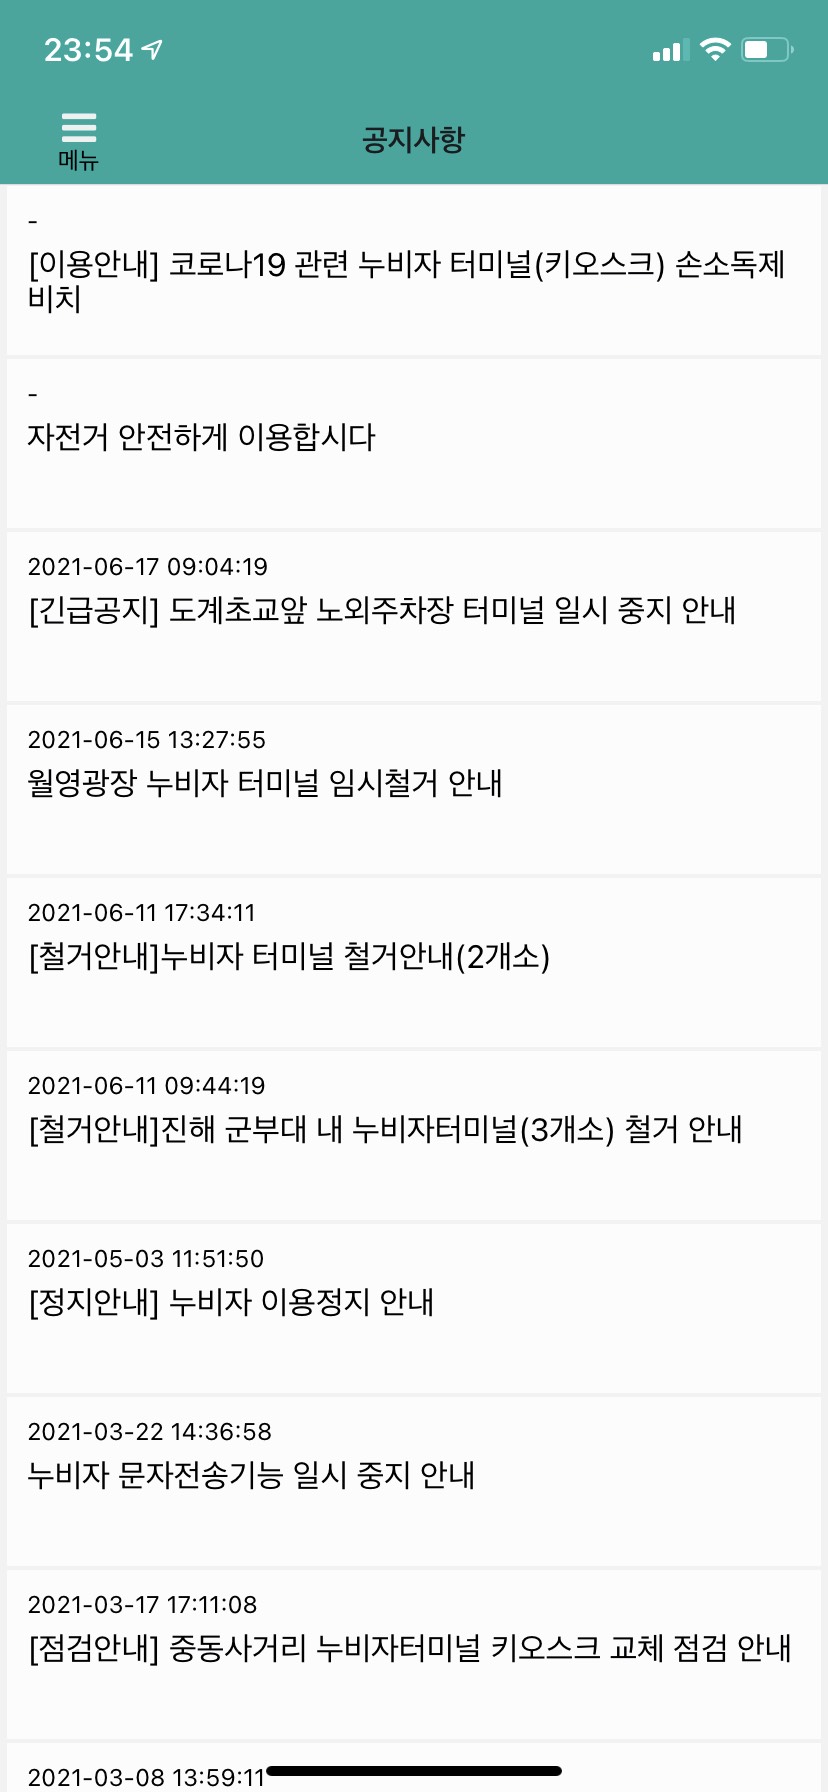
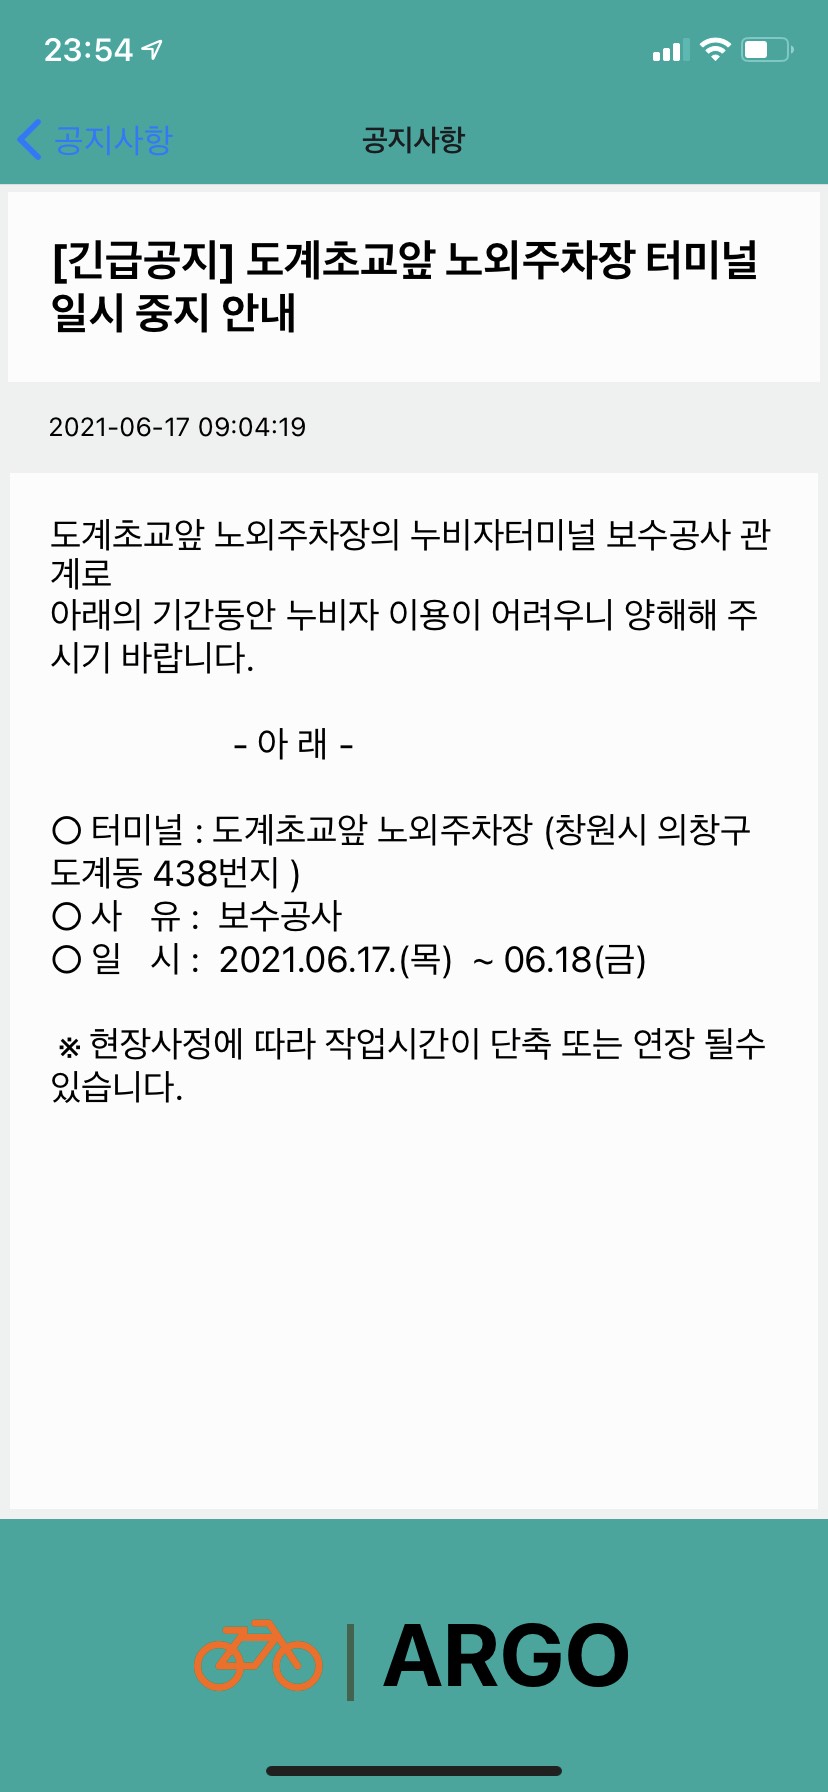
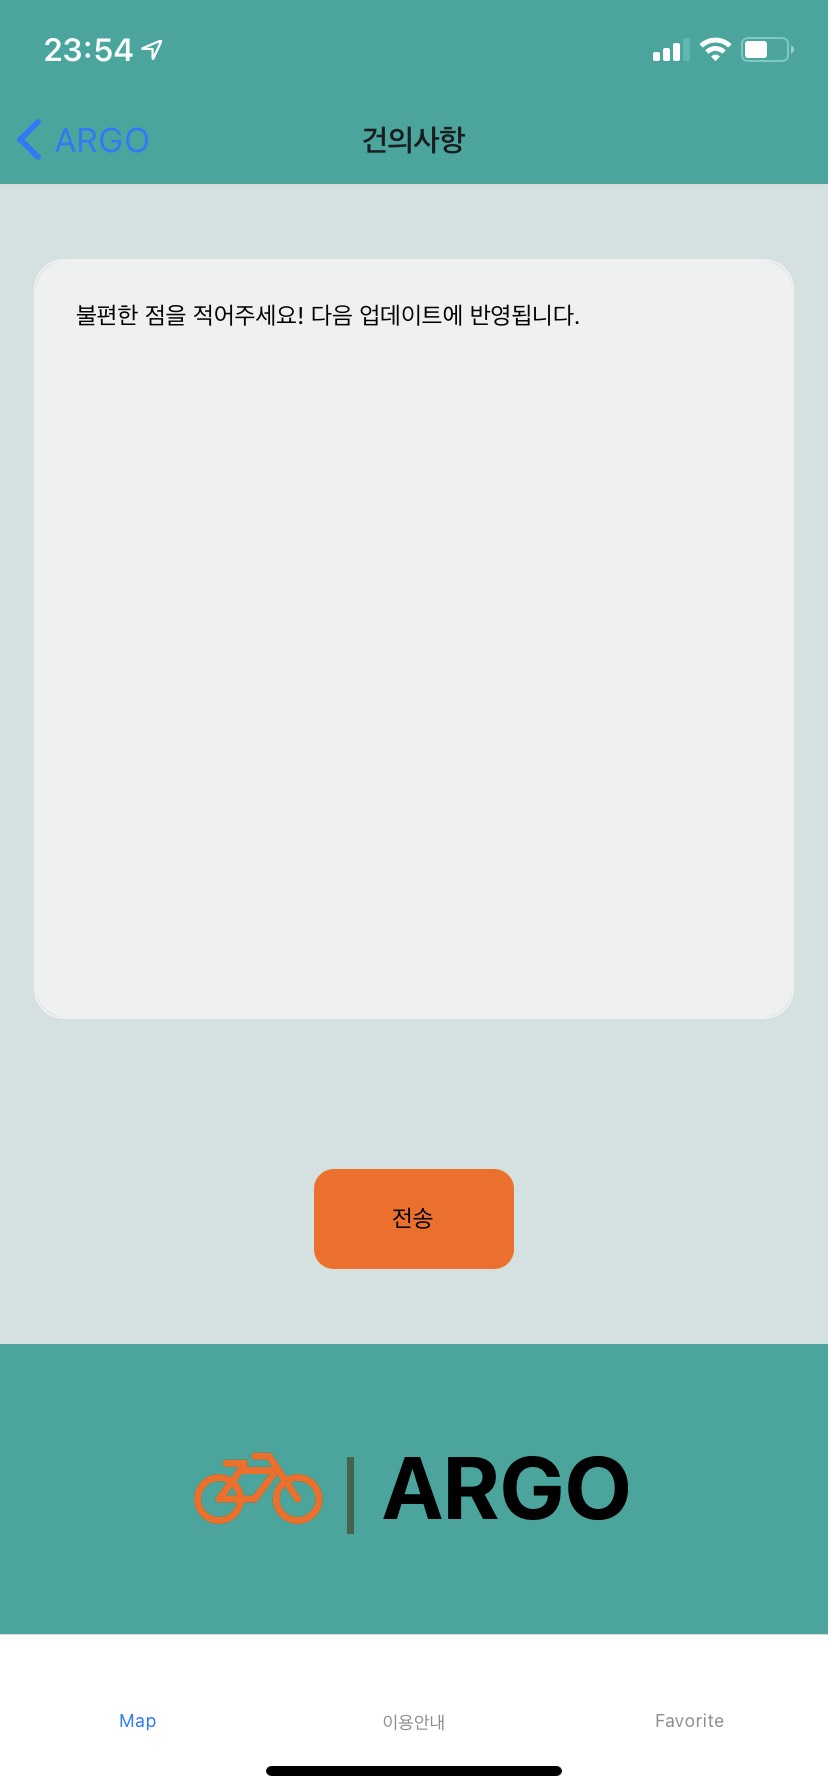
누비자 색이 청록색이라서 최대한 느낌을 살려보았습니다.
아이콘은 fontAwesome을 사용했습니다.
잡담
- 만들면 만들수록 어플이 아닌 것 같은 느낌이 듬(
디자인이 너무 못생겨서 그럼ㅇㅇ) - 디자인을 참고할려고 다른 앱들을 휴대폰에 너무 많이 깔았음.
- 쉴꺼임 ㅂㅂ
