🔭 아이템 데이터 만들기
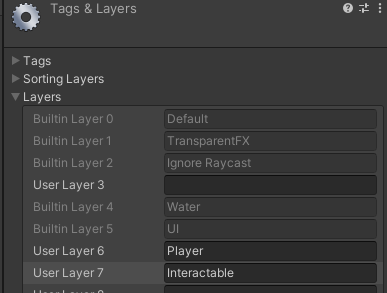
상호작용을 하기 위해 Interactable이라는 Layer를 만들어주자.
이후 Assets 밑에 Scriptable Object라는 폴더를 생성하고, Scripts와 Datas 폴더를 만들어준다. 이후 Scripts에 itemData.cs 파일을 만들어 준다.

public enum ItemType
{
Resource,
Equipable,
Consumable
}
// 소모 아이템 사용 시 변경될 Conditions
public enum ConsumableType
{
Hunger,
Health
}
[CreateAssetMenu(fileName = "Item", menuName = "New Item")]
public class itemData : ScriptableObject
{
[Header("Info")]
public string displayName;
public string description;
public ItemType type;
public Sprite icon;
public GameObject dropPerfab;
[Header("Stacking")]
public bool canStack;
public int maxStackAmount;
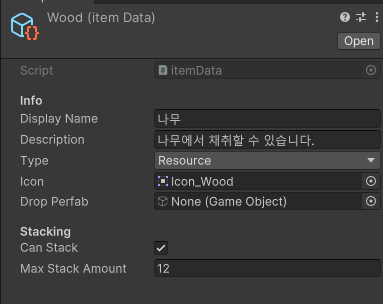
}이후 작성한 itemData를 이용해 아이템들의 데이터를 생성해보자.
Datas 폴더 밑에 Create → New item을 하자.

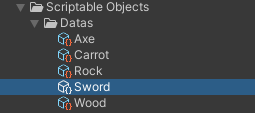
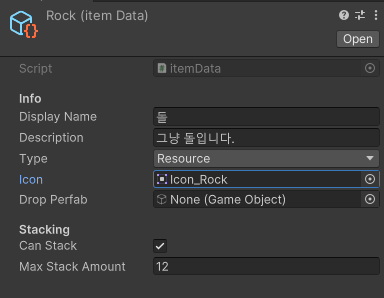
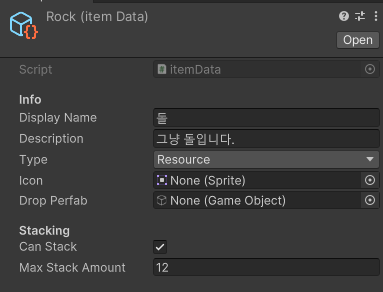
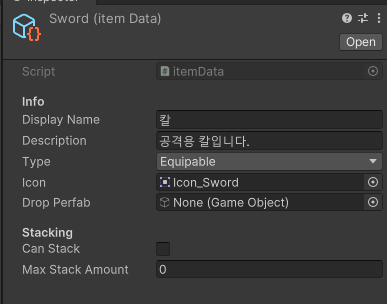
이제 각각의 data를 수정하자.
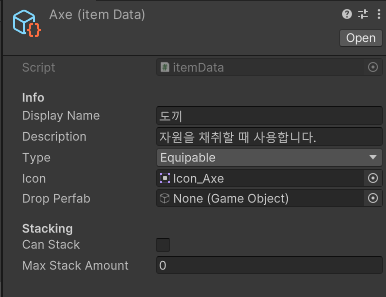
여러 개를 소지할 수 있을 경우 Can Stack을 true로 설정해주고, 최대 개수를 정해준다.
아이템 오브젝트 만들기
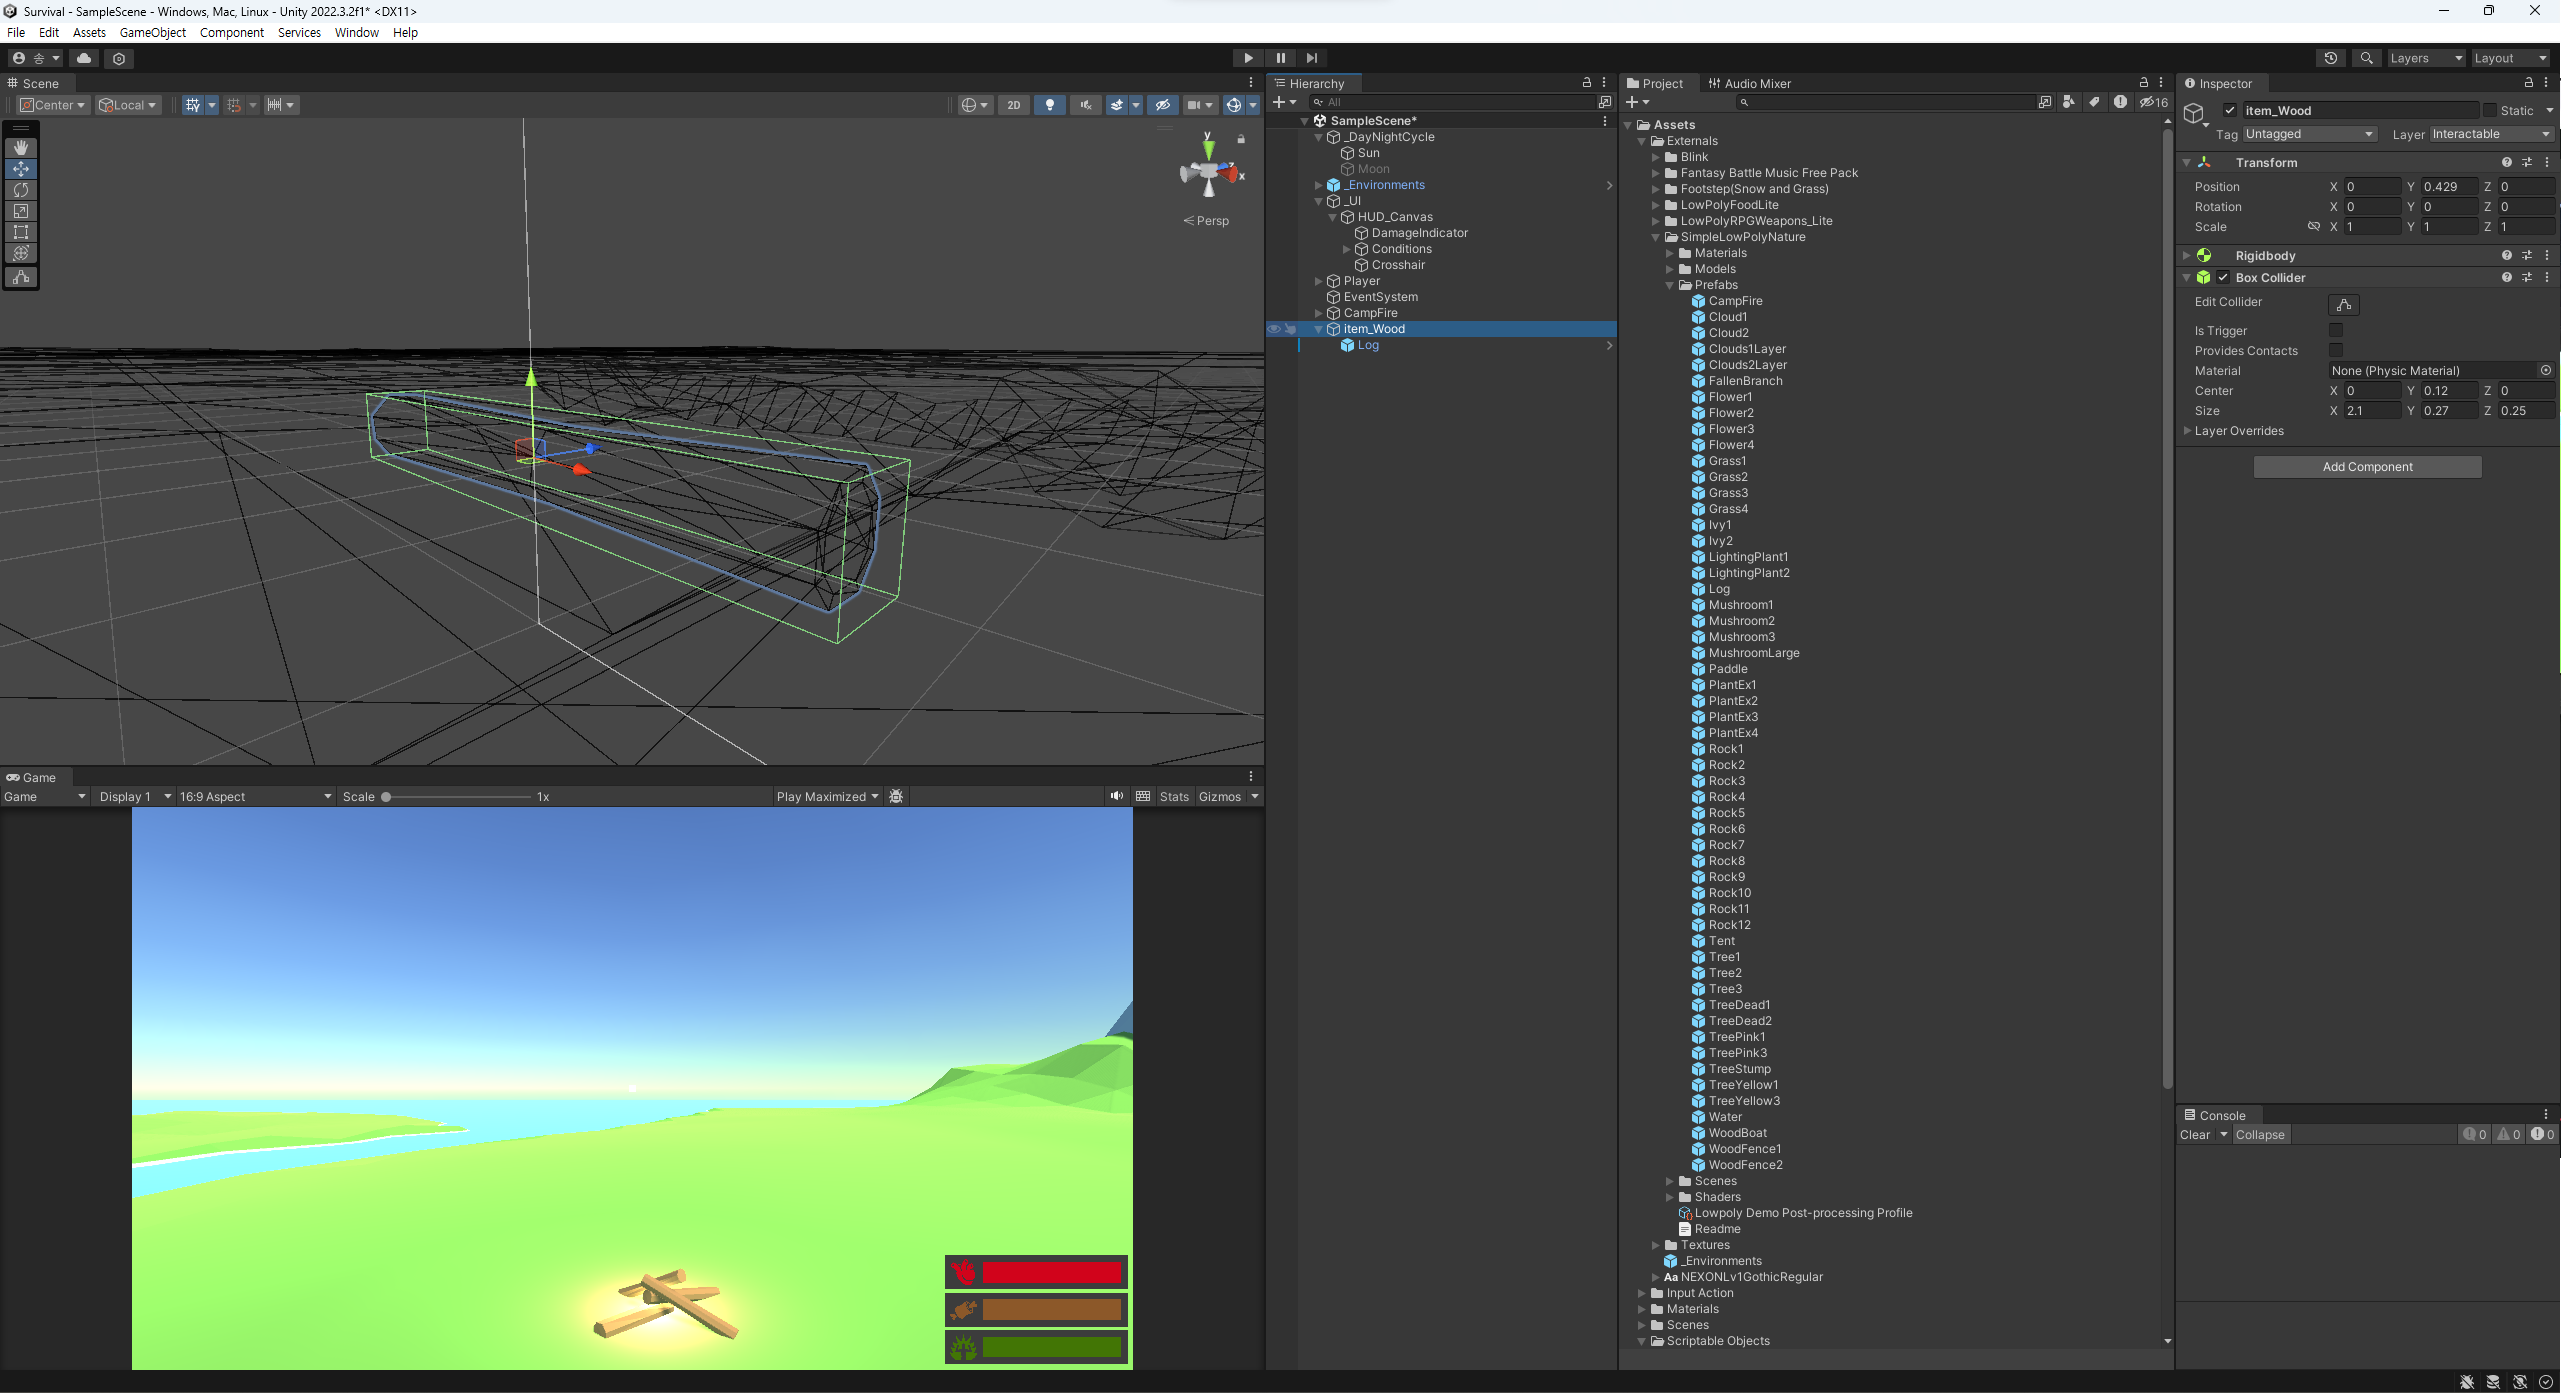
item_Wood를 만들어보자.
빈 오브젝트를 만들어주고, rigidbody, Box Collider를 추가해준다. 그리고 미리 준비된 에셋에서 나무 프리팹을 사용한다.
이후 item_Wood의 Layer를 Interactable로 설정해준다.
이후 모양에 맞게 Collider를 수정해준다.
그리고 아이템에게 적용할 스크립트를 만들어준다.

public class ItemObject : MonoBehaviour
{
    public itemData item;
}
이후 만들어진 ItemObject.cs를 아이템에게 추가해준다.
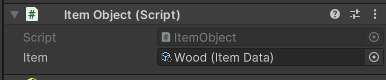
같은 방식으로 다른 아이템들 또한 만들어 준다.
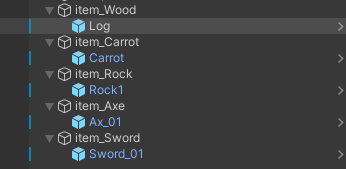
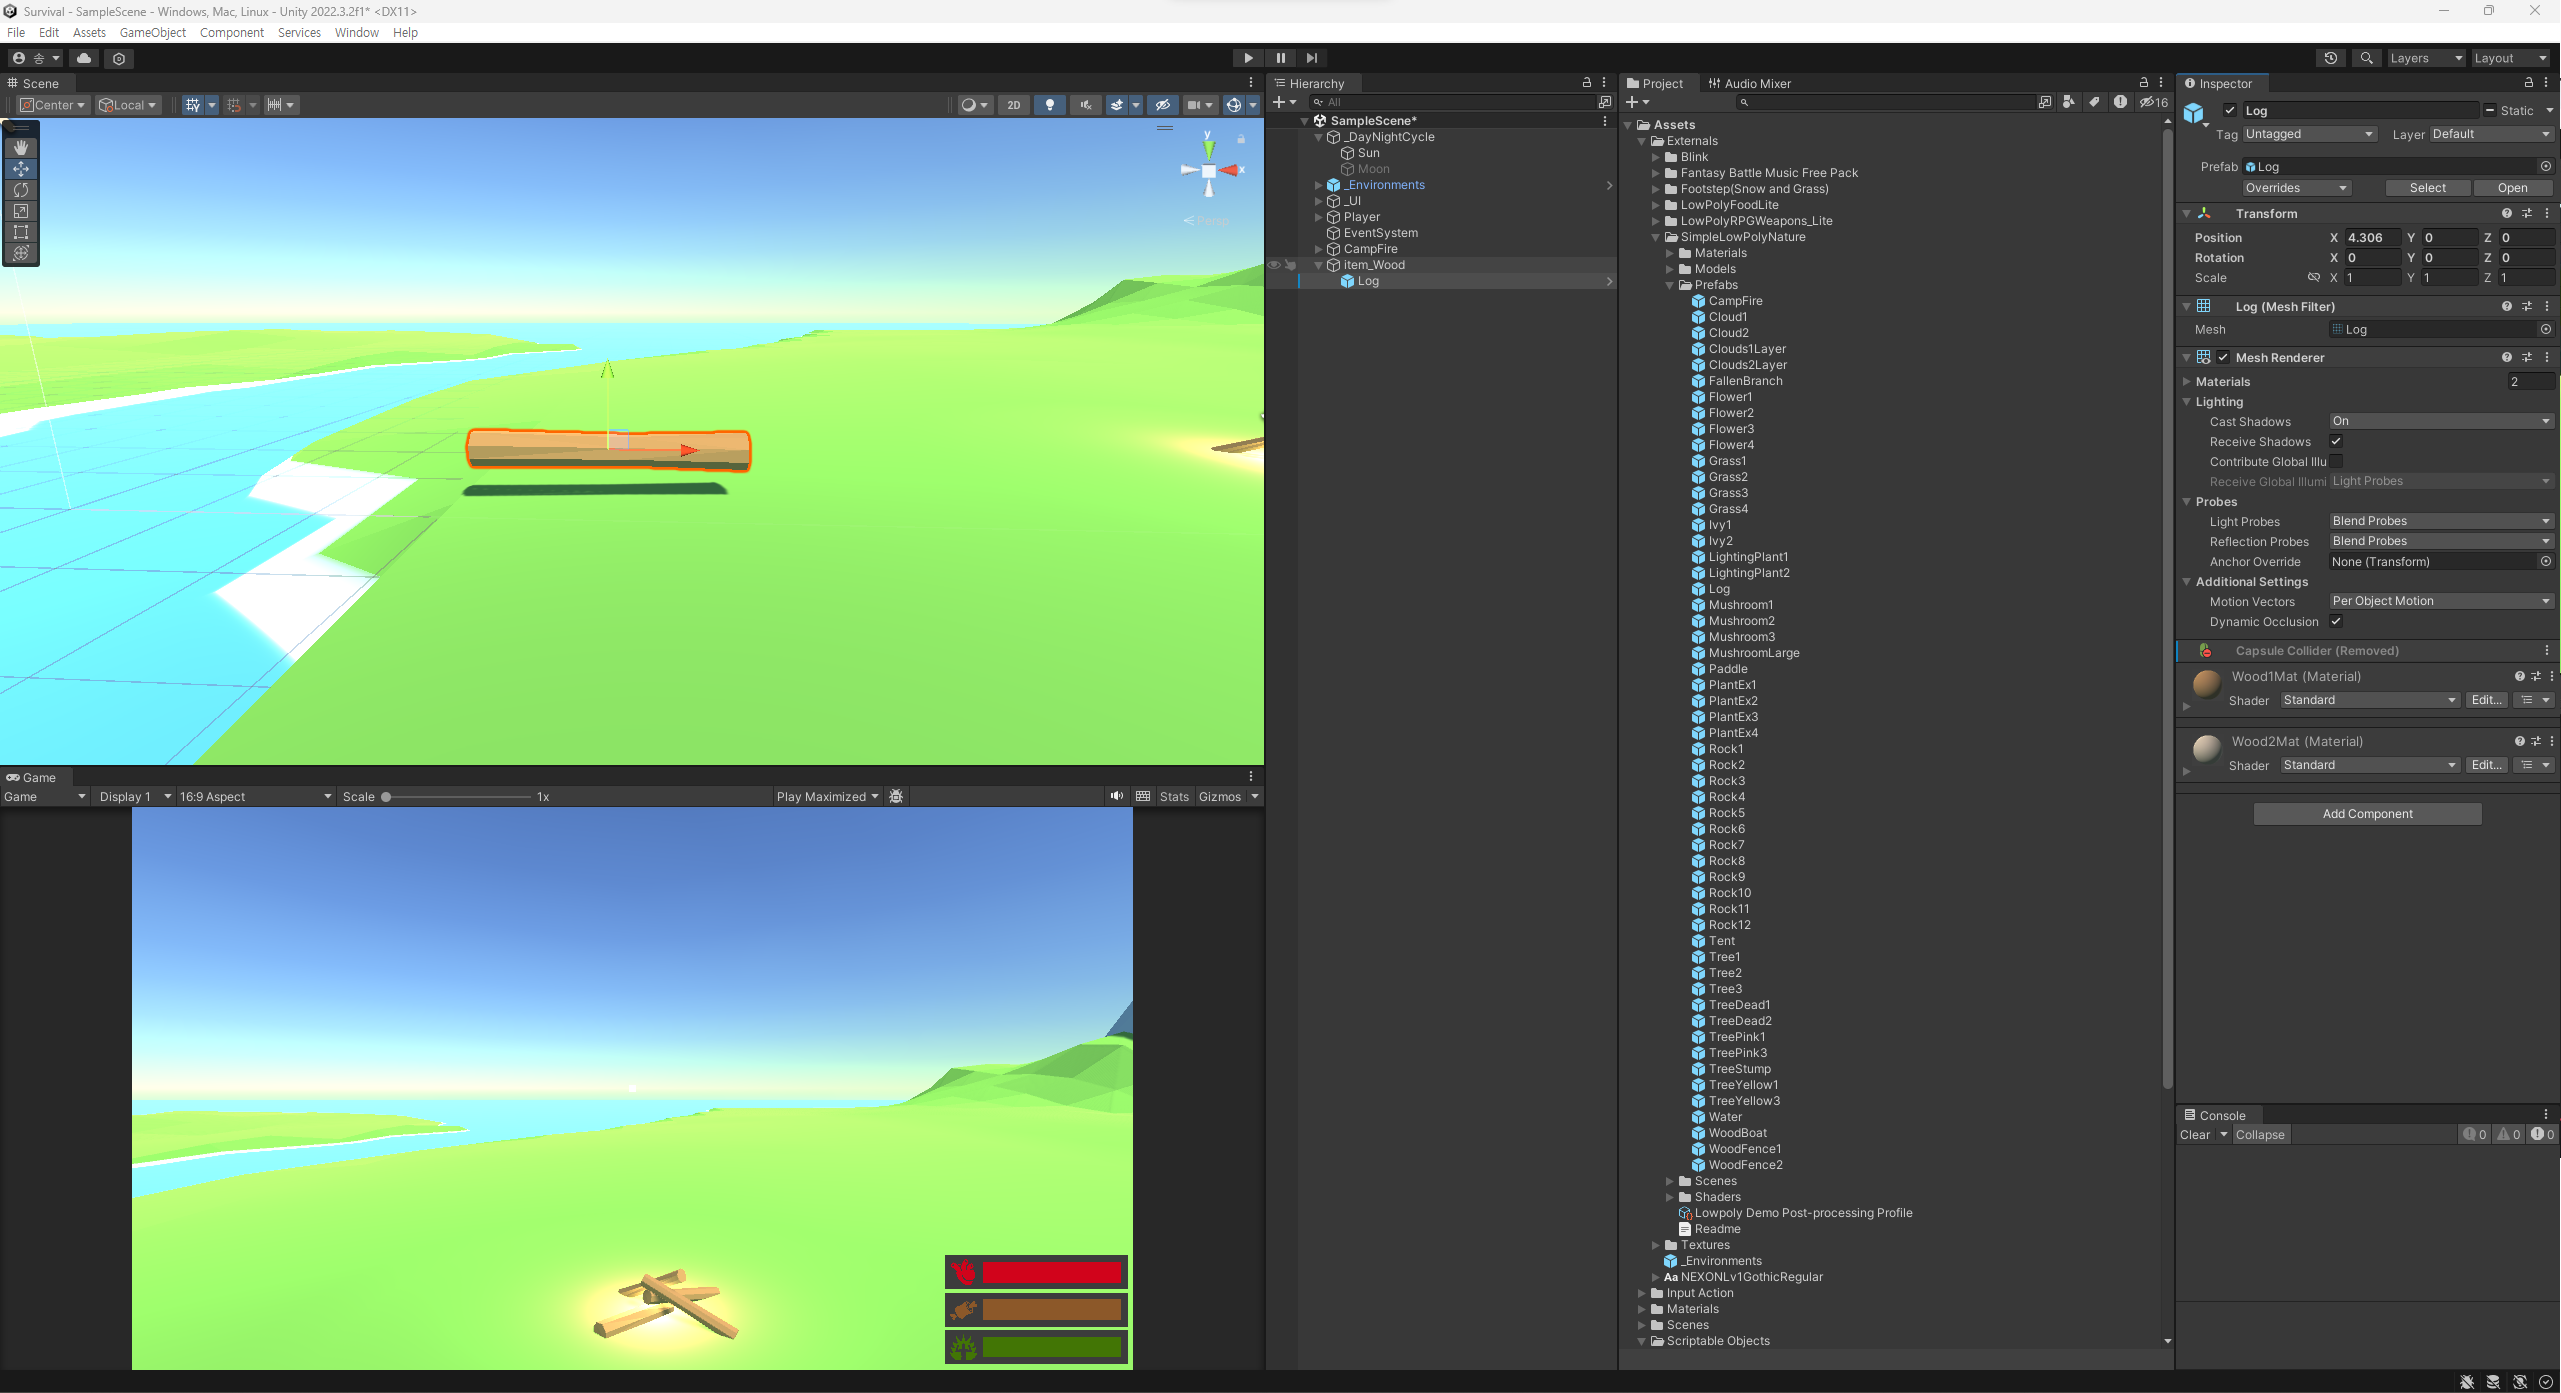
확인해보기!
정상적으로 Collider와 Rigidbody가 적용되어 있는 모습.
👨💻 InteractionManager.cs 짜기
새 스크립트를 Items 폴더 밑에 생성한다.

//InteractionManager.cs

using TMPro;
using UnityEngine;

public interface IInteractable
{
    string GetInteractPrompt();
    void OnInteract();
}

public class InteractionManager : MonoBehaviour
{
    public float checkRate = 0.05f;
    private float lastCheckTime;
    public float maxCheckDistance;
    public LayerMask layerMask;

    private GameObject curInteractGameobject;
    private IInteractable curInteractable;

    public TextMeshProUGUI promptText;
    private Camera camera;

    // Start is called before the first frame update
    void Start()
    {
        camera = Camera.main;
    }

    // Update is called once per frame
    void Update()
    {
        // 마지막으로 체크한 시간이 checkRate를 넘겼다면
        if(Time.time - lastCheckTime > checkRate)
        {
            lastCheckTime = Time.time;
            // 화면의 정 중앙에 상호작용 가능한 물체가 있는지 확인하기

            // Raycast의 순서는 1. 발사할 Ray를 생성해준다. 2. 발사 및 충돌 여부 확인
            Ray ray = camera.ScreenPointToRay(new Vector3(Screen.width / 2, Screen.height / 2));    // 화면의 정 중앙에서 Ray를 쏘겠다.
            RaycastHit hit;

            // ray에 뭔가 충돌했다면 hit에 충돌한 오브젝트에 대한 정보가 넘어오게 된다.
            if(Physics.Raycast(ray, out hit, maxCheckDistance, layerMask))
            {
                // 부딪힌 오브젝트가 우리가 저장해놓은 상호작용이 가능한 오브젝트들인지 확인하기
                if(hit.collider.gameObject != curInteractGameobject)
                {
                    // 충돌한 물체 가져오기
                    curInteractGameobject = hit.collider.gameObject;
                    curInteractable = hit.collider.GetComponent<IInteractable>();
                    SetPromptText();
                }
            }
            else
            {
                // 화면의 정 중앙에 상호작용 가능한 물체가 없는 경우
                curInteractGameobject = null;
                curInteractable = null;
                promptText.gameObject.SetActive(false);
            }
        }
    }

    private void SetPromptText()
    {
        promptText.gameObject.SetActive(true);
        promptText.text = string.Format("<b>[E]</b> {0}", curInteractable.GetInteractPrompt());     // <b></b> : 태그, 마크다운 형식 <b>의 경우 볼드체.
    }
}
// ItemObject.cs
public class ItemObject : MonoBehaviour, IInteractable
{
public itemData item;
public string GetInteractPrompt()
{
return string.Format("Pickup {0}", item.displayName);
}
public void OnInteract()
{
Destroy(gameObject);
}
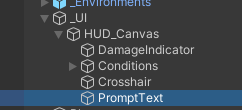
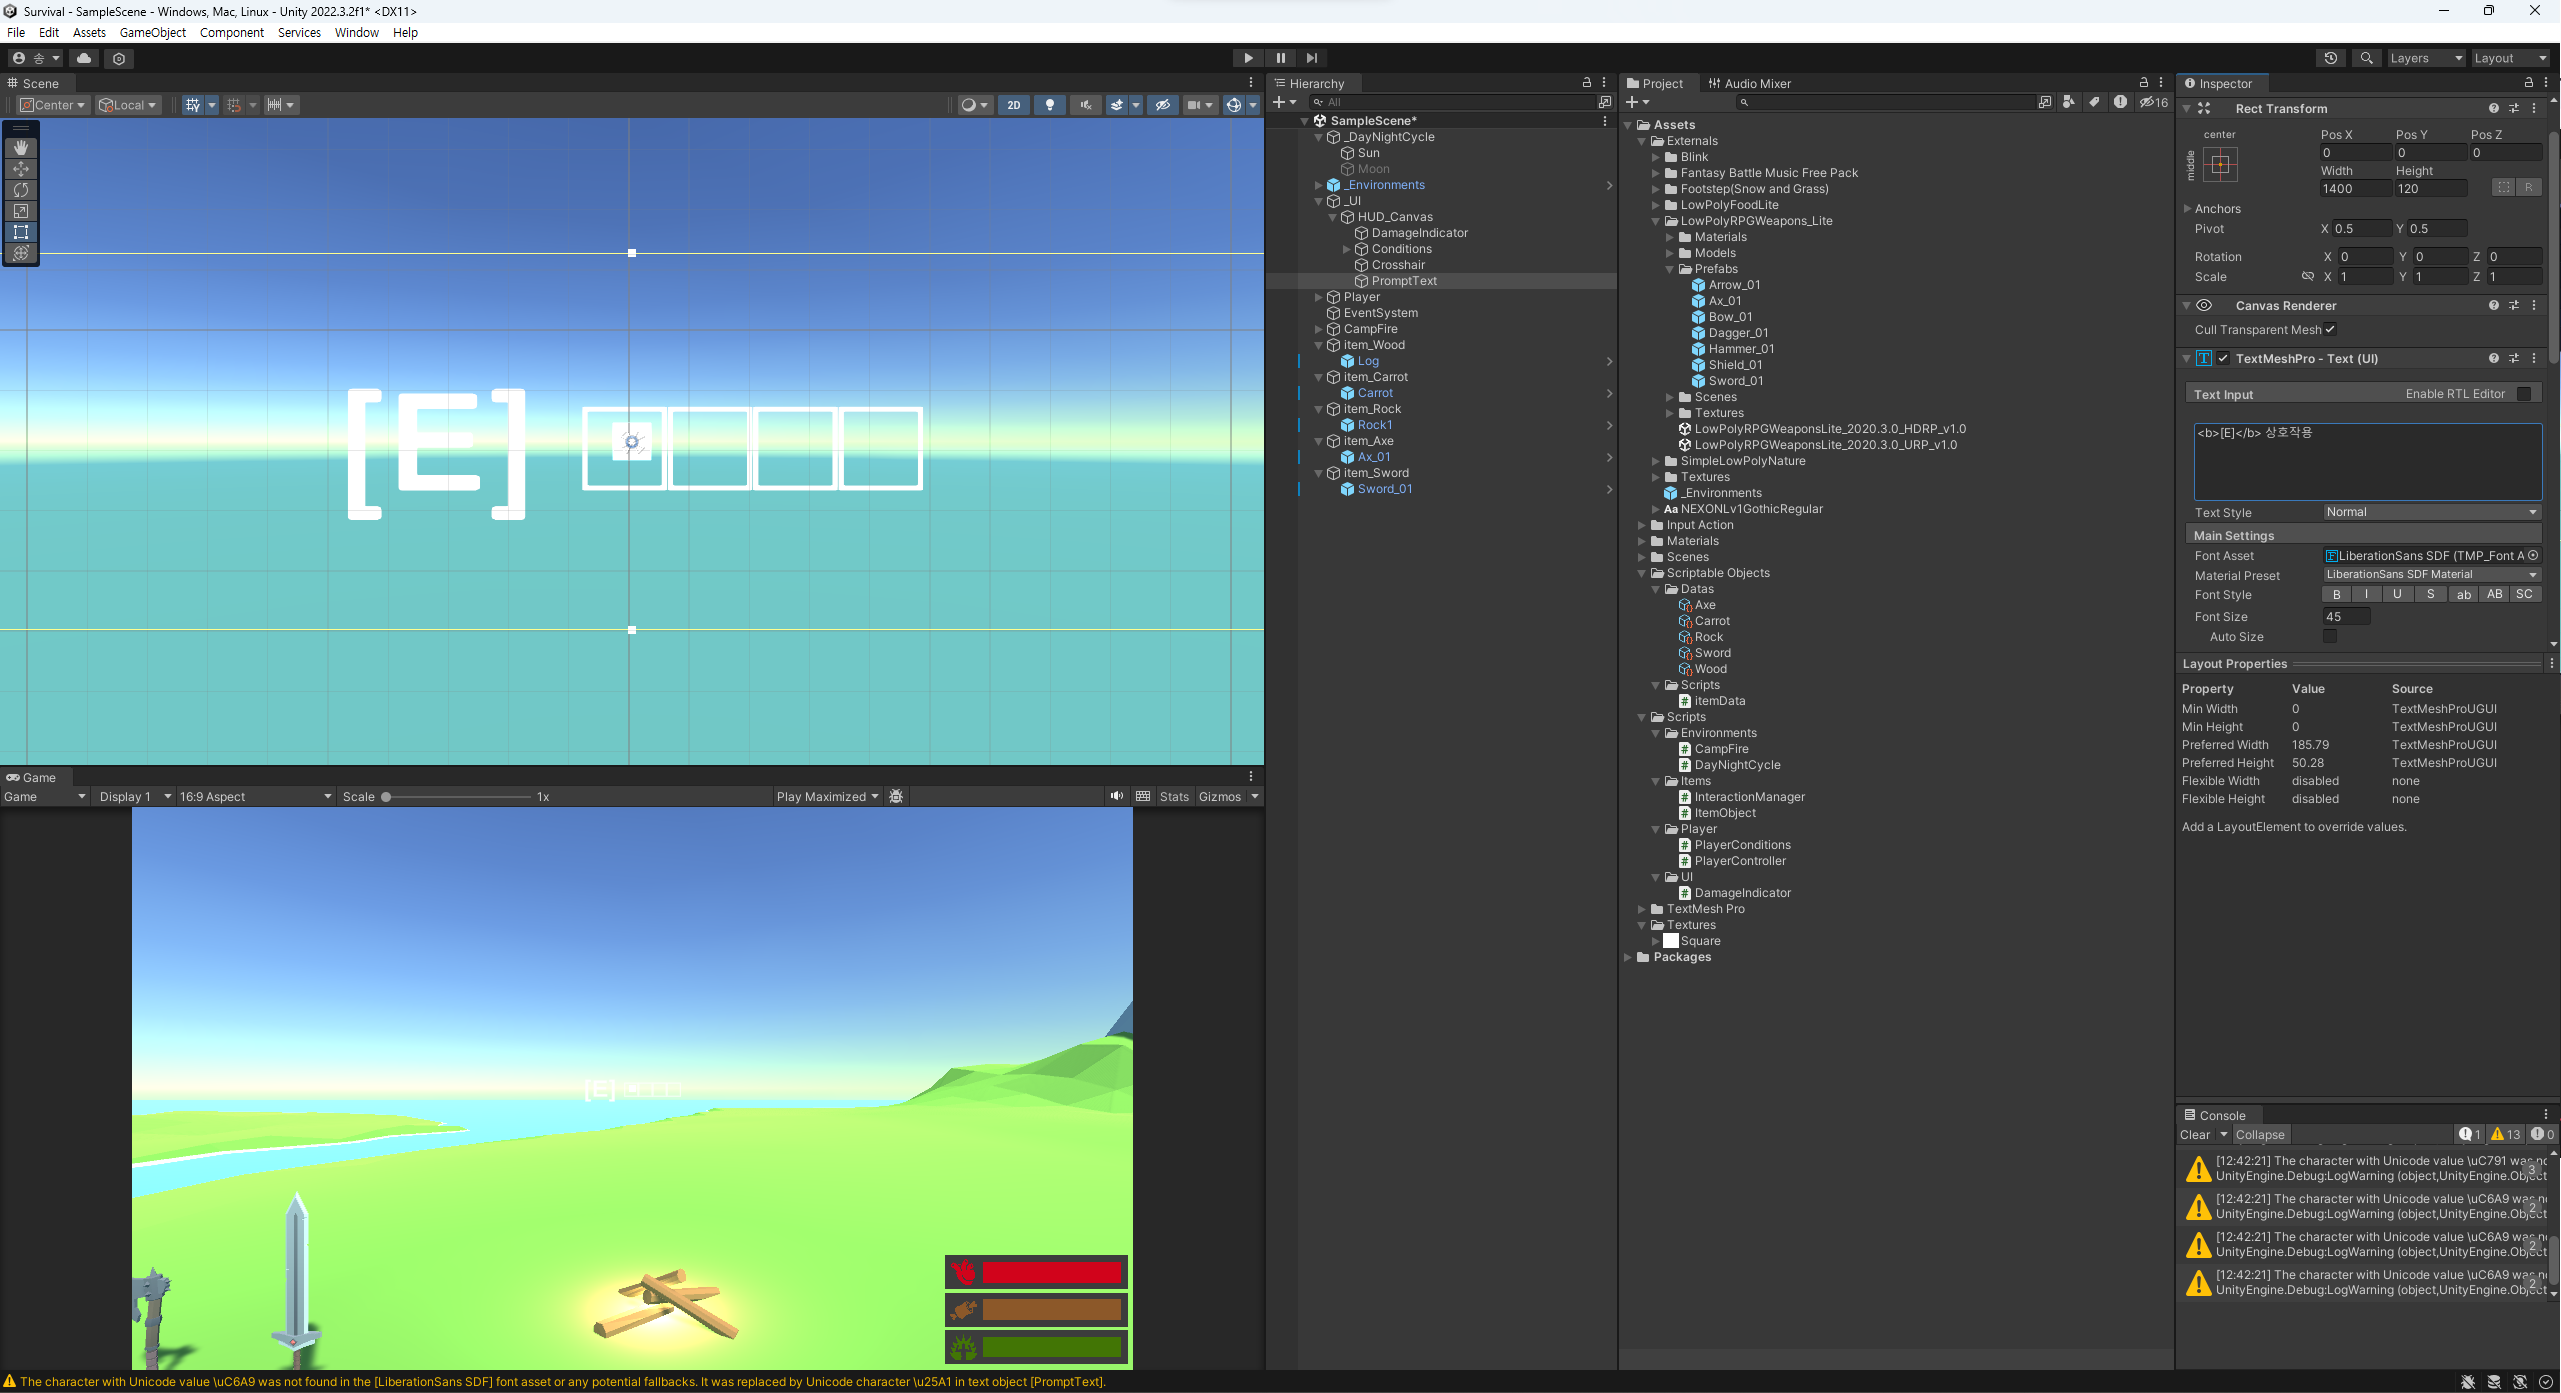
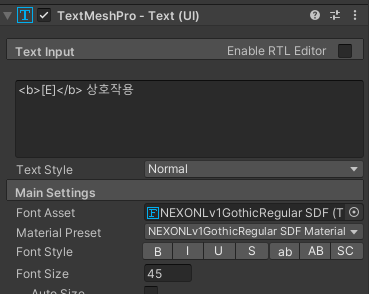
}이후, Unity의 만들었던 _UI -> HUD_Canvas 밑에 Text Mash Pro를 생성해준다.
이후 크기를 1400에 120으로 수정해주고, Font Size는 45, 가운데 정렬을 한다.
이후 <b>[E]</b> 상호작용 을 작성하는데, 아래와 같이 한글이 깨져서 나오게 된다.
이 경우 Window → TextMeshPro → Font Asset Creator에서 수정을 해준다.
Source Font File을 사용할 한글 폰트로 변경해준다.
Atlas Resolution을 4096 × 4096으로 변경해주고, Character Set을 Custom Range로 변경해준다.
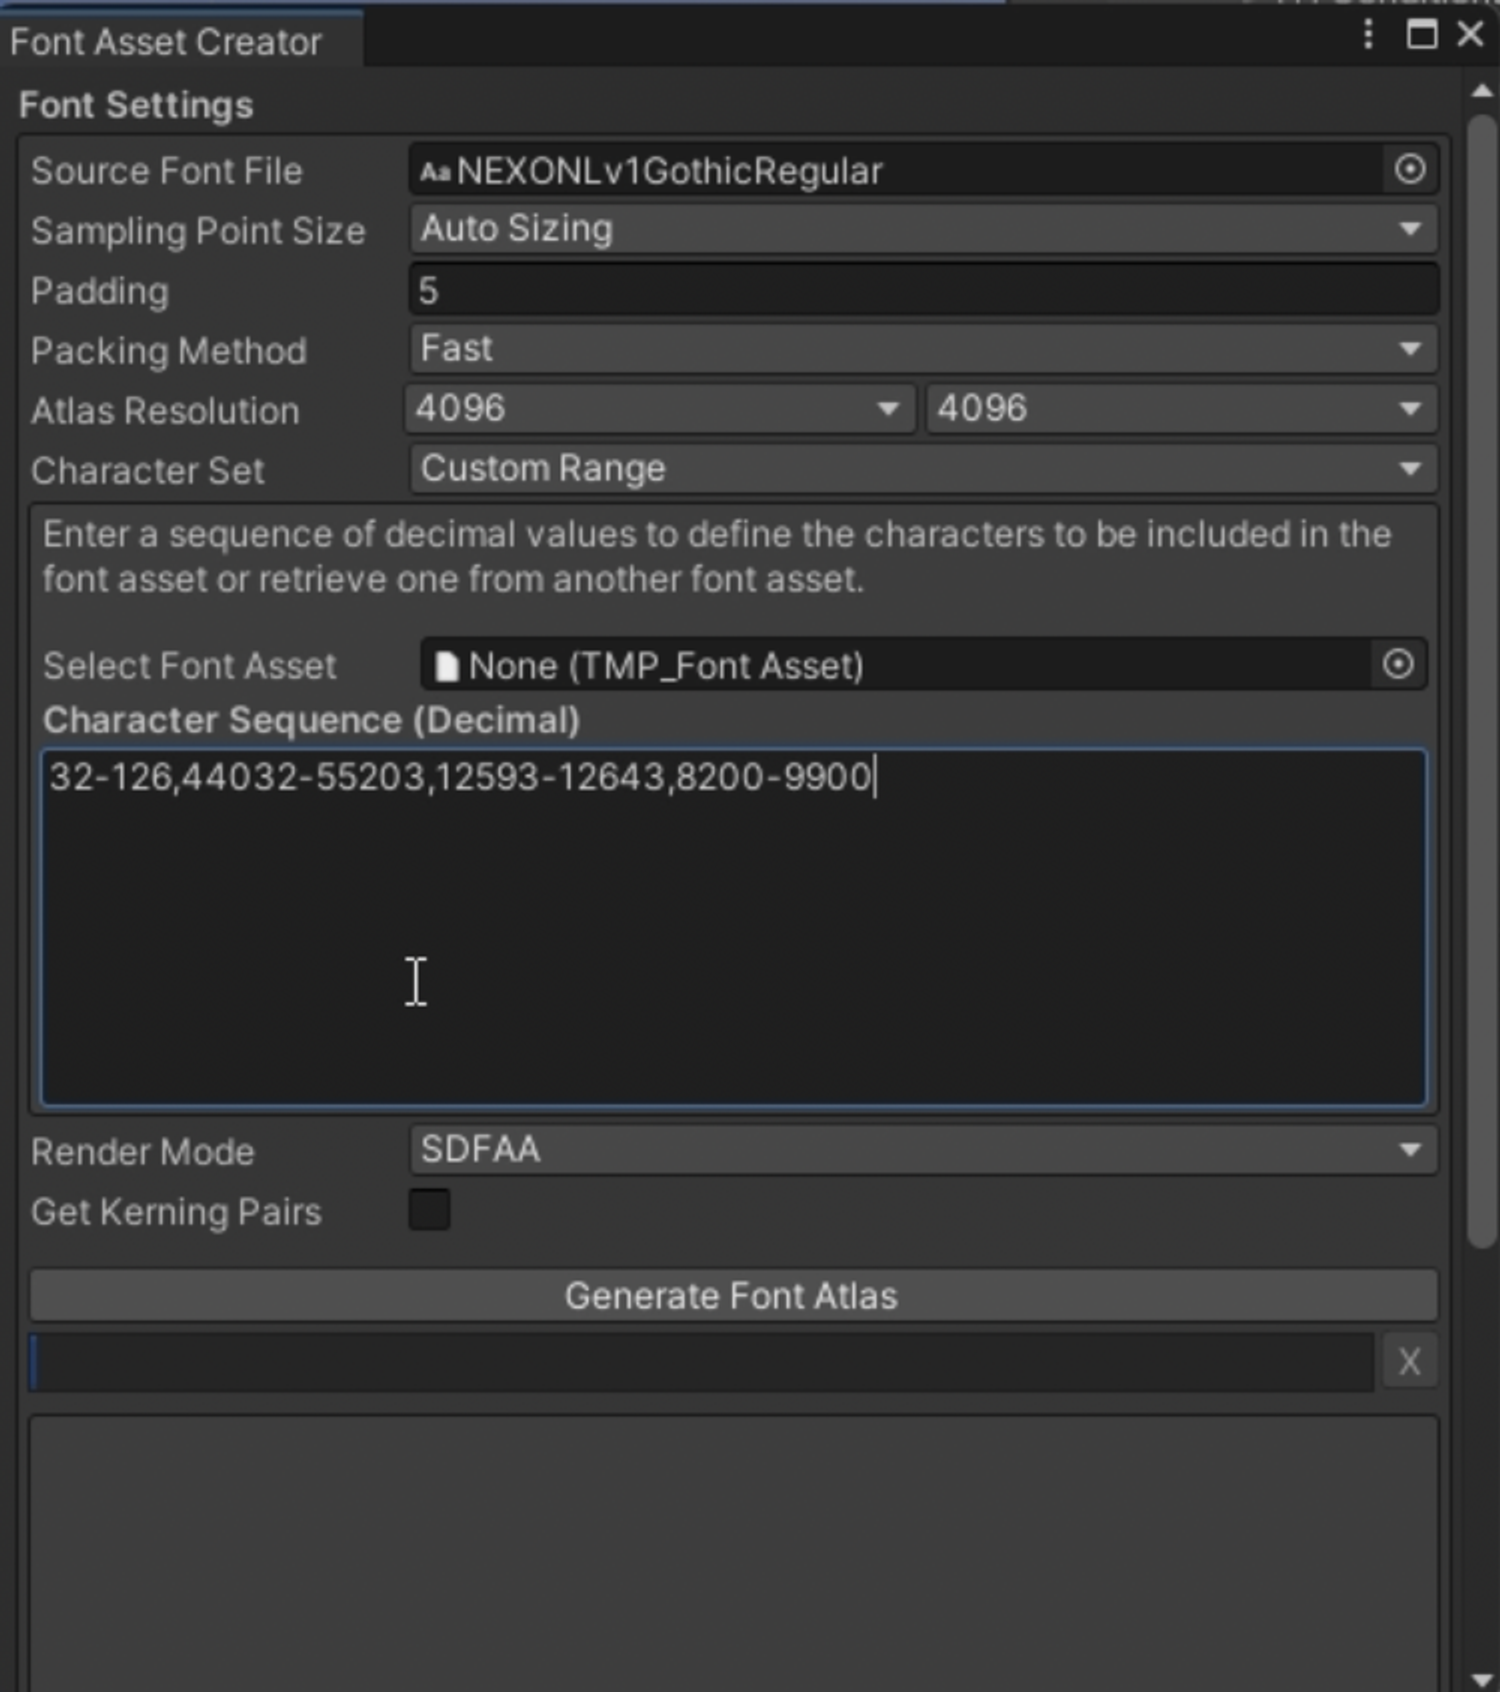
- Character Sequence
32-126,44032-55203,12593-12643,8200-9900
저 Character Sequence의 의미는 다음과 같다.
영어 범위 : 32-126
한글 범위 : 44032-55203
한글 자모 : 12593-12643
특수 문자 : 8200-9900
글꼴에 따라 지원하지 않는 특수 문자는 missing
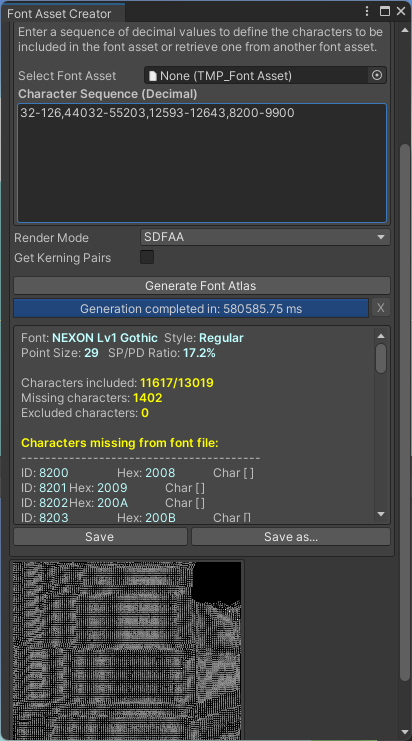
지고의 시간이 지난 뒤 작업이 완료가 되면 Save를 해줘한다. Assets → Fonts 파일을 만들어 저장해주자.

이후, promptText에 Font를 적용해주자!
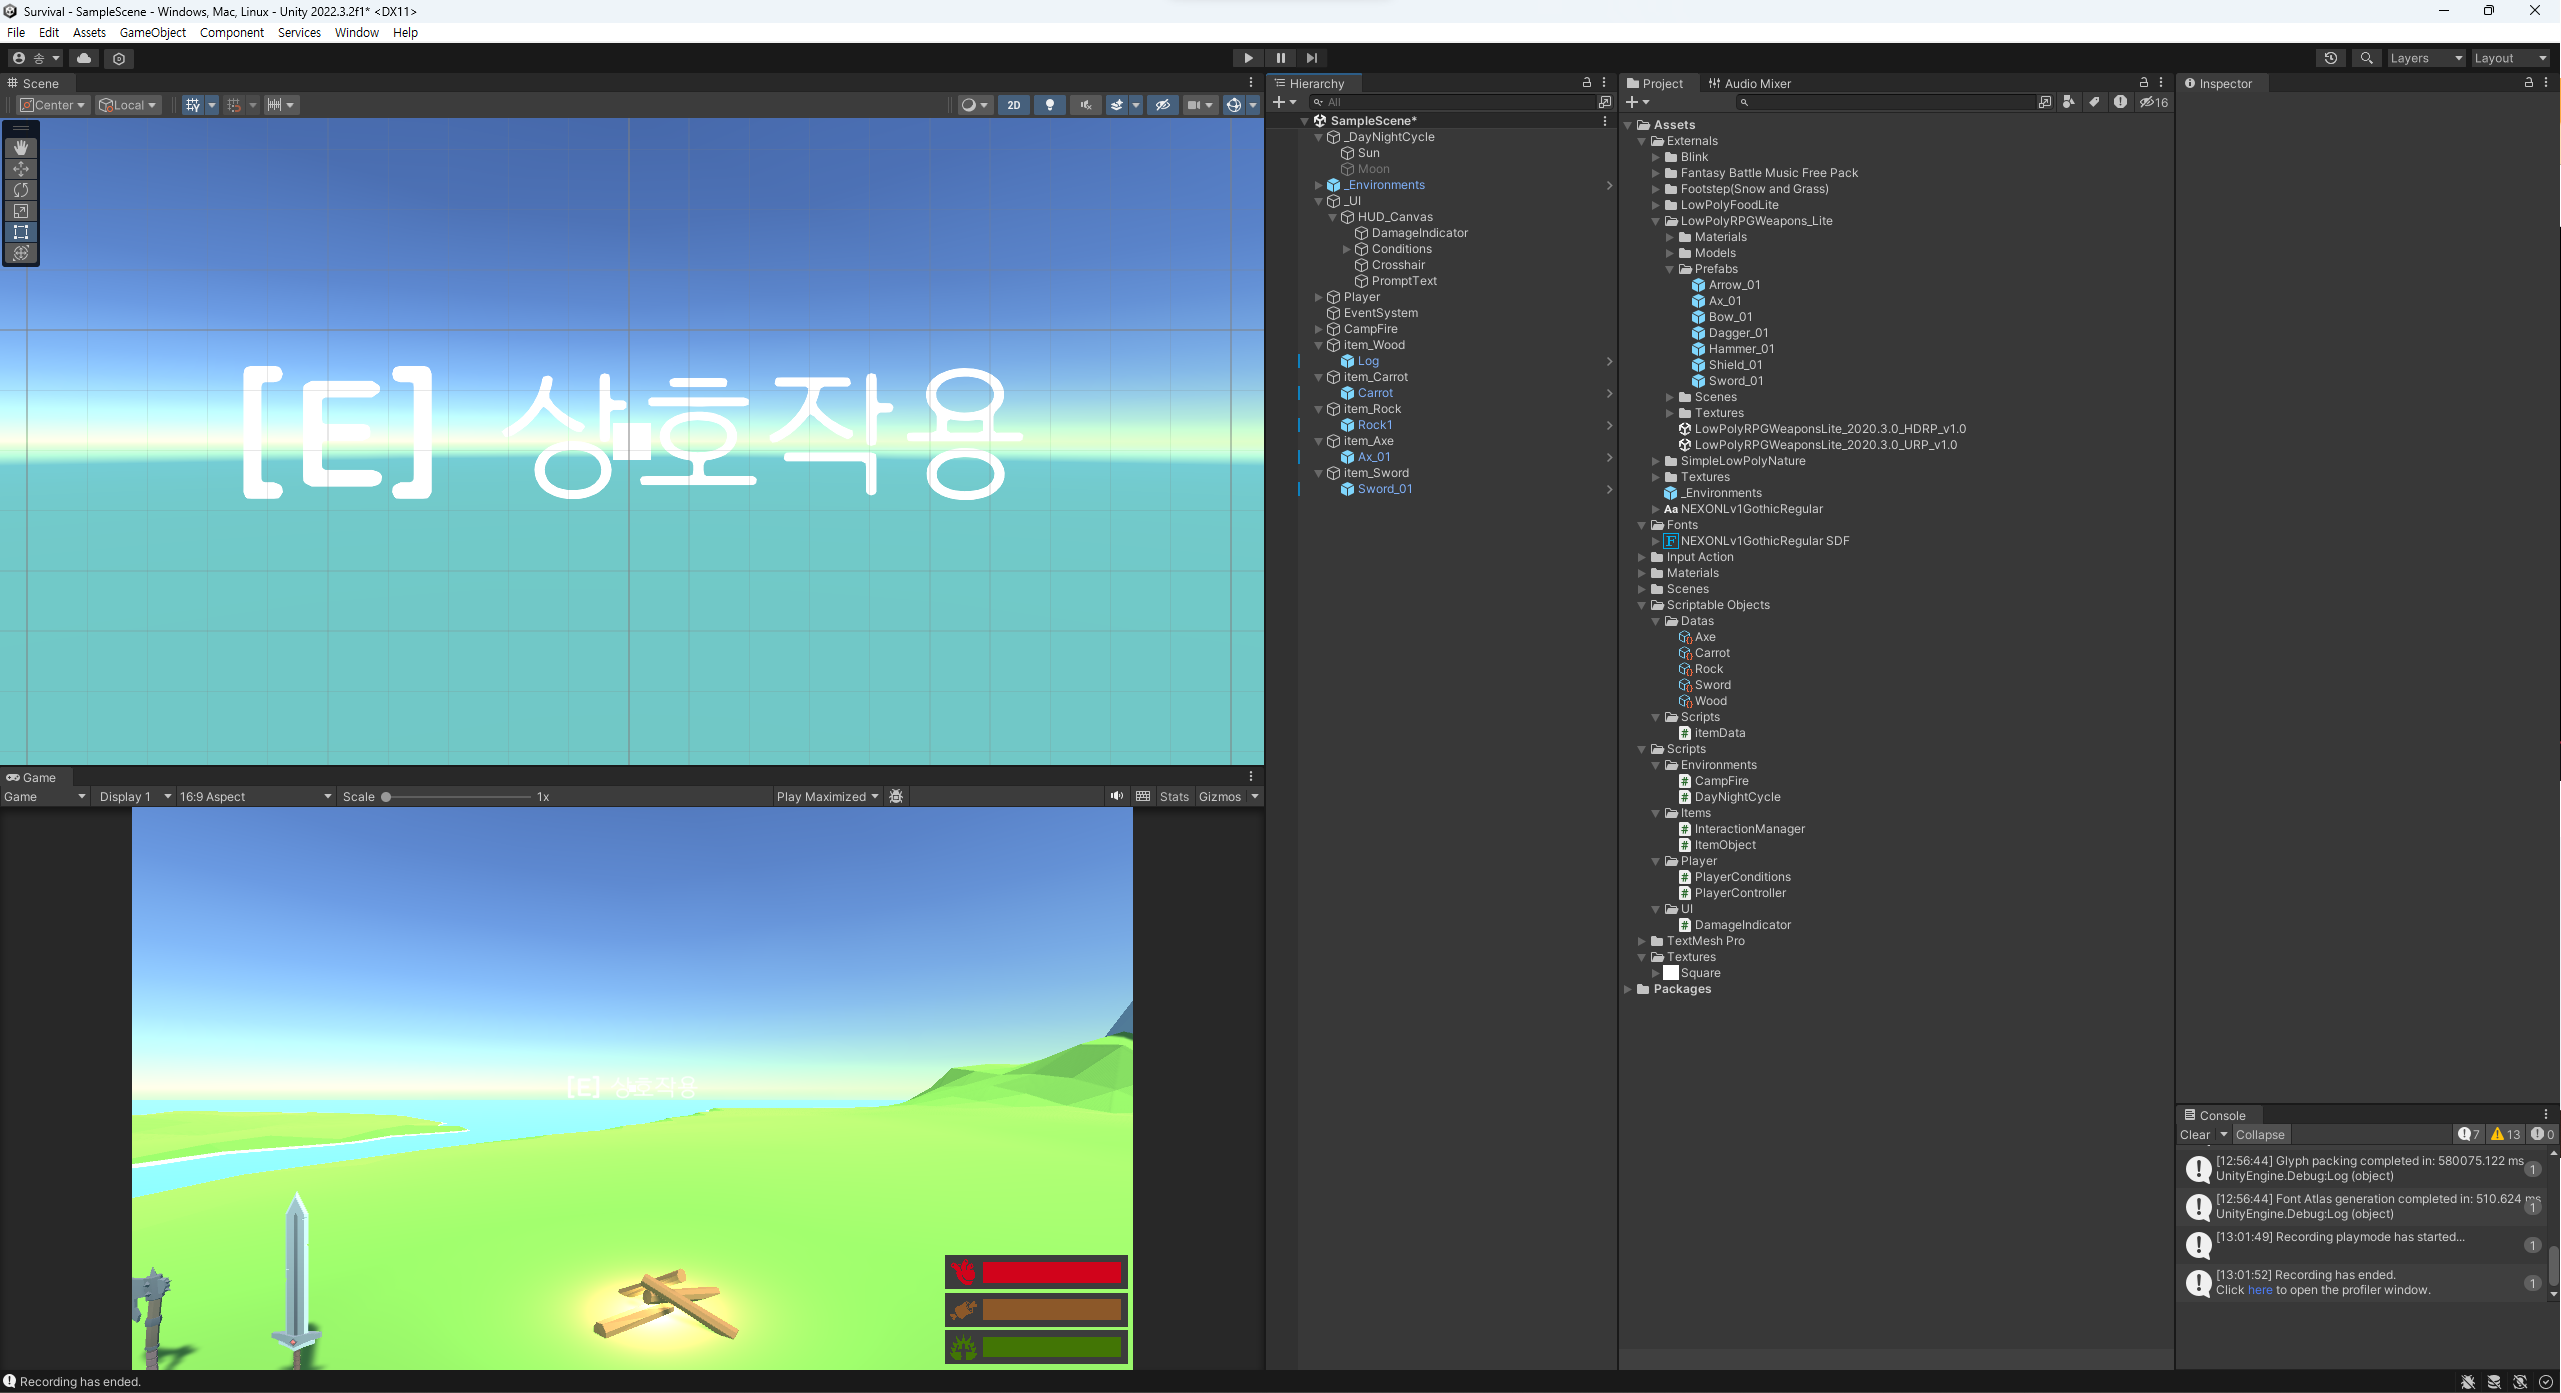
출력이 되는 모습!
이제 promptText를 SetActive를 false로 변경하고, 물건과 상호작용할 때 나타나도록 설정하자.

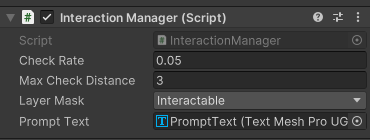
Player에게 InteractionManager를 추가해주고 아래와 같이 수정해준다.
확인해보기!
👨💻 E키 상호작용 준비하기
이미 Input Action에 E키를 등록했기 때문에 E키 입력 시에 대한 처리를 준비해보자.
// InteractionManager.cs

...

public void OnInteractInput(InputAction.CallbackContext callbackContext)
{
    // E 키를 누른 시점에 현재 바라보는 Interactable 오브젝트가 있다면
    if(callbackContext.phase == InputActionPhase.Started && curInteractable != null)
    {
        // 아이템과 획득하면 아이템과의 상호작용을 진행하고 초기화 해준다.
        curInteractable.OnInteract();
        curInteractGameobject = null;
        curInteractable = null;
        promptText.gameObject.SetActive(false);
    }
}
확인해보기!