😱 인벤토리 UI 만들기
_UI 하위에 Canvas를 하나 더 추가하여 InventoryCanvas라고 해준다.
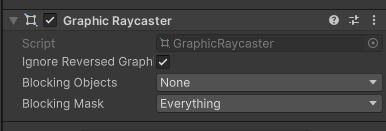
그리고 InventoryCanvas는 플레이어가 실제로 클릭을 해야하기 때문에 Graphic Raycaster가 필요하다. 생성시 자동으로 추가가 되어서 생성이 되긴 하지만, 혹시 없을 경우 참고하자!
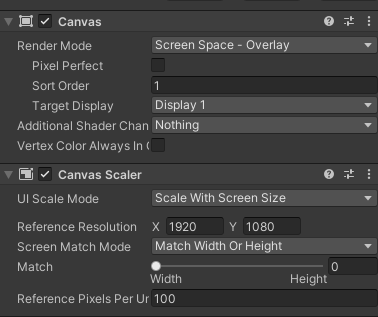
항상 Canvas 생성 시 Canvas Scaler의 UI Scale Mode를 1920 × 1080으로 변경하는 것을 잊지 말자!
또한, 현재 HUD_Canvas라는 다른 Canvas가 존재하기 때문에 Sort Order를 1로 변경해주자.
InventoryCanvas의 하위에 Image를 추가하여 BG(Background)를 만들자.
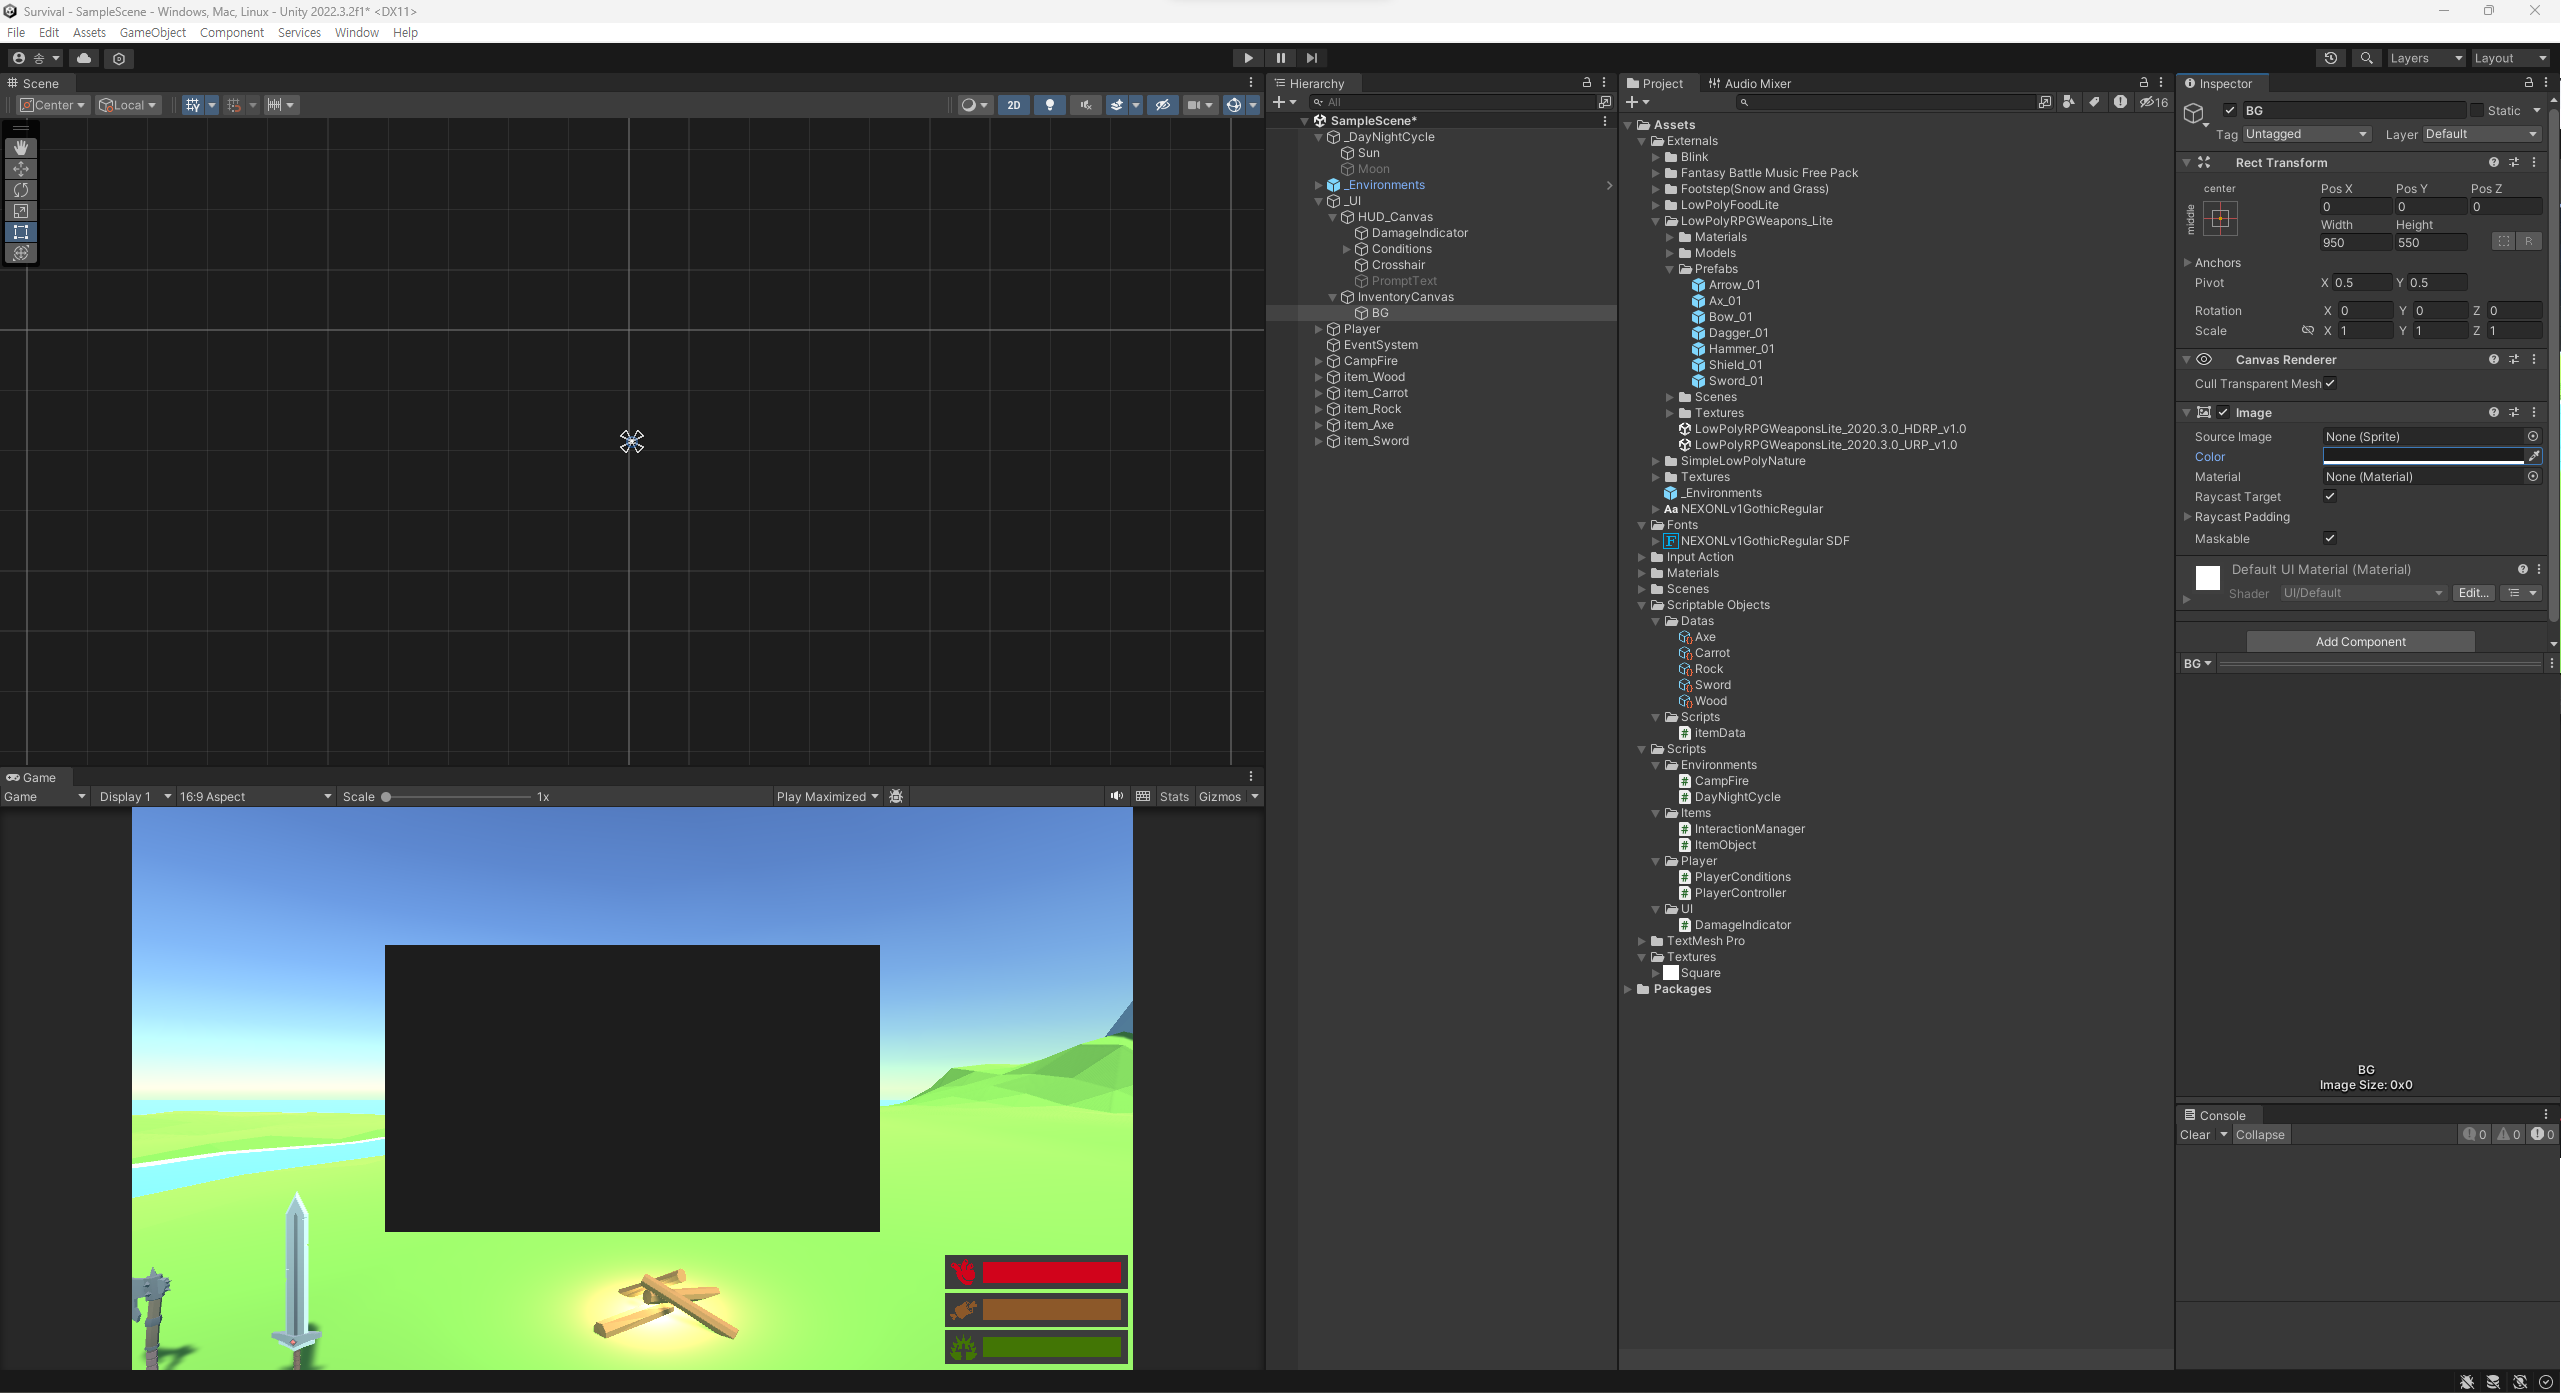
해당 배경 위에 여러 UI가 올라갈 것이기 때문에 색을 짙게 해주는 것이 좋다.
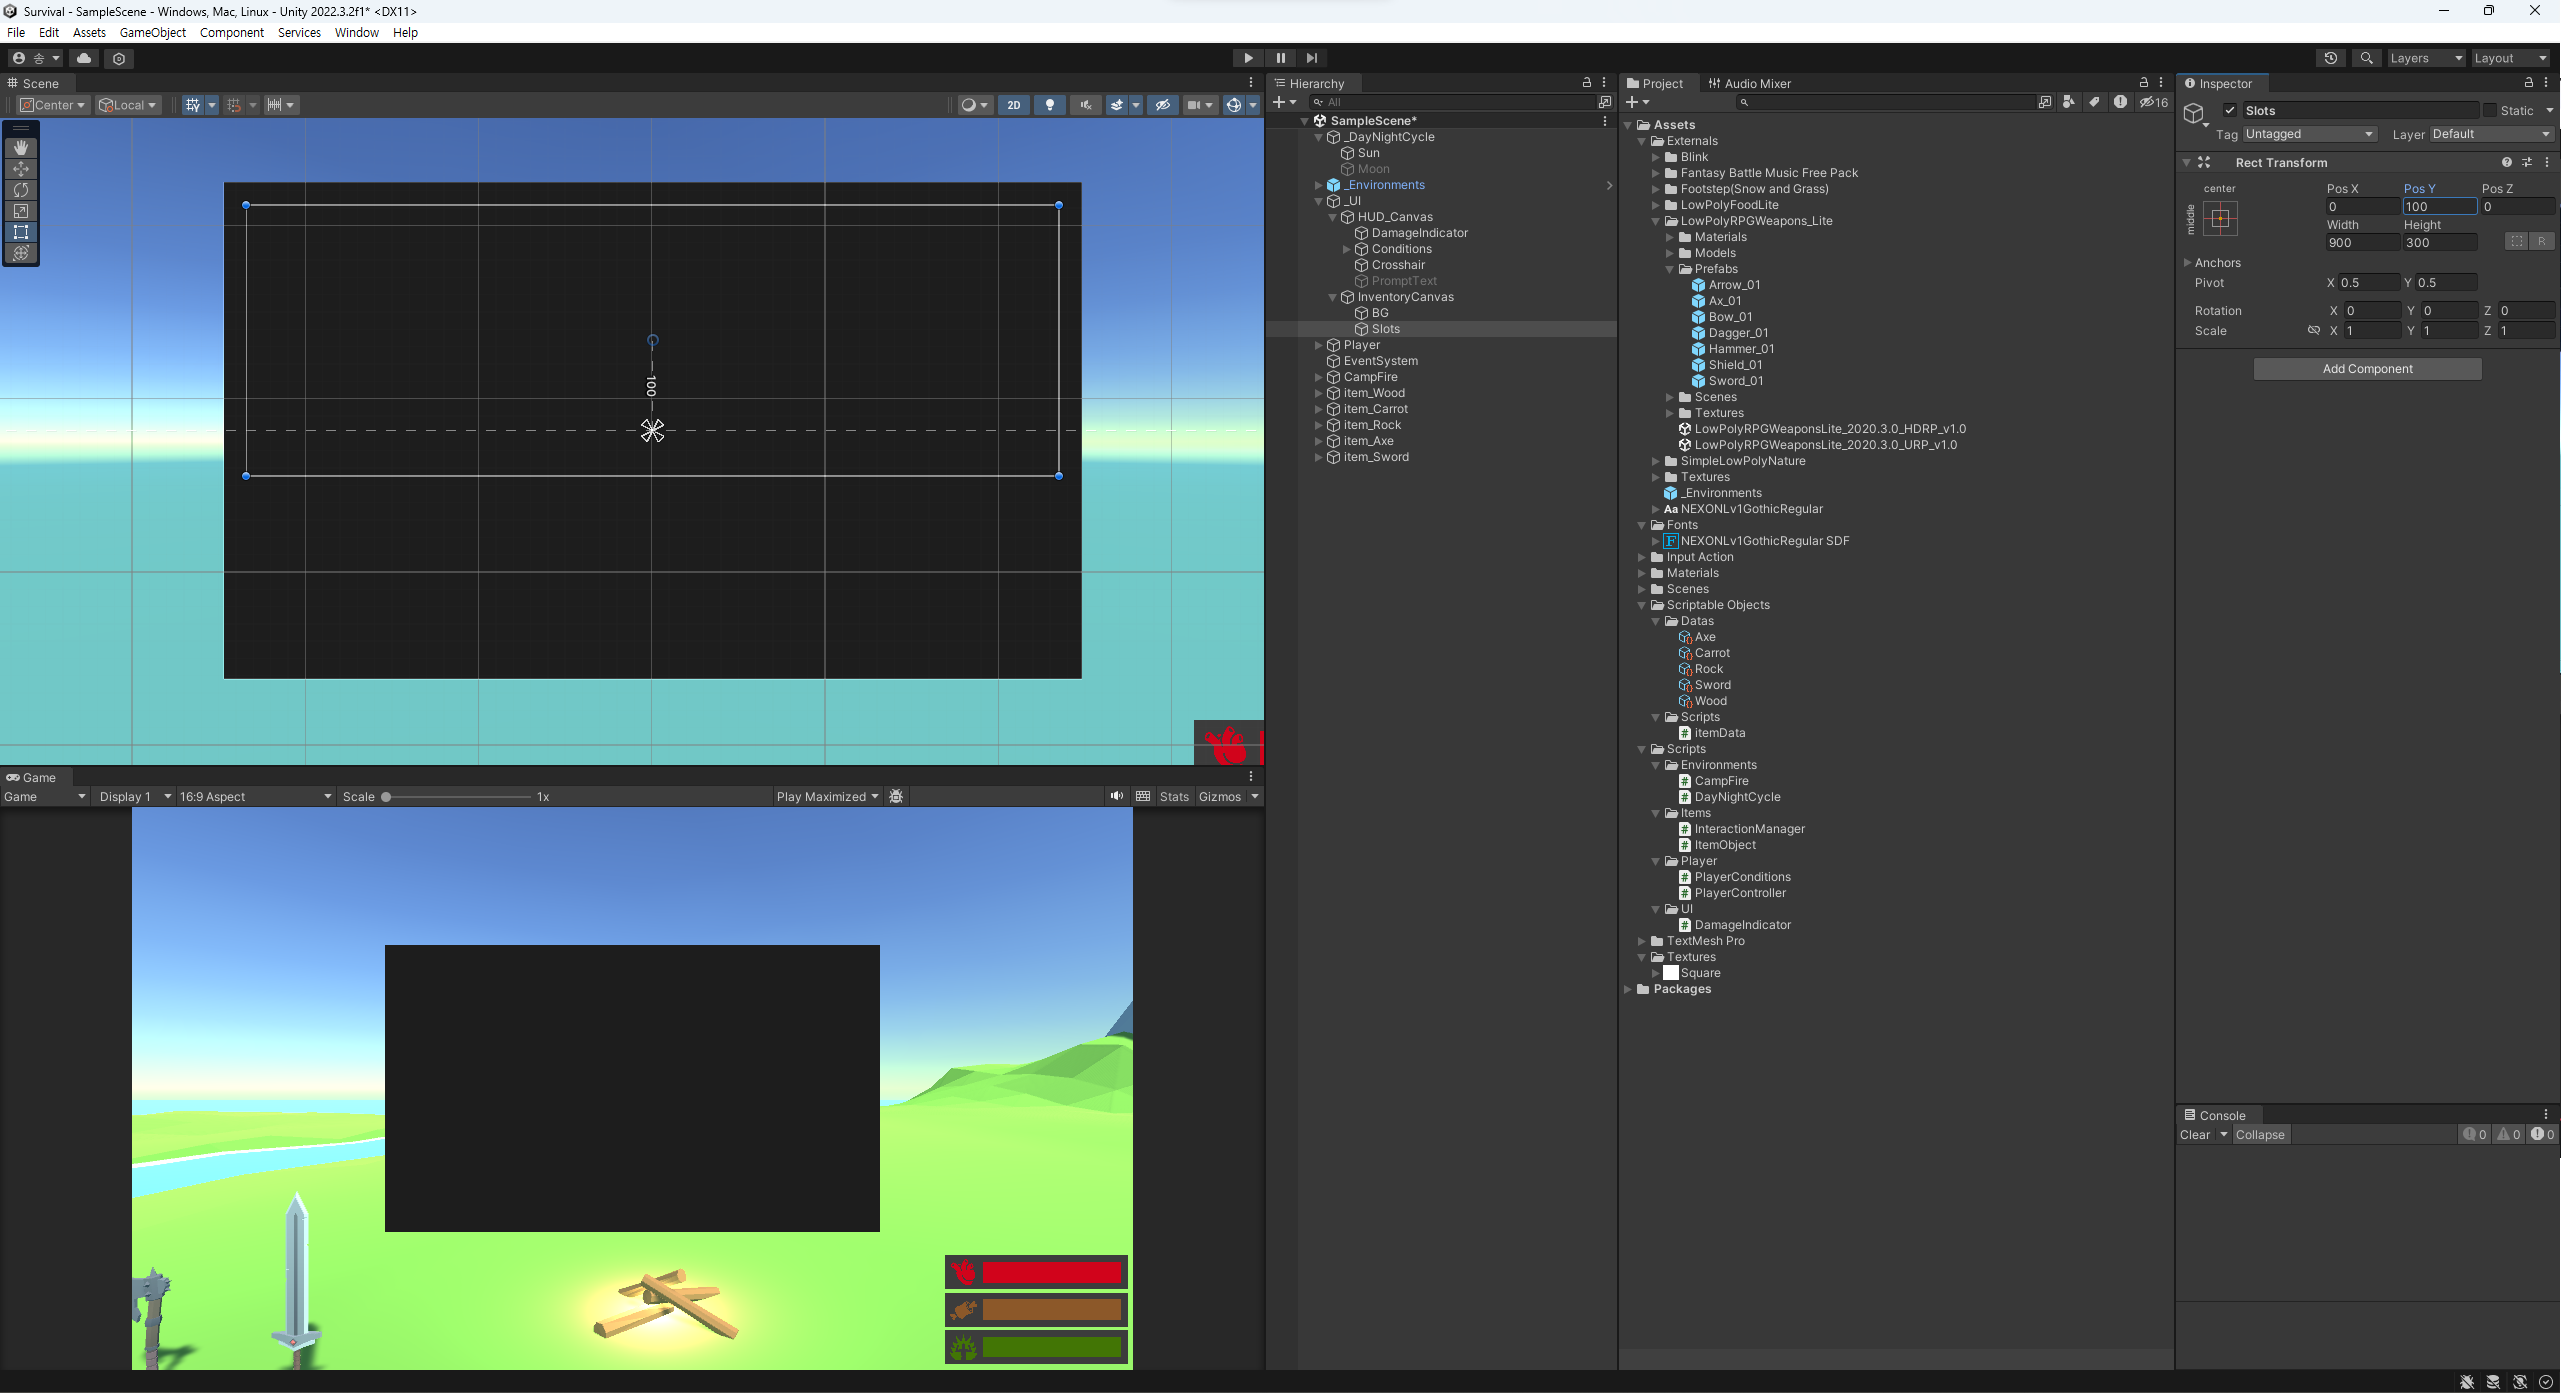
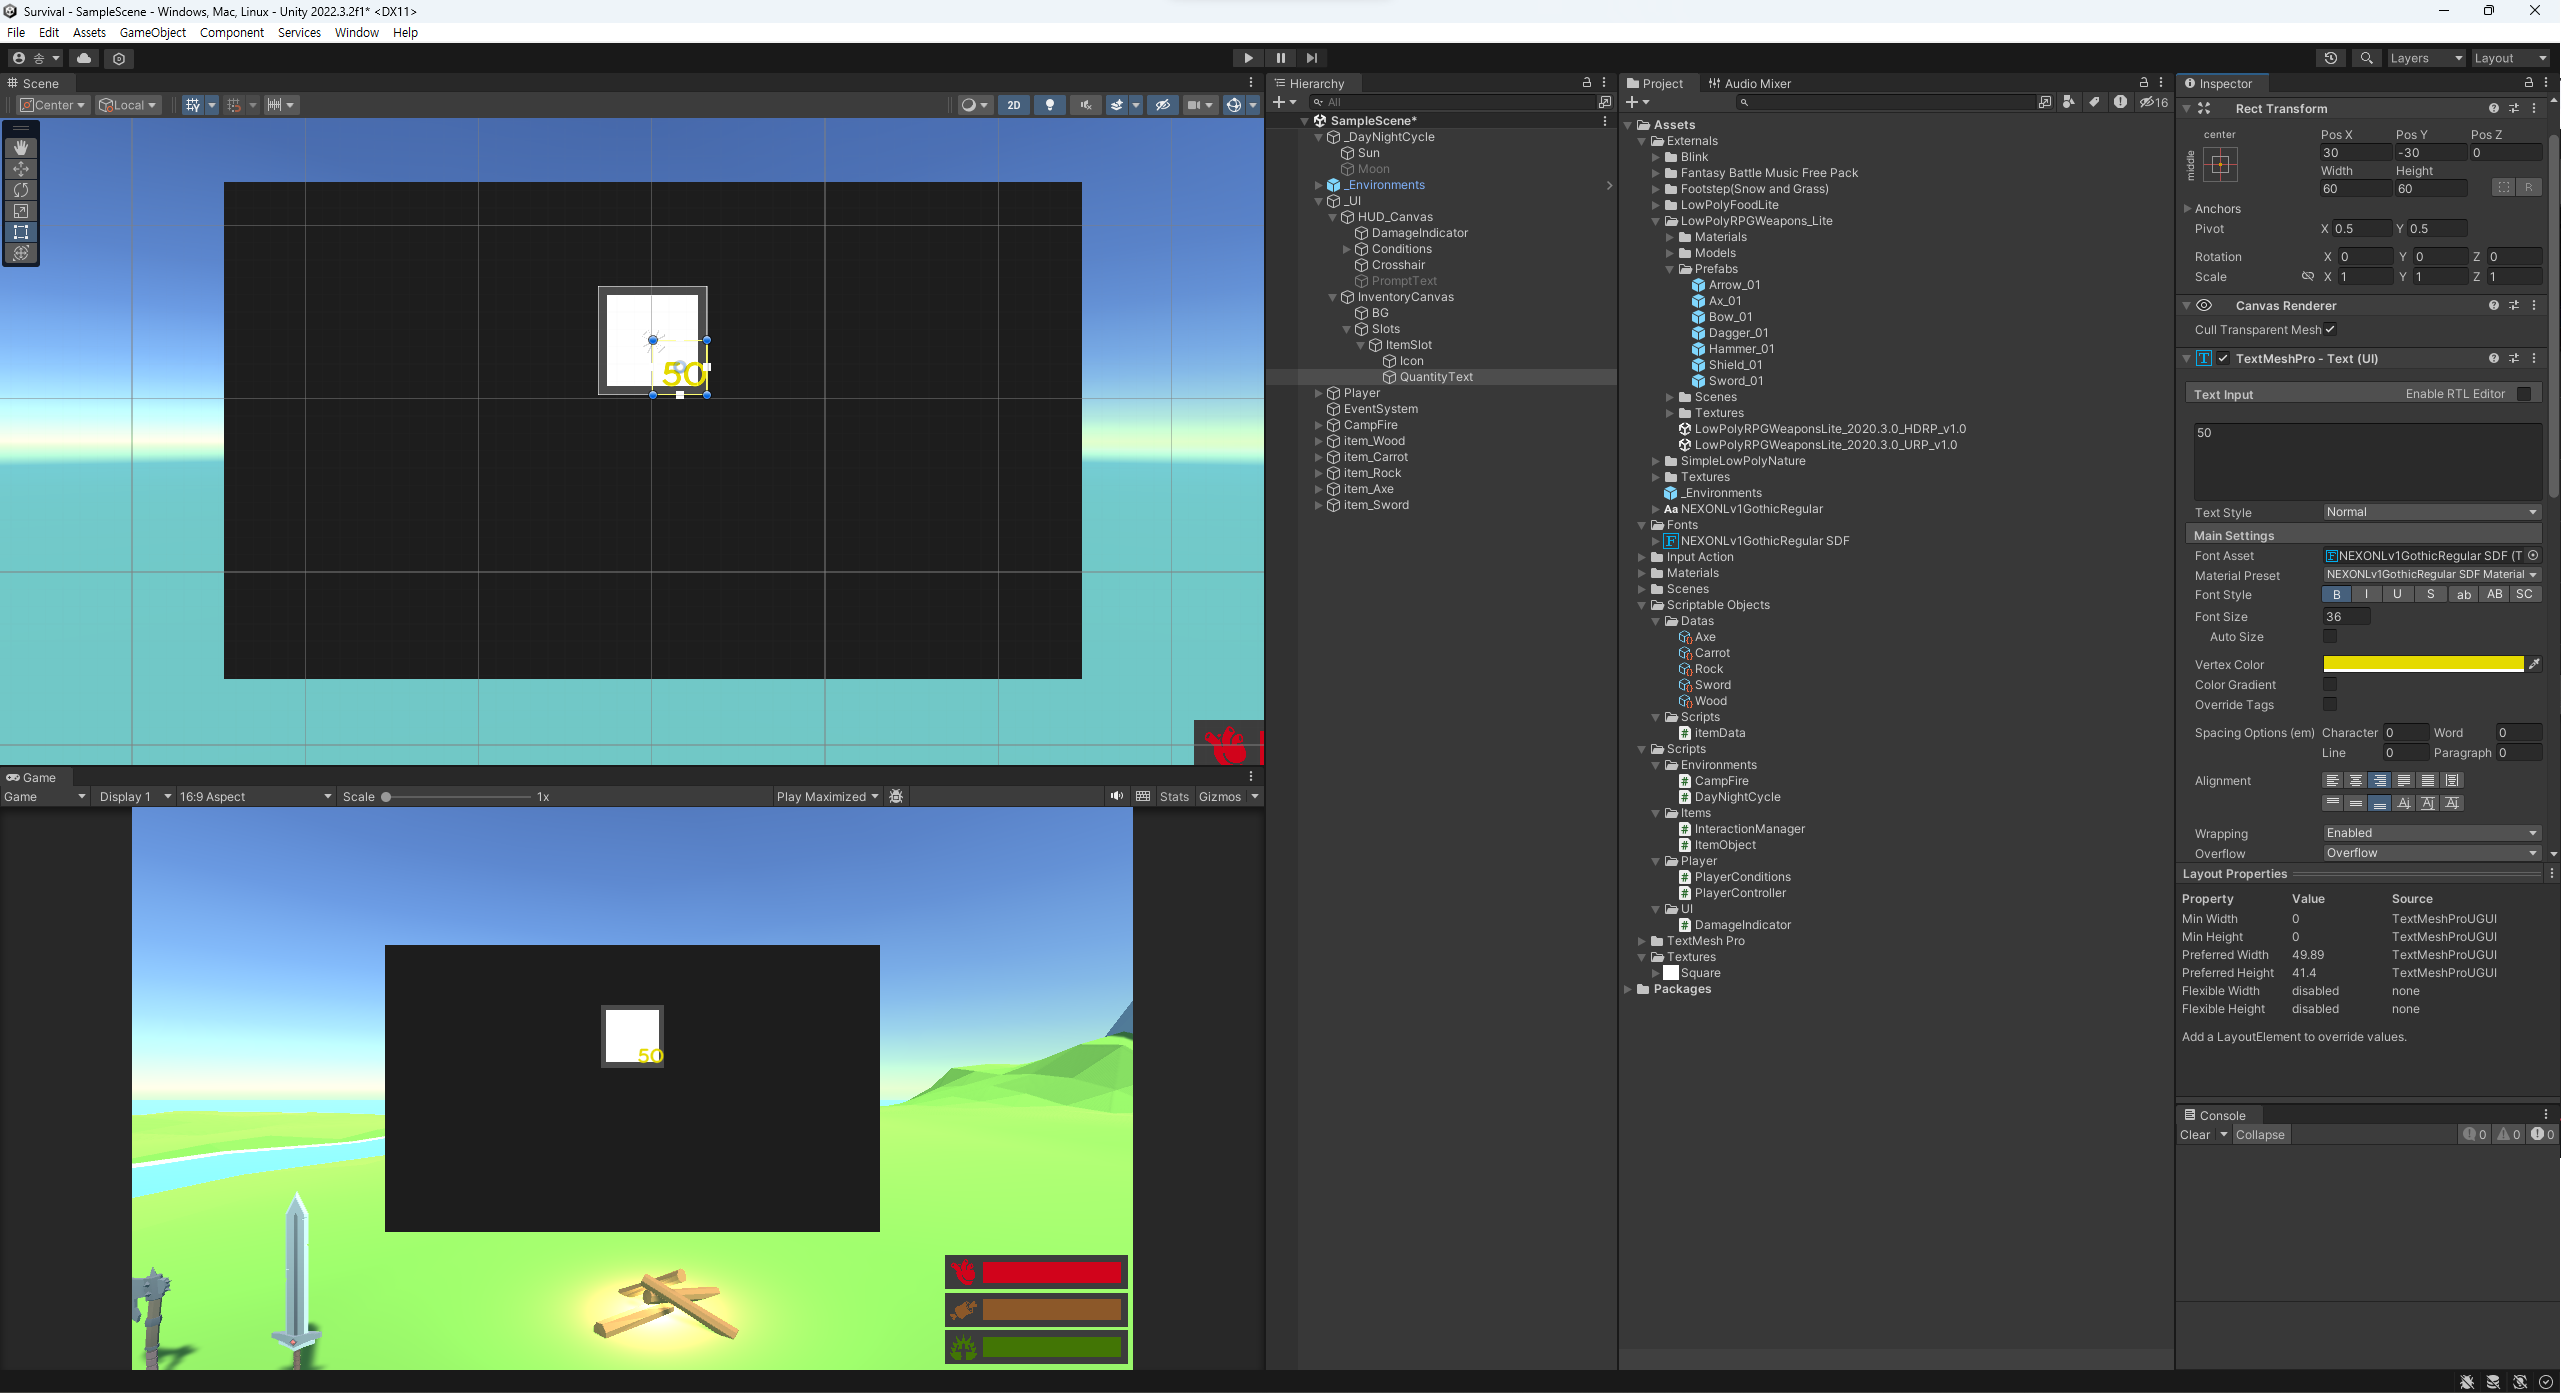
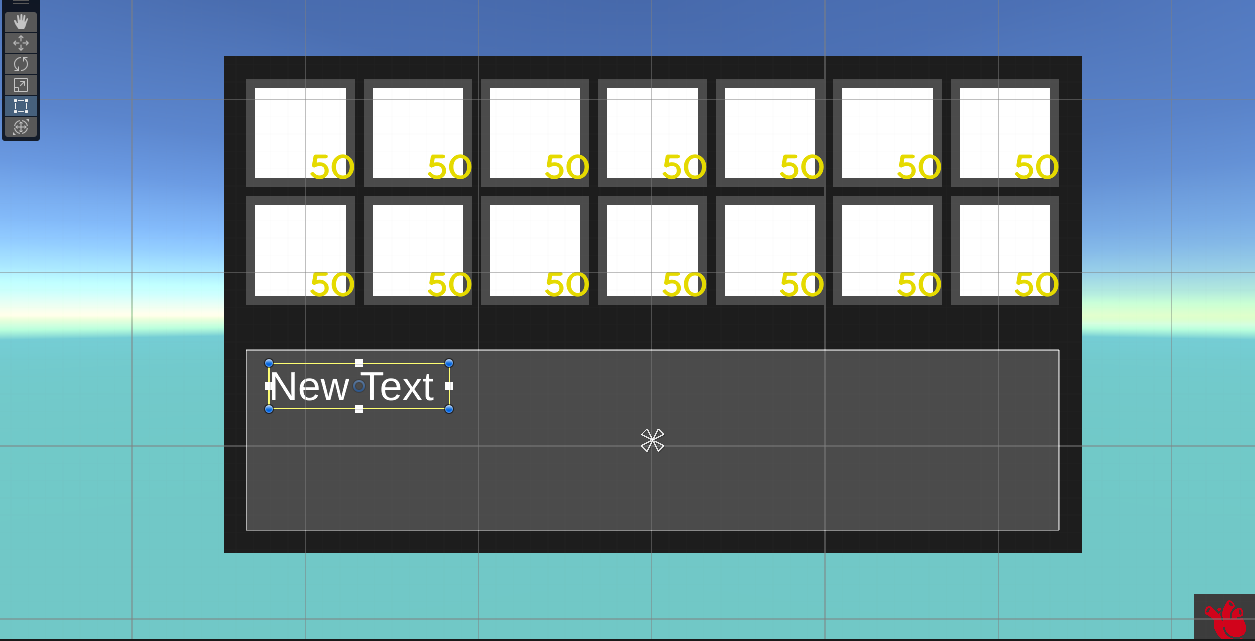
다시 InventoryCanvas의 하위에 빈 오브젝트를 만들고 이름을 Slots라고 하자. Slots을 PosY : 100, Width : 900, Height : 300으로 설정해준다.
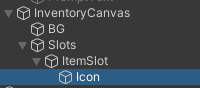
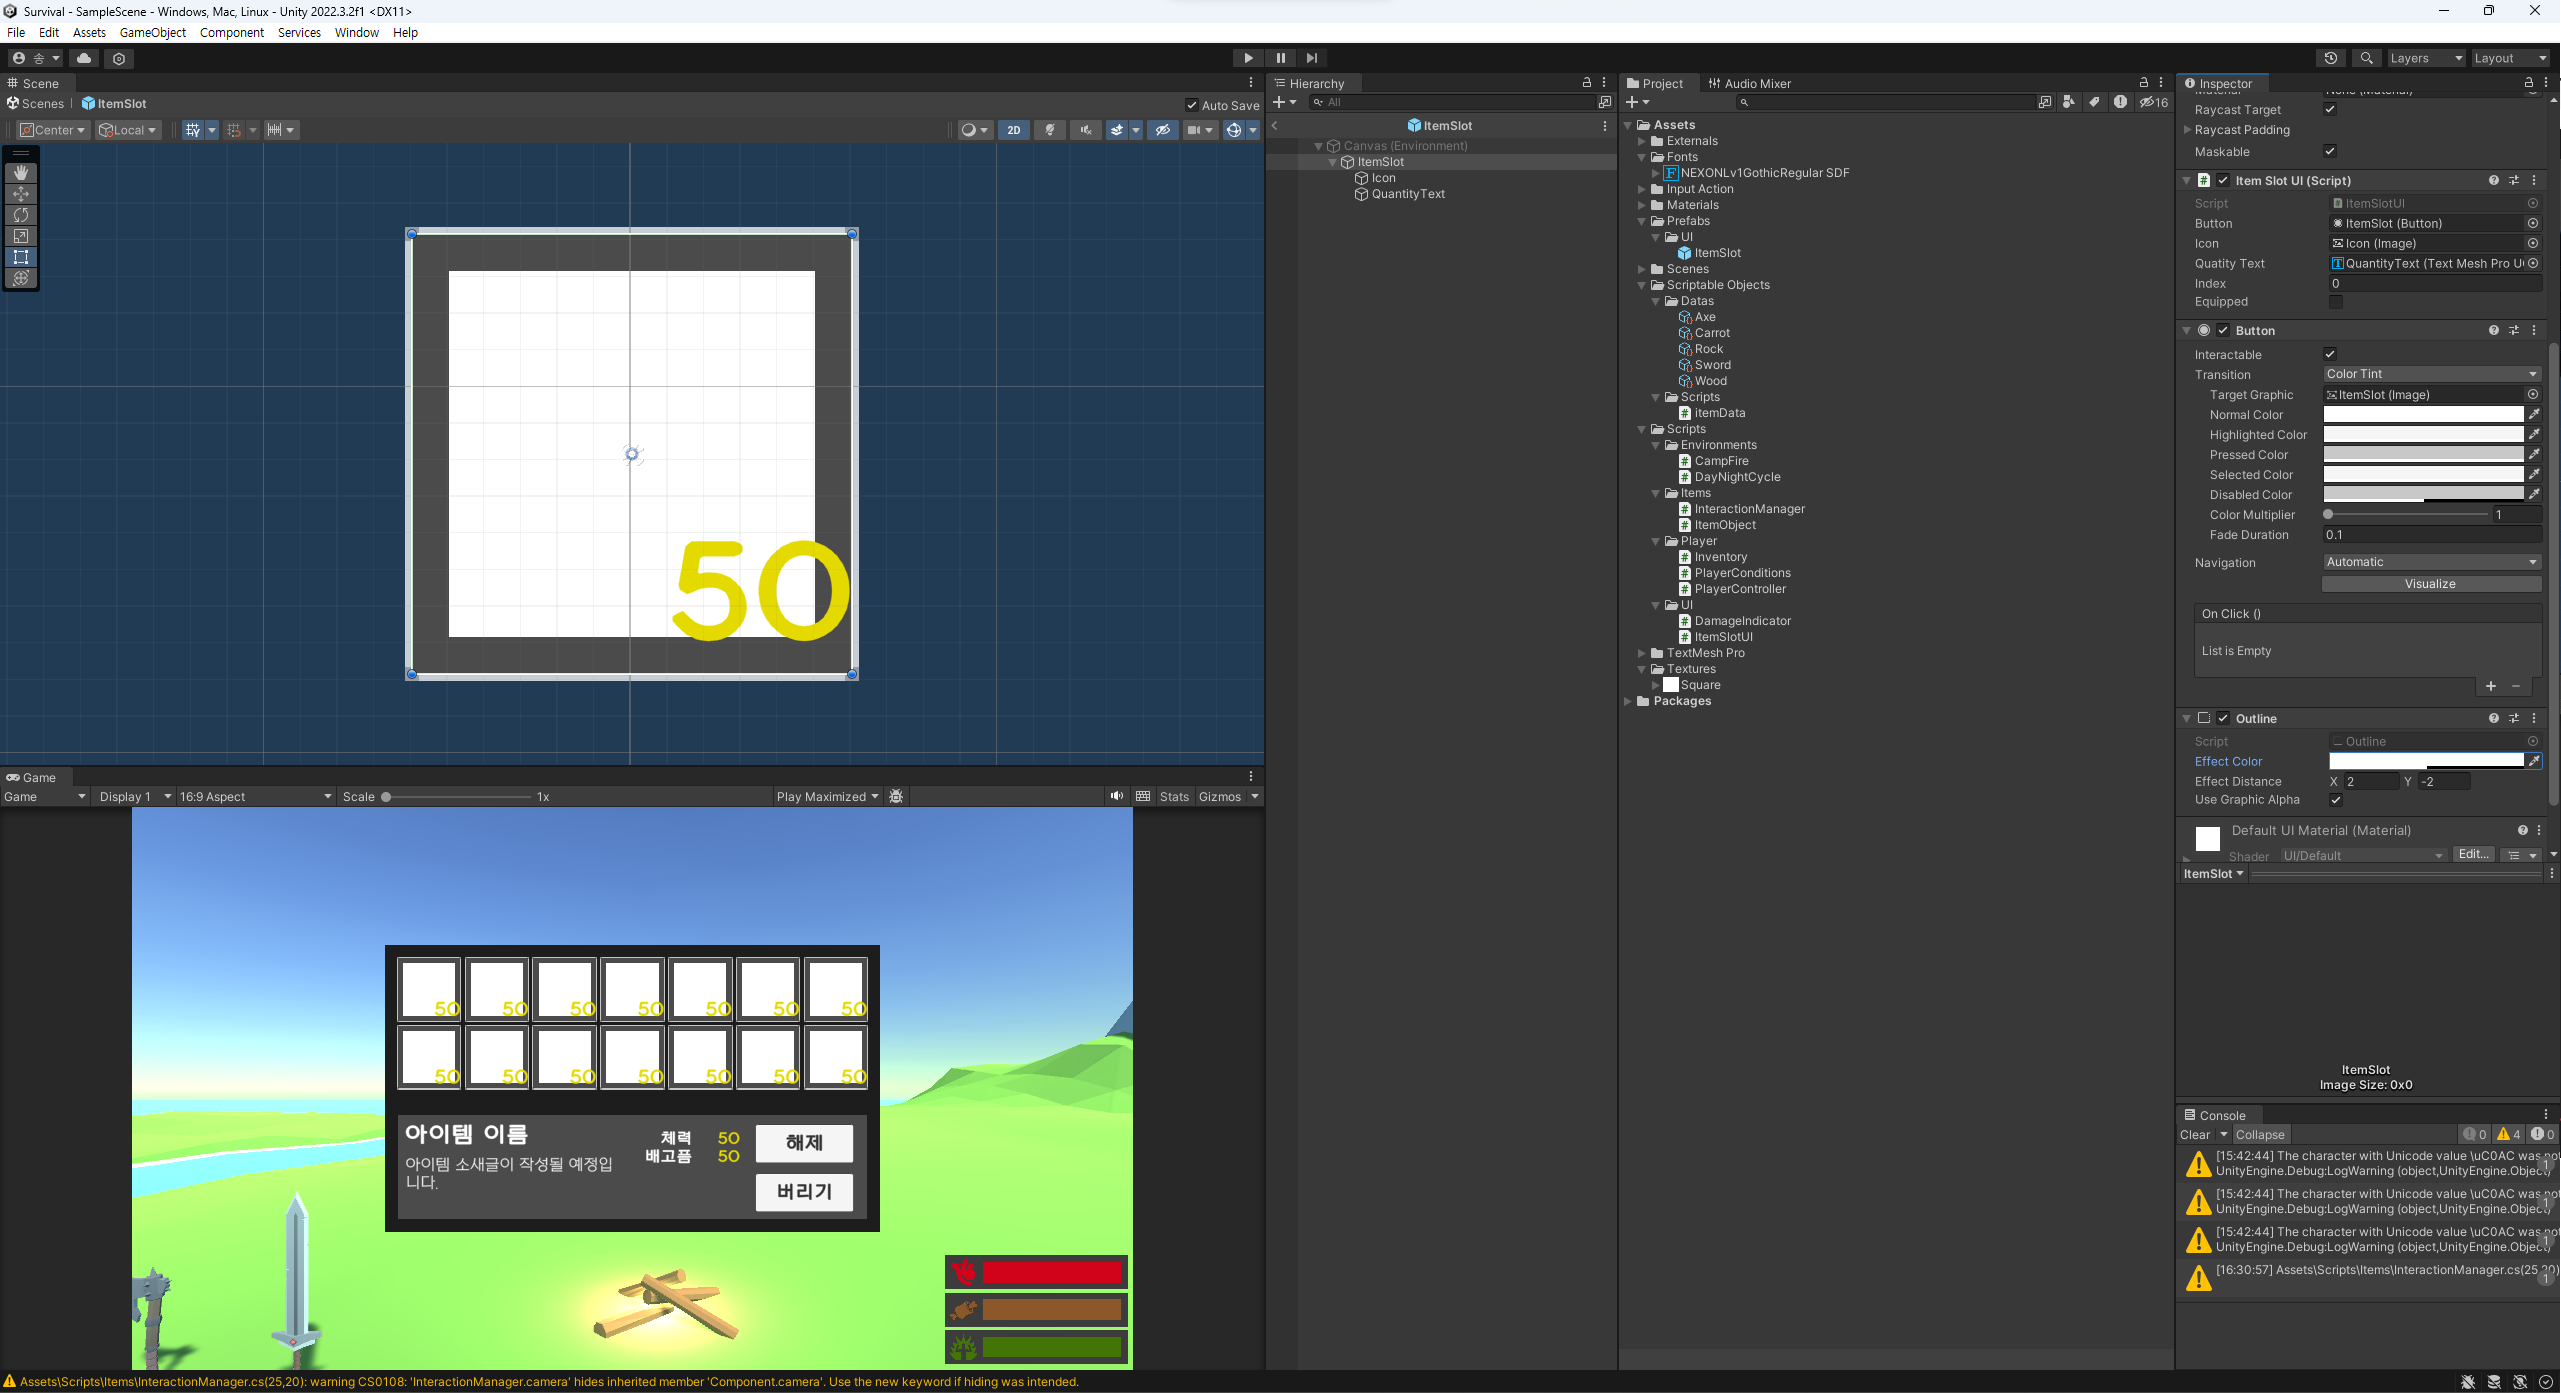
이후 Slots 밑에 Image를 추가하고, 이름을 ItemSlot이라 하자. ItemSlot은 Width : 120, Height : 120, 색은 BG보다 조금 밝은 회색으로 해준다.
그 아래에 Image를 만들어 Icon이라 하자.
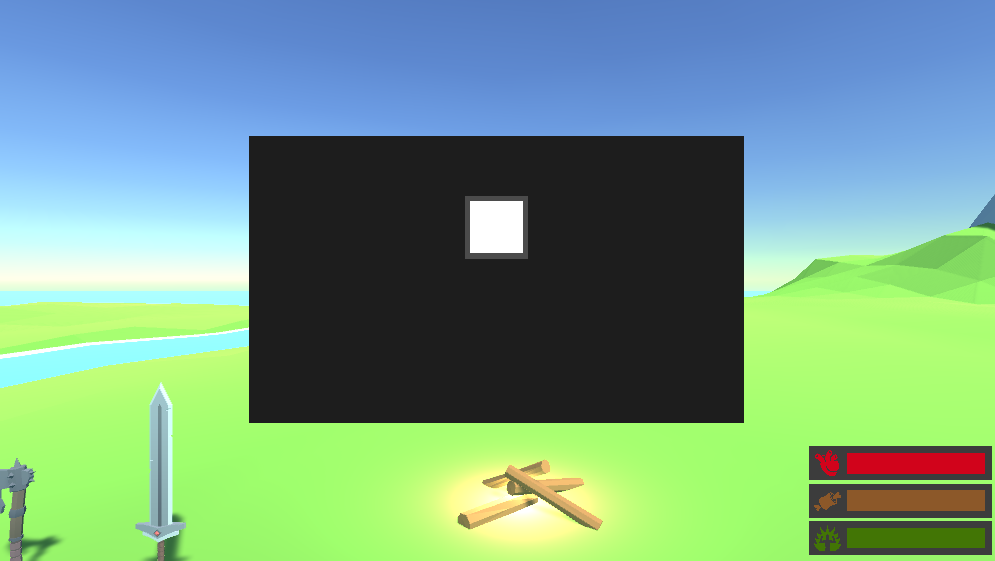
현재 상태
이후 아이템 수량을 표시할 TextMeshPro를 ItemSlot 밑에 추가하고 이름을 QuantityText라 한다.
아래와 같이 수정해주자.
프리팹화 시키기
Item Slot들을 프리팹화 시키자.
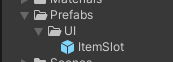
Grid Layout Group
이후 Slots에 Grid Layout Group을 추가해준다.
이후 Grid Layout Group의 Cell Size를 Item Slot 크기에 맞게 120 × 120으로 변경하고 Spacing을 10 × 10으로 한다.
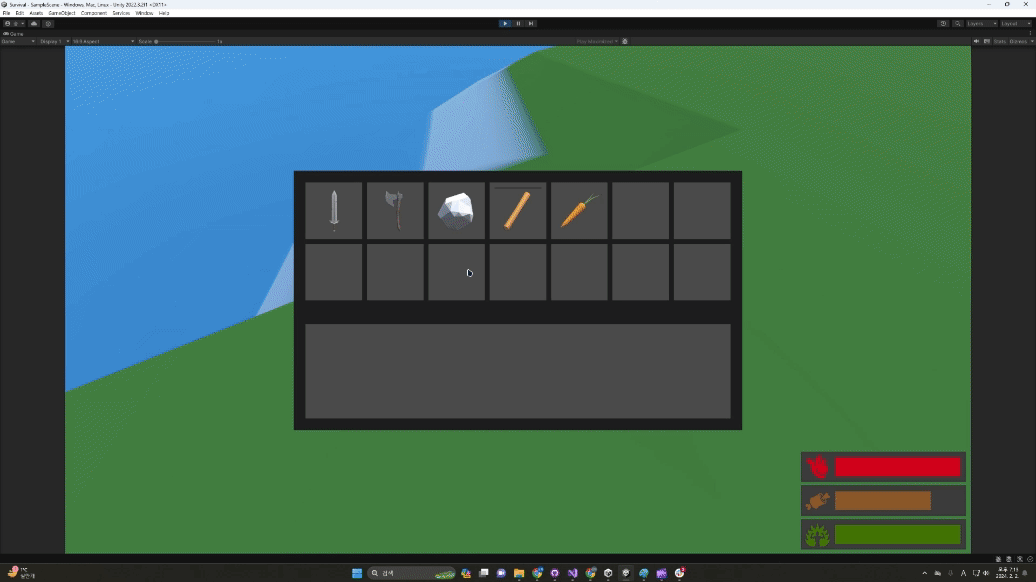
마지막으로 Item Slots을 복제하여 Grid를 채워준다.

아이템 정보창 만들기
InfoBG
InventoryCanvas 밑에 InfoBG라는 Image를 생성해준다. PosY : -150, Width : 900, Height : 200
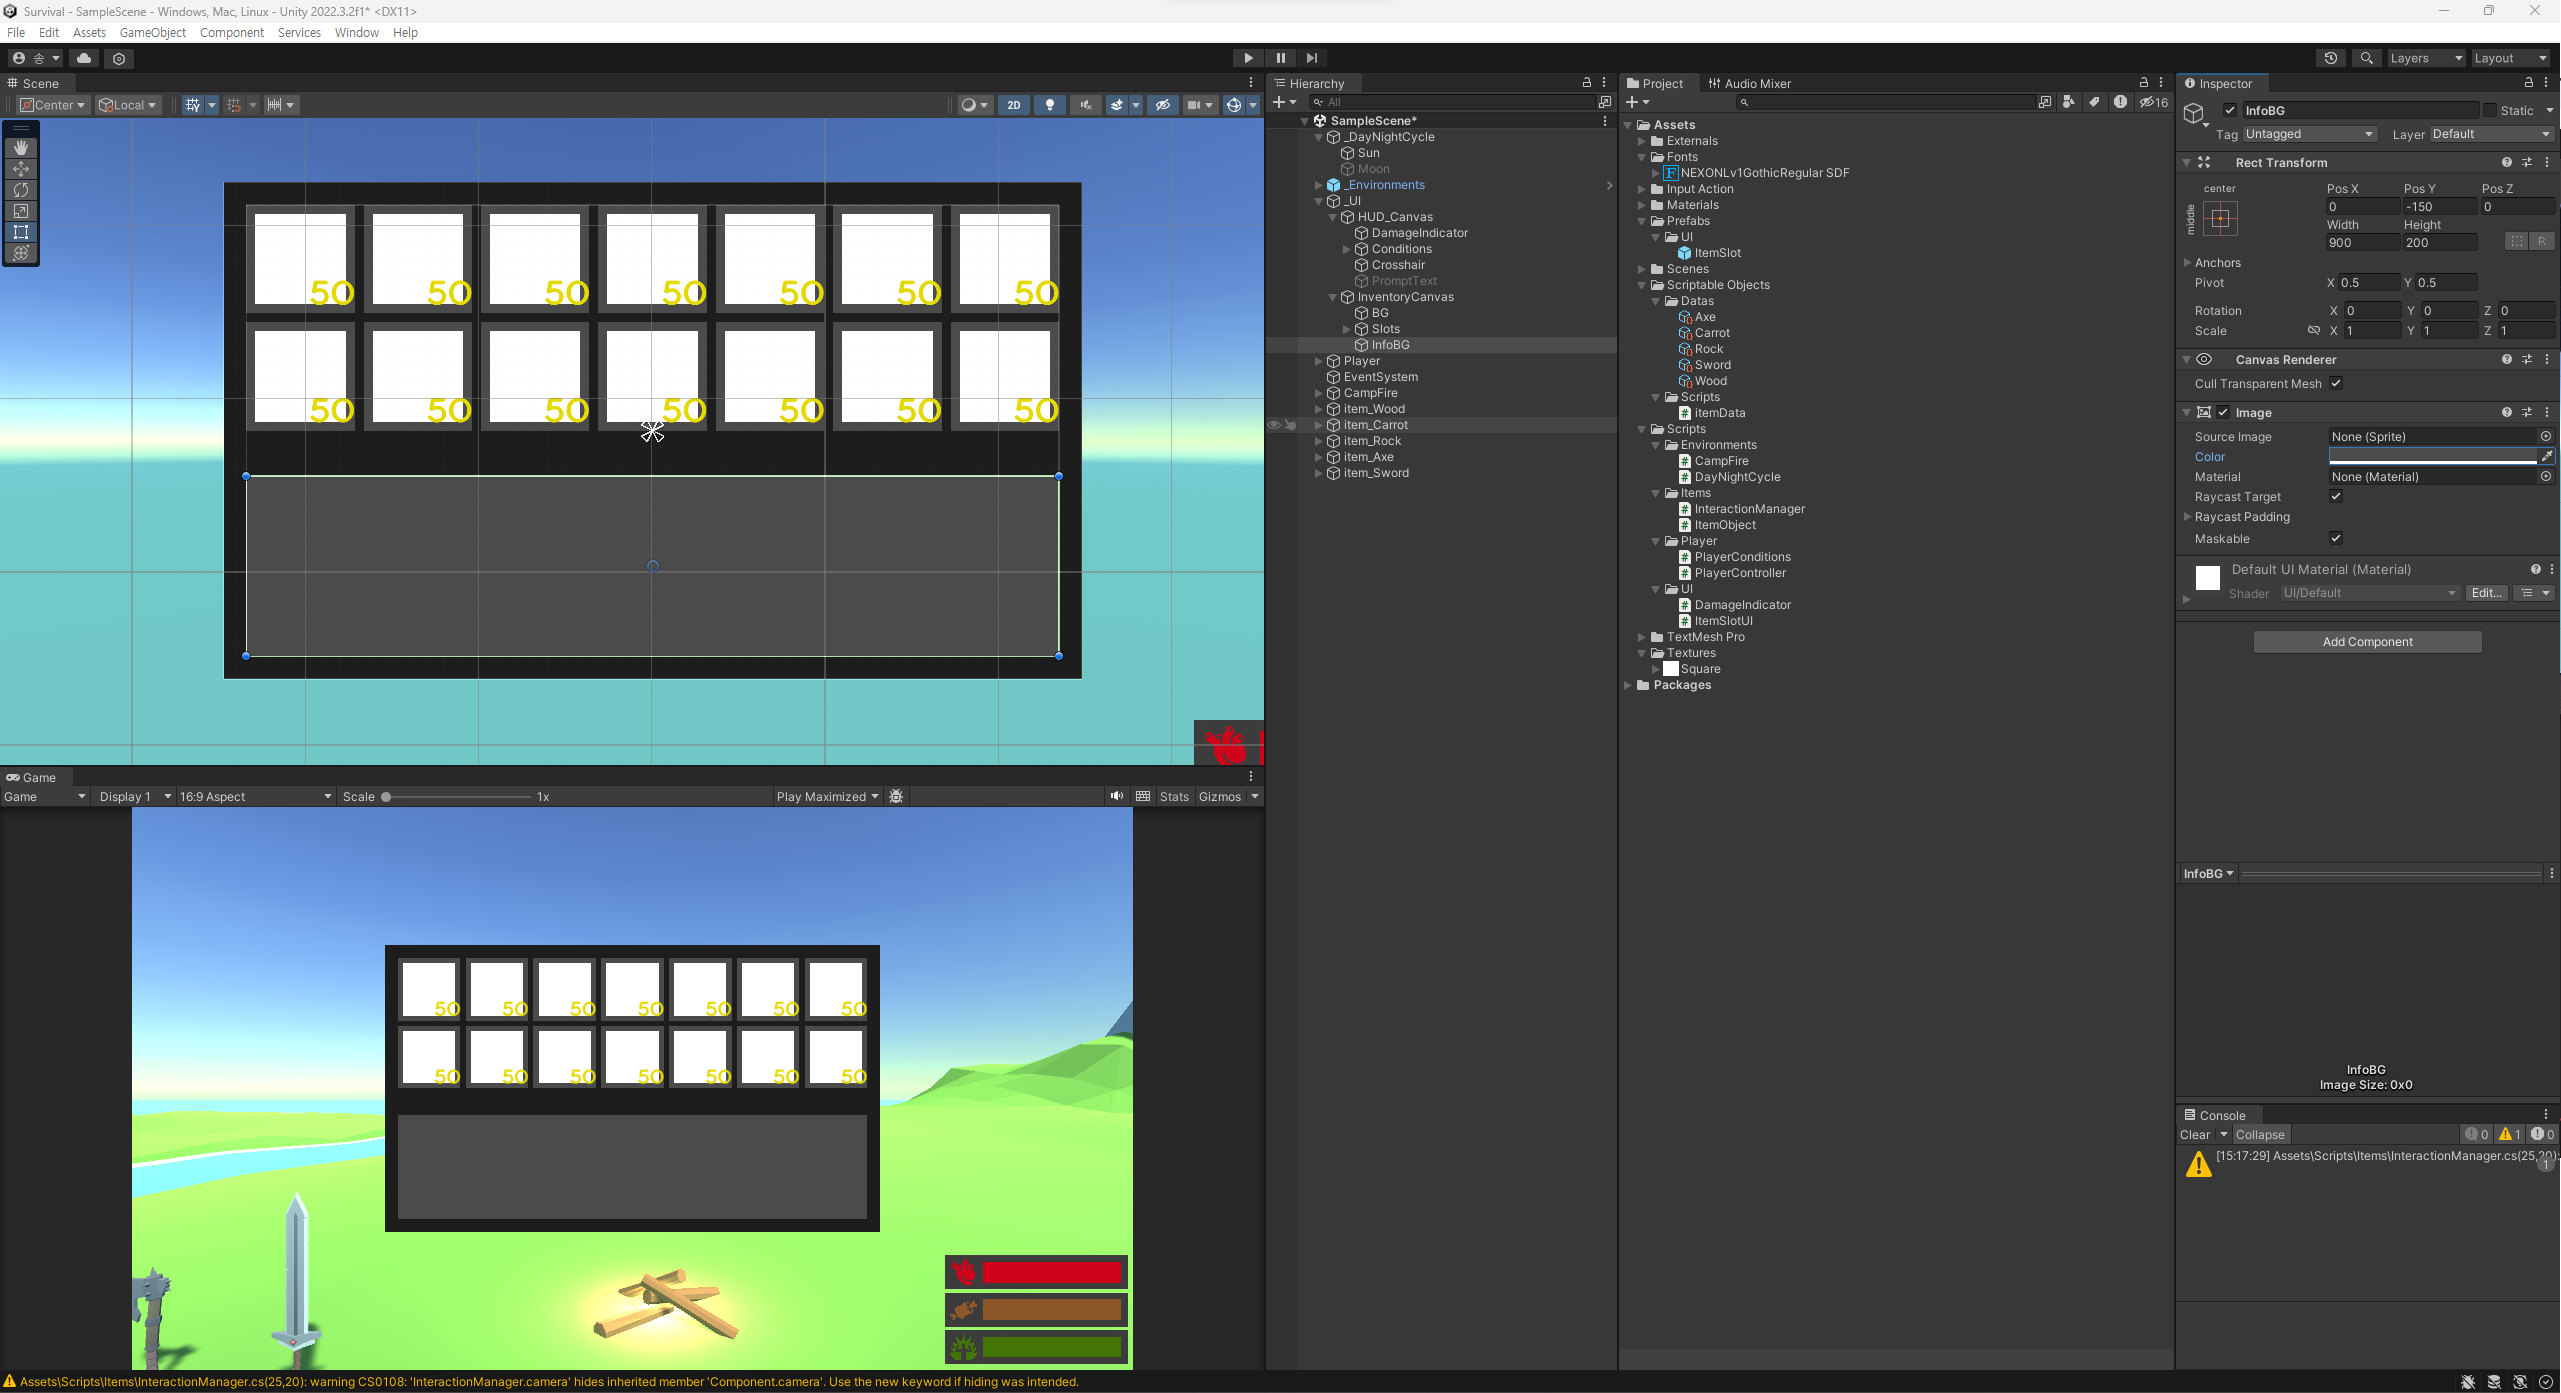
ItemName
InfoBG 밑에 아이템의 이름을 표시해줄 ItemName을 만들어준다.
그리고 아래와 같이 수정하는데, Font Size를 Auto Size로 변경해준다. Auto Size로 변경하면 ItemName의 크기에 맞춰 폰트 사이즈가 정해진다.
TextMeshPro의 크기에 맞춰 폰트 사이즈도 변경된 것을 확인할 수 있다.
ItemDescription
ItemName을 복제하여 ItemDescription으로 변경해준다.

아이템 스탯창
인벤토리 UI에서도 스탯을 확인할 수 있도록 만들어준다.
ItemStatNames

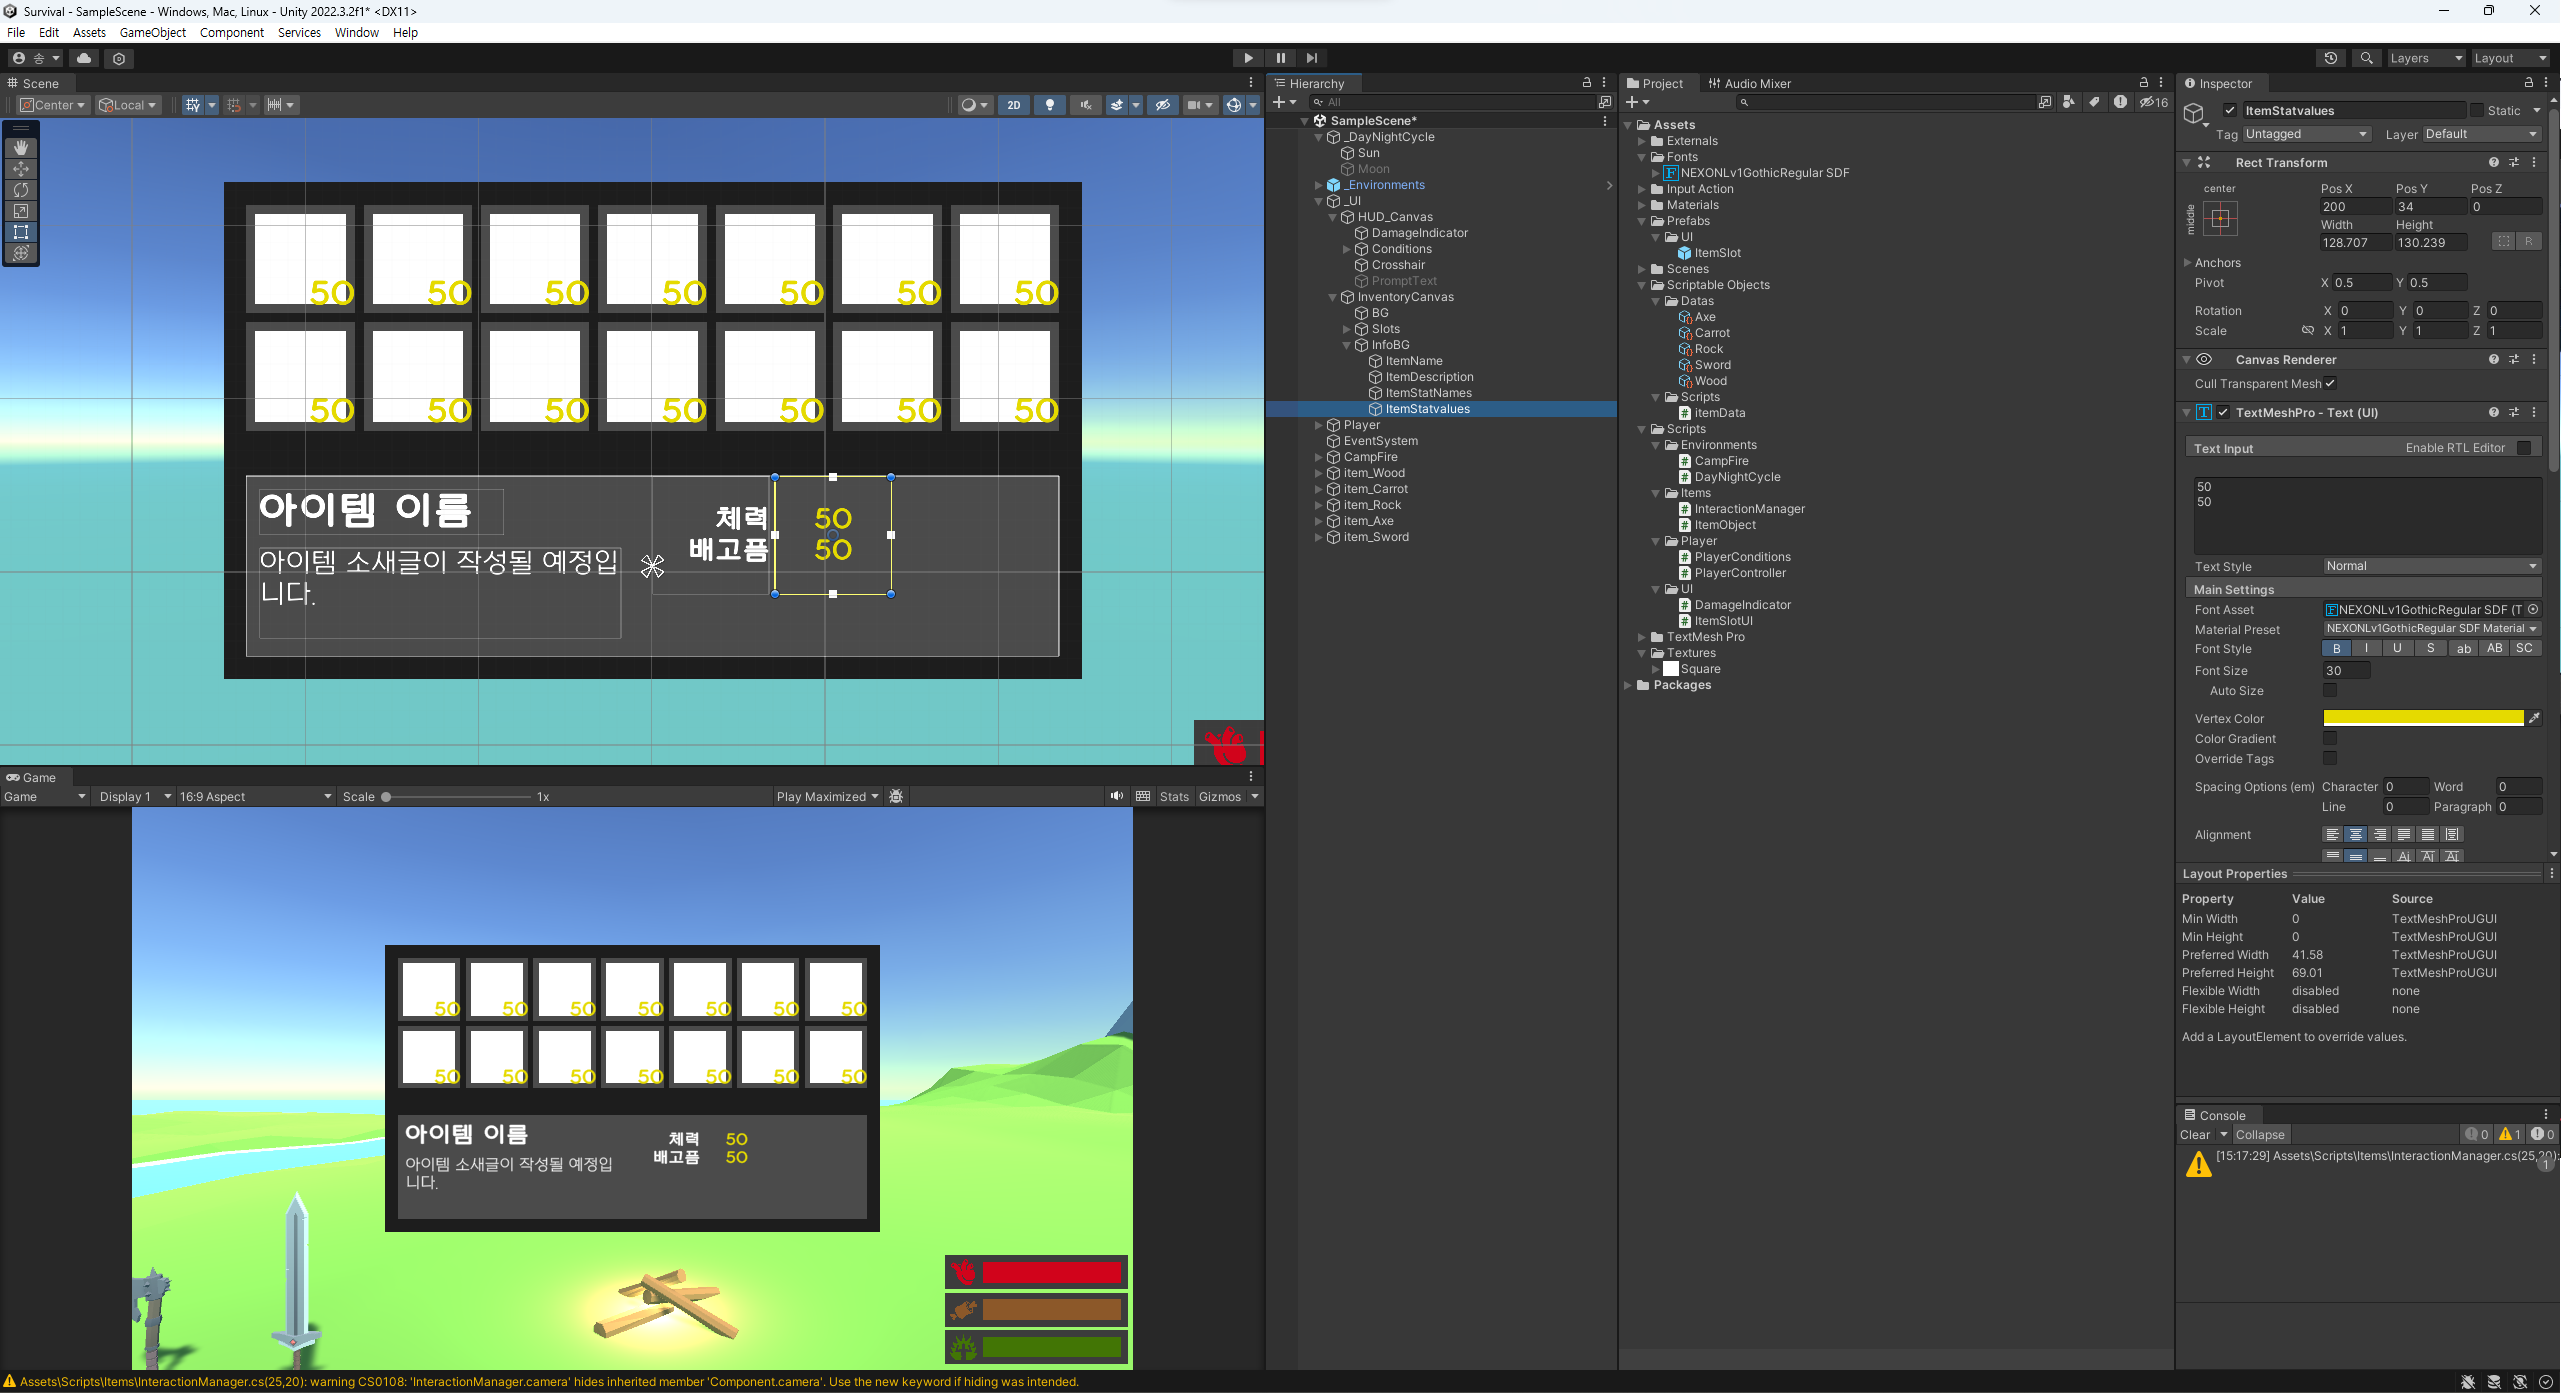
ItemStatValues
버튼 만들기
아이템 정보창에서 사용할 버튼 4개를 만들어 보자.
UseButton 만들기
InfoBG 아래에 Button을 생성하고 이름을 UseButton이라 변경해주자.

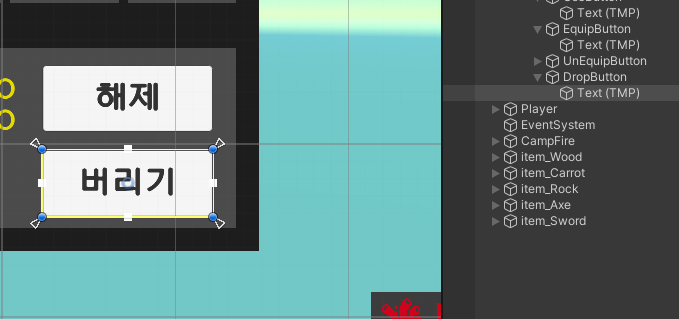
EquipButton, UnEquipButton 만들기
UseButton을 2번 복제하고 위치를 그대로 놔둔다.
EquipButton의 경우 "착용"을, UnEquipButton은 "해제"를 Text로 적어준다.
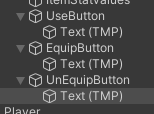
DropButton
위에서 만든 버튼을 하나 복제하여 Y좌표를 아래로 내린다.
Items Prefab 만들기
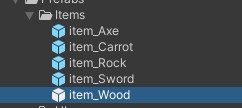
Prefabs 폴더 밑에 Items 라는 폴더를 생성한다. 이후 Items 밑에 미리 만든 아이템들을 집어넣는다.
ItemData.cs 수정하기
//ItemData.cs
...
[Serializable]
public class ItemDataConsumable
{
public ConsumableType type;
public float value;
}
[CreateAssetMenu(fileName = "Item", menuName = "New Item")]
public class itemData : ScriptableObject
{
[Header("Info")]
public string displayName;
public string description;
public ItemType type;
public Sprite icon;
public GameObject dropPerfab;
[Header("Stacking")]
public bool canStack;
public int maxStackAmount;
// 소모 가능한 아이템의 체력과 배고픔 데이터
[Header("Consumable")]
public ItemDataConsumable[] consumables;
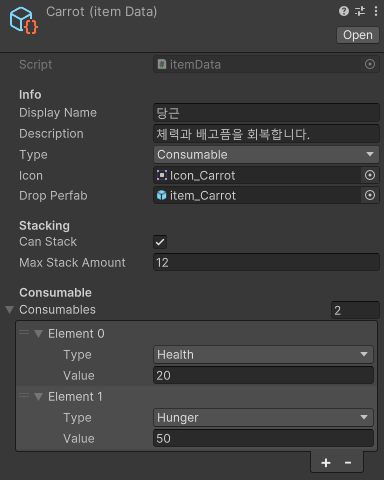
}유니티로 돌아와서 Carrot의 ItemData를 확인해보면 다음과 같이 수정할 수 있게 된다.
Inventory.cs
Inventory.cs를 Player 밑에 생성해준다.
using TMPro;
using UnityEngine;
using UnityEngine.Events;
using UnityEngine.InputSystem;
public class ItemSlot
{
public itemData item;
public int quantity;
}
public class Inventory : MonoBehaviour
{
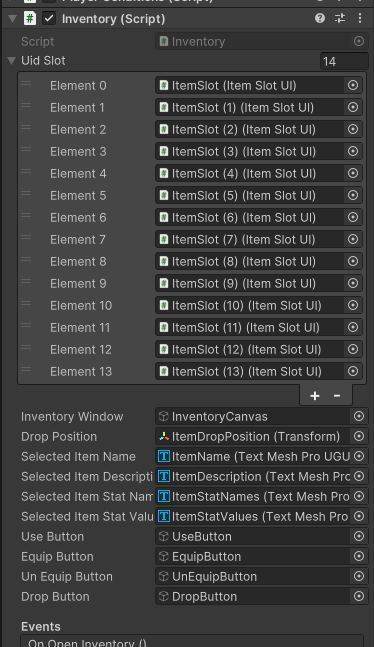
public ItemSlotUI[] uidSlot; // UI 상의 아이템 슬롯
public ItemSlot[] slots; // 실제 아이템 슬롯이 저장되는 배열
public GameObject inventoryWindow; // 인벤토리 창
public Transform dropPosition; // 아이템 드랍 위치
[Header("Selected Item")]
private ItemSlot selectedItem;
private int selectedItemIndex;
public TextMeshProUGUI selectedItemName;
public TextMeshProUGUI selectedItemDescription;
public TextMeshProUGUI selectedItemStatName;
public TextMeshProUGUI selectedItemStatValue;
public GameObject useButton;
public GameObject equipButton;
public GameObject unEquipButton;
public GameObject dropButton;
private int curEquipIndex;
private PlayerController controller;
private PlayerConditions conditions;
[Header("Events")]
public UnityEvent onOpenInventory;
public UnityEvent onCloseInventory;
public static Inventory instance;
private void Awake()
{
instance = this;
controller = GetComponent<PlayerController>();
conditions = GetComponent<PlayerConditions>();
}
// Start is called before the first frame update
void Start()
{
inventoryWindow.SetActive(false);
slots = new ItemSlot[uidSlot.Length];
for (int i = 0; i < slots.Length; i++)
{
// UI Slot 초기화하기
slots[i] = new ItemSlot();
uidSlot[i].index = i;
uidSlot[i].Clear();
}
ClearSelectItemWindow();
}
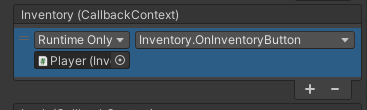
public void OnInventoryButton(InputAction.CallbackContext context)
{
// 인벤토리 키는 Key 이벤트
if (context.phase == InputActionPhase.Started) Toggle();
}
public void Toggle()
{
if (inventoryWindow.activeInHierarchy) // 현재 하이라키에 inventoryWindow가 켜져있는 지 확인
{
inventoryWindow.SetActive(false); // 현재 하이라키에 inventoryWindow가 켜져있다면 끄기
onCloseInventory?.Invoke(); // 인벤토리 창이 꺼질 때의 처리
controller.ToggleCursor(false); // 다시 마우스 포인터가 사라지도록 처리
}
else
{
inventoryWindow.SetActive(true);
onOpenInventory?.Invoke();
controller.ToggleCursor(true);
}
}
public bool IsOpen()
{
return inventoryWindow.activeInHierarchy;
}
public void AddItem(itemData item)
{
if (item.canStack) // 아이템이 쌓일 수 있는 아이템인지 확인
{
// 쌓을 수 있는 아이템일 경우 스택을 쌓아준다.
ItemSlot slotToStackTo = GetItemStack(item);
if(slotToStackTo != null)
{
slotToStackTo.quantity++;
UpdateUI();
return;
}
}
// 없을 경우 빈칸에 아이템을 추가해준다.
ItemSlot emptySlot = GetEmptySlot();
if (emptySlot != null)
{
emptySlot.item = item;
emptySlot.quantity = 1;
UpdateUI();
return;
}
// 인벤토리에 빈칸이 없을 경우 획득한 아이템 다시 버리기
ThrowItem(item);
}
private void ThrowItem(itemData item)
{
// 아이템 버리기
// 버려질 때, dropPosition에서 랜덤한 회전값을 가진 채 버려져라.
Instantiate(item.dropPerfab, dropPosition.position, Quaternion.Euler(Vector3.one * Random.value * 360f));
}
void UpdateUI()
{
// slots에 있는 아이템 데이터로 UI의 Slot 최신화하기
for(int i = 0; i < slots.Length; i++)
{
if (slots[i].item != null)
uidSlot[i].Set(slots[i]);
else
uidSlot[i].Clear();
}
}
ItemSlot GetItemStack(itemData item)
{
// 현재 선택된 아이템이 이미 슬롯에 있고, 아직 최대수량을 안 넘겼다면 해당 아이템이 위치한 슬롯의 위치를 가져온다.
for(int i = 0; i < slots.Length; i++)
{
if (slots[i].item == item && slots[i].quantity < item.maxStackAmount)
return slots[i];
}
return null;
}
ItemSlot GetEmptySlot()
{
// 빈 슬롯 찾기
for (int i = 0; i < slots.Length; i++)
{
if (slots[i].item == null)
return slots[i];
}
return null;
}
public void SelectItem(int index)
{
// 선택한 슬롯에 아이템이 없을 경우 return
if (slots[index].item == null) return;
// 선택한 아이템 정보 가져오기
selectedItem = slots[index];
selectedItemIndex = index;
selectedItemName.text = selectedItem.item.displayName;
selectedItemDescription.text = selectedItem.item.description;
selectedItemStatName.text = string.Empty;
selectedItemStatValue.text = string.Empty;
for(int i = 0; i < selectedItem.item.consumables.Length; i++)
{
// 먹을 수 있는 아이템일 경우 채워주는 체력과 배고픔을 UI 상에 표시해주기 위한 코드
selectedItemStatName.text += selectedItem.item.consumables[i].type.ToString() + "\n";
selectedItemStatValue.text += selectedItem.item.consumables[i].value.ToString() + "\n";
}
// 아이템 타입을 체크하여 버튼들 활성화
useButton.SetActive(selectedItem.item.type == ItemType.Consumable);
equipButton.SetActive(selectedItem.item.type == ItemType.Equipable && !uidSlot[index].equipped); // 아이템 타입이 Equipable이면서 착용중이 아닐 경우
unEquipButton.SetActive(selectedItem.item.type == ItemType.Equipable && uidSlot[index].equipped); // 아이템 타입이 Equipable이면서 착용중일 경우
dropButton.SetActive(true);
}
private void ClearSelectItemWindow()
{
// 아이템 초기화
selectedItem = null;
selectedItemName.text = string.Empty;
selectedItemDescription.text = string.Empty;
selectedItemStatName.text = string.Empty;
selectedItemStatValue.text = string.Empty;
useButton.SetActive(false);
equipButton.SetActive(false);
unEquipButton.SetActive(false);
dropButton.SetActive(false);
}
public void OnUseButton()
{
// 아이템 타입이 사용 가능할 경우
if(selectedItem.item.type == ItemType.Consumable)
{
for (int i = 0; i < selectedItem.item.consumables.Length; i++)
{
switch(selectedItem.item.consumables[i].type)
{
// consumables 타입에 따라 Heal과 Eat
case ConsumableType.Health:
conditions.Heal(selectedItem.item.consumables[i].value);
break;
case ConsumableType.Hunger:
conditions.Eat(selectedItem.item.consumables[i].value);
break;
}
}
}
// 사용한 아이템 없애기
RemoveSelectedItem();
}
public void OnEquipButton()
{
}
void UnEquip(int index)
{
}
public void OnUnEquipButton()
{
}
public void OnDropButton()
{
ThrowItem(selectedItem.item);
RemoveSelectedItem();
}
private void RemoveSelectedItem()
{
selectedItem.quantity--; // 수량 깎기.
// 아이템의 남은 수량이 0이 되면
if(selectedItem.quantity <= 0)
{
// 만약 버린 아이템이 장착 중인 아이템일 경우 해제 시키기
if (uidSlot[selectedItemIndex].equipped) UnEquip(selectedItemIndex);
// 아이템 제거 및 UI에서도 아이템 정보 지우기
selectedItem.item = null;
ClearSelectItemWindow();
}
UpdateUI();
}
public void RemoveItem(itemData item)
{
}
public bool HasItems(itemData item, int quantity)
{
return false;
}
}
Inventory
현재는 Inventory에 아이템 추가, 아이템 정보 확인, 아이템 사용, 아이템 드랍이 가능하다.
또한 PlayerController.cs 의 코드도 수정해준다.
// PlayerController.cs

...

public void ToggleCursor(bool toggle)
{
    // 인벤토리 켜질 시 다시 마우스 포인터가 나타나도록 해주는 코드
    Cursor.lockState = toggle ? CursorLockMode.None : CursorLockMode.Locked;
    // 인벤토리가 켜져 있는 동안 마우스가 회전하지 않도록 해주는 코드
    canLook = !toggle;
}
그리고 ItemObject의 코드도 수정해준다.
// ItemObject.cs

...

public void OnInteract()
{
    Inventory.instance.AddItem(item);   // 인벤토리에 아이템 추가하기
    Destroy(gameObject);
}
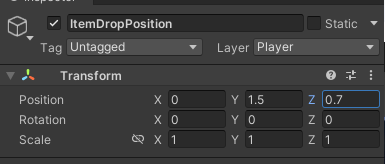
아이템이 버려질 DropPosition을 설정해주기 위해 Player 밑에 빈 오브젝트를 생성해서 ItemDropPosition이라 해준다. 이후 아래와 같이 수정한다.
Player의 Inventory에 추가해준다.

또한 Use, Equip, UnEquip, Drop Button에도 OnClick을 추가해준다.

ItemSlotUI.cs
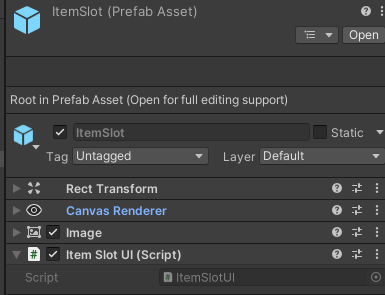
ItemSlotUI.cs를 생성한 뒤 Item Slot Prefab에 적용시켜준다.
using TMPro;
using UnityEngine;
using UnityEngine.UI;
public class ItemSlotUI : MonoBehaviour
{
public Button button;
public Image icon;
public TextMeshProUGUI quatityText;
private ItemSlot curSlot;
private Outline outline;
public int index;
public bool equipped;
private void Awake()
{
outline = GetComponent<Outline>();
}
private void OnEnable()
{
// 장착한 아이템이 있으면 outline을 켜준다.
outline.enabled = equipped;
}
// 아이템 Slot 정보 전달
public void Set(ItemSlot slot)
{
curSlot = slot;
icon.gameObject.SetActive(true);
icon.sprite = slot.item.icon;
quatityText.text = slot.Quantity > 1 ? slot.Quantity.ToString() : string.Empty;
if(outline != null)
{
outline.enabled = equipped;
}
}
public void Clear()
{
curSlot = null;
icon.gameObject.SetActive(false);
quatityText.text = string.Empty;
}
public void OnButtonClick()
{
Inventory.instance.SelectItem(index);
}
}이후 ItemSlot Prefab에 가서 ItemSlotUI를 적용시켜준다.
ItemSlot Prefab에 Button 컴포넌트를 추가해서 Button에 자기 자신을 넣어준다.
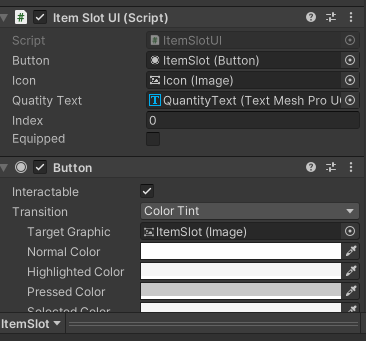
또한 Outline 컴포넌트를 추가하여 x : 2, y : -2로 값을 변경하고 색 또한 밝은 회색으로 변경해준다.
이후 Outline을 꺼둔다.
확인해보기!
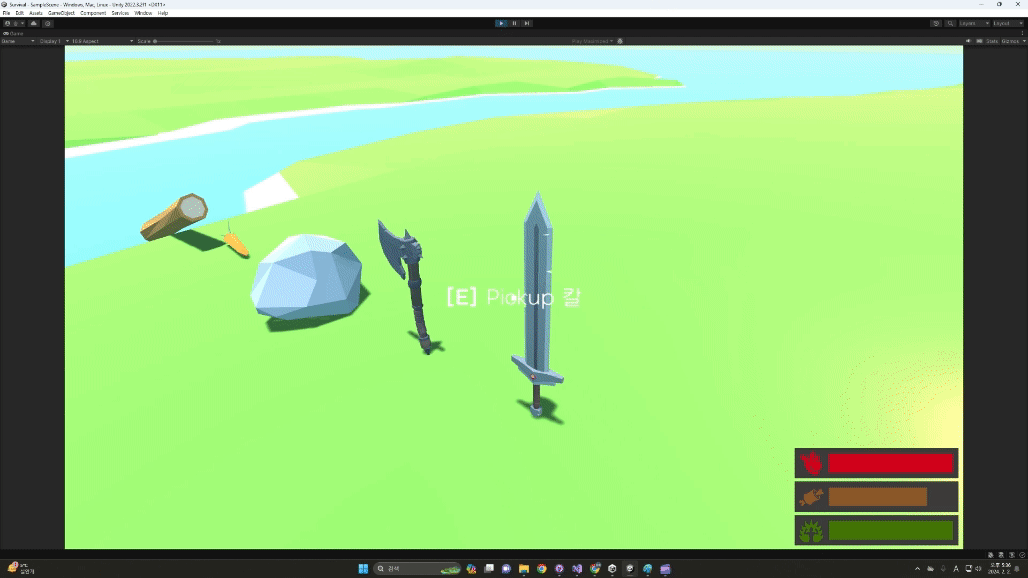
아이템 획득하기
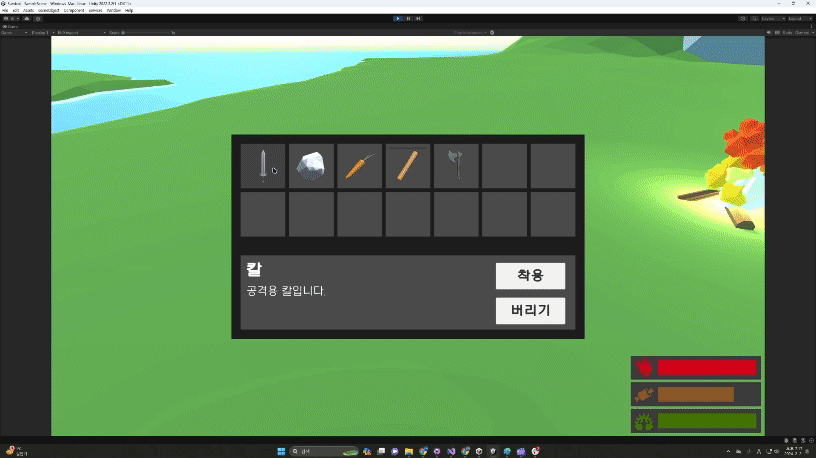
아이템 정보 확인하기
아이템 사용하기
아이템 버리기