01. 정적파일 연결
01. image와 favicon 추가!
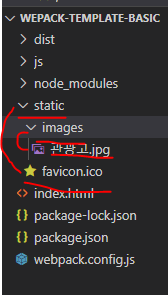
02. image 추가!
- 상대 경로를 ./images/관광고.jpg로 할 수 있는 이유는 최종적으로 dist에 번들된 결과로서의 경로이기 때문이다
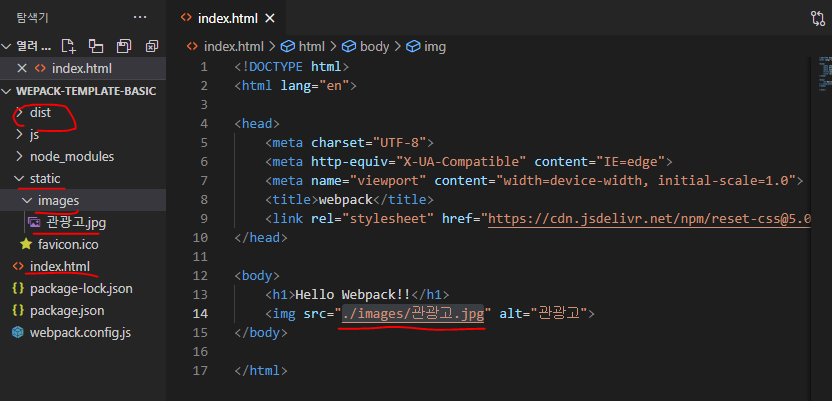
<!DOCTYPE html>
<html lang="en">

<head>
    <meta charset="UTF-8">
    <meta http-equiv="X-UA-Compatible" content="IE=edge">
    <meta name="viewport" content="width=device-width, initial-scale=1.0">
    <title>webpack</title>
    <link rel="stylesheet" href="https://cdn.jsdelivr.net/npm/reset-css@5.0.1/reset.min.css">
</head>

<body>
    <h1>Hello Webpack!!</h1>
    <img src="./images/관광고.jpg" alt="관광고">
</body>

</html>
03. copy-webpack-plugin 설치
npm i -D copy-webpack-plugin- webpack.config.js에서 구성 파일에 패키지 추가
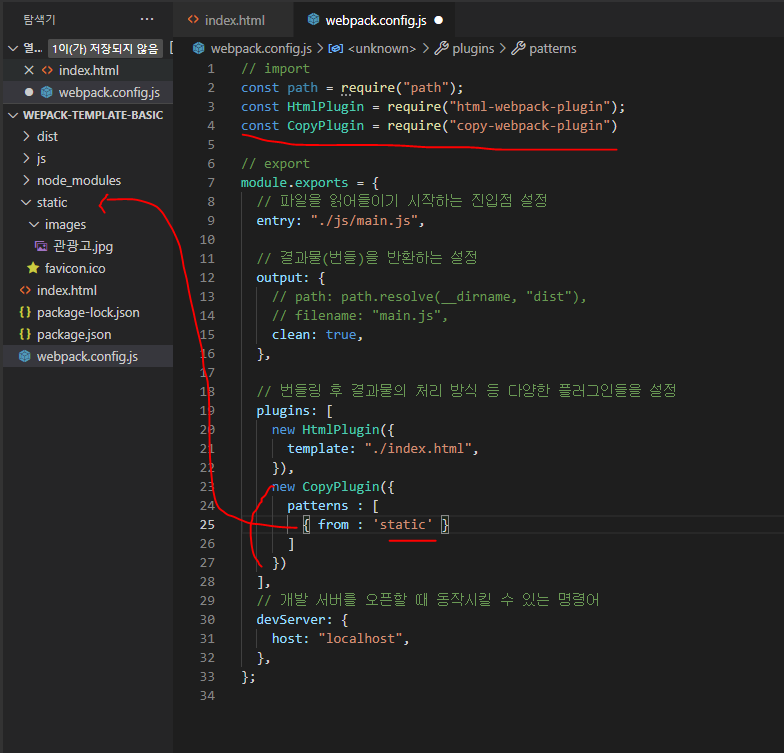
// import
const path = require("path");
const HtmlPlugin = require("html-webpack-plugin");
const CopyPlugin = require("copy-webpack-plugin")

// export
module.exports = {
  // 파일을 읽어들이기 시작하는 진입점 설정
  entry: "./js/main.js",

  // 결과물(번들)을 반환하는 설정
  output: {
    // path: path.resolve(__dirname, "dist"),
    // filename: "main.js",
    clean: true,
  },

  // 번들링 후 결과물의 처리 방식 등 다양한 플러그인들을 설정
  plugins: [
    new HtmlPlugin({
      template: "./index.html",
    }),
    new CopyPlugin({
      patterns : [
        { from : 'static' }
      ]
    })
  ],
  // 개발 서버를 오픈할 때 동작시킬 수 있는 명령어
  devServer: {
    host: "localhost",
  },
};
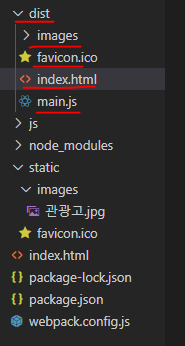
04. npm run build

아직까지는 코린이!