이 글은 Spring Boot & react 프로젝트 연동하기 1에서 이어지는 글입니다.
개발 환경
- OS: Window
- JDK: 1.8
- IDE: Eclipse(2019-03), vsCode(vsCode Installer Download)
3. react 프로젝트 git, github 연동
Spring Boot와의 원활한 연동을 위해 미리 git과 내친김에 github에까지 먼저 연동해 놓읍시다.
vsCode에서 github 연동하기에서 과정을 확인할 수 있습니다.
4. npm
새 cmd를 열고 react 프로젝트 경로에서 아래 명령어를 차례로 사용합니다.
npm install(package.json 파일 의존성 설치)
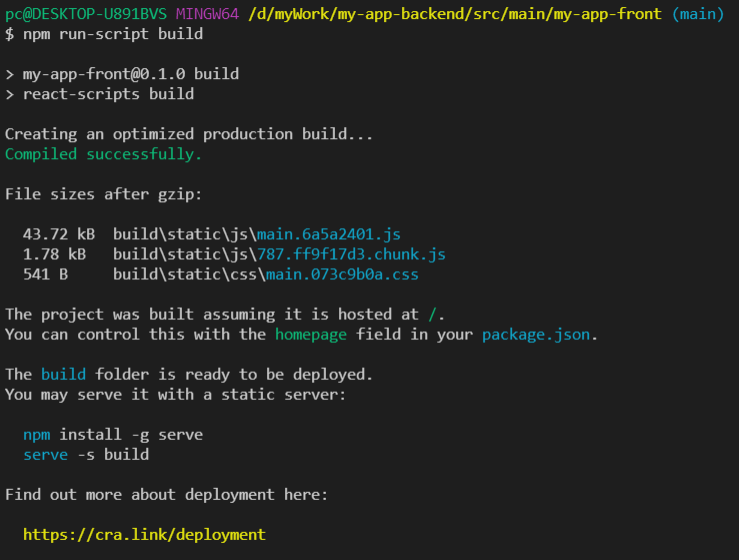
* 명령어 수행 시 아래와 같이 취약점 이슈 fix 제안 문구가 나올 수 있습니다. npm 버전 6 이후부터 추가된 취약점 점검 기능이 실행된 것인데(참고),npm audit fix --force를 아무리 수행해도 영원히 수정되지 않으므로 이 단계에선 넘어갑니다.
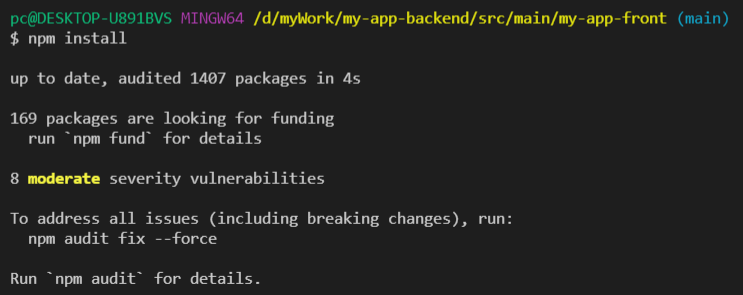
npm run-script build(배포 환경에서 사용할 파일 생성)
npm run eject(create-react-app의 종속 설정 꺼내기)
* 명령어 수행 시 아래와 같은 컨펌 메세지가 나타납니다. Y를 입력합니다. (참고)
정상적으로 수행될 경우 마지막에 두번째 사진과 같은 문구가 나옵니다. 만약 오류가 발생한다면 git에 변경사항이 commit된건지 확인합니다. (위에 작성된 3번 단계 참고)


5. 파일 변경
react 프로젝트의 파일을 변경합니다.
5-1. appBuild path 변경
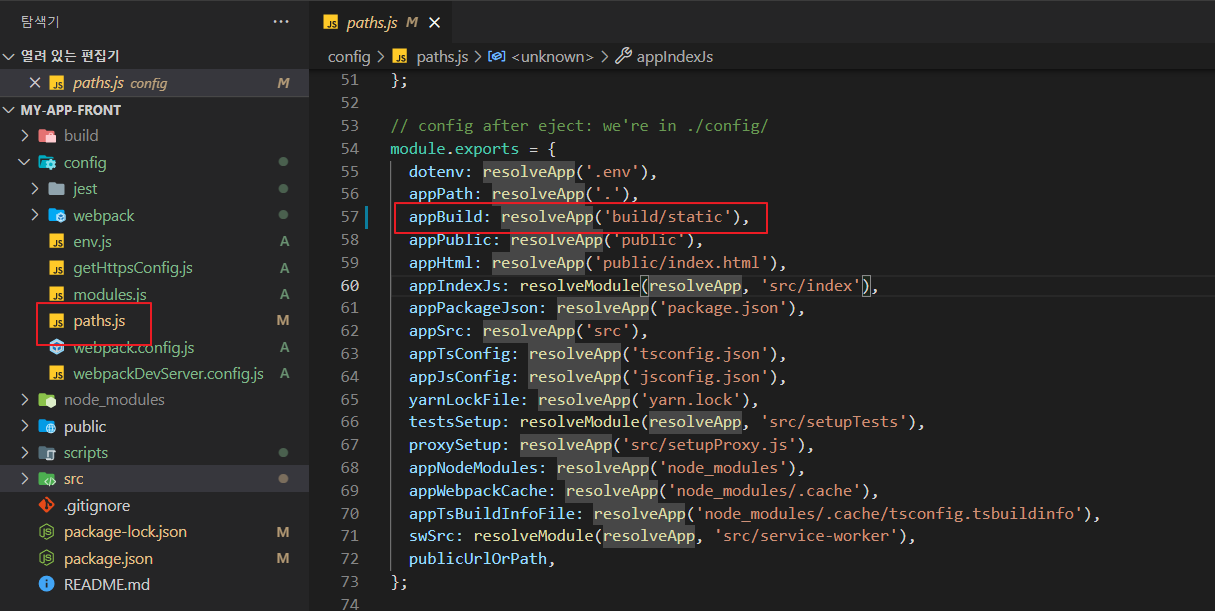
[react 프로젝트]/config/path.js의 module.exports 목록에서 appBuild의 경로를 'build/static'으로 변경합니다.
5-2. ./build/ 하위 파일 삭제
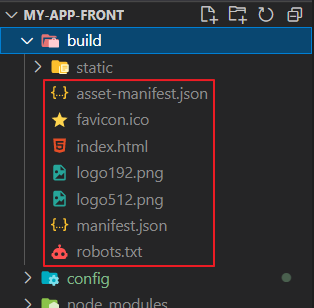
[react 프로젝트]/build/ 밑의 파일들을 모두 삭제합니다. 재빌드할 때마다 이 경로에 새로 빌드된 파일들이 생성됩니다.
6. Spring Boot 연동 설정
6-1. gradle 설정 추가
Spring Boot로 생성한 프로젝트의 build.gradle 파일에서 아래 위치에 하단의 설정을 추가합니다.
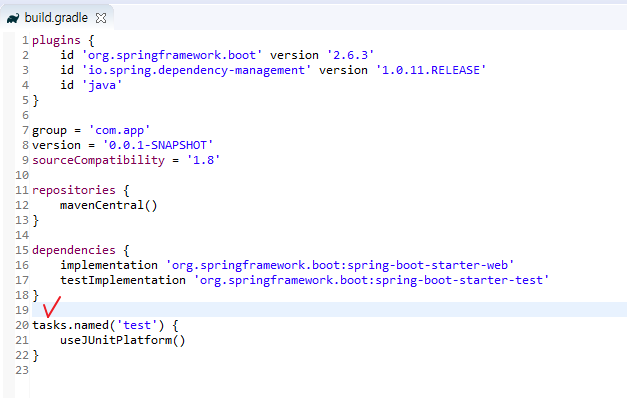
* 첫번째 줄의 webappDir의 경로에 frontend 프로젝트명을 넣습니다.
def webappDir = "$projectDir/src/main/[react 프로젝트명]"

sourceSets {
	main {
		resources {
			srcDirs = ["$webappDir/build", "$projectDir/src/main/resources"]
		}
	}
}

processResources {
	dependsOn "buildReact"
}

task buildReact(type: Exec) {
	dependsOn "installReact"
	workingDir "$webappDir"
	inputs.dir "$webappDir"
	group = BasePlugin.BUILD_GROUP
		if (System.getProperty('os.name').toLowerCase(Locale.ROOT).contains('windows')) {
			commandLine "npm.cmd", "run-script", "build"
		} else {
			commandLine "npm", "run-script", "build"
		}
}

task installReact(type: Exec) {
	workingDir "$webappDir"
	inputs.dir "$webappDir"
	group = BasePlugin.BUILD_GROUP
	if (System.getProperty('os.name').toLowerCase(Locale.ROOT).contains('windows')) {
		commandLine "npm.cmd", "audit", "fix"
		commandLine 'npm.cmd', 'install'
	} else {
		commandLine "npm", "audit", "fix"
		commandLine 'npm', 'install'
	}
}
### 6-2. static 파일 복붙
frontend 프로젝트의 ./build/static/ 하위의 폴더들을 복사하여 backend 프로젝트의 ./src/main/resources/static/ 아래에 붙여넣습니다.
7. 테스트 소스
연동 준비는 모두 끝났으니 빌드 시 backend와 frontend가 제대로 연동됐는지 확인해보기 위한 테스트 소스를 작성해봅니다. 이 소스는 이 블로그를 참고하여 동일하게 작성되었습니다.
7-1. backend 소스
./src/main/java/comm/myapp/TestController.java(추가)
package com.myapp;

import javax.servlet.http.HttpServletRequest;

import org.springframework.http.ResponseEntity;
import org.springframework.web.bind.annotation.PostMapping;
import org.springframework.web.bind.annotation.RequestMapping;
import org.springframework.web.bind.annotation.RestController;

@RestController
@RequestMapping("/api")
public class TestController {

	@PostMapping("/ip")
	public ResponseEntity<String> ip (HttpServletRequest request){
		// 요청 보낸 클라이언트 ip 반환
		return ResponseEntity.ok(request.getRemoteAddr());
	}
}
./src/main/java/comm/myapp/WebConfig.java(추가)
package com.myapp;

import org.springframework.context.annotation.Configuration;
import org.springframework.web.servlet.config.annotation.CorsRegistry;
import org.springframework.web.servlet.config.annotation.WebMvcConfigurer;

@Configuration
public class WebConfig implements WebMvcConfigurer{

	/*
	 * 개발환경에서의 크로스 도메인 이슈 해결을 위한 코드. 운영 배포 시 14~15행 주석
	 */
	@Override
	public void addCorsMappings(CorsRegistry registry) {
		registry.addMapping("/api/**").allowCredentials(true).allowedOrigins("http://localhost:3000");
		WebMvcConfigurer.super.addCorsMappings(registry);
	}

}
7-2. frontend 소스
./src/App.js(기존 파일 수정)
import React, { useState, useEffect } from 'react';
import './App.css';
import customAxios from './customAxios';

function App() {
  // IP주소 변수 선언
  const [ip, setIp] = useState('');

  // IP주소 값을 설정합니다.
  function callback(data) {
    setIp(data);
  }

  // 첫번째 렌더링을 다 마친 후 실행합니다.
  useEffect(
    () => {
      // 클라이언트의 IP주소를 알아내는 백엔드의 함수를 호출합니다.
      customAxios('/ip', callback);
    }, []
  );

  return (
    <div className="App">
      <header className="App-header">
        이 기기의 IP주소는 {ip}입니다.
      </header>
    </div>
  );
}

export default App;
./src/customAxios.js(추가)
import axios from 'axios'; // 액시오스

export default function customAxios(url, callback) {
  axios(
    {
      url: '/api' + url,
      method: 'post',

      /**
       * 개발 환경에서의 크로스 도메인 이슈를 해결하기 위한 코드로
       * 운영 환경에 배포할 경우에는 15~16행을 주석 처리합니다.
       *
       * ※크로스 도메인 이슈: 브라우저에서 다른 도메인으로 URL 요청을 하는 경우 나타나는 보안문제
       */
      baseURL: 'http://localhost:8080',
      withCredentials: true,
    }
  ).then(function (response) {
    callback(response.data);
  });
}
8. build
제대로 동작하는지 확인하기 위해 빌드해봅시다. 이 단계는 Eclipse 기준으로 설명합니다.
-
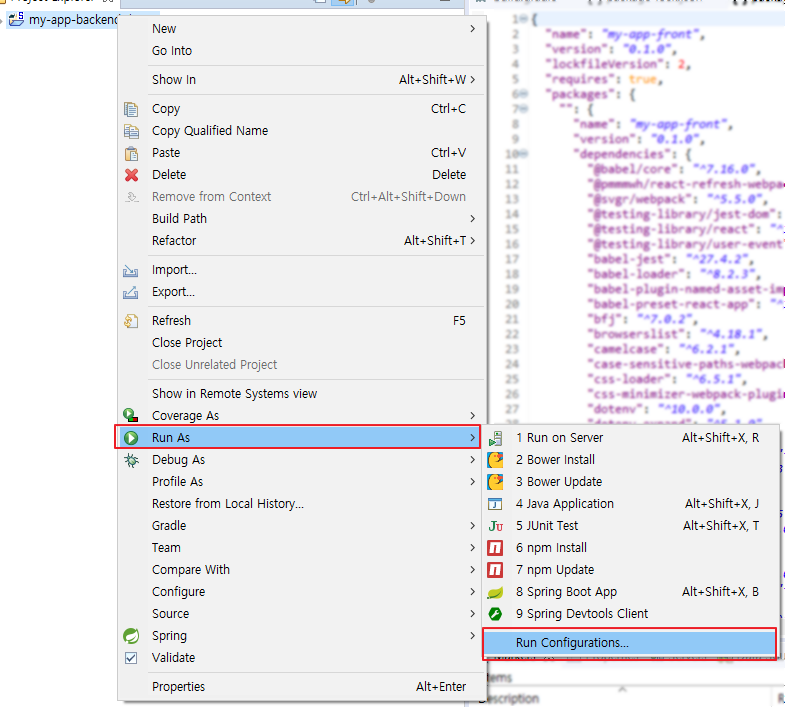
Eclipse에서 해당 프로젝트 우클릭 >Run As > Run Congigurations... 클릭
-
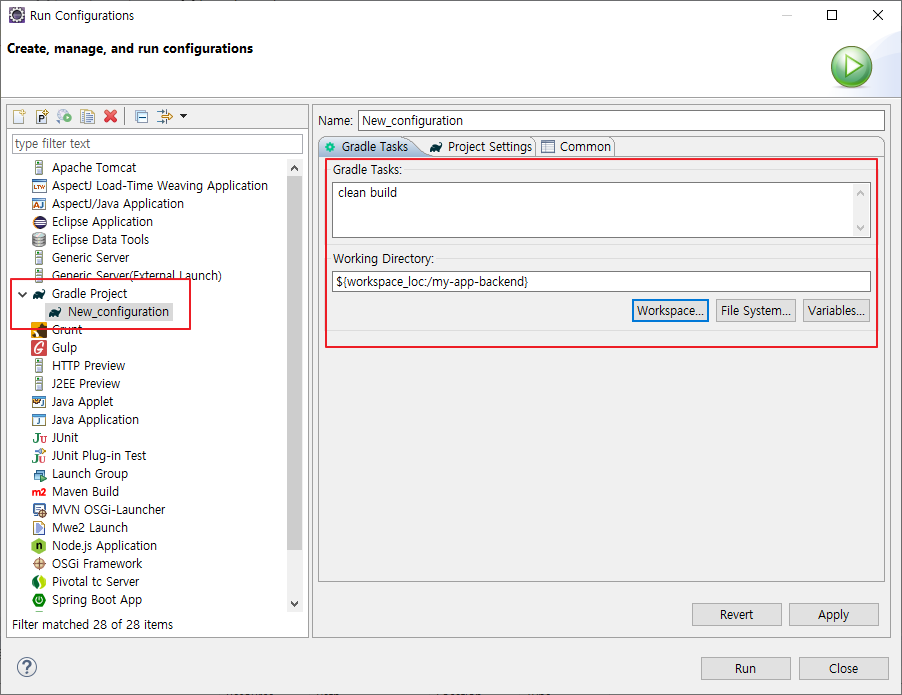
Gradle Project를 더블클릭하면 새 설정이 생성됩니다. 오른쪽 화면에의 Gradle Task에 clean build를 입력하고 Working Directory를 현재 프로젝트로 지정한 후 Apply와 Run을 차례로 누릅니다.
-
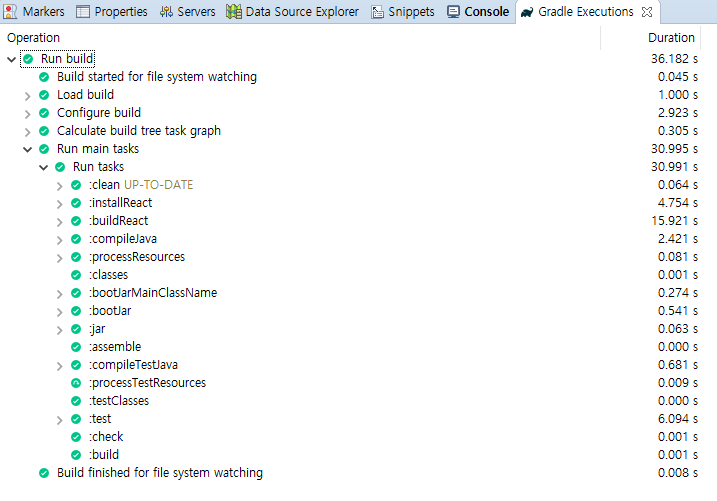
이렇게 모두 녹색으로 빌드가 끝나면 문제 없이 정상적으로 빌드된 겁니다!
-
재빌드 시 clean 명령어와 관련한 오류가 발생한다면, gradle refresh 후 clean 명령어를 지우고 실행해보세요
-
만약 빌드 중 ':compileJava'에 빨간색 오류가 뜬다면 vsCode에 Java 확장 플러그인이 설치되지 않았거나, vsCode에 설치된 Java의 버전과 프로젝트의 java 버전이 맞지 않을 가능성이 큽니다.
이 글에 해결 방법을 기술하였습니다.
9. 실행
정상적으로 빌드됐다면 프로젝트 경로 밑의 ./build/libs에 jar 파일이 생성되어있을겁니다. 이 jar를 실행하여 웹서버에서 확인해봅시다!
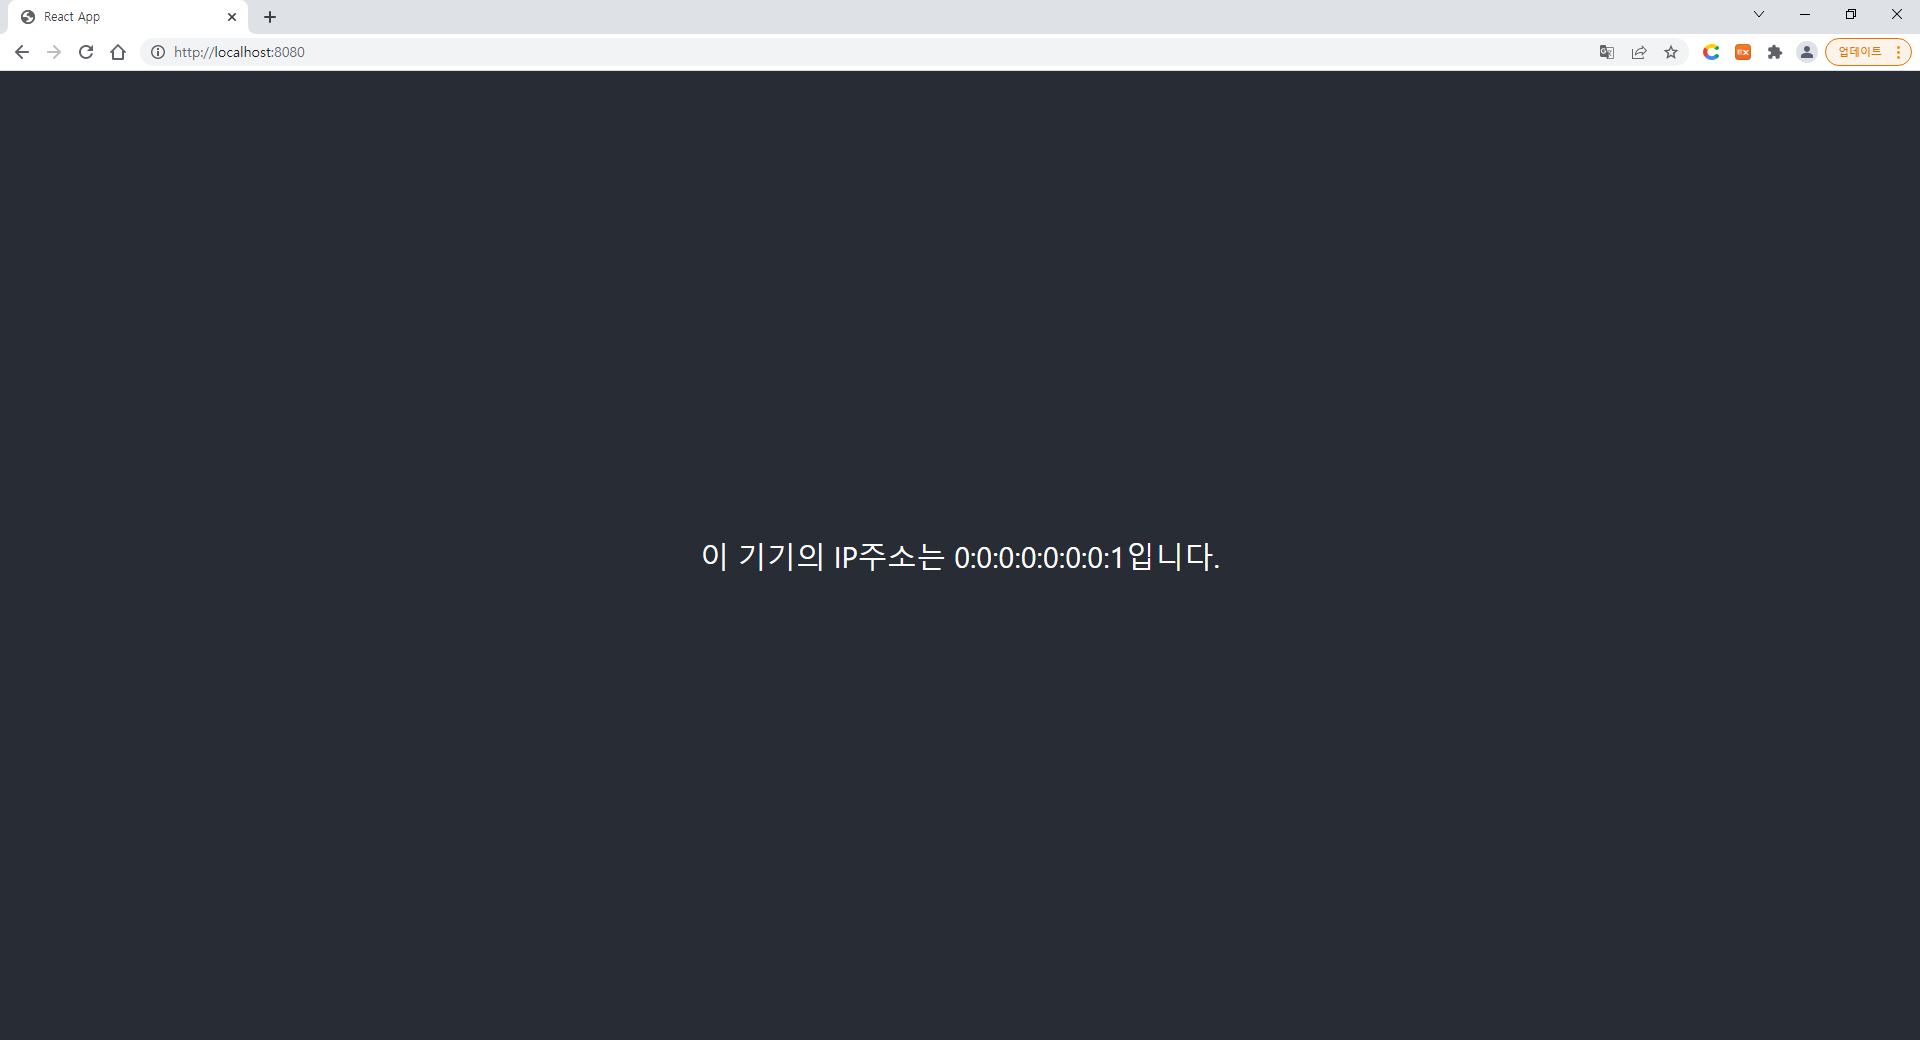
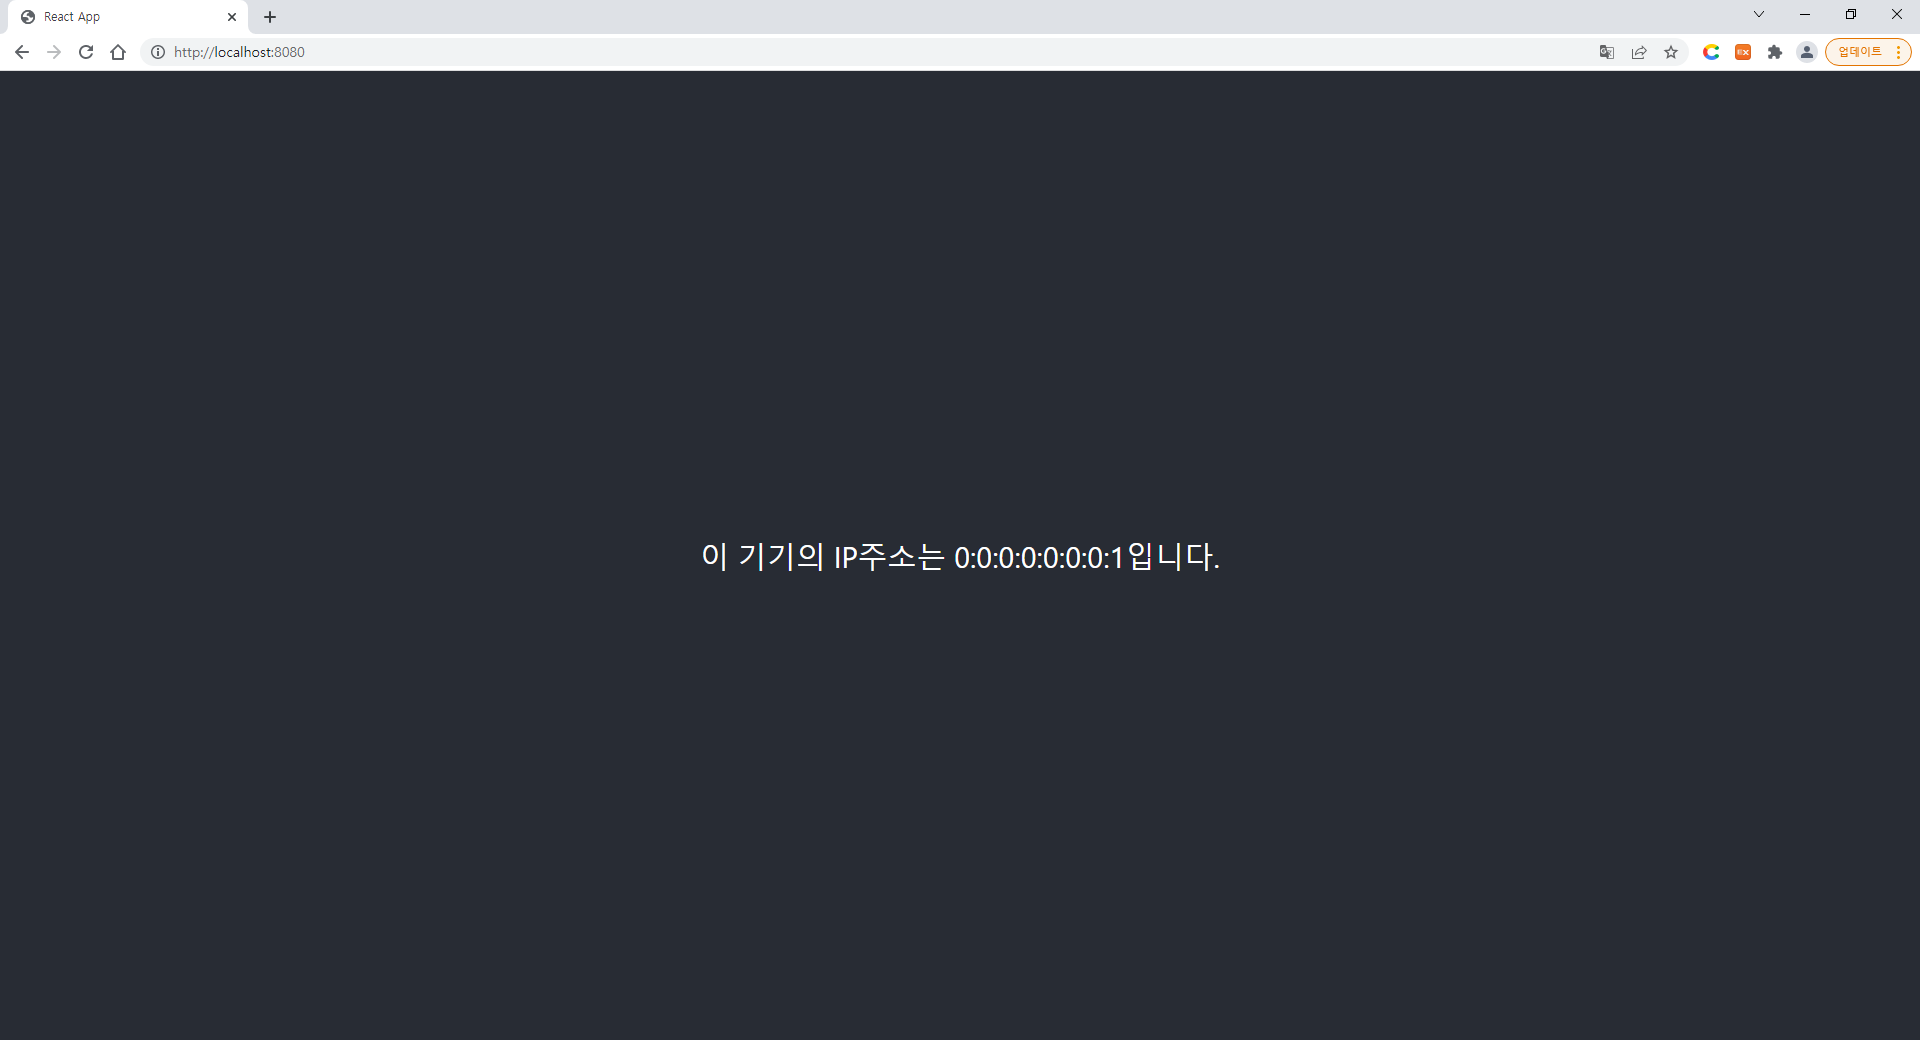
cmd를 열고 ./build/libs에서 java -jar [jar 파일명] 을 실행합니다. 정상적으로 구동되었다면 http://localhost:8080에서 7단계에서 작성한 테스트 페이지를 볼 수 있습니다.

* Spring Boot & React 서비스 구조의 단점
보통 jsp로 개발 시엔 frontend 변경 시엔 굳이 재빌드 하지 않아도 웹브라우저 새로고침만으로도 변경사항을 확인할 수 있는 구조로 되어있습니다. 하지만 Spring Boot로 backend를 구성하고 frontend를 React로 가져가는 구조는 위의 단계와 같이 개발 환경에서도 무조건 jar로 한번 말아서 생성된 파일로 구동해야하는 아주아주 번거로운 구조를 가지고 있습니다.
그래서 frontend는 3000 포트에서 개발하고 backend가 변경되었을 때만 jar를 빌드하여 확인하는 수 밖에 없습니다. 이 단점을 보완하기 위한 방법은 이 글에서 기술합니다.
참고 링크
- Spring Boot, react 연동:
- https://dsc-sookmyung.tistory.com/21
- https://bug41.tistory.com/121
- https://hjjooace.tistory.com/entry/React-Spring-Gradle-Project-%EC%97%B0%EB%8F%99#none - 연동 테스트용 간단 예제: https://joshua-dev-story.blogspot.com/2020/01/react-spring-2.html
- 프로젝트(프론트) 깃헙 연동: https://kth990303.tistory.com/77
- vsCode Java 설치 및 환경 설정: https://moonsbeen.tistory.com/249
- 연동 시 명령어 관련 실행 오류 해결
- jar 빌드 시 ':compileJava' 오류: