Udemy Python Bootcamp Day 059
Blog Capstone Project Part 2 - Adding Styling
Step 1 - Download the starting project

Step 2 - Get the home page to work
from flask import Flask, render_template

app = Flask(__name__)


@app.route('/')
def get_all_posts():
    return render_template('index.html')


if __name__ == "__main__":
    app.run(debug=True)
Step 3 - Fix the header and footer
static 폴더에 있는 파일(images, css, js) 주소 변경

main navbar에 fixed-top class를 추가해도 navbar가 fix되지 않는데 질의응답보니 대다수가 같은 issue를 겪는듯?

또한 안젤라는 아래와 같은 코드를 추가했는데
해당 파일이 업그레이드됨에 따라 필요가 없어진 듯함.


Step 4 - Using Jinja Include fo Render Templates
Include Tag from Jinja
{% include 'header.html' %}
    Body
{% include 'footer.html' %}
<body> tag와 </body> tag가 각기 다른 html파일에 있어도 정상 작동함..!

Step 5 - Make the About and Contact Pages Work
<li class="nav-item"><a class="nav-link px-lg-3 py-3 py-lg-4" href="{{ url_for('get_all_posts') }}">Home</a></li>
<li class="nav-item"><a class="nav-link px-lg-3 py-3 py-lg-4" href="{{ url_for('about_page') }}">About</a></li>
<li class="nav-item"><a class="nav-link px-lg-3 py-3 py-lg-4" href="{{ url_for('contact_page') }}">Contact</a></li>@app.route('/about')
def about_page():
return render_template('about.html')
@app.route('/contact')
def contact_page():
return render_template('contact.html')
이렇게 작성했는데.. 솔루션을 보니 이렇게 복잡하게 작성할 필요가 없었음..
<li class="nav-item"><a class="nav-link px-lg-3 py-3 py-lg-4" href="/">Home</a></li>
<li class="nav-item"><a class="nav-link px-lg-3 py-3 py-lg-4" href="about">About</a></li>
<li class="nav-item"><a class="nav-link px-lg-3 py-3 py-lg-4" href="contact">Contact</a></li>
간-단.
그리고 index.html처럼 {% include 'header.html' %}, {% include 'footer.html' %} 이용해서 위아래로 자르면 됨!
Step 6 - Fetch and render the blog posts from an API
{% for post in all_posts: %}
<div class="post-preview">
  <a href="post.html">
    <h2 class="post-title">{{ post.title }}</h2>
    <h3 class="post-subtitle">{{ post.subtitle }}</h3>
  </a>
  <p class="post-meta">
    Posted by
    <a href="#!">{{ post.author }}</a>
    on {{ post.date }}
  </p>
</div>
<!-- Divider-->
<hr class="my-4" />
{% endfor %}
며칠전에 해봤다고 수월하게 작성했음
import requests

@app.route('/')
def get_all_posts():
    posts = requests.get("https://api.npoint.io/2b75de17c055f76690b5").json()
    return render_template('index.html', all_posts=posts)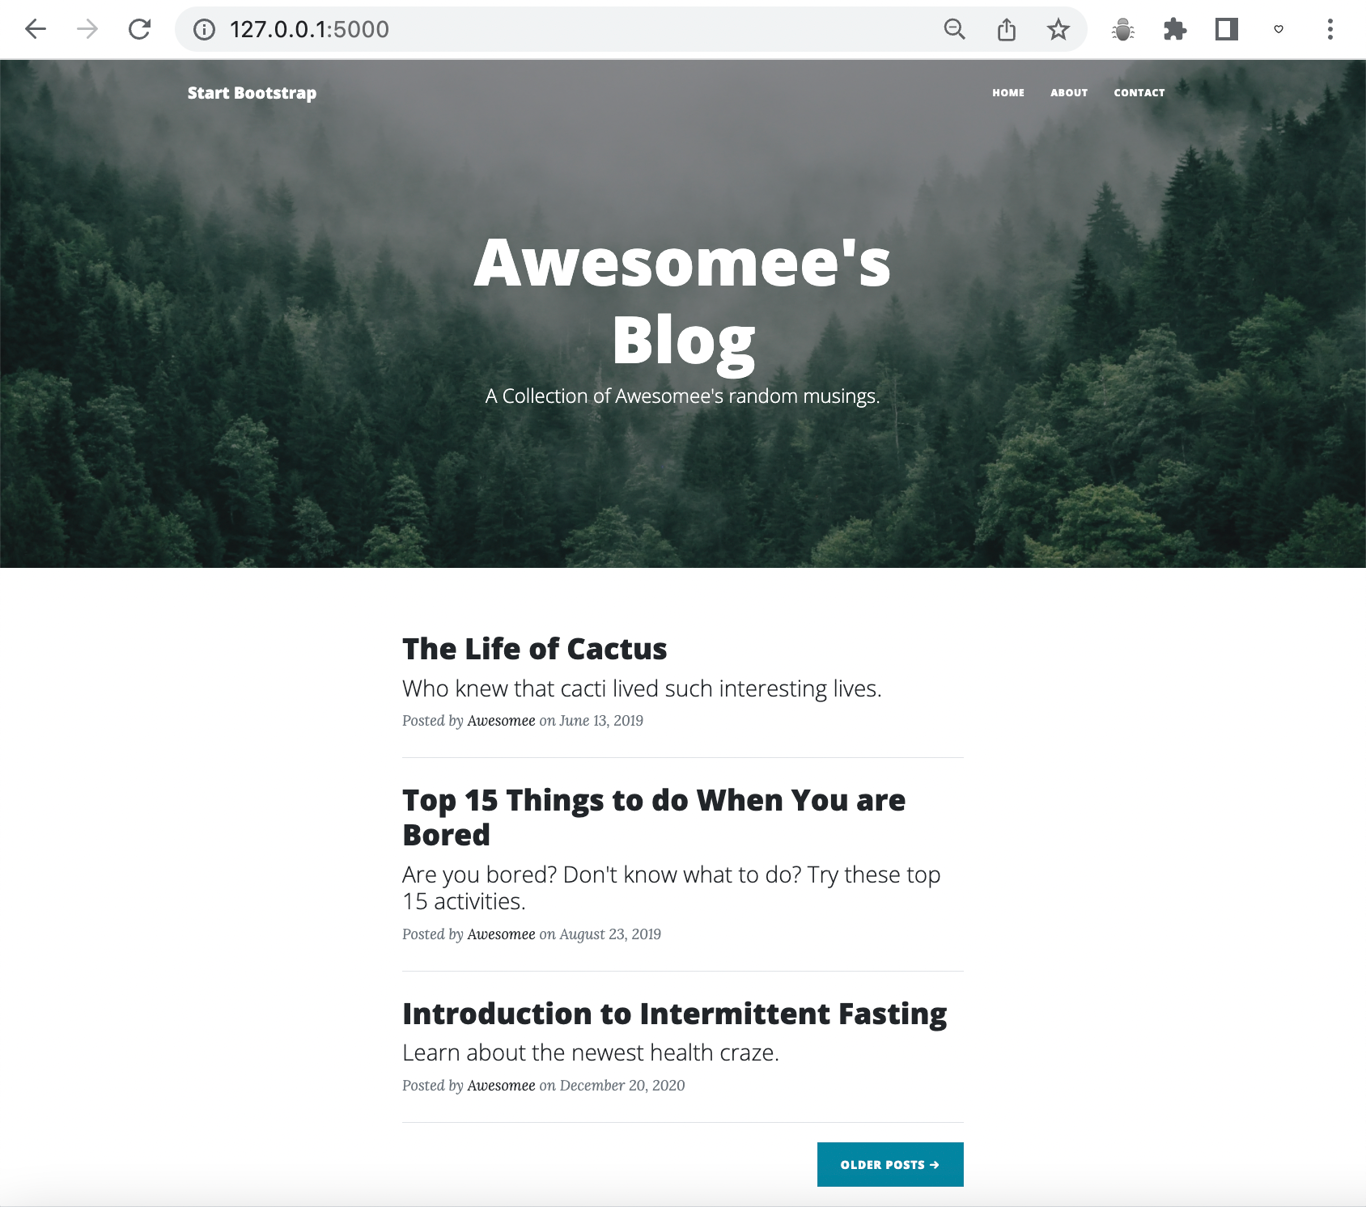
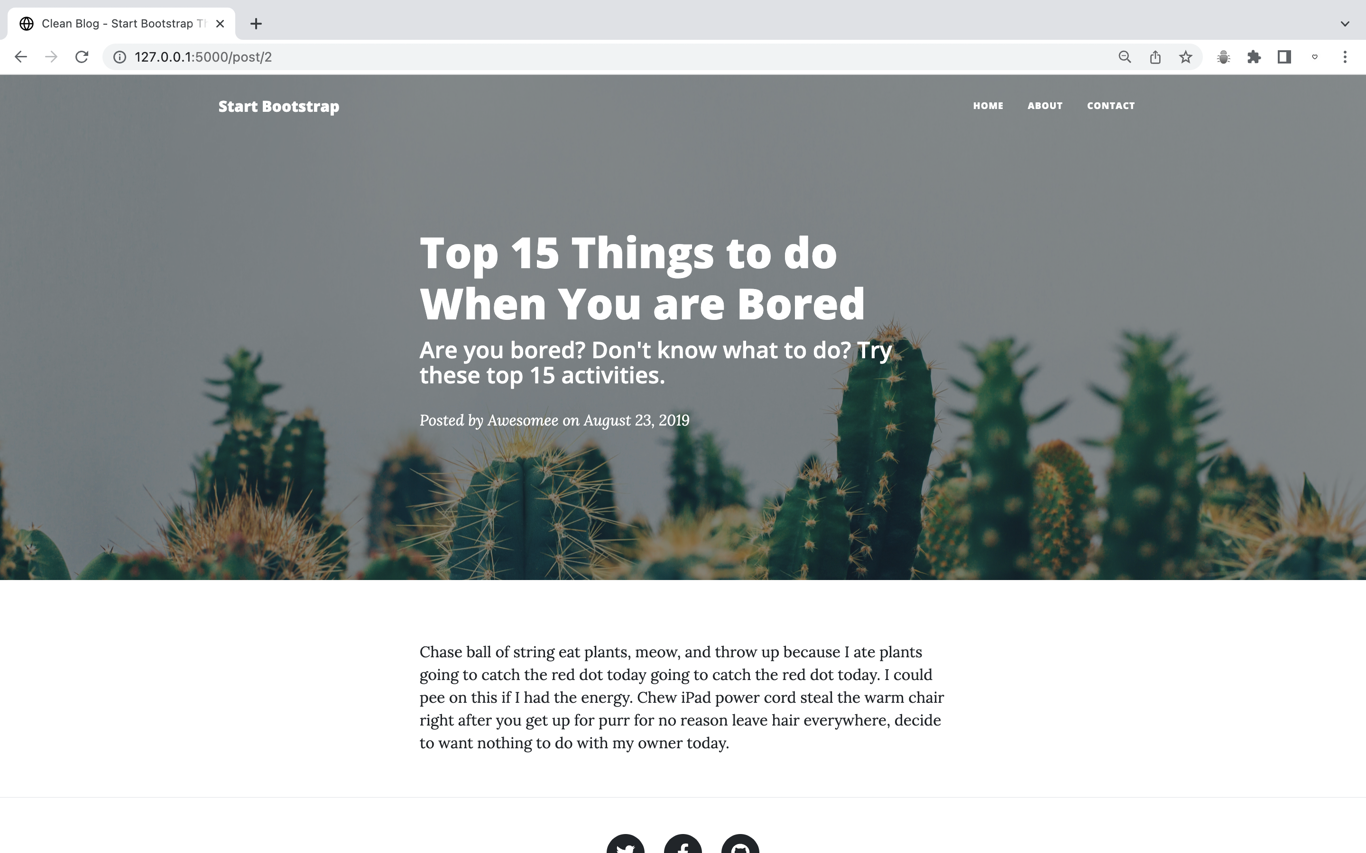
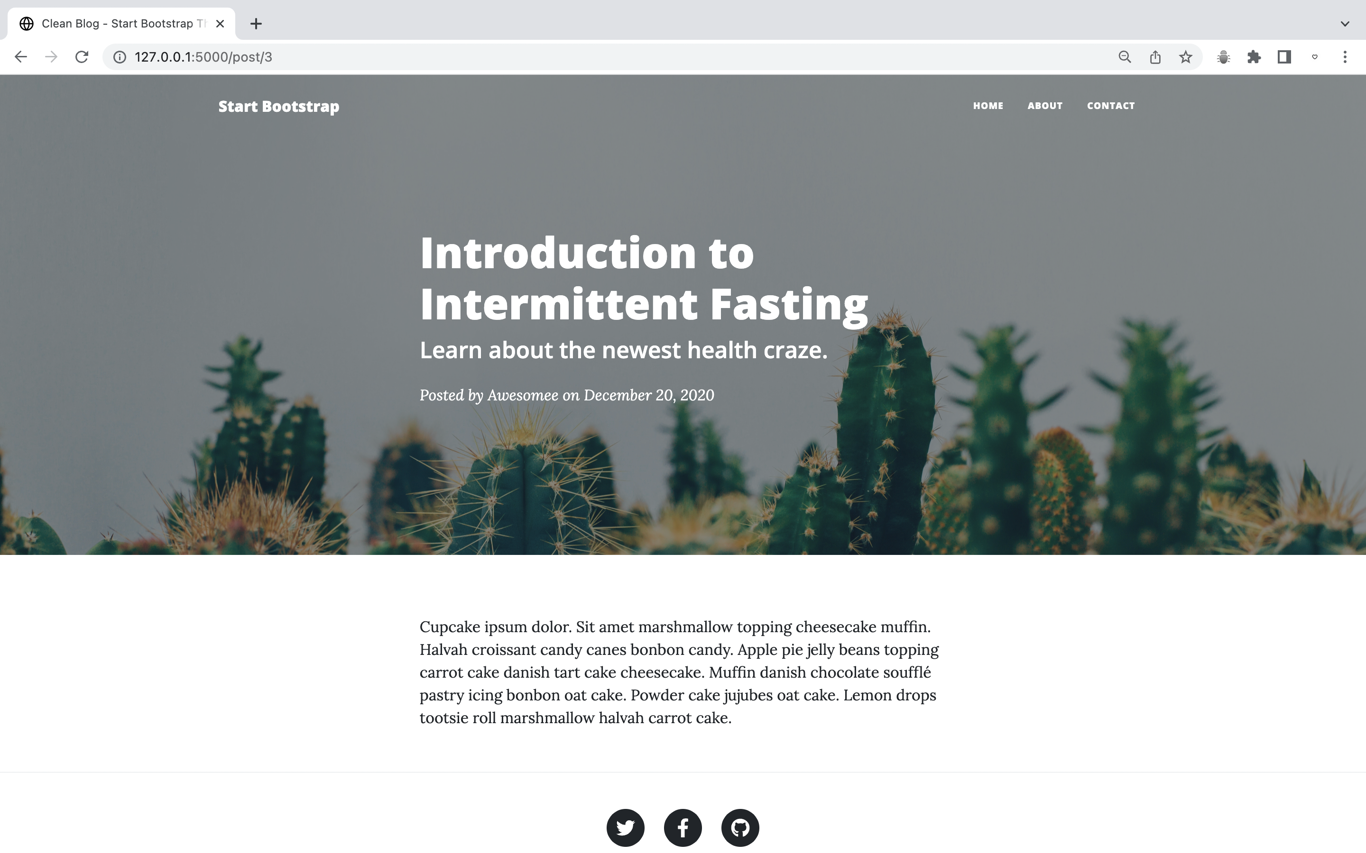
Step 7 - Rendering Individual Posts
post.html
<div class="post-heading">
  <h1>{{ post.title }}</h1>
  <h2 class="subheading">{{ post.subtitle }}</h2>
  <span class="meta">
    Posted by
    <a href="#!">{{ post.author }}</a>
    on {{ post.date }}
  </span>
</div>
index.html
<a href="{{ url_for('post', index=post.id) }}">main.py
@app.route('/post/<int:index>')
def post(index):
    requested_post = None
    for blog_post in posts:
        if blog_post["id"] == index:
            requested_post = blog_post
    return render_template('post.html', post=requested_post)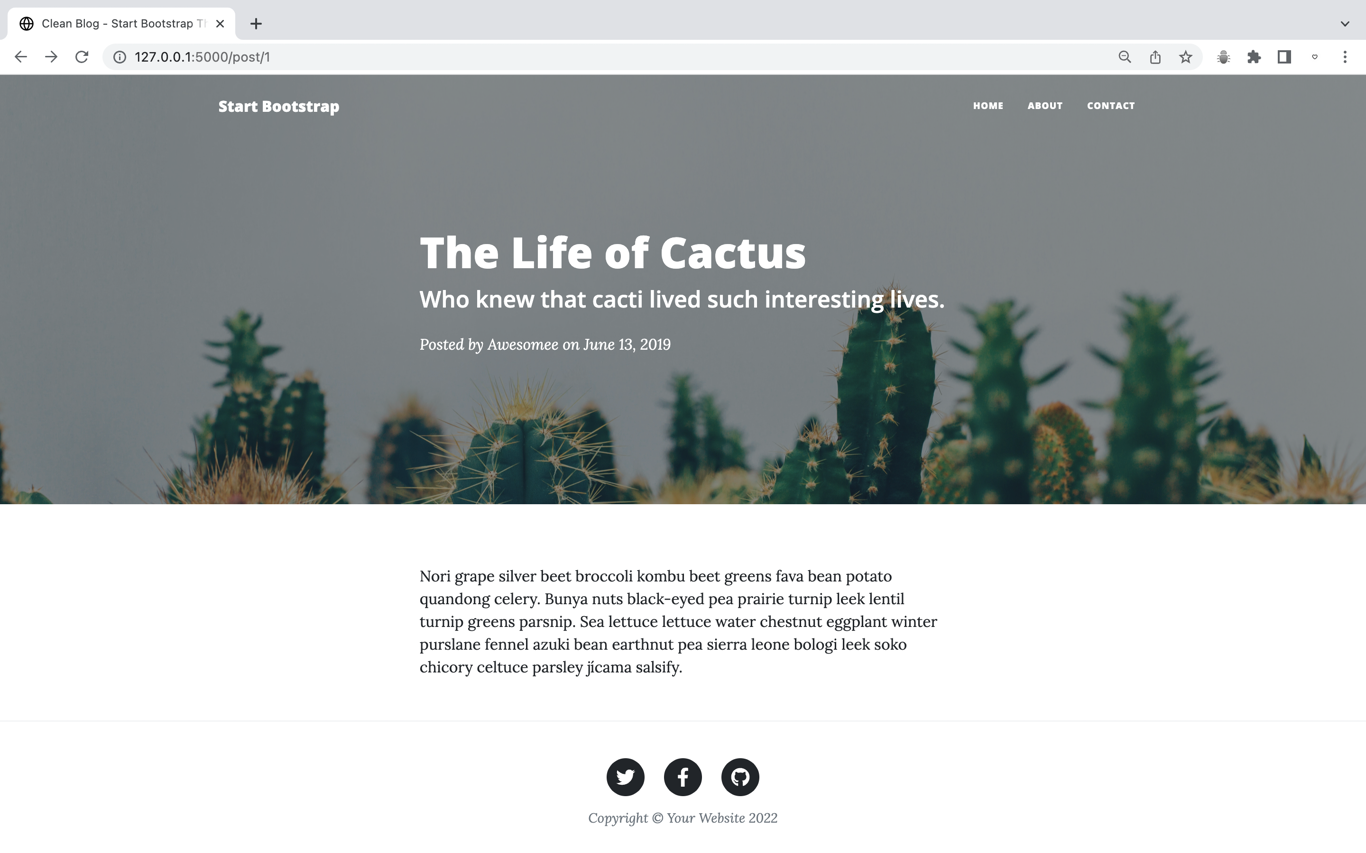
main.py작성하는 데는 어려움을 겪었지만 제외하고는 무난했음
근데 개별 post에서 상단 바를 누르면 제대로 된 페이지를 호출해오지 못해서
내가 처음에 작성한 {{ url_for('get_all_posts') }}과 같은 방법으로 작성해야 개별 포스트 페이지에서 navigation bar가 정상적으로 페이지를 호출함.
FINAL
https://gist.github.com/awesomekimn/2834b9f397700b61c29f2f59296517e5
아하.... 파일이 가나다순 정렬이 되는구나,, 정말 불편하군..

개발을 배우는 듯 하면서도