Udemy Python Bootcamp Day 061
Flask-WTForms
Flask-WTF
- Easy Form Validation
Makes sure the user is entering data in the required format in all the required fields. e.g. checking that the user's email entry has a "@" and a "." at the end. All without having to write your own validation code. - Less Code
If you have a number of forms in your website, using WTForm can dramatically reduce the amount of code you have to write (or copy & paste). - Built in CSRF Protection
CSRF stands for Cross Site Request Forgery, it's an attack that can be made on website forms which forces your users to do unintended actions (e.g. transfer money to a stranger) or compromise your website's security if it's an admin.
Installinf Flask-WTF
requirements.txt
Flask==2.0.3
Jinja2==3.1.1
main.py
from flask import Flask, render_template

app = Flask(__name__)


@app.route("/")
def home():
    return render_template('index.html')


@app.route('/login')
def login():
    return render_template('login.html')


if __name__ == '__main__':
    app.run(debug=True)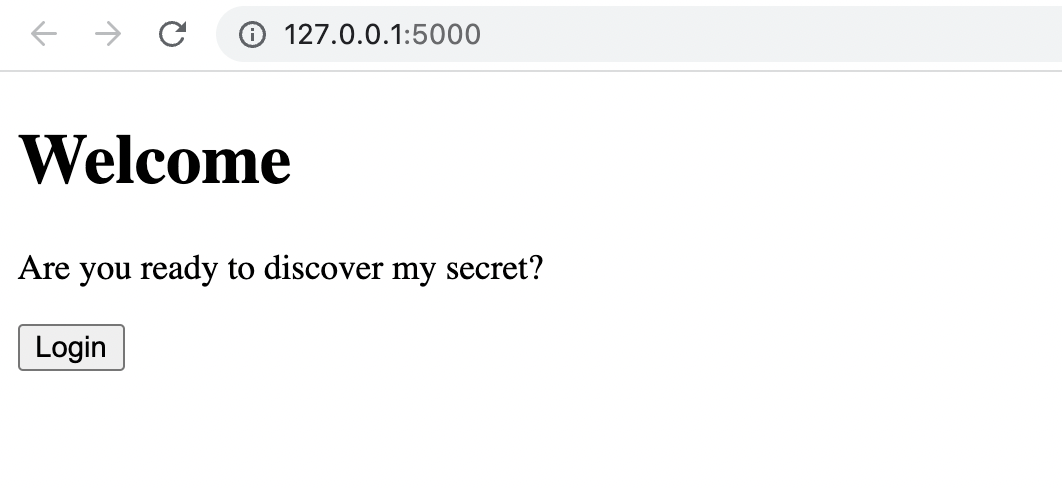
Creating Forms with Flask-WTF
<!DOCTYPE HTML>
<html>
<head>
<title>Login</title>
</head>
<body>
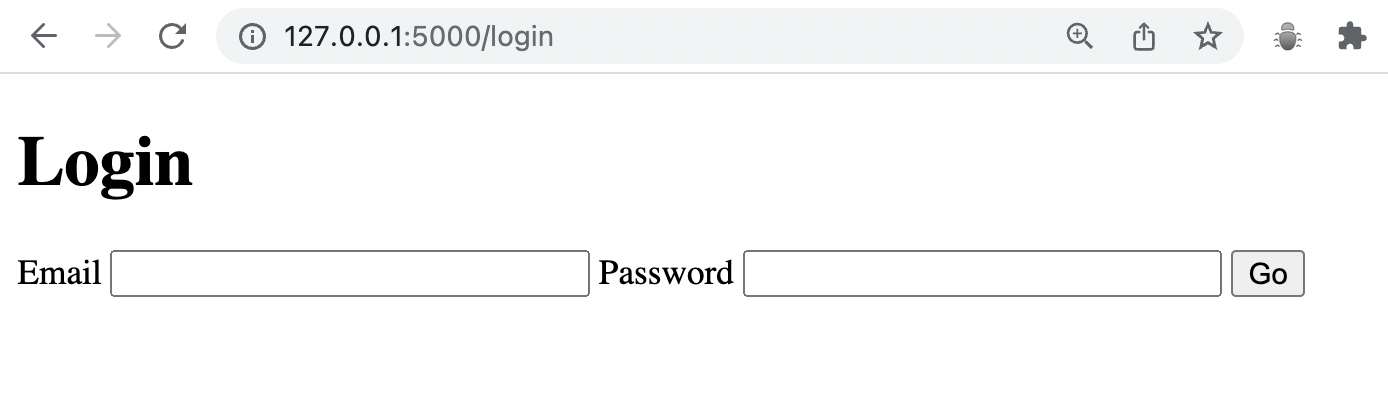
<div class="container">
<h1>Login</h1>
<form method="POST" action="/">
{{ form.csrf_token }}
{{ form.email.label }} {{ form.email(size=30) }}
{{ form.password.label }} {{ form.password(size=30) }}
<input type="submit" value="Go">
</form>
</div>
</body>
</html>from flask_wtf import FlaskForm
from wtforms import StringField
class LoginForm(FlaskForm):
email = StringField('Email')
password = StringField('Password')
app.secret_key = "any-string-you-want-just-keep-it-secret"
@app.route('/login')
def login():
login_form = LoginForm()
return render_template('login.html', form=login_form)
...app.secret_key가 무엇을 의미하는지 잘 모르겠음..
그래도 구현은 해냄
Code Improvements for Our WTForms
from wtforms import StringField, PasswordField, SubmitField

class LoginForm(FlaskForm):
    email = StringField(label='Email')
    password = PasswordField(label='Password')
submit = SubmitField(label='Log In')<form method="POST" action="{{ url_for('login') }}">
{{ form.csrf_token }}
<p>
{{ form.email.label }} <br> {{ form.email(size=30) }}
</p>
<p>
{{ form.password.label }} <br> {{ form.password(size=30) }}
</p>
{{ form.submit }}
</form>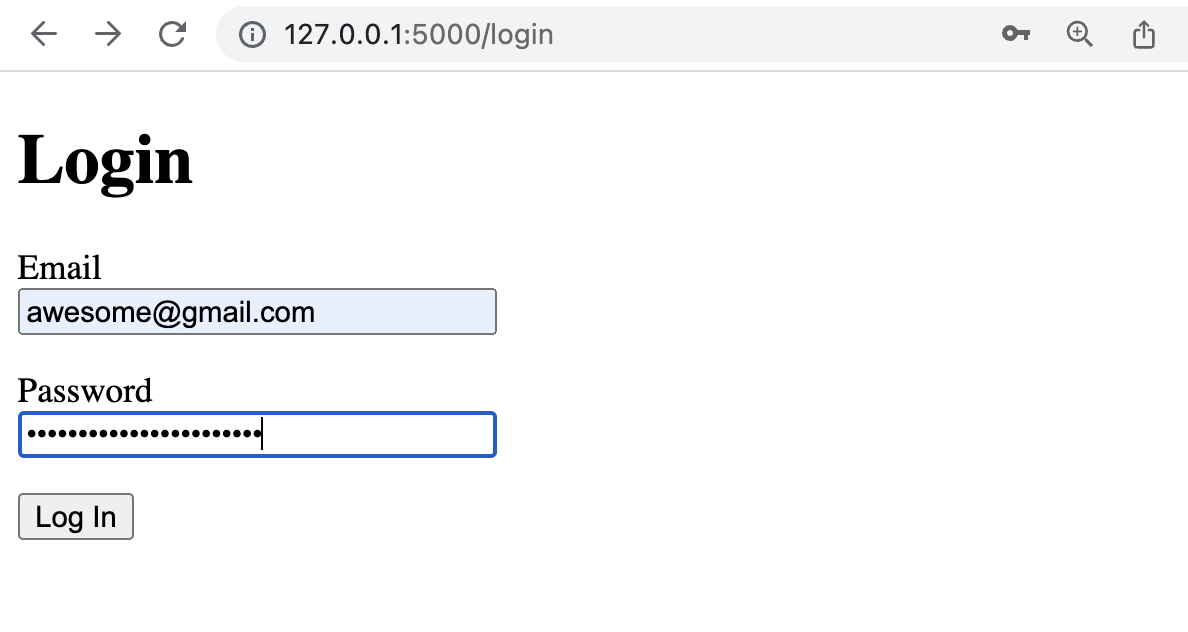
Adding Validation to Forms with Flask-WTF
One of the biggest reasons why we would choose WTForms over HTML Forms is the built-in validation.
Instead of us having to write our own validation code e.g. emails should contain a "@" and a "." to be valid or make sure that passwords are minimum of 8 characters, we can use all these validation rules straight out of the box from WTForms.
from wtforms.validators import DataRequired

class LoginForm(FlaskForm):
    email = StringField(label='Email', validators=[DataRequired()])
    password = PasswordField(label='Password', validators=[DataRequired()])
    submit = SubmitField(label='Log In')
The validators parameter accepts a List of validator Objects. DataRequired makes the two fields required fields, so the user must type something, otherwise an error will be generated.
When a form is submitted, there may be a number of errors, so a List of errors can be generated and passed over to our form HTML as a property on the field which generated the error, e.g.
form.<field>.errors
<p>
  {{ form.email.label }} <br> {{ form.email(size=30) }}
  {% for err in form.email.errors %}
  <span style="color:red">{{ err }}</span>
  {% endfor %}
</p>
<p>
  {{ form.password.label }} <br> {{ form.password(size=30) }}
  {% for err in form.password.errors %}
  <span style="color:red">{{ err }}</span>
  {% endfor %}
</p>
The final step is to tell our form to validate the user's entry when they hit submit. so we have to edit our route and make sure it is able to respond to POST requests and then to validate_on_submit().
@app.route('/login', methods=["GET", "POST"])
def login():
    login_form = LoginForm()
    login_form.validate_on_submit()
    return render_template('login.html', form=login_form)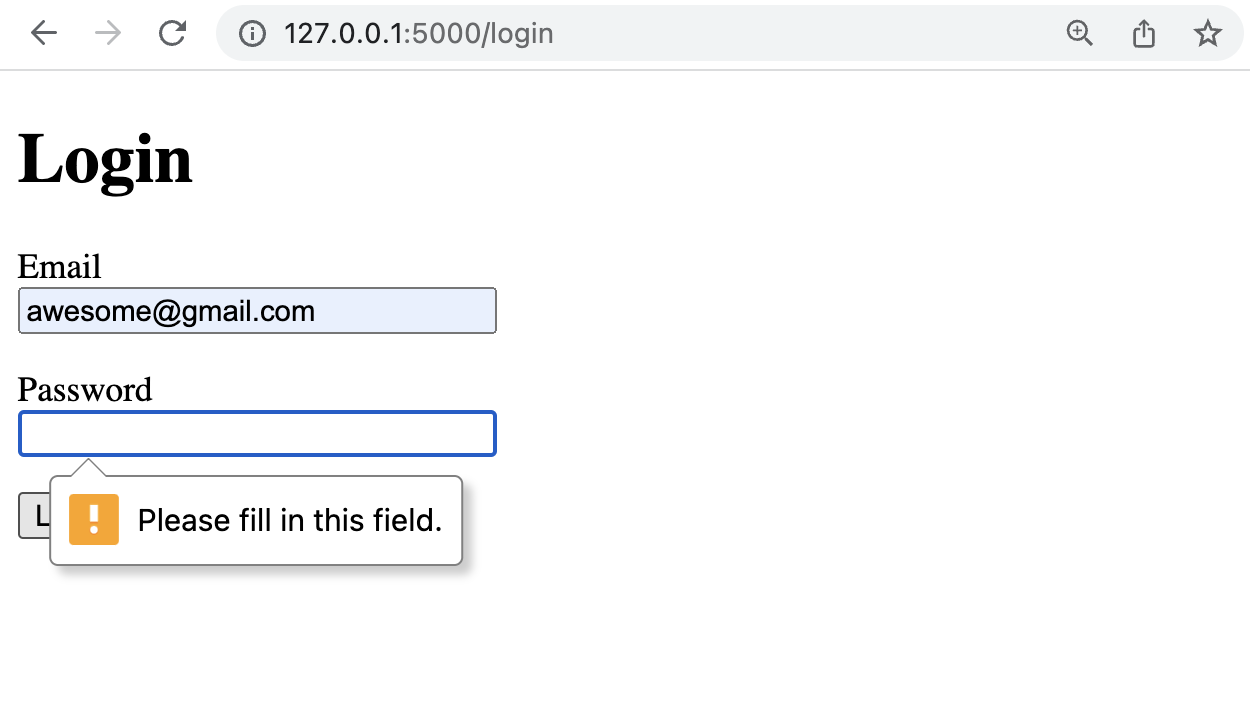
from wtforms.validators import DataRequired, Email, Length


class LoginForm(FlaskForm):
    email = StringField(label='Email',
                        validators=[DataRequired(),
                                    Email(message="Invalid email address.")])
    password = PasswordField(label='Password',
                             validators=[DataRequired(),
                                         Length(min=8, message="Field must be at least 8 characters long.")])
    submit = SubmitField(label='Log In')
Receiving Form Data with WTForms
With WTForms, it's even easier to get hold of the form data. All you have to do is to tap into the
<form_object>.<form_field>.data
@app.route('/login', methods=["GET", "POST"])
def login():
    login_form = LoginForm()
    if login_form.validate_on_submit():
        if login_form.email.data == "admin@email.com" and login_form.password.data == "12345678":
            return render_template('success.html')
        else:
            return render_template('denied.html')
    return render_template('login.html', form=login_form)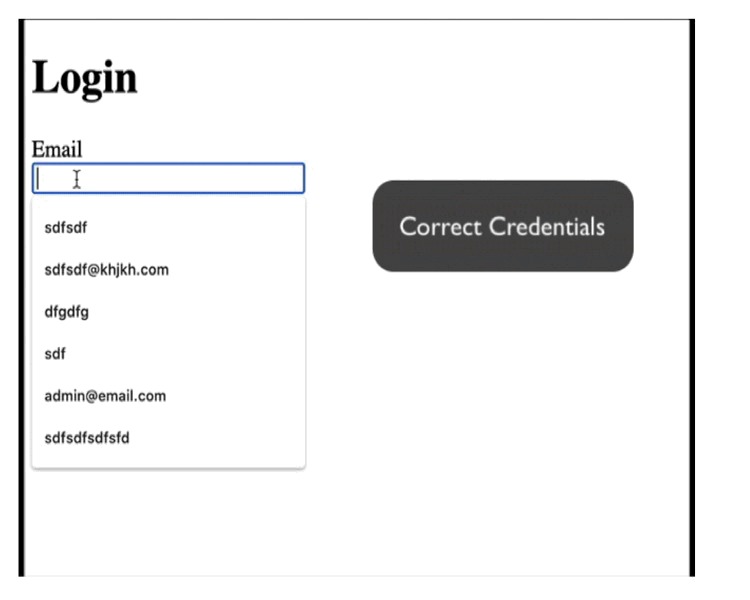
Inheriting Templates Using Jinja2
Template inheritance is similar to Class inheritance, you can take a parent template and extend its styling in your child web pages.
base.html
<!DOCTYPE html>
<html lang="en">
<head>
    <meta charset="UTF-8">
    <title>{% block title %}{% endblock %}</title>
</head>
<body>
    {% block content %}{% endblock %}
</body>
</html>
It has predefined areas (or blocks) where new content can be inserted by a child webpage inheriting from this template.
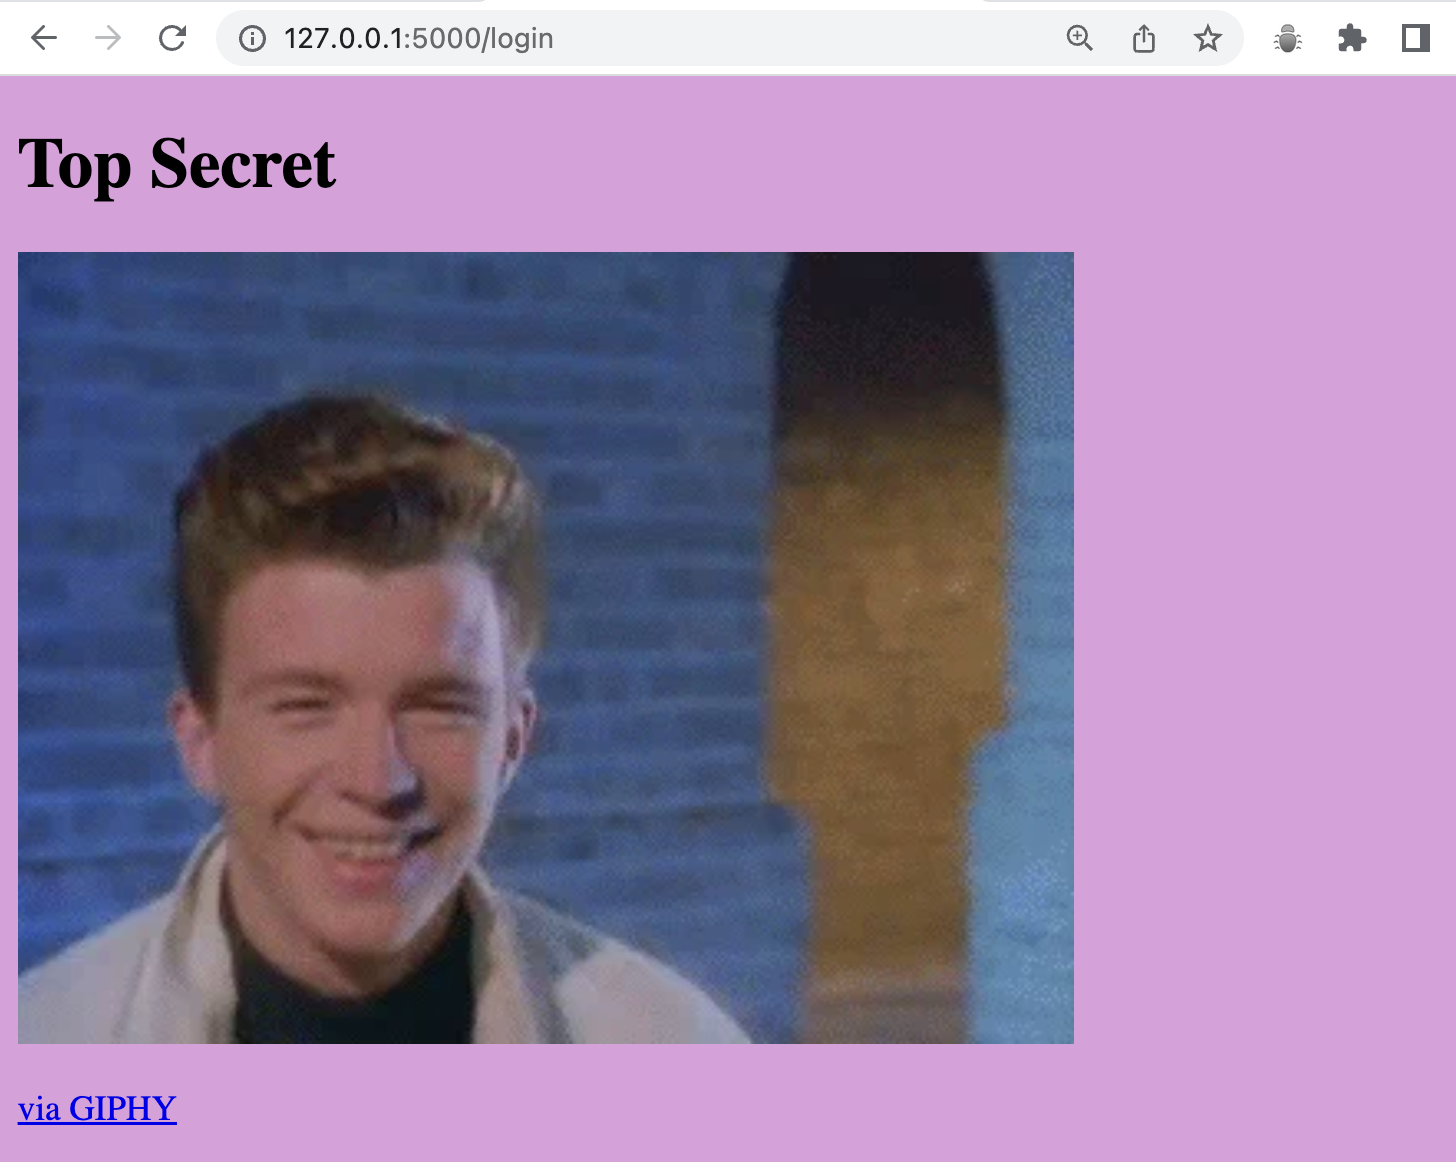
success.html
{% extends "base.html" %}

{% block title %}Success{% endblock %}

{% block content %}
   <div class="container">
      <h1>Top Secret </h1>
      <iframe src="https://giphy.com/embed/Ju7l5y9osyymQ" width="480" height="360" frameBorder="0" class="giphy-embed" allowFullScreen></iframe>
      <p><a href="https://giphy.com/gifs/rick-astley-Ju7l5y9osyymQ">via GIPHY</a></p>
   </div>
{% endblock %}
denied.html
{% extends "base.html" %}

{% block title %}Access Denied{% endblock %}

{% block content %}
	<div class="container">
		<h1>Access Denied </h1>
		<iframe src="https://giphy.com/embed/1xeVd1vr43nHO" width="480" height="271" frameBorder="0" class="giphy-embed" allowFullScreen></iframe>
		<p><a href="https://giphy.com/gifs/cheezburger-funny-dog-fails-1xeVd1vr43nHO">via GIPHY</a></p>
	</div>
{% endblock %}
base.html
<style>
  {% block styling %}
  body{
  background: plum;
  }
  {% endblock %}
</style>
denied.html
{% block styling %}
   {{ super() }}
   h1 {
      color:red;
   }
{% endblock %}
On the denied.html page, add a super block using {{ super() }}, this will inject all the code in the styling block to this child page. Then afterwards before the {% endblock %}, we can add some more styling to change the colour of the <h1>.

Using Flask-Bootstrap as an Inherited Template
The way that we're going to quickly improve the appearance of our website is of course through that super useful tool we learnt about on Bootstrap.
from flask_bootstrap import Bootstrap

Bootstrap(app)
pip3 install Flask-Bootstrap in Terminal
index.html
{% extends "bootstrap/base.html" %}

{% block title %}Secrets{% endblock %}

{% block content %}
   <div class="jumbotron">
	   <div class="container">
		   <h1>Welcome</h1>
		   <p>Are you ready to discover my secret?</p>
		   <button class="btn btn-primary btn-lg" onclick="window.location.href='/login'">Login</button>
	   </div>
   </div>
{% endblock %}
on top of each HTML file in the templates folder.
{% extends "bootstrap/base.html" %}
Flask-Bootstrap Supports WTForms
One of the main reasons why we're using Flask-Bootstrap in this project is because it has one of the most convenient methods for generating forms with WTForms.
login.html
{% extends "bootstrap/base.html" %}
{% import "bootstrap/wtf.html" as wtf %}

{% block title %}Login{% endblock %}

{% block content %}
   <div class="container">
	   <h1>Login</h1>

	   {{ wtf.quick_form(form, novalidate=True) }}

   </div>
{% endblock %}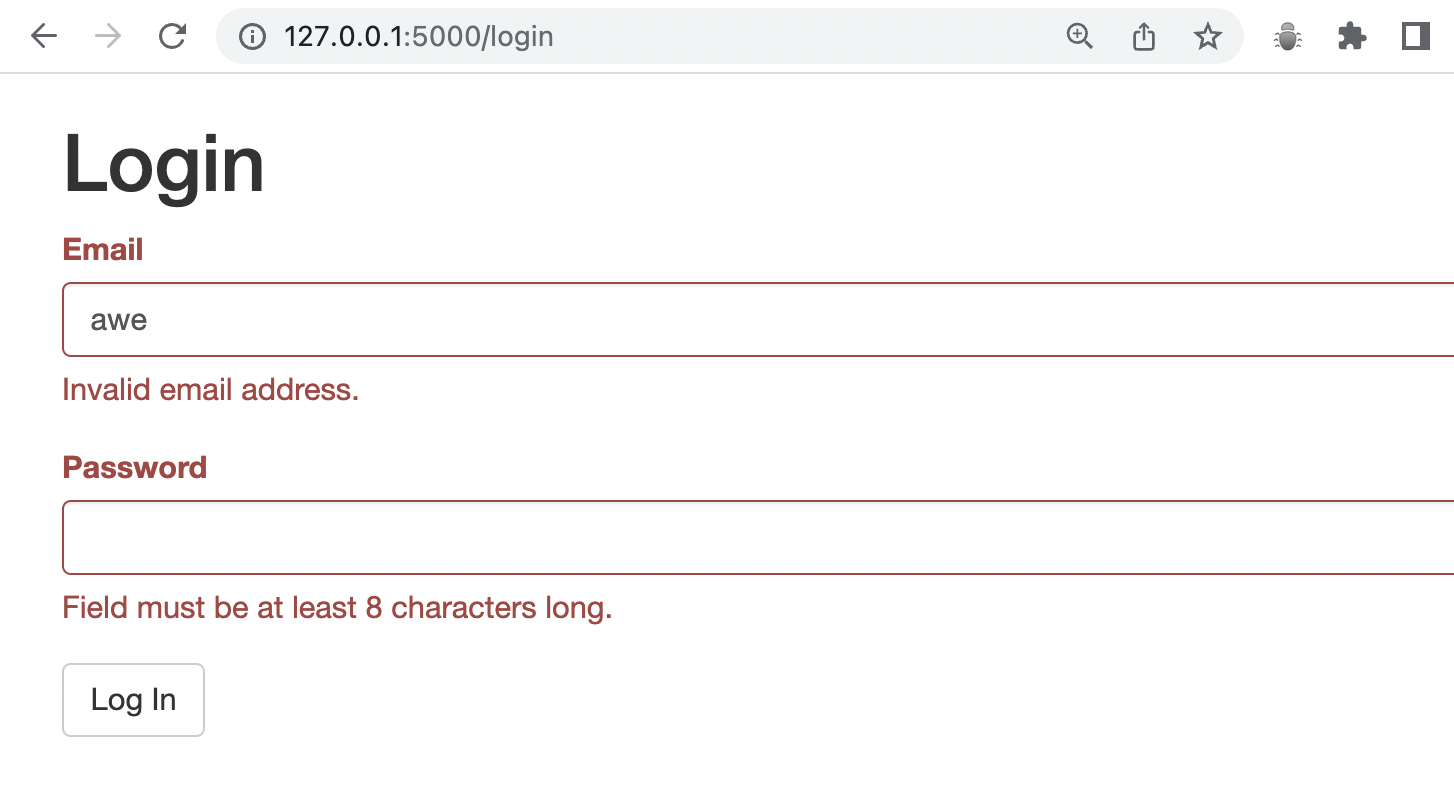
FINAL
https://gist.github.com/awesomekimn/5d7a091e99b4ee32b898be6e6a8e3149