1. 웹 스크래핑
-
웹 스크래핑
웹에서 원하는 데이터를 추출하는 행위
-
웹 크롤링과의 차이
웹 스크래핑은 원하는 데이터만을 가져오는 것인 반면에 웹 크롤링은 웹페이지의 링크를 따라 모든 데이터를 가져오는 것임
2. 웹 스크래핑을 위한 선행 지식
1) HTML
- HTML(Hyper Text Markup Language) : 웹 페이지를 표시하기 위한 언어
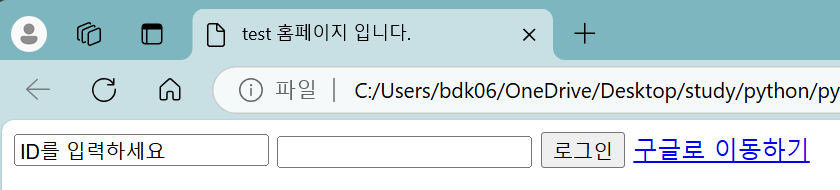
예시
<html>
    <head> <!-- header 부분 -->
        <meta charset="utf-8">
        <title>test 홈페이지 입니다.</title> <!-- 홈페이지 타이틀 -->
    </head>
    <body> <!-- 본문 부분 -->
        <input type="text", value="ID를 입력하세요"> <!-- type(세부 요소 종류)와 value(세부 요소의 값)는 attribute -->
        <input type="password">
        <input type="button" value="로그인">
        <a href="http://www.google.com">구글로 이동하기</a>
    </body>
</html><html></html>: html 파일 시작과 끝 부분<head></head>: 웹 페이지의 header 부분<title></title>: 홈페이지의 제목 부분<meta>: html 파일의 메타 데이터를 지정
<body></body>: 웹 페이지의 본문 부분- input : 입력하는 공간을 생성함
- type : 세부 요소의 종류
- value : 세부 요소의 값
- a : 링크를 생성함
- href : 링크의 주소
- input : 입력하는 공간을 생성함
더 자세한 참고 자료
https://www.w3schools.com/html/
2) XPath
- XPath(XML Path Language) : XML 문서의 특정 요소 또는 속성에 접근하기 위한 경로를 지정하는 언어
형식
- 최상위요소/상위요소/..../하위요소[index]/최하위요소
<index가 있는 경우에만 [index]로 지정>- {경로}[조건] <특정한 고유한 값이 존재할 때 사용>
-
요소
/: 하위 단계//: 상위 단계*: element와 상관 없이 전체 검색@: 속성
-
예시 : id가 login인 모든 요소를 문서 전체에서 찾으시오
- //*[@id="login"]
필요한 이유
- 다음과 같은 html tag가 존재한다고 가정하자
<place="elementary_school">
    <grade value="1st">
        <class value="1">
            <student value="1">박명수</student>
            <student value="2">유재석</student>
            <student value="3">이정재</student>
            <student value="4">이정재</student>
            <student value="5">조세호</student>
        </class>
        <class value="2"></class>
        <class value="3"></class>
    </grade>
    <grade value="2nd"></grade>
    <grade value="3rd"></grade>
    <grade value="4th"></grade>
    <grade value="5th"></grade>
    <grade value="6th"></grade>
</place>- 여기서 동명이인인 3번 이정재와 4번 이정재를 구분하려면 어떻게 해아 할까?
▶ 명확한 구분을 위해서 XPath를 사용 - XPath를 사용하기 위해서 3번 이정재를 가르키는 방법
- place/grade/class/student[3]
3) Requests
- Requests 라이브러리 : 웹 스크래핑을 하기 위한 html 문서 정보를 가져오기 위해 사용하는 라이브러리
설치
pip install requests
응답 코드 출력하기
import requests

res = requests.get("http://naver.com")
print("응답코드 :", res.status_code)

if res.status_code == requests.codes.ok:
    print("정상입니다.")
else:
    print(f"문제가 발생했습니다. [에러 코드 : {res.status_code}]")

res.raise_for_status()
print("웝 스크래핑을 진행합니다.")- get(도메인) : 특정 도메인의 정보를 요청함
- status_code : 응답 코드 정보를 담고 있음
- 응답 코드- 2xx : 성공적으로 작업을 받아들임
- 4xx : 요청이 바르지 않음
- raise_for_status : 문제가 발생할 경우에 오류 코드를 출력하고 프로그램을 정지시킴
웹에서 html 파일 가져오기
res = requests.get("http://google.com")
res.raise_for_status()

print(res.text)

with open("mygoogle.html", "w", encoding="utf8") as file:
file.write(res.text)- res.text : 사용자가 응답을 요구한 사이트의 내용
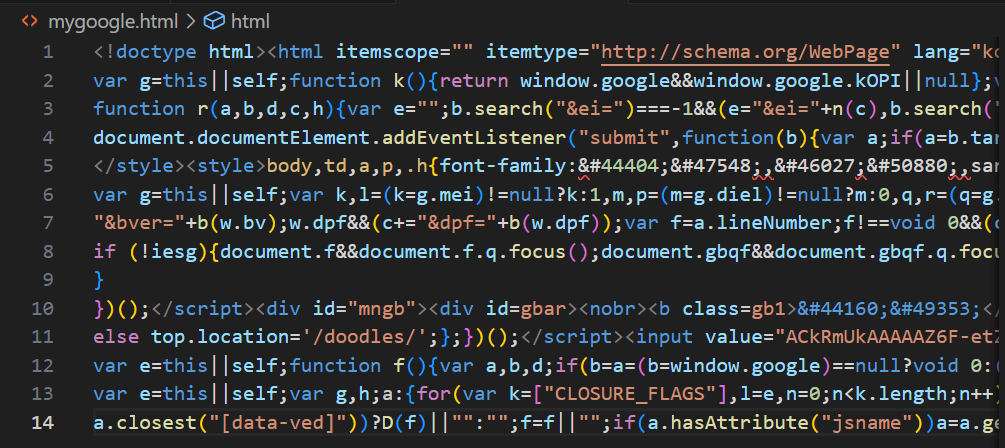 도메인에서 해당 페이지 html파일을 가져옴 도메인에서 해당 페이지 html파일을 가져옴 | 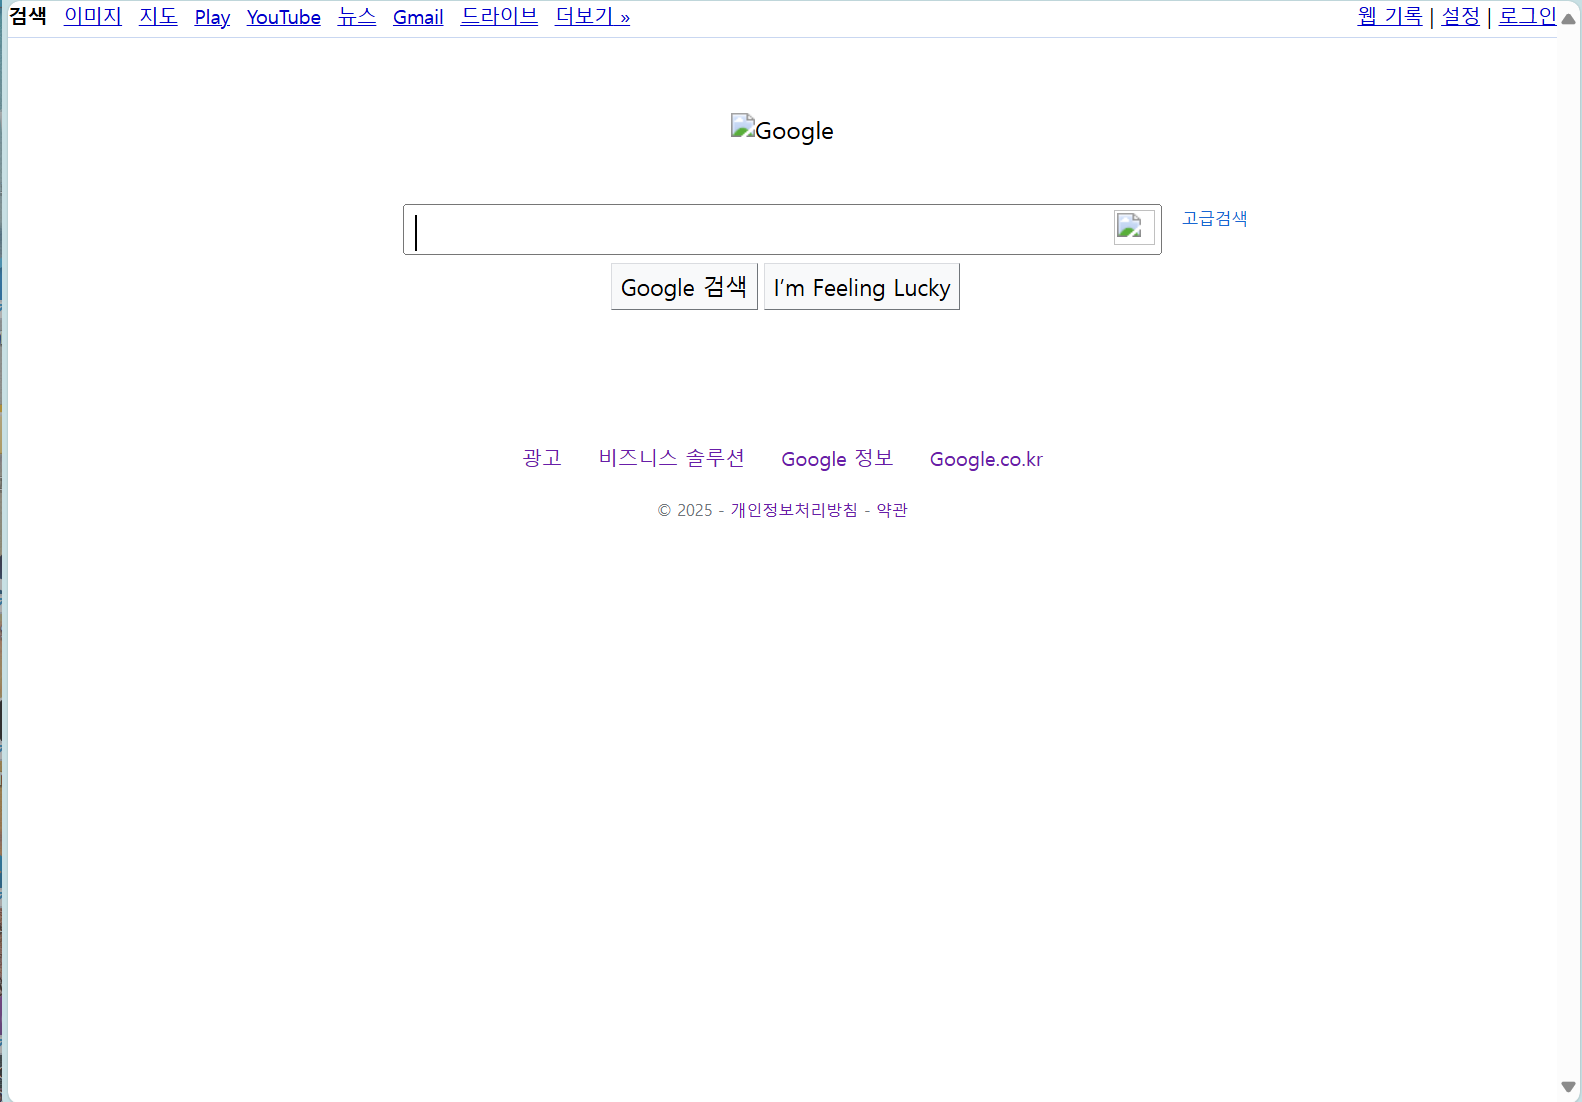 실행 결과 google 페이지와 같은 형태가 나타남 실행 결과 google 페이지와 같은 형태가 나타남 |
|---|
4) 정규식
- 정규식 : 정해진 식의 형태
- ex) 주민등록번호 형식은 000000-0000000 형태를 가짐
정규식 와일드 카드
.: 하나의 문자 (ex: ca.e → care, cafe...)^: 문자열의 시작 (ex: ^de → desk, destiny...)$: 문자열의 끝 (ex: se$ → case, base...)
파이썬 re 라이브러리
- compile(정규식) : 특정 정규식을 저장하는 역할
- match(문자열) : match : 특정 문자열과 처음부터 일치하는 지 확인하는 역할 (앞 부분이 일치하는 경우 뒷 부분은 무시하고 일치한다고 간주함)
- search(문자열) : 주어진 문자열 중에 일치하는 것이 있는지 확인하는 역할
- findall(문자열) : 일치하는 모든 부분을 리스트 형태로 반환
- group() : 매치되면 특정 문자열을 출력하고 매치 되지 않으면 오류가 발생시키는 역할
- string : 입력 받은 문자열을 그대로 출력하는 역할
- start() : 일치하는 문자열의 시작 index를 출력하는 역할
- end() : 일치하는 문자열의 끝 index를 출력하는 역할
- span() : 일치하는 문자열의 시작과 끝 index를 출력하는 역할
예제
import re

p = re.compile("ca.e")

def print_match(m):
    if m:
        print(m.group())
        print(m.string)
        print(m.start())
        print(m.end())
        print(m.span())
    else:
        print("매칭되지 않습니다.")

m = p.match("case")
print(m.group())

m = p.search("good care")
print_match(m)

lst = p.findall("good care cafe")
print(lst)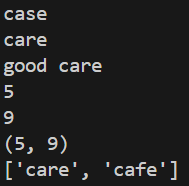
더 자세한 참고 자료
https://docs.python.org/ko/3.13/library/re.html
5) User Agent
- User Agent : 웹 페이지에 접속할 때 각 운영 체제나 기기 등을 식별할 수 있도록 하는 특성 문자열(웹 헤더에 있는 정보 중 하나)
User Agent 확인하는 방법
https://www.whatismybrowser.com/detect/what-is-my-user-agent/
User Agent 활용
-
request할 때 User Agent를 같이 보내 접근 권한 제한을 벗어날 수 있음
-
예시
import requests

url = "https://velog.io/@bdk0206/posts"
res = requests.get(url)
res.raise_for_status()

with open("velog.html", "w", encoding="utf8") as file:
    file.write(res.text)
라는 코드가 있을 때 실행을 하면 오류가 발생하며 웹 페이지 정보가 누락되어 제대로 정보를 가져오지 못함
import requests

url = "https://velog.io/@bdk0206/posts"
headers = {"User-Agent": "Your-User-Agent"}
res = requests.get(url, headers=headers)
res.raise_for_status()

with open("velog.html", "w", encoding="utf8") as file:
    file.write(res.text)
이 때, User Agent 정보를 request할 때 함께 보내주게 된다면 403 오류가 발생하지 않고 웹 페이지를 잘 가져오게 됨

코딩하는 찍찍이 🐀