오늘은 colab을 통하여 간단한 RNN실습을 해보겠다!
data preprocessing
Importing the libraries
Importing the training set

위에서 [:, 1:2].values #iloc[:, 1:2].values인 이유는 적어두었지만, 넘파이 배열을 만들어야 하기때문이다 2는 상한이기에 포함되지 않으면서 넘파이 배열을 생성 가능하다.
Feature Scaling

Creating a data structure with 60 timesteps and 1 output
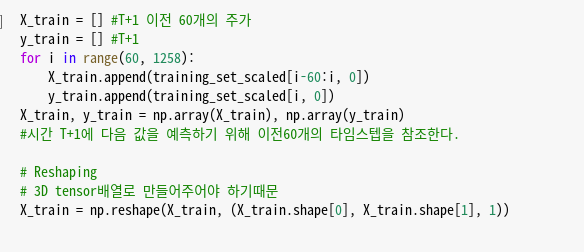
timesteps가 60인 이유는 단순히 60일 이전까지의 동향을 참조하고 싶기 때문이다.
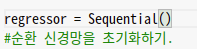
Building the RNN
from keras.models import Sequential #시퀀셜 신경망을 만드는 class
from keras.layers import Dense #출력층을 추가하는 class
from keras.layers import LSTM # LSTM (Long Short Term Memory)는 기존의 RNN이 출력과 먼 위치에 있는 정보를 기억할 수 없다는 단점을 보완하여 장/단기 기억을 가능하게 설계한 신경망의 구조 class
from keras.layers import Dropout #과적합방지
Initialising the RNN
Adding the first LSTM layer and some Dropout regularisation
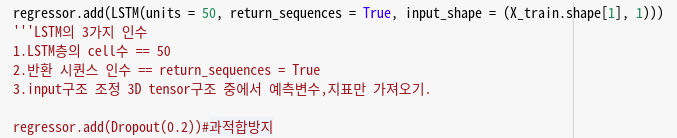
LSTM의 3가지 인수는 clll수, 반환시퀀스, input의 shape이다.
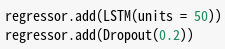
Adding a second LSTM layer and some Dropout regularisation

Adding a third LSTM layer and some Dropout regularisation

Adding a fourth LSTM layer and some Dropout regularisation
Adding the output layer

마지막으로 output layer까지 추가해 주고나면 컴파일후 학습만 시키면 된다!
Compiling the RNN

Fitting the RNN to the Training set

visualising the results
Getting the real stock price of 2017

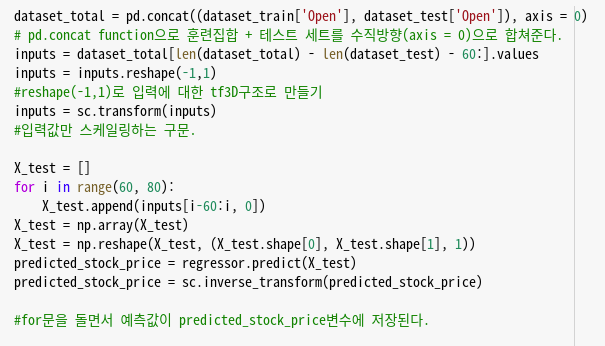
Getting the predicted stock price of 2017
Visualising the results
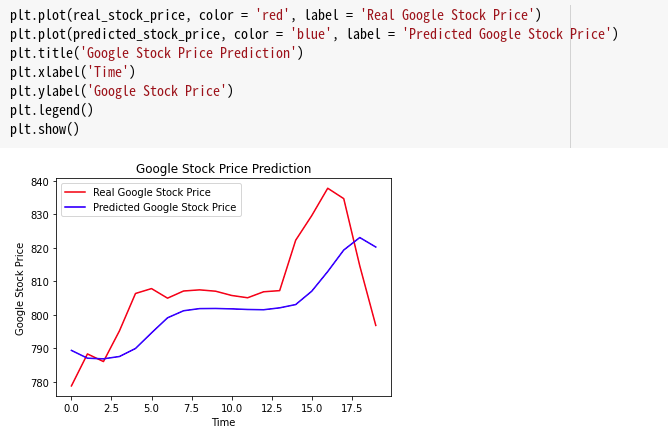
이로써 시각화까지 모든 실습을 끝낼 수 있었다.
Kaggle에서 확인하기.

그저 그런 개발자가 되지 않겠습니다.