1) 클라이언트 양식 유효성 검사
form 제출에 대한 유효성 검사
1) 부트스트램 'Validation ' 이용
- Form 형식이 있는 곳에 script 태그로 맨 밑에 붙이기
// Example starter JavaScript for disabling form submissions if there are invalid fields
(() => {
  'use strict'

  // Fetch all the forms we want to apply custom Bootstrap validation styles to
  const forms = document.querySelectorAll('.needs-validation')

  // Loop over them and prevent submission
  Array.from(forms).forEach(form => {
    form.addEventListener('submit', event => {
      if (!form.checkValidity()) {
        event.preventDefault()
        event.stopPropagation()
      }

      form.classList.add('was-validated')
    }, false)
  })
})()
<% layout('layouts/boilerplate')%>
<div class="row">
<h1 class="text-center">New Campground</h1>
<!-- 열의 절반을 차지하되 왼쪽으로 쏠리지 않고 가운데로 오게끔 3만큼 ㅇffset 시키는것.-->
<div class="col-6 offset-3">
<!-- 해당 제출 폼의 클래스와 JS에서 불러오는 클래스명이 동일해야함.-->
<!-- 또한 폼의 모든 인풋들이 'required'로 맞쳐줘야 필수로 입력하라는 문구 나옴.-->
<form action="/campgrounds" method="POST" novalidate class="validated-form">
<!-- mb-3 : css 파일을 따로 만드는것보다 부트스트랩 클래스를 이용하는것이 더 효율적-->
<div class="mb-3">
<label class="form-label" for="title">Title</label>
<!-- campground[title]처럼 중괄호사이에 이름이나 위치등을 넣으면 데이터가 POST 요쳥을 해서
Express 앱을 지나 서버로 갈 때 <body>에 포함된게 campground라고 정렬됨.
콘텐츠를 그룹화 할 수 있는 좋은 방법.-->
<input
class="form-control"
type="text"
id="title"
name="campground[title]"
required
/>
<!-- 올바른 입력을 했을 때 Looks good!이 뜨게 만듦.-->
<div class="valid-feedback">Looks good!</div>
</div>
<div class="mb-3">
<label class="form-label" for="location">Location</label>
<input
class="form-control"
type="text"
id="location"
name="campground[location]]"
required
/>
<div class="valid-feedback">Looks good!</div>
</div>
<div class="mb-3">
<label class="form-label" for="image">Image URL</label>
<!-- campground[title]처럼 중괄호사이에 이름이나 위치등을 넣으면 데이터가 POST 요쳥을 해서
Express 앱을 지나 서버로 갈 때 <body>에 포함된게 campground라고 정렬됨.
콘텐츠를 그룹화 할 수 있는 좋은 방법.-->
<input
class="form-control"
type="text"
id="image"
name="campground[image]"
required
/>
<div class="valid-feedback">Looks good!</div>
</div>
<div class="mb-3">
<label class="form-label" for="price">Campground Price</label>
<div class="input-group">
<span class="input-group-text">$</span>
<input
type="text"
class="form-control"
aria-label="price"
id="price"
placeholder="0"
name="campground[price]"
required
/>
<span class="input-group-text">.00</span>
<div class="valid-feedback">Looks good!</div>
</div>
</div>
<div class="mb-3">
<label class="form-label" for="description">Description</label>
<!-- campground[title]처럼 중괄호사이에 이름이나 위치등을 넣으면 데이터가 POST 요쳥을 해서
Express 앱을 지나 서버로 갈 때 <body>에 포함된게 campground라고 정렬됨.
콘텐츠를 그룹화 할 수 있는 좋은 방법.-->
<textarea
class="form-control"
type="text"
id="description"
name="campground[description]"
required
>
</textarea>
<div class="valid-feedback">Looks good!</div>
</div>
<div class="div mb-3">
<button class="btn btn-primary">Submit</button>
</div>
</form>
<a href="/campgrounds">All Campgrounds</a>
</div>
</div><주의점>
1) const forms = document.querySelectorAll('.needs-validation') 이부분에서 찾고자하는 클래스명('.needs-validation')과
form 의 클래스명이 일치해야함.
2) input태그 즉 입력받는 항목들은 모두 'required' 가 되야아함.
3) form태그에 'novalidate'를 추가
4) 입력되지 않은 상태에서 제출이 안돼 올바른 입력값을 입력했을 때 올바른 입력을 알려주는 문구 출력을 위한 태그 추가
<div class="valid-feedback">Looks good!</div>
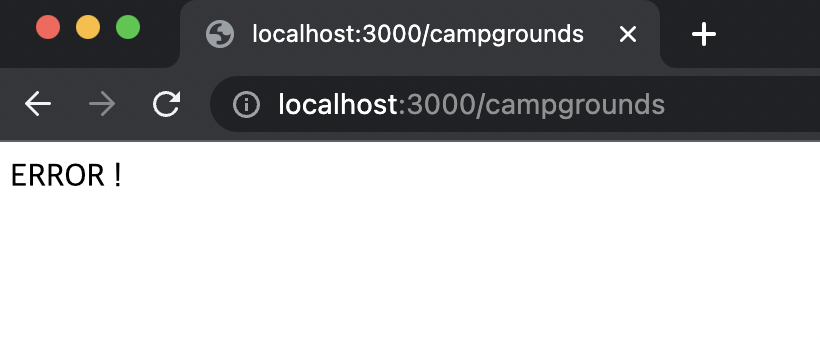
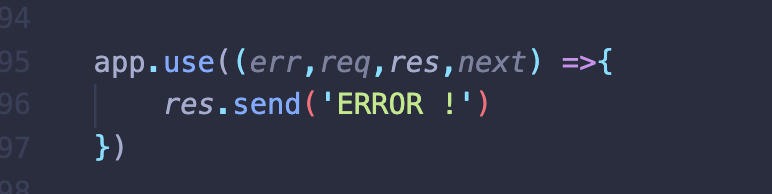
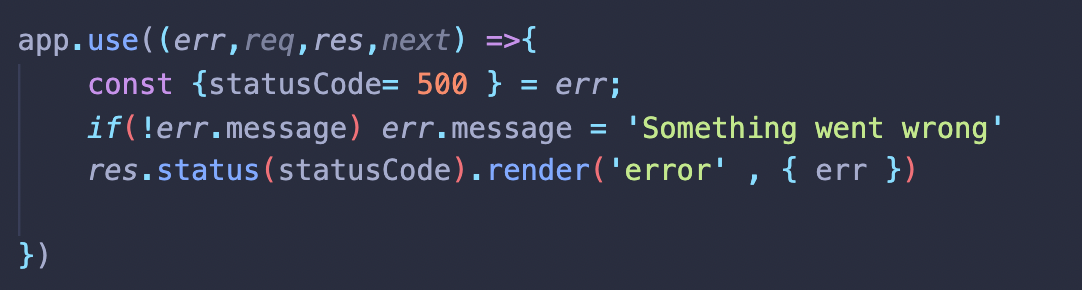
2) 기본 오류 처리기
'값'을 입력하는 자리에 숫자가 아닌 문자를 입력 한 경우
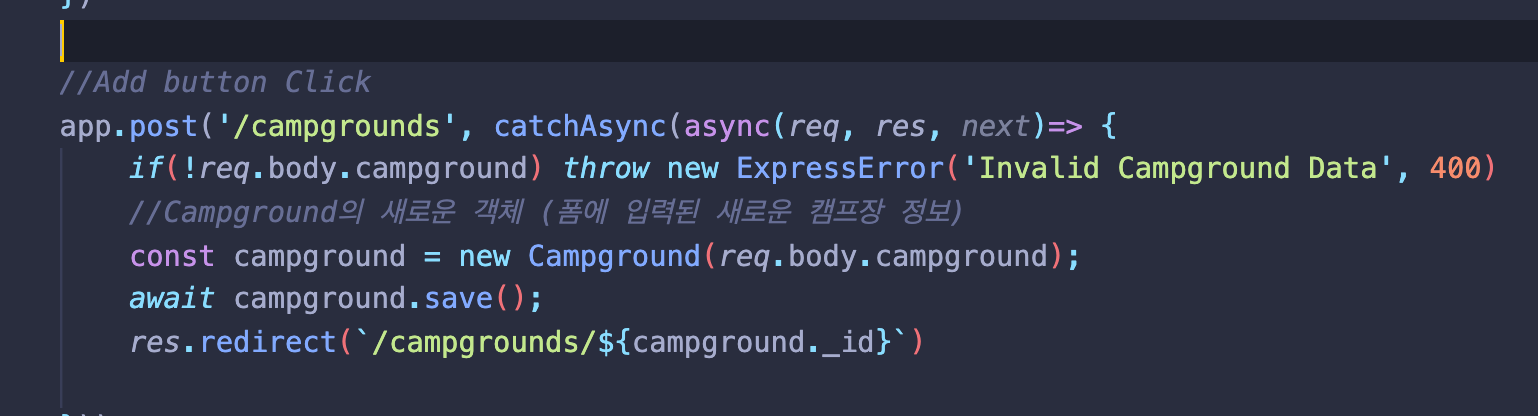
3) ExpressError Class 정의하기
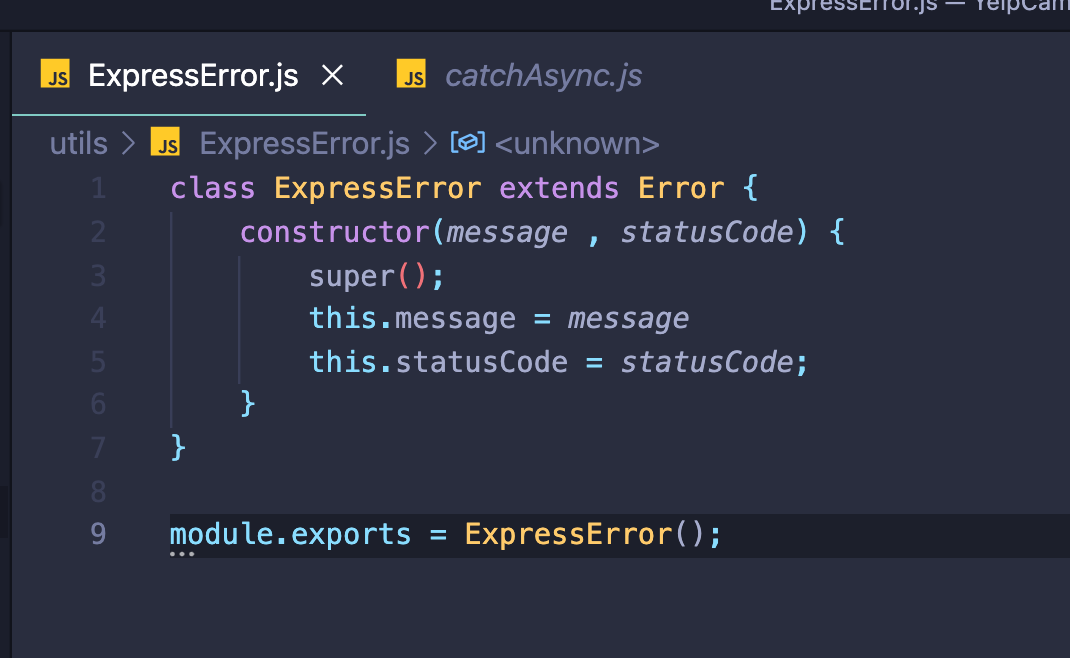
- Mongoose에서 catchAsync에 걸리는 오류가 발생한다면 캐스트 오류를 통해 확인하고 next로 전달.
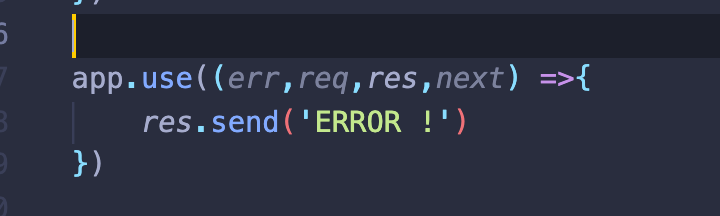
( 이게 catchAsync의 역할임) - 그러고 나면 app.use(err,req,res,next) 함수에서 해당 오류인식하고 오류 문구 출력.
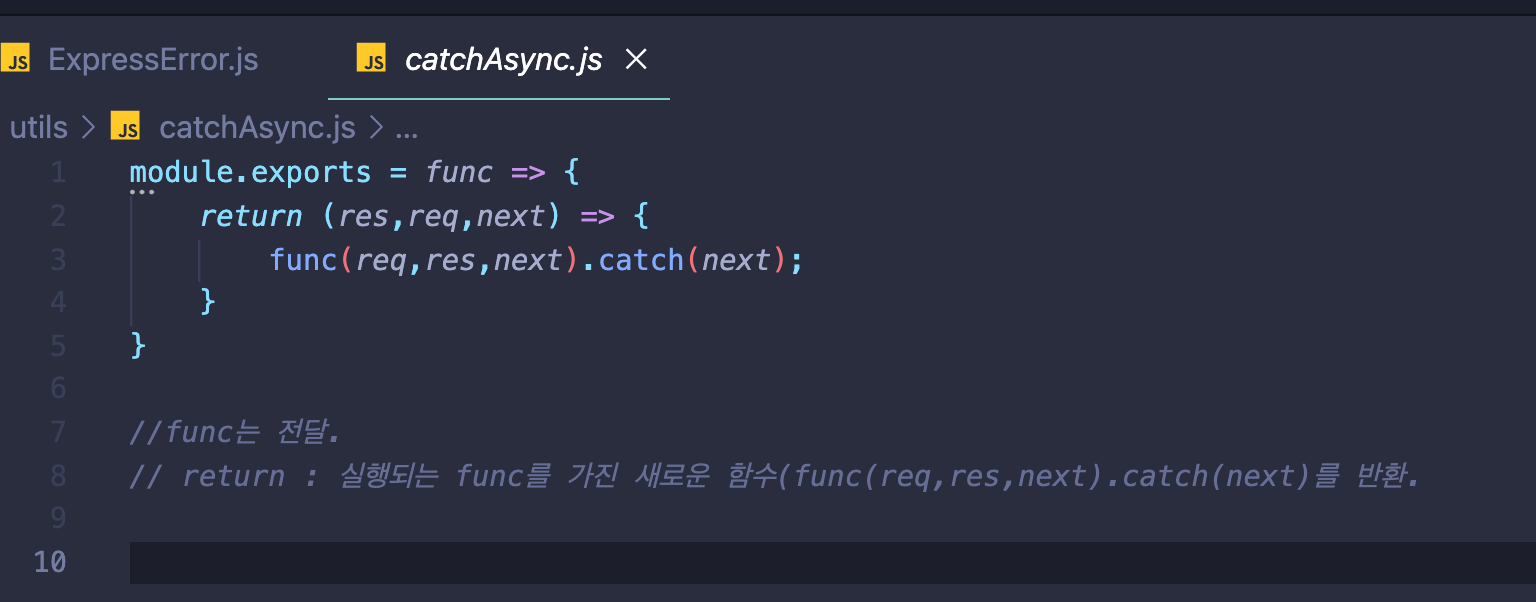
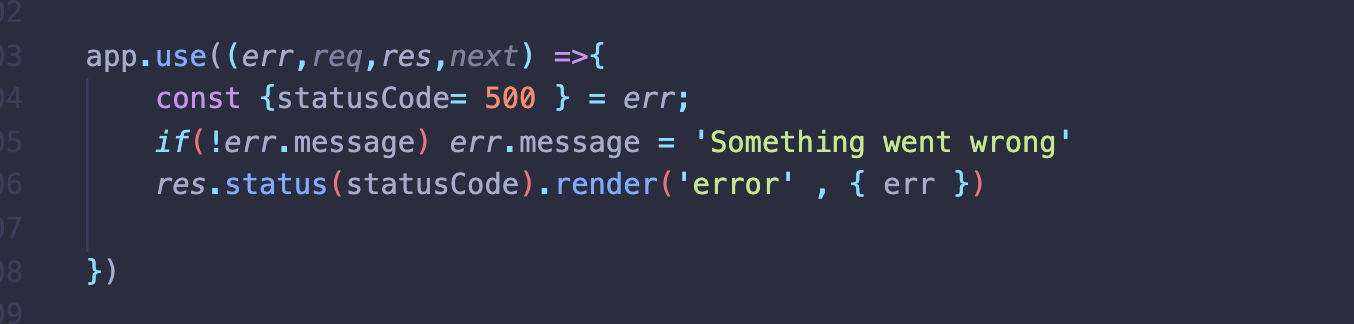
4) 오류 더 알아보기
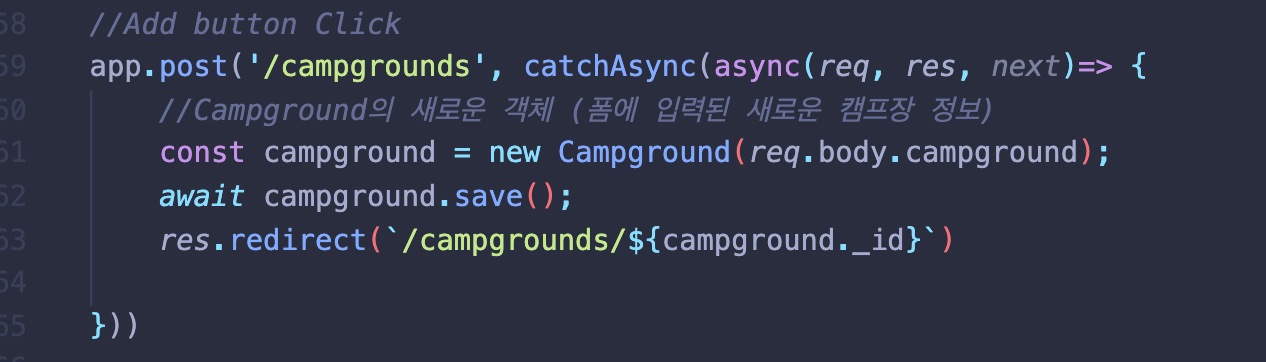
비동기 함수를 만드는 async 키워드가 있다면 catchAsync로 감싸면됨. // 우리가 발생시킨 오류가 아니라면 app.use(err,req,res,next)인 오류 핸들러가 기능을 할 것. // 우리가 발생시킨 오류인 경우에도
throw new ExpressError가 처리함. -> 우리가 정의한 오류응답메시지를 app.use(err,req,res,next)에서 인지하고 출력함.

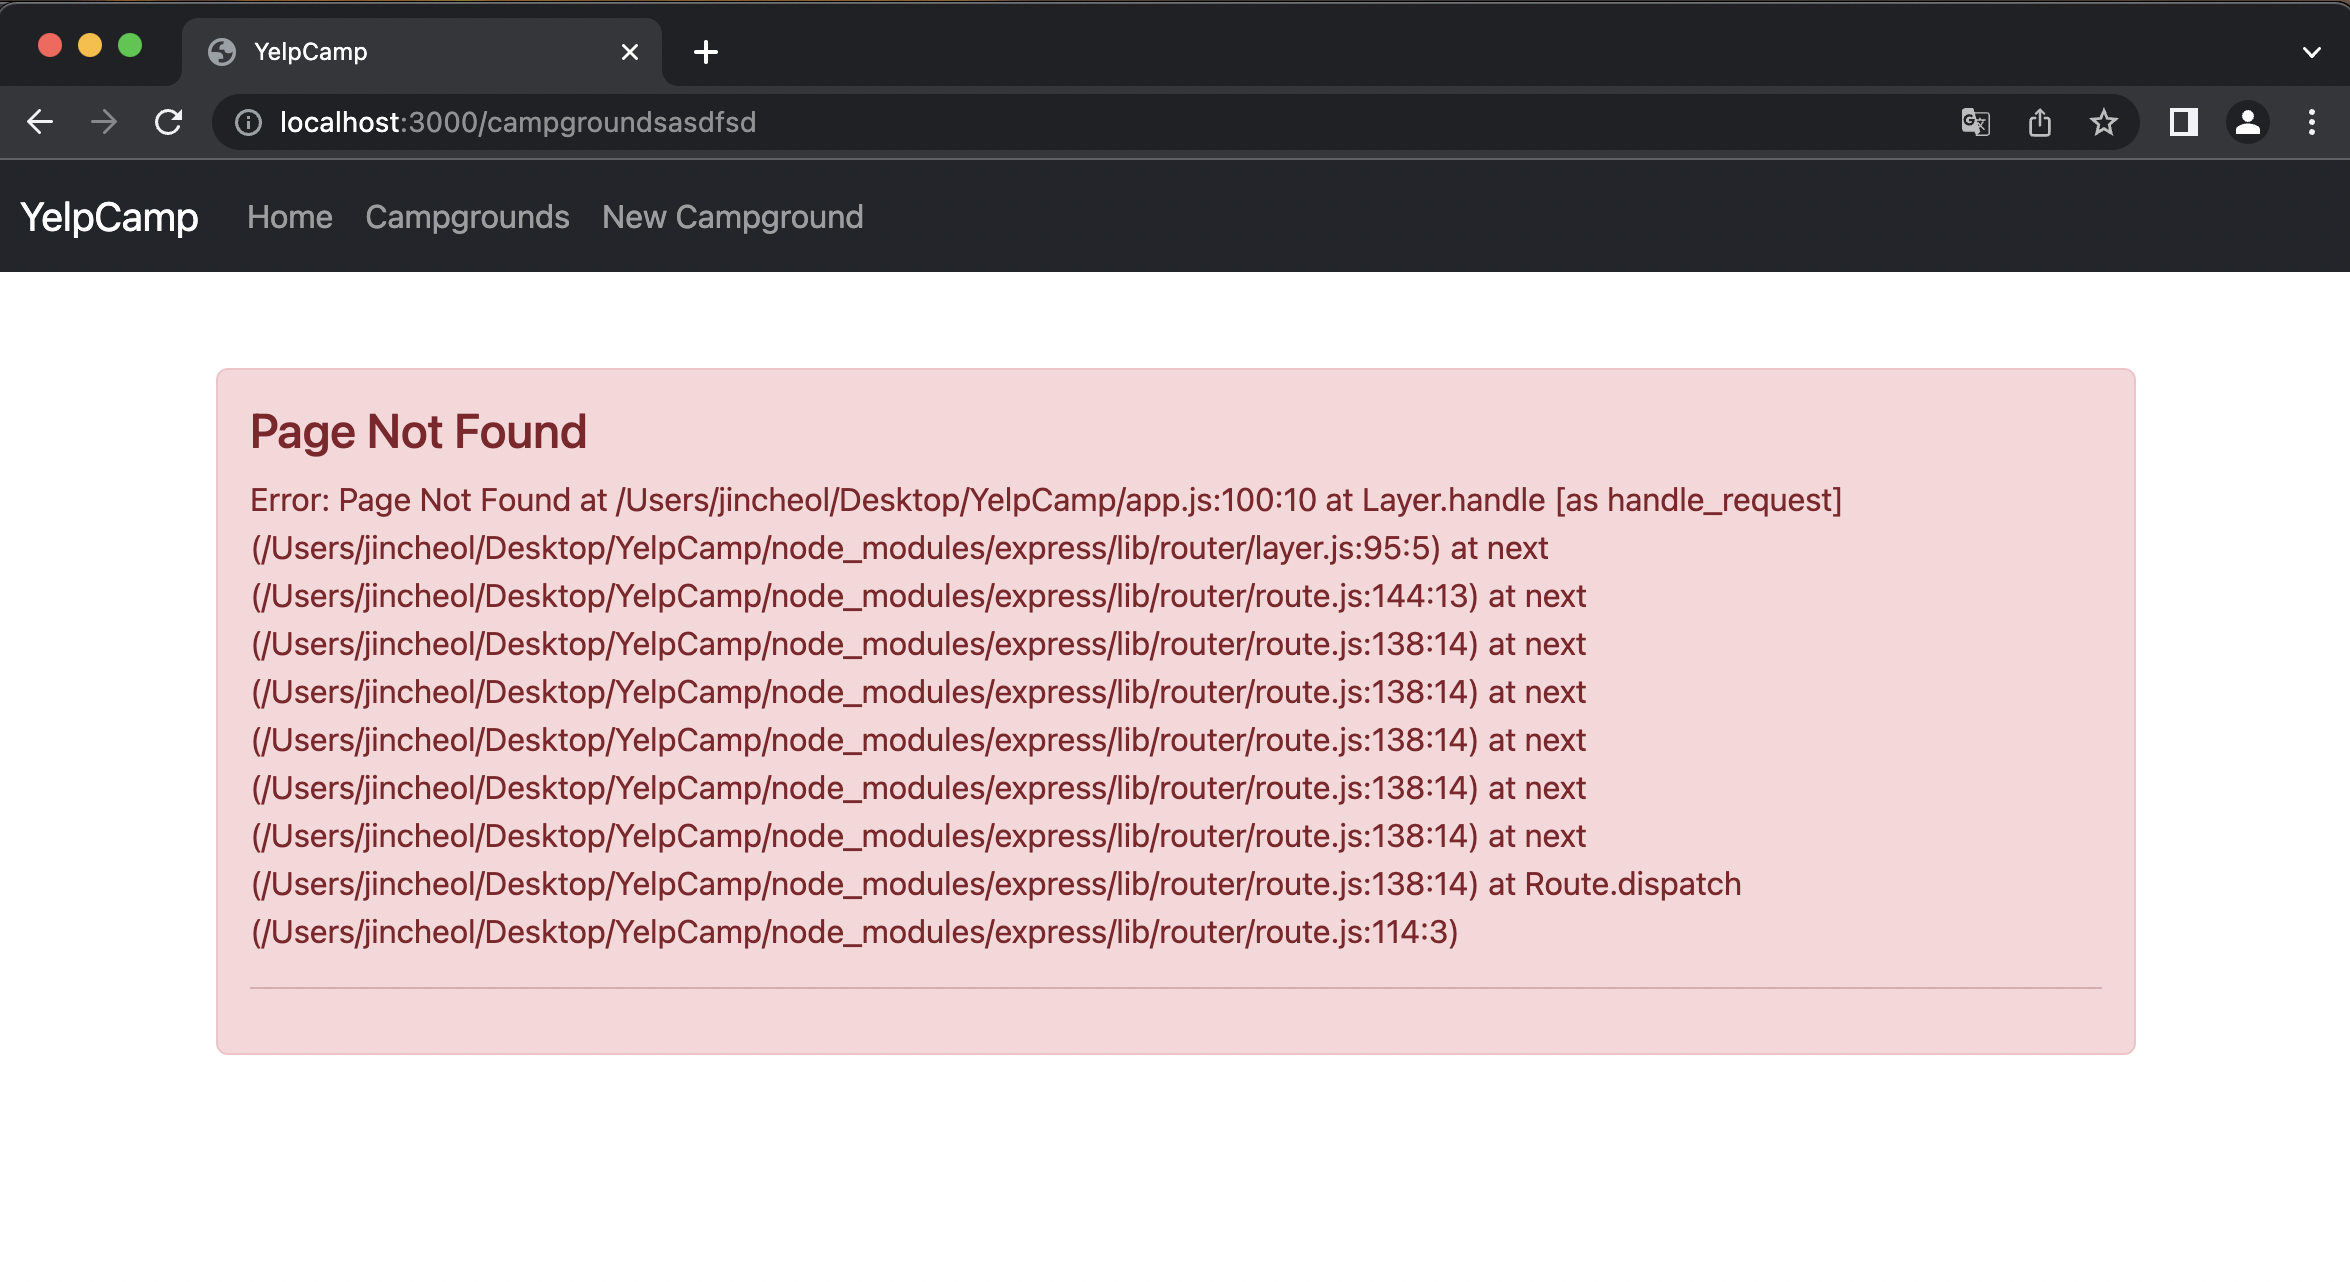
5) 오류 템플릿 정의하기
<error.ejs>
<% layout('layouts/boilerplate')%>
<div class="row">
  <div class="col-6 offset-3"></div>
  <div class="alert alert-danger" role="alert">
    <h4 class="alert-heading"><%=err.message%></h4>
    <p>
        <%=err.stack%>
    </p>
    <hr />
    </div>
  </div>
</div>
error.ejs 로 랜더링 / 변수 넘겨줌
유효치 않은 url 등록시.
6) JOI 스키마 유효성 검사
Joi (서버 측 유효성 검사) : express 뿐만아니라 javascript 유효성 검사까지함.
- 데이터 유효성 검사 스키마
1) 클라이언트 측 유효성 검사
- 해당 내용을 빠뜨리고 제출했을 때의 오류.(ex : 위치, 타이틀 등)
2) 서버 측 유효성 검사
- 제출될 때 반드시 지켜야 하는 규칙 검사.(ex : 자료형, 양수의 정수만 가능)
<app.js>

const Joi = require('joi')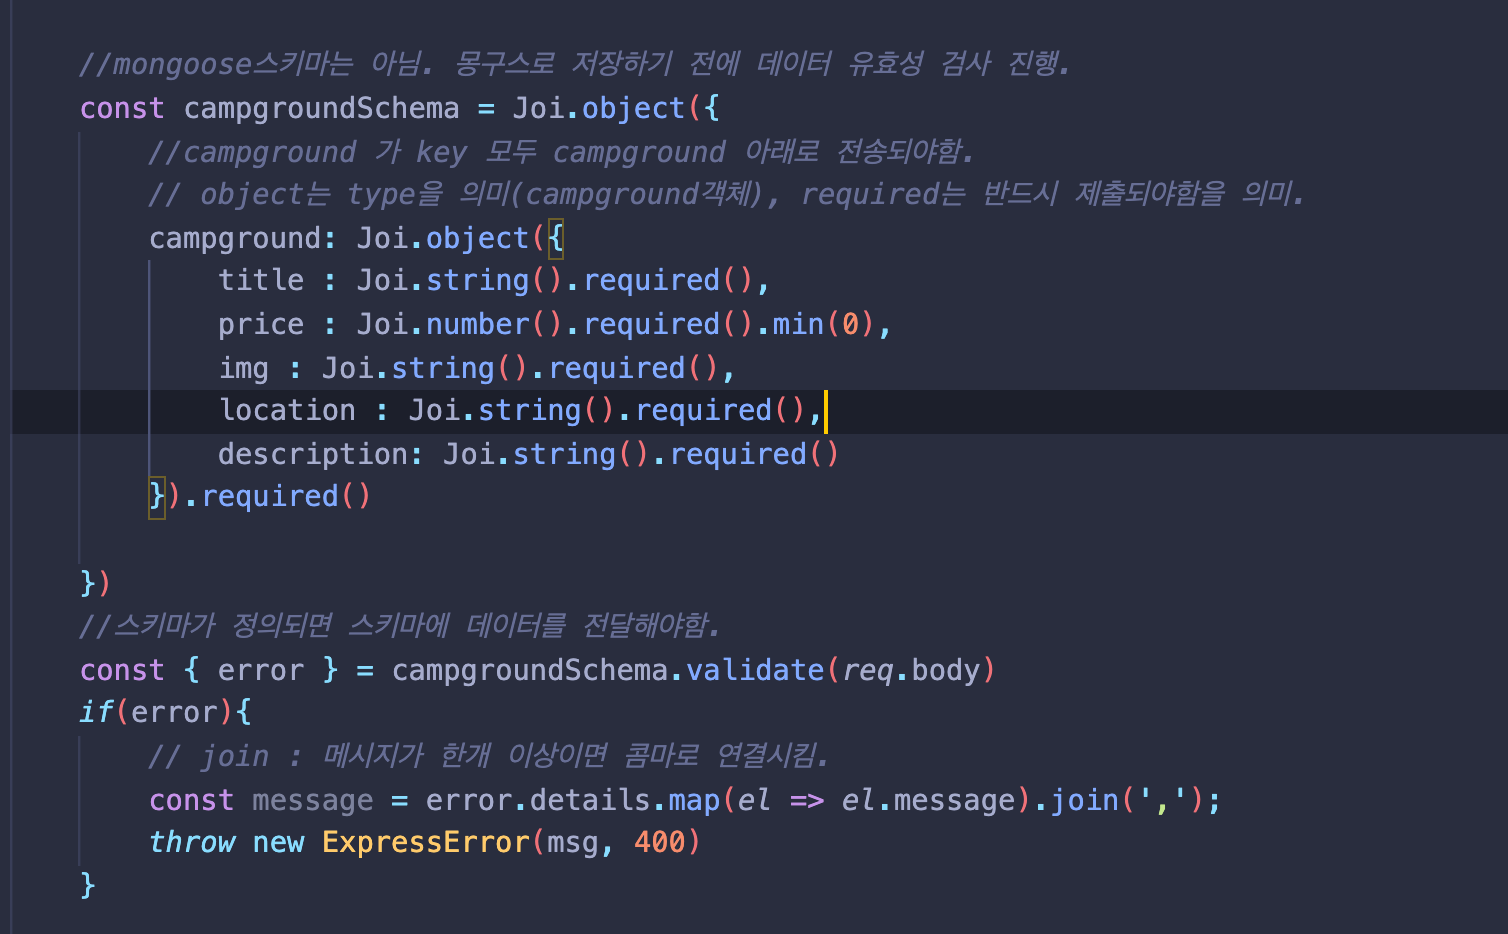
- 오류 발생시 ExpressError 가 오류 핸들러에게 throw 해서 오류 처리함.
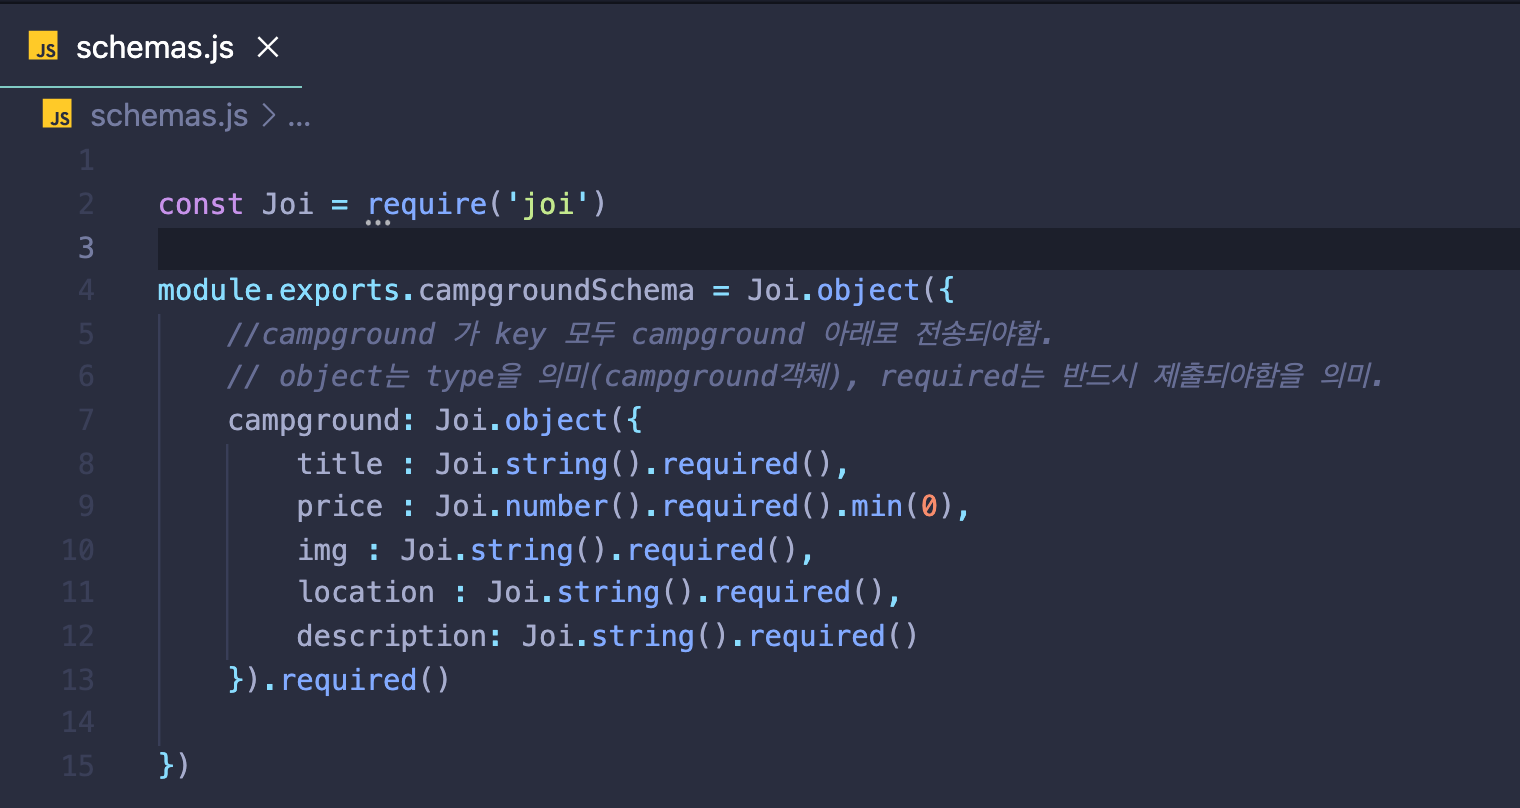
7) JOI 유효성 검사 미들웨어
module 로서 쓰기 위해 schema.js 파일 생성
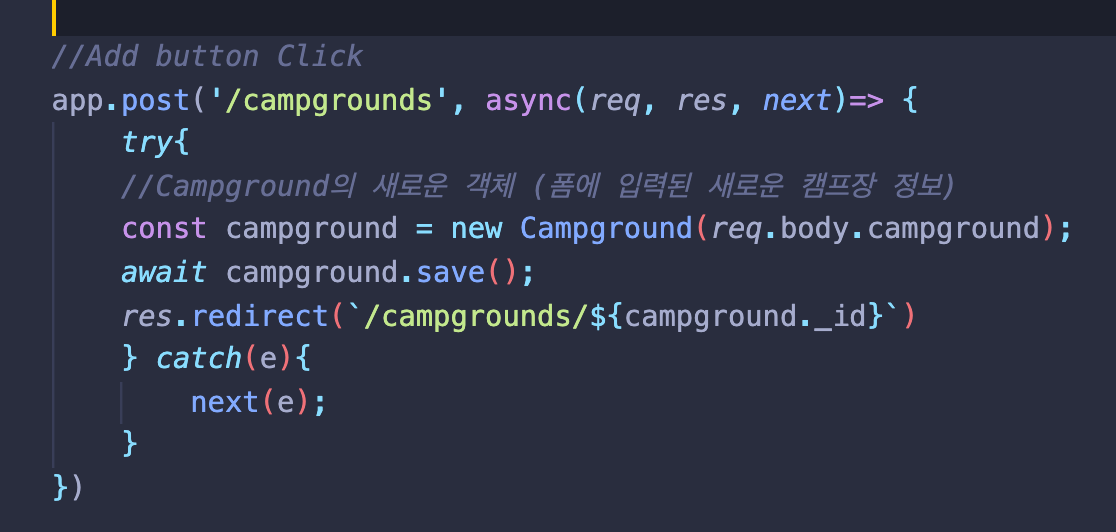
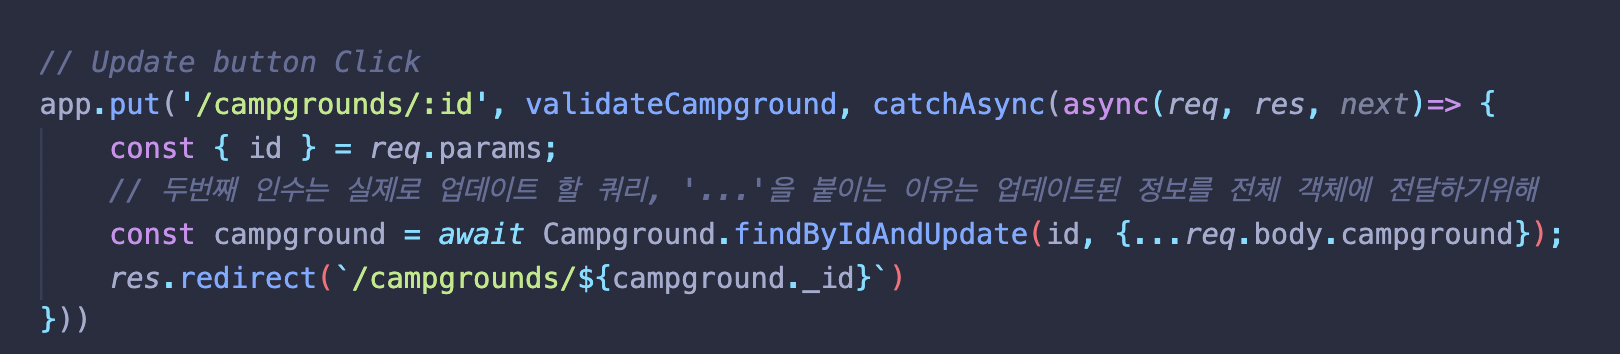
중복되는 함수 미들웨어로 정의 (validateCampground)
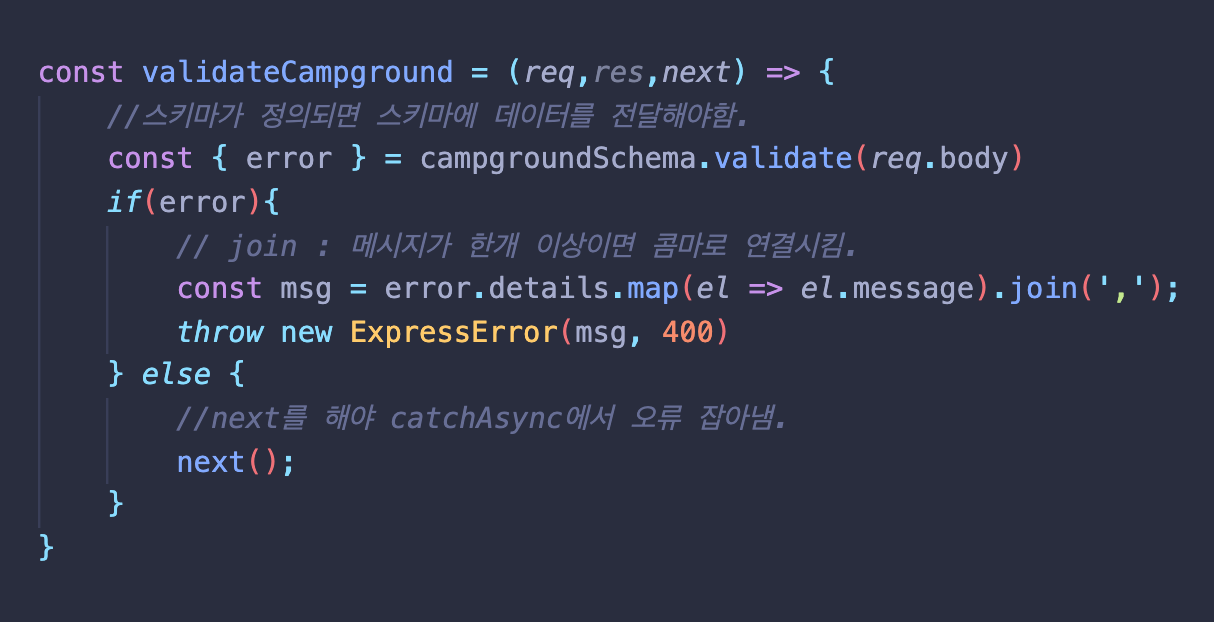
validateCampground 실행 -> next ( ) 실행 ; -> 오류발생시 catchAsync 실행 (ExpressEroor)

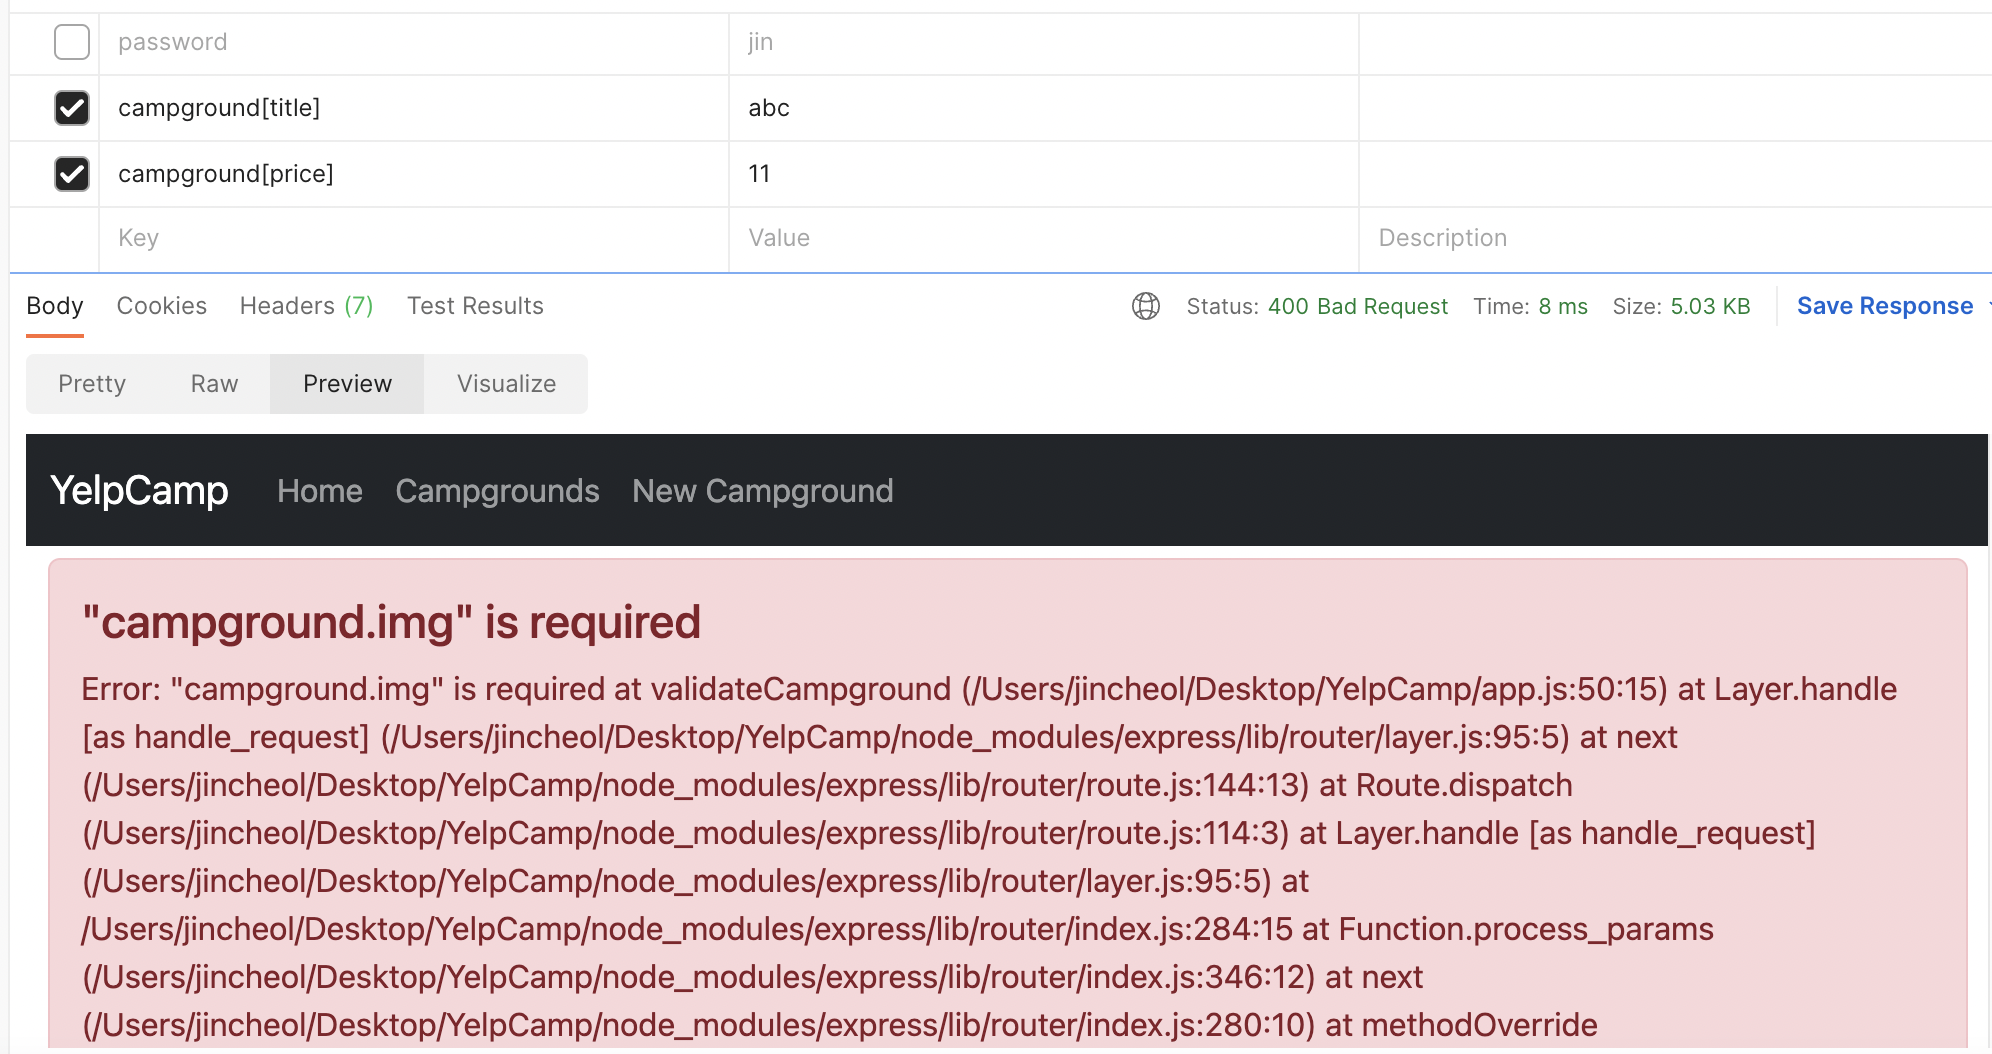
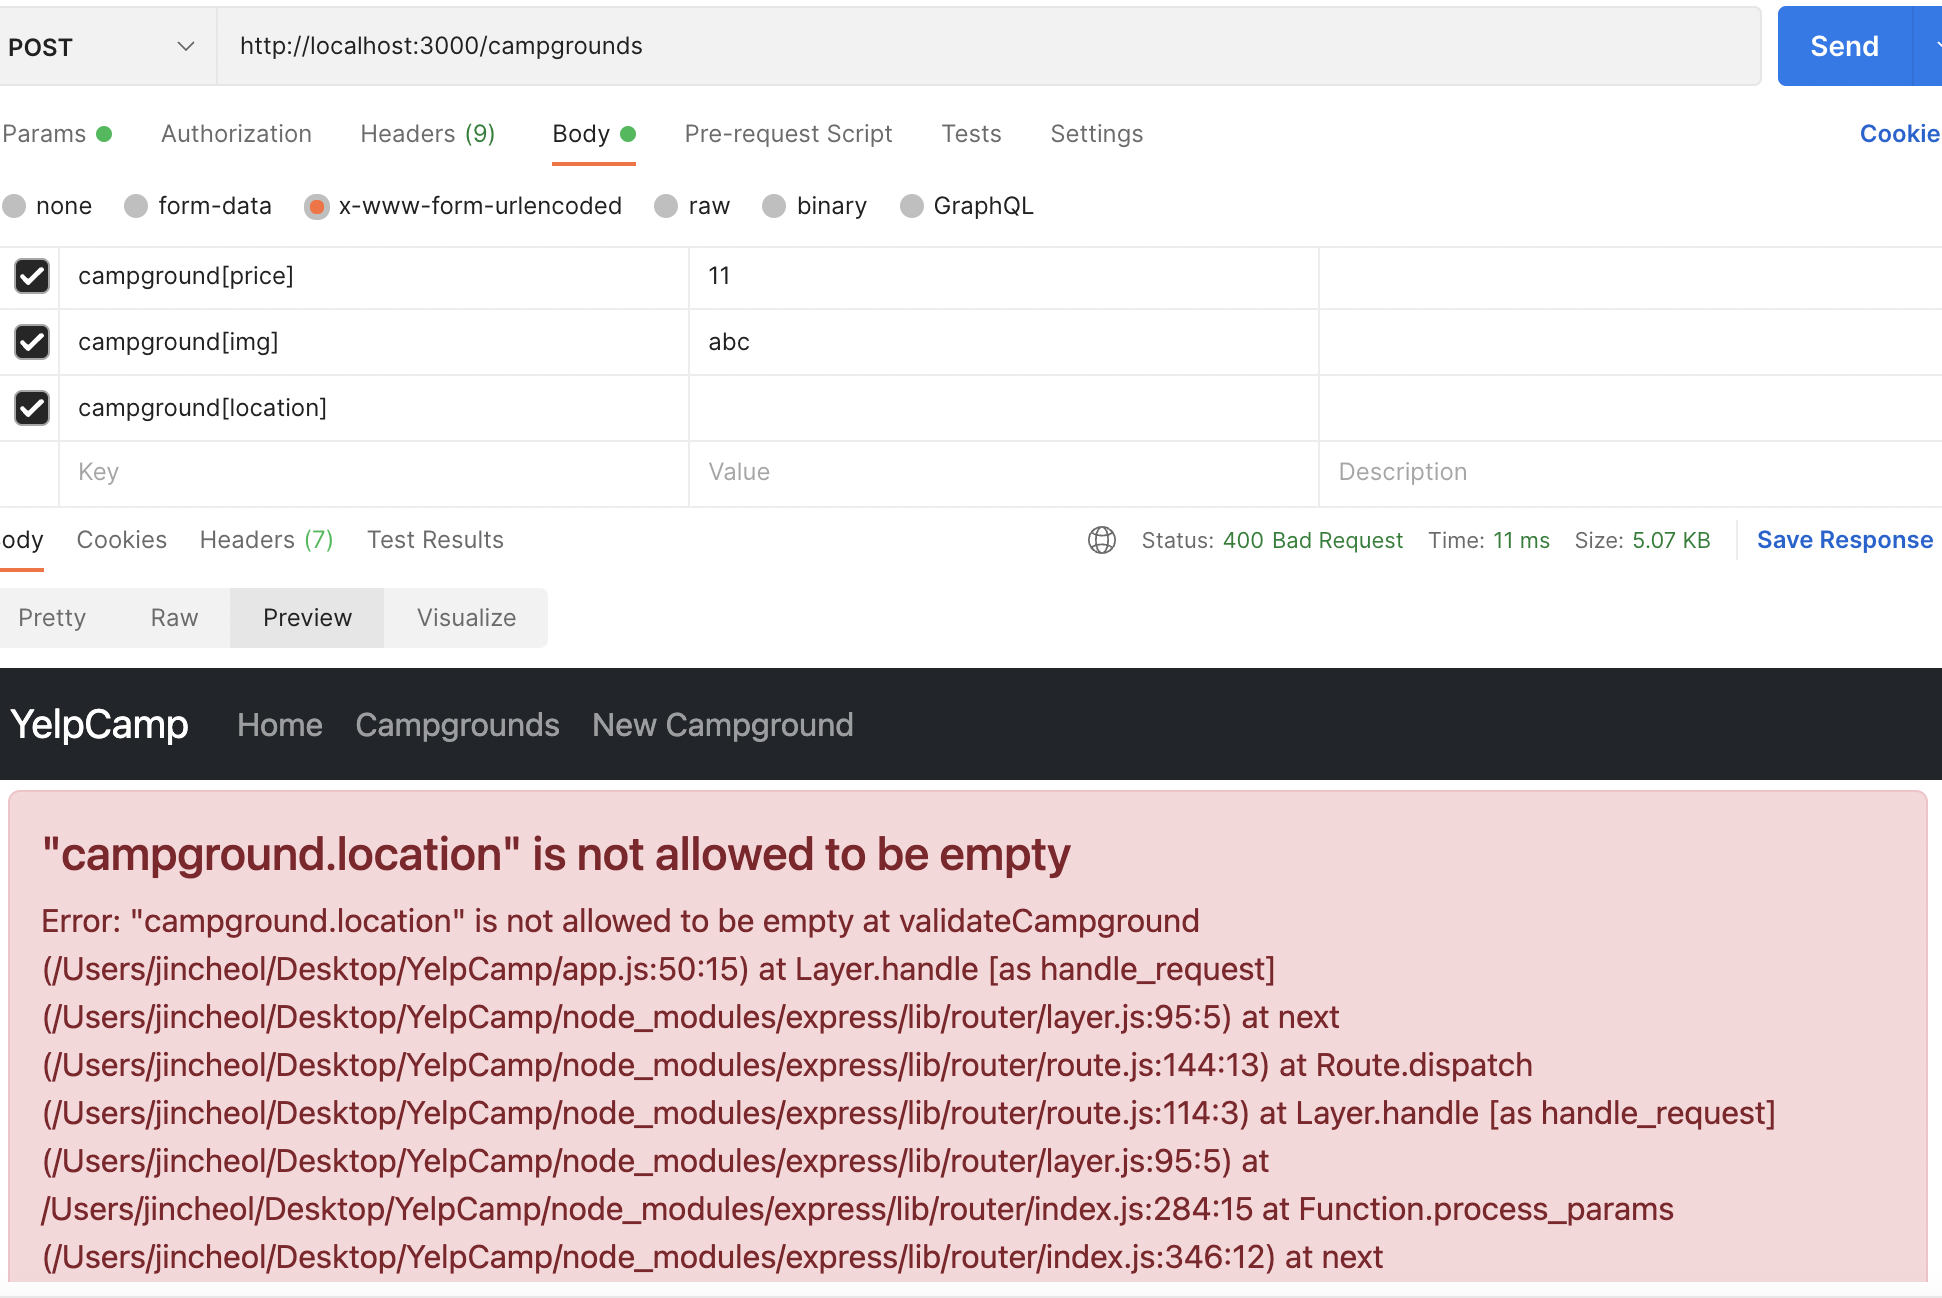
오류 화면
- 가격이 음수일 때.
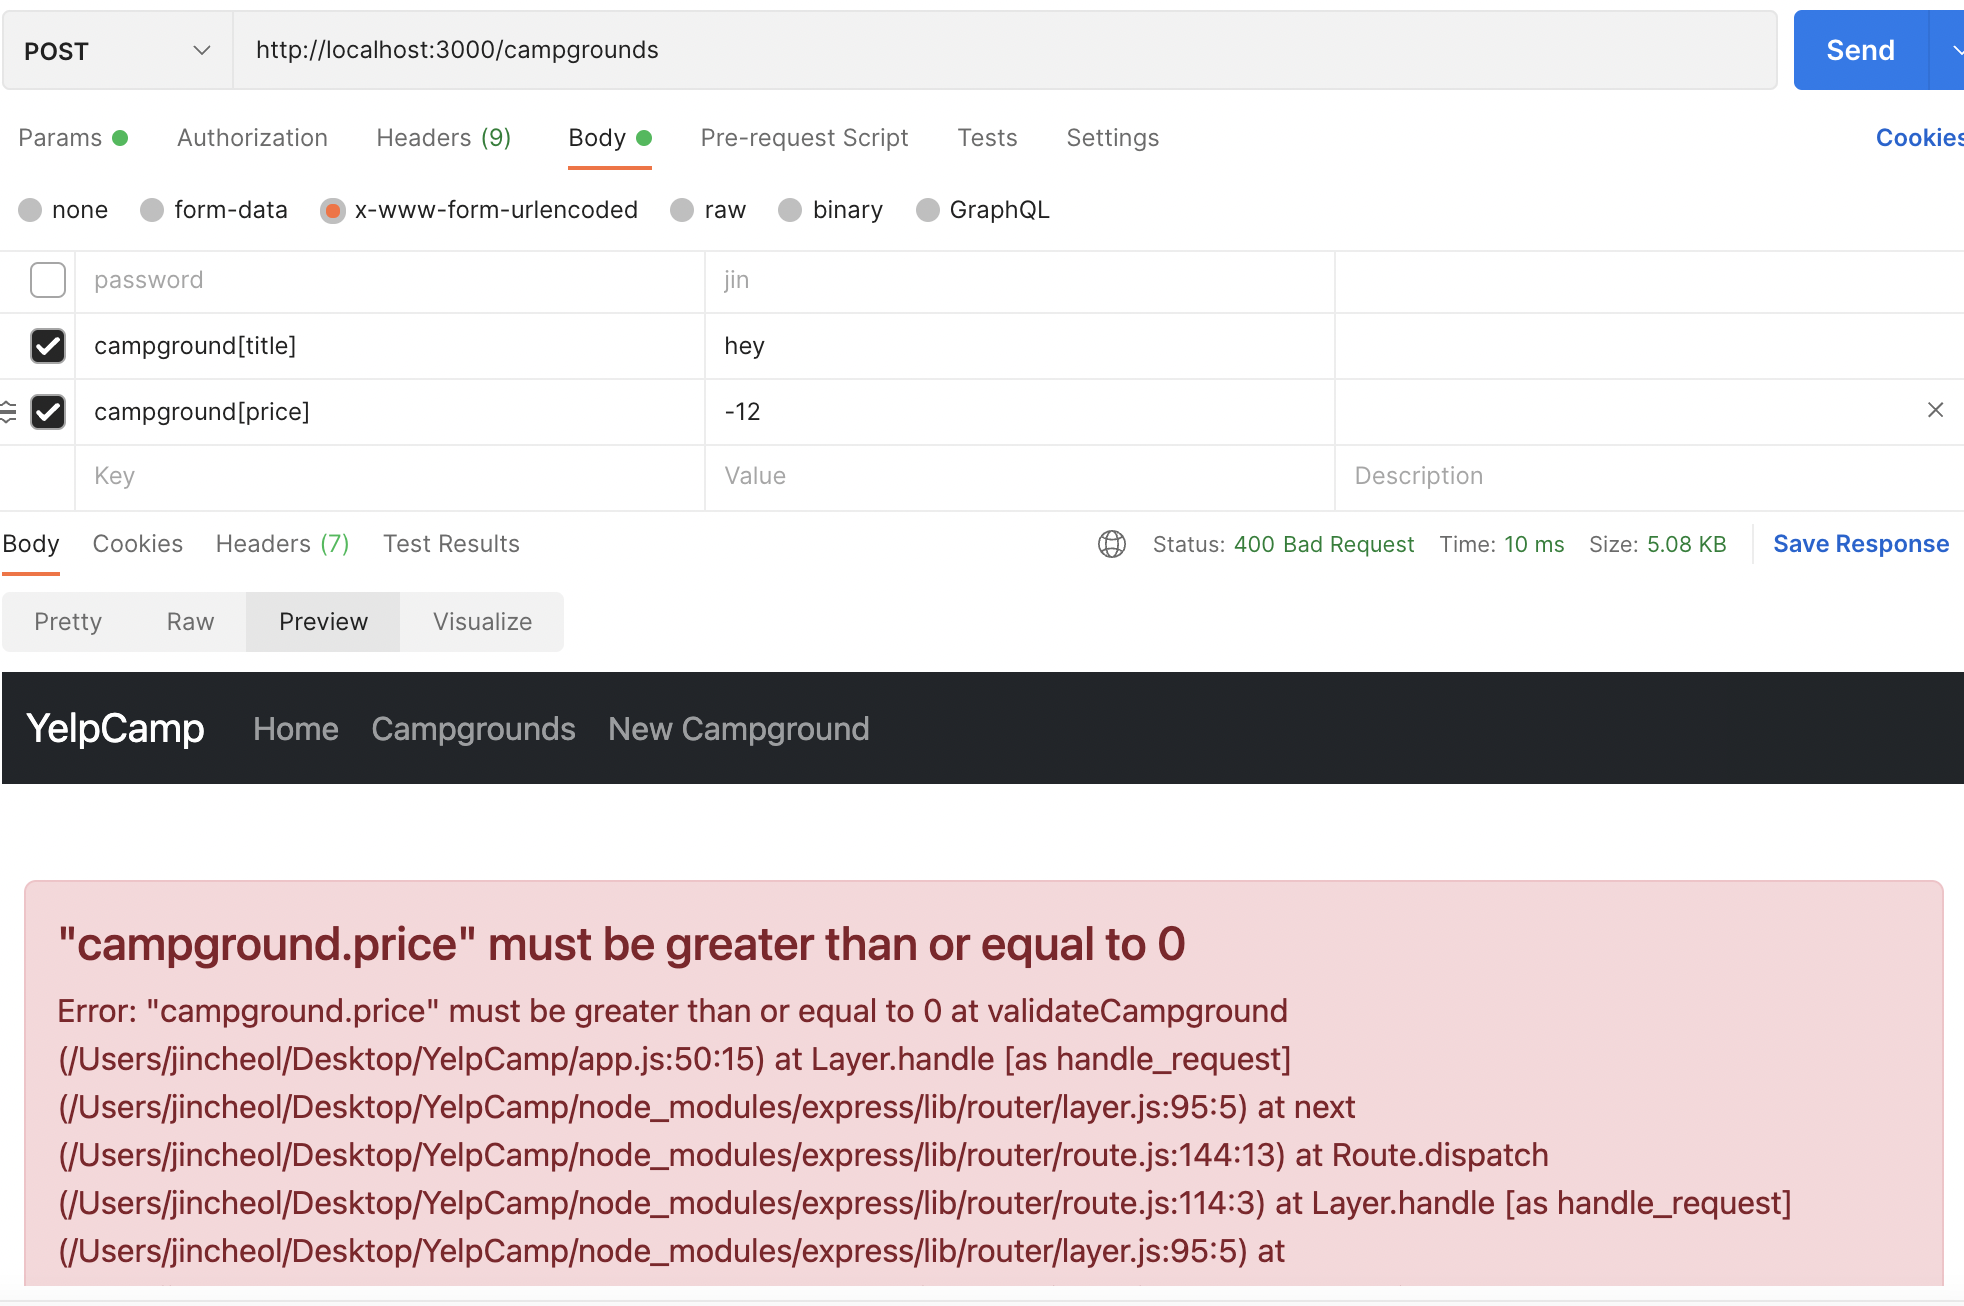
- img / location / description 의 정보가 빠졌을 때.