1) 캠프그라운드 컨트롤러로 리팩터링하기
Controller
- 컨트롤러는 MVC에서 나옴.
- 모델 뷰, 컨트롤러 프레임워크.
- 모델은 데이터를 전부 집어넣은 것. (모델 안에 데이터 존재)
- 뷰 콘텐츠는 사용자에게 보이는 레이아웃을 의미.
- 컨트롤러는 앱의 핵심 기능을 담당.
- 로직이 컨트롤러로 들어오면 뷰를 렌더링하고 모델에서 작업.
module.exports 를 이용해 컨트롤러 작성
<campgrounds.js>

const Campground = require('../models/campground');

module.exports.index = async (req, res) => {
    const campgrounds = await Campground.find({});
    res.render('campgrounds/index', { campgrounds })
};


module.exports.renderNewForm =  (req, res)=> {
    res.render('campgrounds/new');
}

module.exports.createCampground = async(req, res, next)=> {
    //if(!req.body.campground) throw new ExpressError('Invalid Campground Data', 400)
    //Campground의 새로운 객체 (폼에 입력된 새로운 캠프장 정보)
    //mongoose스키마는 아님. 몽구스로 저장하기 전에 데이터 유효성 검사 진행.
    const campground = new Campground(req.body.campground);
    campground.author = req.user_id;
    await campground.save();
    //메시지 뜨게 하기 (flash) , redirect되는 페이지에서 메시지 뜸.
    req.flash('success', 'Successfully made a new campground !')
    res.redirect(`/campgrounds/${campground._id}`)

};

module.exports.showCampground = async (req, res,next) => {
    //populate : 채워넣기
    const campground = await Campground.findById(req.params.id).populate({
        //각각의 리뷰마다(path) 작성한 author 출력
        path: 'reviews',
        populate: {
            path:'author'
        }
        }).populate('author') //이 author 는 campgrouund 조회시 나오는 캠핑장 추가한 작성자.
    if(!campground) {
        req.flash('error', 'Cannot find that campground!')
        return res.redirect('/campgrounds')
    }
    res.render('campgrounds/show', { campground });
};

module.exports.renderEditForm = async(req,res,next)=>{
    const campground = await Campground.findById(req.params.id)
    if (!campground) {
        req.flash('error', 'Cannot find that campground!');
        return res.redirect('/campgrounds');
    }
    res.render('campgrounds/edit', { campground });
};

module.exports.updateCampground = async(req, res, next)=> {
    const { id } = req.params;
    // 두번째 인수는 실제로 업데이트 할 쿼리, '...'을 붙이는 이유는 업데이트된 정보를 전체 객체에 전달하기위해
    const campground = await Campground.findByIdAndUpdate(id, {...req.body.campground});
    req.flash('success', 'Successfully updated campground !')
    res.redirect(`/campgrounds/${campground._id}`)
};

module.exports.deleteCampground = async (req,res,next)=> {
    const { id } = req.params;
    await Campground.findByIdAndDelete(id);
    req.flash('success', 'Successfully deleted campground')
    res.redirect('/campgrounds');

};<app.js>
const express = require('express');
const router = express.Router();
const campgrounds = require('../controllers/campgrounds');
const catchAsync = require('../utils/catchAsync')
const { isLoggedIn, isAuthor, validateCampground } = require('../middleware');
const Campground = require('../models/campground');
//index page
router.get('/', catchAsync(campgrounds.index));
//중요!!! 바로 밑 코드에서 router.get('/campgrounds:/id') 밑에 해당 코드를 적어주면
//new를 id로 인지해서 new라는 id의 캠핑장을 찾게됨
// 따라서 id 가 적혀진 코드보다 위에 적어줘야함.
//Add Campground
router.get('/new', isLoggedIn , campgrounds.renderNewForm)
//Add button Click
//validateCampground : 폼 제출시 규칙을 지켜가며 제출했는지에 대한 점검
//catchAsync : 오류 점검 메소드
router.post('/', isLoggedIn, validateCampground , catchAsync(campgrounds.createCampground));
//when Click one of the Campground (Information)
router.get('/:id' , catchAsync(campgrounds.showCampground));
//Edit Campground
router.get('/:id/edit', isLoggedIn, isAuthor , catchAsync(campgrounds.renderEditForm));
// Update button Click
router.put('/:id', isLoggedIn, validateCampground, catchAsync(campgrounds.updateCampground));
router.delete('/:id', isLoggedIn , isAuthor , catchAsync(campgrounds.deleteCampground));
module.exports = router;2) 리뷰/유저 컨트롤러 추가하기

<user.js>

const User = require('../models/user');


module.exports.renderRegister = (req,res) => {
    res.render('users/register')
};

module.exports.register = async (req,res, next)=> {
    try {
    const {email, username, password} = req.body;
    const user = new User({email, username})
    const registeredUser = await User.register(user, password)
    req.login(registeredUser, err => {
        if(err) return next(err)
        req.flash('success', "WELCOME !!!")
        res.redirect('/campgrounds')
    })
} catch(e) {
        req.flash('error', e.message);
        res.redirect('register')
    }

};

module.exports.renderLogin = (req,res)=>{
    res.render('users/login')
};


module.exports.login =  (req, res) => {
    req.flash('success', 'welcome back!');
    const redirectUrl = req.session.returnTo || '/campgrounds';
    delete req.session.returnTo;
    res.redirect(redirectUrl);
};

module.exports.logout = (req, res, next) => {
    req.logout(function (err) {
        if(err) {return next(err)}
        req.flash('success', "Goodbye!");
        res.redirect('/campgrounds');
    });

}

<reviews.js>

const Review = require('../models/review');
const Campground = require('../models/campground');


module.exports.createReview = async (req, res) => {
    const campground = await Campground.findById(req.params.id);
    const review = new Review(req.body.review);
    review.author = req.user._id;
    campground.reviews.push(review);
    await review.save();
    await campground.save();
    req.flash('success', 'Created new review!');
    res.redirect(`/campgrounds/${campground._id}`);
};

module.exports.deleteReview = async(req,res,next)=> {
    const { id, reviewId } = req.params;
    //두번쨰 인자는 객체 전달
    //$pull : 배열에 있는 모든 인스턴스 중 특정 조건에 만족하는 값을 지움
    // reviews 객체들 중 reviewId가 있는걸 모두 지움.
    await Campground.findByIdAndUpdate(id, { $pull: { reviews: reviewId } });
    await Review.findByIdAndDelete(reviewId);
    req.flash('success', 'Successfully deleted review')
    res.redirect(`/campgrounds/${id}`);
};
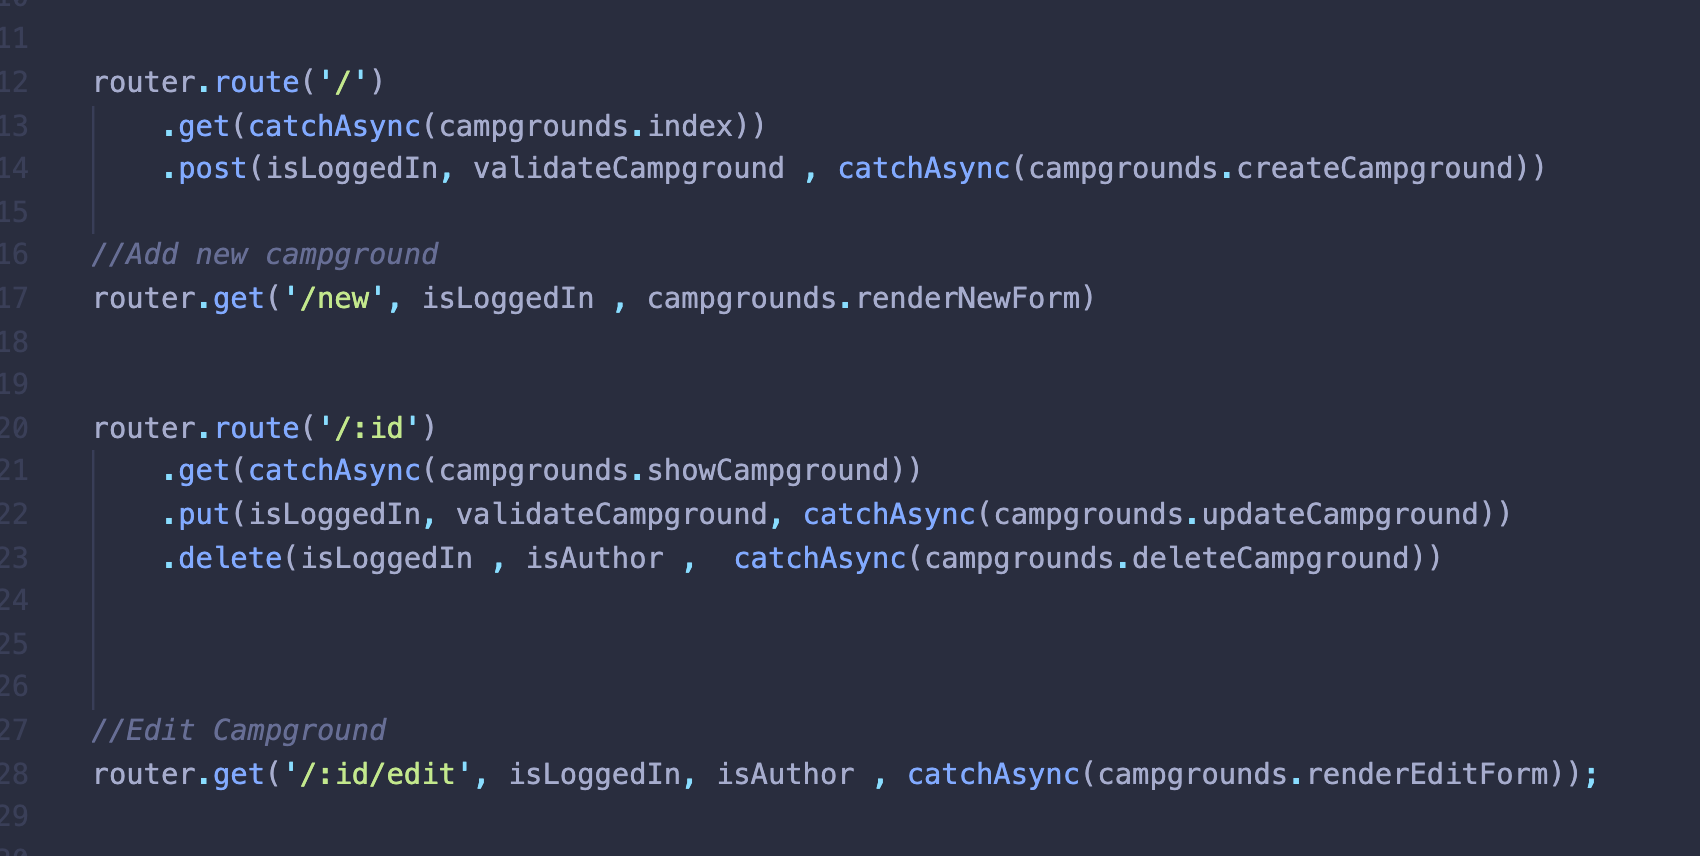
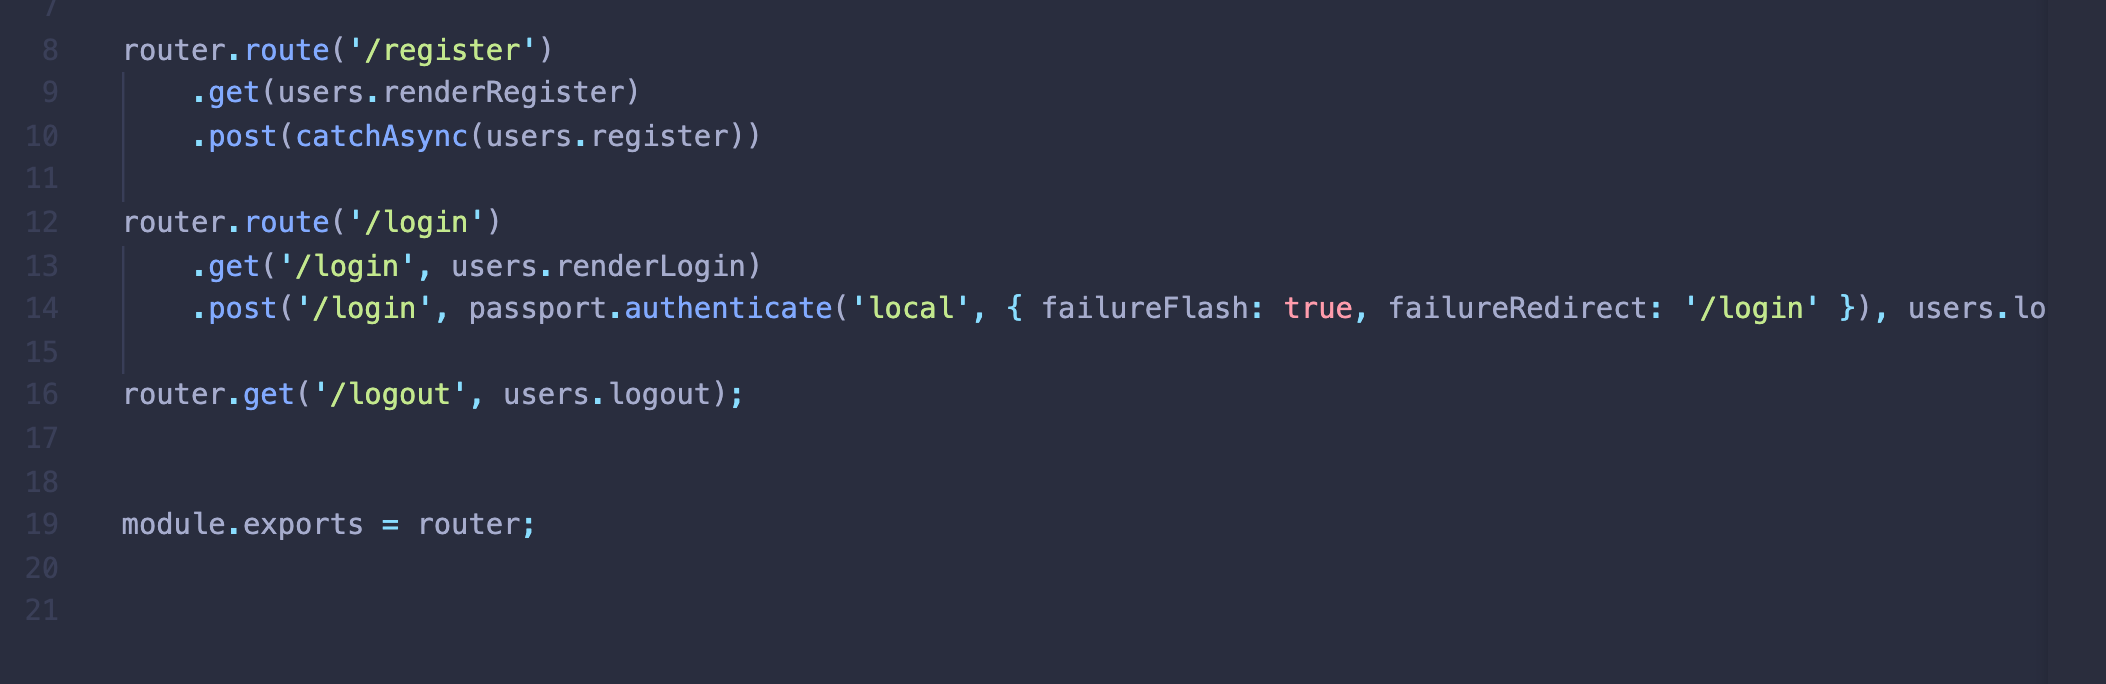
3) 경로 재설정을 위한 멋진 방법
router.route
- 동일한 url 주소를 가지고 있는 것들끼리 한 데 모아줌.
- 주의점: /new 와 /:id 관계에선 new를 먼저 써줘야 new를 id로서 인식하지 않는다.
campgrounds.js
users.js
4) 별점 표시하기
-
별 모양 rating 매기기
stars.css
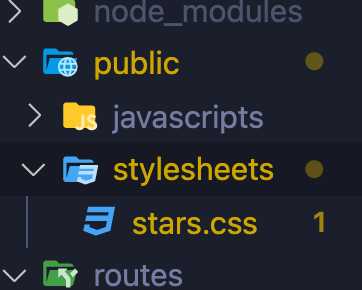

결과

5) 별점 표시 양식
<show.ejs>

 <div calss="mb-3">
        <fieldset class="starability-basic">
          <input
            type="radio"
            id="no-rate"
            class="input-no-rate"
            name="review[rating]"
            value="1"
            checked
            aria-label="No rating."
          />
          <input
            type="radio"
            id="first-rate1"
            name="review[rating]"
            value="1"
          />
          <label for="first-rate1" title="Terrible">1 star</label>
          <input
            type="radio"
            id="first-rate2"
            name="review[rating]"
            value="2"
          />
          <label for="first-rate2" title="Not good">2 stars</label>
          <input
            type="radio"
            id="first-rate3"
            name="review[rating]"
            value="3"
          />
          <label for="first-rate3" title="Average">3 stars</label>
          <input
            type="radio"
            id="first-rate4"
            name="review[rating]"
            value="4"
          />
          <label for="first-rate4" title="Very good">4 stars</label>
          <input
            type="radio"
            id="first-rate5"
            name="review[rating]"
            value="5"
          />
          <label for="first-rate5" title="Amazing">5 stars</label>
        </fieldset>
      </div>
      <div class="mb-3">
        <label class="form-label" for="body">Review</label>
        <textarea
          class="form-control"
          name="review[body]"
          id="body"
          cols="30"
          rows="3"
          required
        ></textarea>
        <div class="valid-feedback">Looks good!</div>
      </div>
      <button class="btn btn-success">Submit</button>
WILL is ALL