LifeSports Application(ReactNative & Nest.js) - 6. MapScreen, MyPageScreen
#1 MapScreen
MapScreen을 사용하기 위해서는 kakao map 혹은 naver map, google map등 다양한 map 라이브러리를 사용해야 합니다. 저는 naver map을 사용해보도록 하겠습니다.
다음의 명령어를 통해서 naver map 패키지를 설치하도록 하겠습니다.
npm install --save react-native-nmap그리고 https://navermaps.github.io/android-map-sdk/guide-ko/1.html 로 들어가서 순서대로 진행한 후에 client ID를 발급받도록 하겠습니다.
/android/app/src/main/AndroidManifest.xml 파일로 들어가 다음과 같이 설정해주도록 하겠습니다.
<manifest xmlns:android="http://schemas.android.com/apk/res/android"
  package="com.client_app">

    <uses-permission android:name="android.permission.INTERNET" />

    <application
      android:name=".MainApplication"
      android:label="@string/app_name"
      android:icon="@mipmap/ic_launcher"
      android:roundIcon="@mipmap/ic_launcher_round"
      android:allowBackup="false"
      android:theme="@style/AppTheme">
      <meta-data
        android:name="com.naver.maps.map.CLIENT_ID"
        android:value="CLIENT_ID"
      />
      <activity
        android:name=".MainActivity"
        android:label="@string/app_name"
        android:configChanges="keyboard|keyboardHidden|orientation|screenSize|uiMode"
        android:launchMode="singleTask"
        android:windowSoftInputMode="adjustResize">
        <intent-filter>
            <action android:name="android.intent.action.MAIN" />
            <category android:name="android.intent.category.LAUNCHER" />
        </intent-filter>
      </activity>
    </application>
</manifest>
그리고 /android/build.gradle로 가서 다음과 같이 추가해주도록 하겠습니다.
allprojects {
    repositories {
        ...
        maven {
            url 'https://naver.jfrog.io/artifactory/maven/'
        }
    }
}- naver map 오류
this package itself specifies a `main` module field that could not be resolved위의 오류를 만날 경우, 해당 오류 해결에 대한 방법은 아래 링크에 적어두도록 하겠습니다.
그러면 MapScreen을 작성해보도록 하겠습니다.
- /map/MapScreen.js
import * as React from 'react';
import { View, StyleSheet } from 'react-native';
import NaverMap from './components/NaverMap';

const MapScreen = () => {
    return(
        <View style={ styles.container }>
            <NaverMap />
        </View>
    );
};

const styles = StyleSheet.create({
    container: {
        flexDirection: 'column',
        flex: 1,
    },
});

export default MapScreen;- /map/components/NaverMap.js
import React from 'react';
import { StyleSheet } from 'react-native';
import NaverMapView from 'react-native-nmap';

const NaverMap = () => {
    const defaultLocation = {
        latitude: 37.6009735,
        longitude: 126.9484764
    };

    return(
        <NaverMapView
            style={ styles.container }
            showsMyLocationButton={ true }
            center={{
                ...defaultLocation,
                zoom: 15,
            }}
            scaleBar={ true }
        />
    );
};

const styles = StyleSheet.create({
    container: {
        width: '100%',
        height: '100%',
    },
});

export default NaverMap;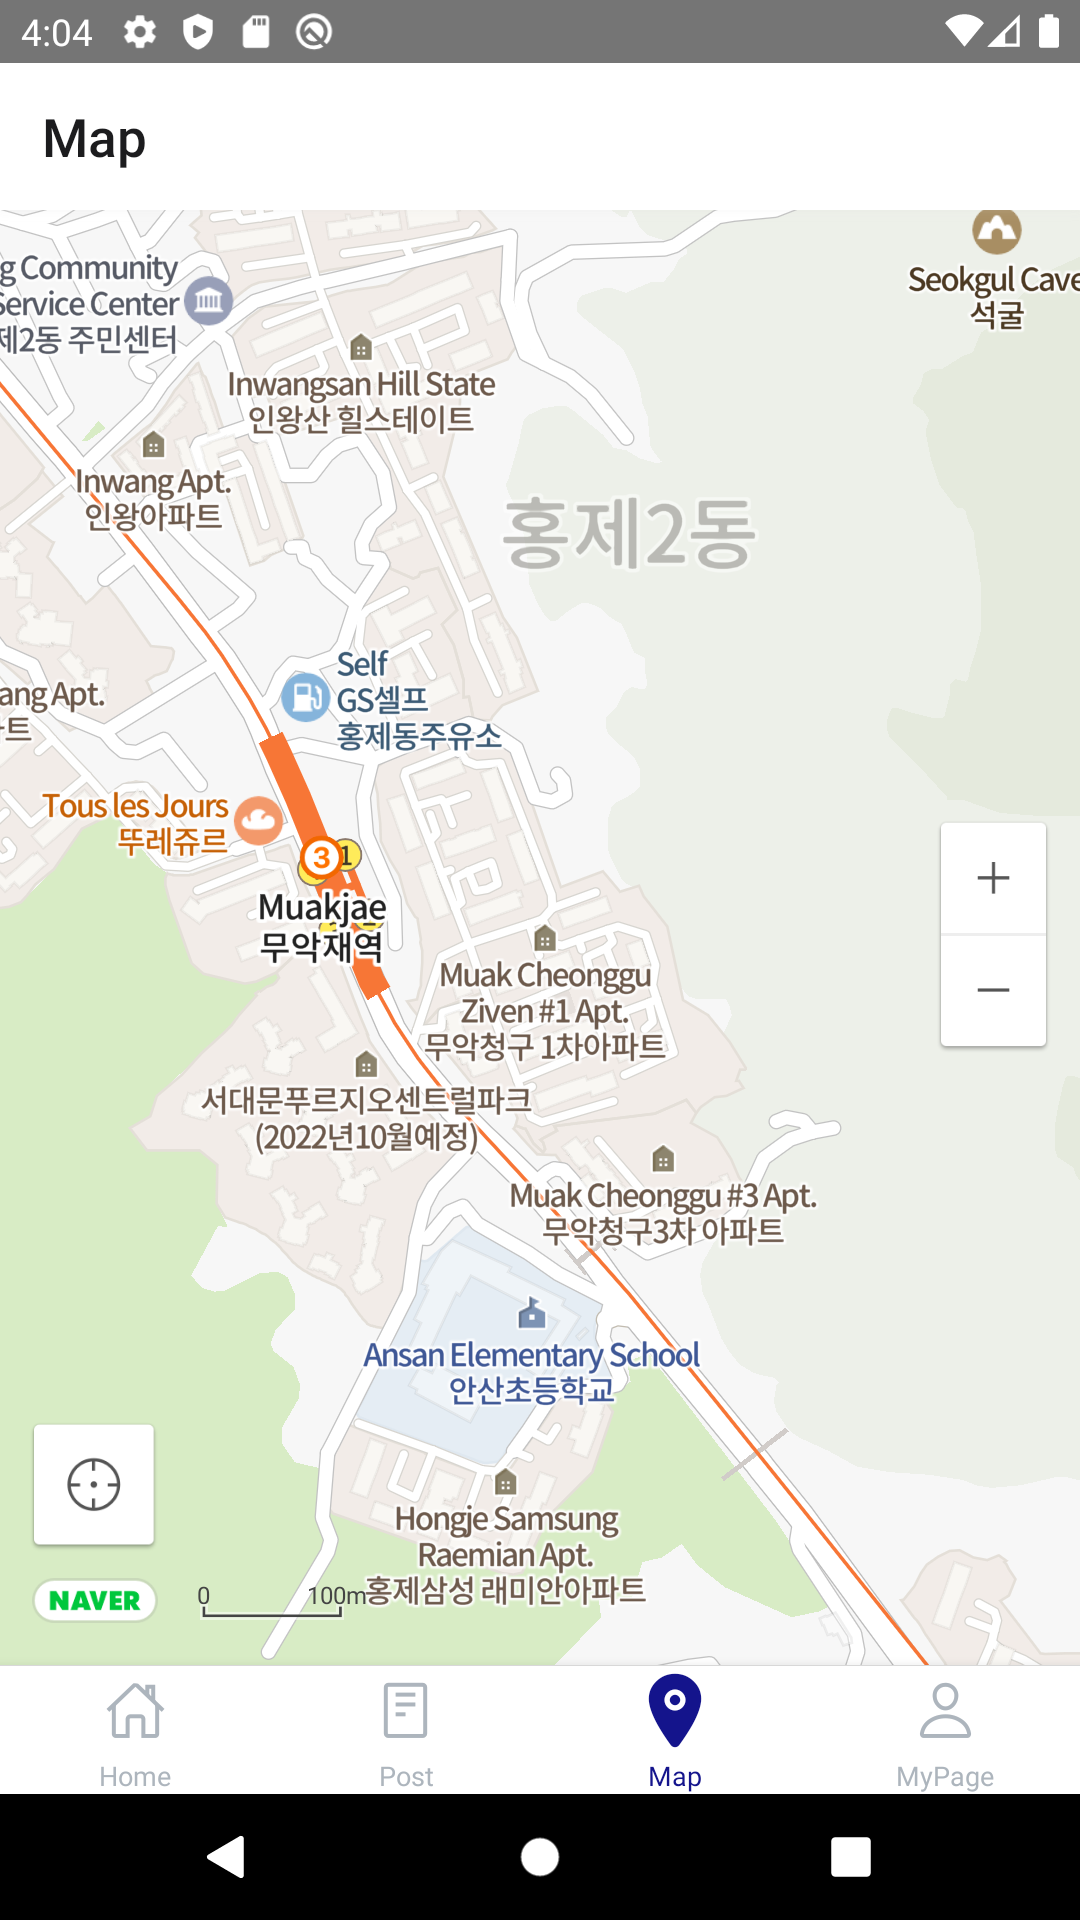
네이버 맵 api가 잘 나오는 모습을 볼 수 있습니다. 그러면 추가적인 컴포넌트를 제작하고 네비게이션을 만들도록 하겠습니다.
#2 Navigation
맵 네비게이션은 MapScreen, RentalScreen, PaymentScreen 총 3가지 스택 스크린으로 이루어집니다. 그러면 이 스크린들로 이동하기 위한 스택 네비게이션을 만들도록 하겠습니다.
- /navigator/map/MapStackNavigation.js
import 'react-native-gesture-handler';
import React from 'react';
import { createStackNavigator } from '@react-navigation/stack';
import MapScreen from '../../pages/map/MapScreen';

const Stack = createStackNavigator();

const MapStackNavigation = () => {
    return(
        <Stack.Navigator>
            <Stack.Screen
                name="Map"
                component={ MapScreen }
                options={{
                    headerShown: false,
                }}
            />
            {/* <Stack.Screen
                name="Rental"
                children={
                    () => <RentalScreen />
                }
            />
            <Stack.Screen
                name="Payment"
                children={
                    () => <PaymentScreen />
                }
            /> */}
        </Stack.Navigator>
    )
}

export default MapStackNavigation;
우선 RentalScreen, PaymentScreen 코드는 아직 구현이 안되었으니 주석처리를 해두도록 하겠습니다. 그리고 네비게이션을 BottomNavigation.js 파일에서 불러오도록 하겠습니다.
- /BottomNavigation.js
import React from 'react';
import { createBottomTabNavigator } from '@react-navigation/bottom-tabs';
import Icon from 'react-native-vector-icons/Ionicons';
import palette from '../styles/palette';
import HomeScreen from '../pages/home/HomeScreen';
import PostStackNavigation from './post/PostStackNavigation';
import MyPageScreen from '../pages/user/MyPageScreen';
import MapStackNavigation from './map/MapStackNavigation';

const Tab = createBottomTabNavigator();

const BottomNavigation = ({ route }) => {
    return(
        ...
            ...
            <Tab.Screen
                name="Map"
                options={{
                    headerShown: false,
                }}
                children={
                    () => <MapStackNavigation />
                }
            />
            ...
    );
};

export default BottomNavigation;
결제, 대여, 마커는 추후에 공공체육관 데이터를 가지고 만들 api서버를 이용하는 기능들이기 때문에 이 서버를 구현하면 세세하게 구현하도록 하겠습니다.
#3 MyPageScreen
MyPageScreen은 대관 정보, 게시글 정보, 회원 정보를 확인할 수 있는 스크린입니다. 그러면 이것 또한 네비게이션을 이용하여 MyPageNavigator를 만들어 보도록 하겠습니다.
- /navigator/user/MyPageStackNavigation.js
import 'react-native-gesture-handler';
import * as React from 'react';
import { createStackNavigator } from '@react-navigation/stack';
import MyPageScreen from '../../pages/user/MyPageScreen';
import RentalCancelScreen from '../../pages/user/RentalCancelScreen';
import MyPostScreen from '../../pages/user/MyPostScreen';
import InformationScreen from '../../pages/user/InformationScreen';

const Stack = createStackNavigator();

const MyPageStackNavigation = () => {
    return(
        <Stack.Navigator>
            <Stack.Screen
                name="MyPage"
                children={
                    () => <MyPageScreen />
                }
                options={{
                    headerShown: false
                }}
            />
            <Stack.Screen
                name="CancelRental"
                children={
                    () => <RentalCancelScreen />
                }
            />
            <Stack.Screen
                name="information"
                children={
                    () => <InformationScreen />
                }
            />
            <Stack.Screen
                name="MyPost"
                children={
                    () => <MyPostScreen />
                }
            />
        </Stack.Navigator>
    );
};

export default MyPageStackNavigation;
그러면 MyPageScreen부터 시작해서 MyPostScreen까지 구현을 해보도록 하겠습니다.
- /user/MyPageScreen.js
import React from 'react';
import {
    ScrollView,
    StyleSheet
} from 'react-native';
import MyPageHeader from './components/MyPageHeader';
import MyPageContent from './components/MyPageContent';
import MyPageFooter from './components/MyPageFooter';

const MyPageScreen = () => {
    return(
        <ScrollView style={ styles.container }>
            <MyPageHeader />
            <MyPageContent />
            <MyPageFooter />
        </ScrollView>
    );
};

const styles = StyleSheet.create({
    container: {
        flexDirection: 'row',
        flex: 1,
    }
});

export default MyPageScreen;
MyPageScreen은 총 3개의 컴포넌트로 이루어져 있습니다. 기본적인 구조는 html을 작성할 때처럼 시맨틱태그처럼 네이밍을 이용해 컴포넌트로 구성이 되어있으며, Header 컴포넌트는 로그인 시 보이는 회원의 이메일, 닉네임이 표기됩니다.
Content컴포넌트는 회원 정보, 회원이 작성한 게시글, 대관 취소의 기능을 수행할 수 있는 아이콘 버튼이 위치합니다.
Footer컴포넌트는 로그아웃 버튼이 있는 컴포넌트입니다.
- /pages/user/components/MyPageHeader.js
import React from 'react';
import {
    StyleSheet,
    View,
    Text
} from 'react-native';
import palette from '../../../styles/palette';

const MyPageHeader = () => {
    return(
        <View style={ styles.container }>
            <Text style={ styles.text }>
                nickname
            </Text>
            <Text>
                email
            </Text>
        </View>
    );
};

const styles = StyleSheet.create({
    container: {
        width: 420,
        height: 100,
        alignItems: 'center',
        justifyContent: 'center',
        backgroundColor: palette.gray[3],
    },
    text: {
        fontWeight: 'bold',
        fontSize: 17,
    },
});

export default MyPageHeader;- /MyPageContent.js
import React from 'react';
import {
    StyleSheet,
    View,
    Text,
    TouchableOpacity
} from 'react-native';
import MyPageIcon from './MyPageIcon';
import palette from '../../../styles/palette';

const MyPageContent = () => {
    return(
        <View style={ styles.container }>
            <View style={ styles.icon }>
                <TouchableOpacity>
                    <MyPageIcon
                        name={ 'ios-person-circle-outline' }
                        text={ "정보" }
                    />
                </TouchableOpacity>
            </View>
            <View style={ styles.icon }>
                <TouchableOpacity>
                    <MyPageIcon
                        name={ 'ios-albums-outline' }
                        text={ "게시글" }
                    />
                </TouchableOpacity>
            </View>
            <View style={ styles.icon }>
                <TouchableOpacity>
                    <MyPageIcon
                        name={ 'ios-card-outline' }
                        text={ "대관취소" }
                    />
                </TouchableOpacity>
            </View>
        </View>
    );
};

const styles = StyleSheet.create({
    container: {
        width: 420,
        height: 150,
        flexDirection: 'row',
        alignItems: 'center',
        justifyContent: 'center',
        backgroundColor: palette.white[0],
        borderBottomColor: palette.gray[4],
        borderBottomWidth: 1,
    },
    icon: {
        width: 60,
        height: 60,
        alignItems: 'center',
        justifyContent: 'center',
        margin: 30,
    },
});

export default MyPageContent;- MyPageFooter.js
import React from 'react';
import {
    StyleSheet,
    View
} from 'react-native';
import LogoutButton from './LogoutButton';
import palette from '../../../styles/palette';

const MyPageFooter = () => {
    return(
        <View style={ styles.container }>
            <LogoutButton />
        </View>
    );
};

const styles = StyleSheet.create({
    container: {
        width: 420,
        height: 150,
        alignItems: 'center',
        justifyContent: 'center',
        position: 'absolute',
        bottom: 0,
        backgroundColor: palette.white[0],
    },
});

export default MyPageFooter;- /LogoutButton.js
import React from 'react';
import {
    StyleSheet,
    View,
    Text,
    TouchableOpacity
} from 'react-native';
import palette from '../../../styles/palette';

const LogoutButton = () => {
    const onLogout = e => {
        e.preventDefault();
    };

    return(
        <TouchableOpacity
            style={ styles.container }
            onPress={ onLogout }
        >
            <Text style={ styles.text }>
                Logout
            </Text>
        </TouchableOpacity>
    );
};

const styles = StyleSheet.create({
    container: {
        flexDirection: 'row',
        alignItems: 'center',
        justifyContent: 'center',
        width: 350,
        height: 50,
        borderRadius: 30,
        borderColor: palette.blue[4],
        borderWidth: 2,
        backgroundColor: palette.white[0],
        marginTop: 10,
    },
    text: {
        fontWeight: 'bold',
        fontSize: 15,
        color: palette.blue[4],
    },
});

export default LogoutButton;- /MyPageIcon.js
import React from 'react';
import { StyleSheet, View, Text } from 'react-native';
import palette from '../../../styles/palette';
import Icon from 'react-native-vector-icons/Ionicons';

const MyPageIcon = ({ name, text }) => {
    return(
        <View
            style={ styles.container }
        >
            <Icon
                name={ name }
                size={ 48 }
                color={ palette.blue[4] }
            />
            <Text>
                { text }
            </Text>
        </View>
    )
};

const styles = StyleSheet.create({
    container: {
        justifyContent: 'center',
        alignItems: 'center'
    }
});

export default MyPageIcon;
MyPageScreen을 대략적으로 완성했고, MyRentalScreen, InformationScreen, MyPostScreen을 만들어 스택 네비게이션에 붙이고 이 스택을 바텀네비게이션에 붙이도록 하겠습니다.
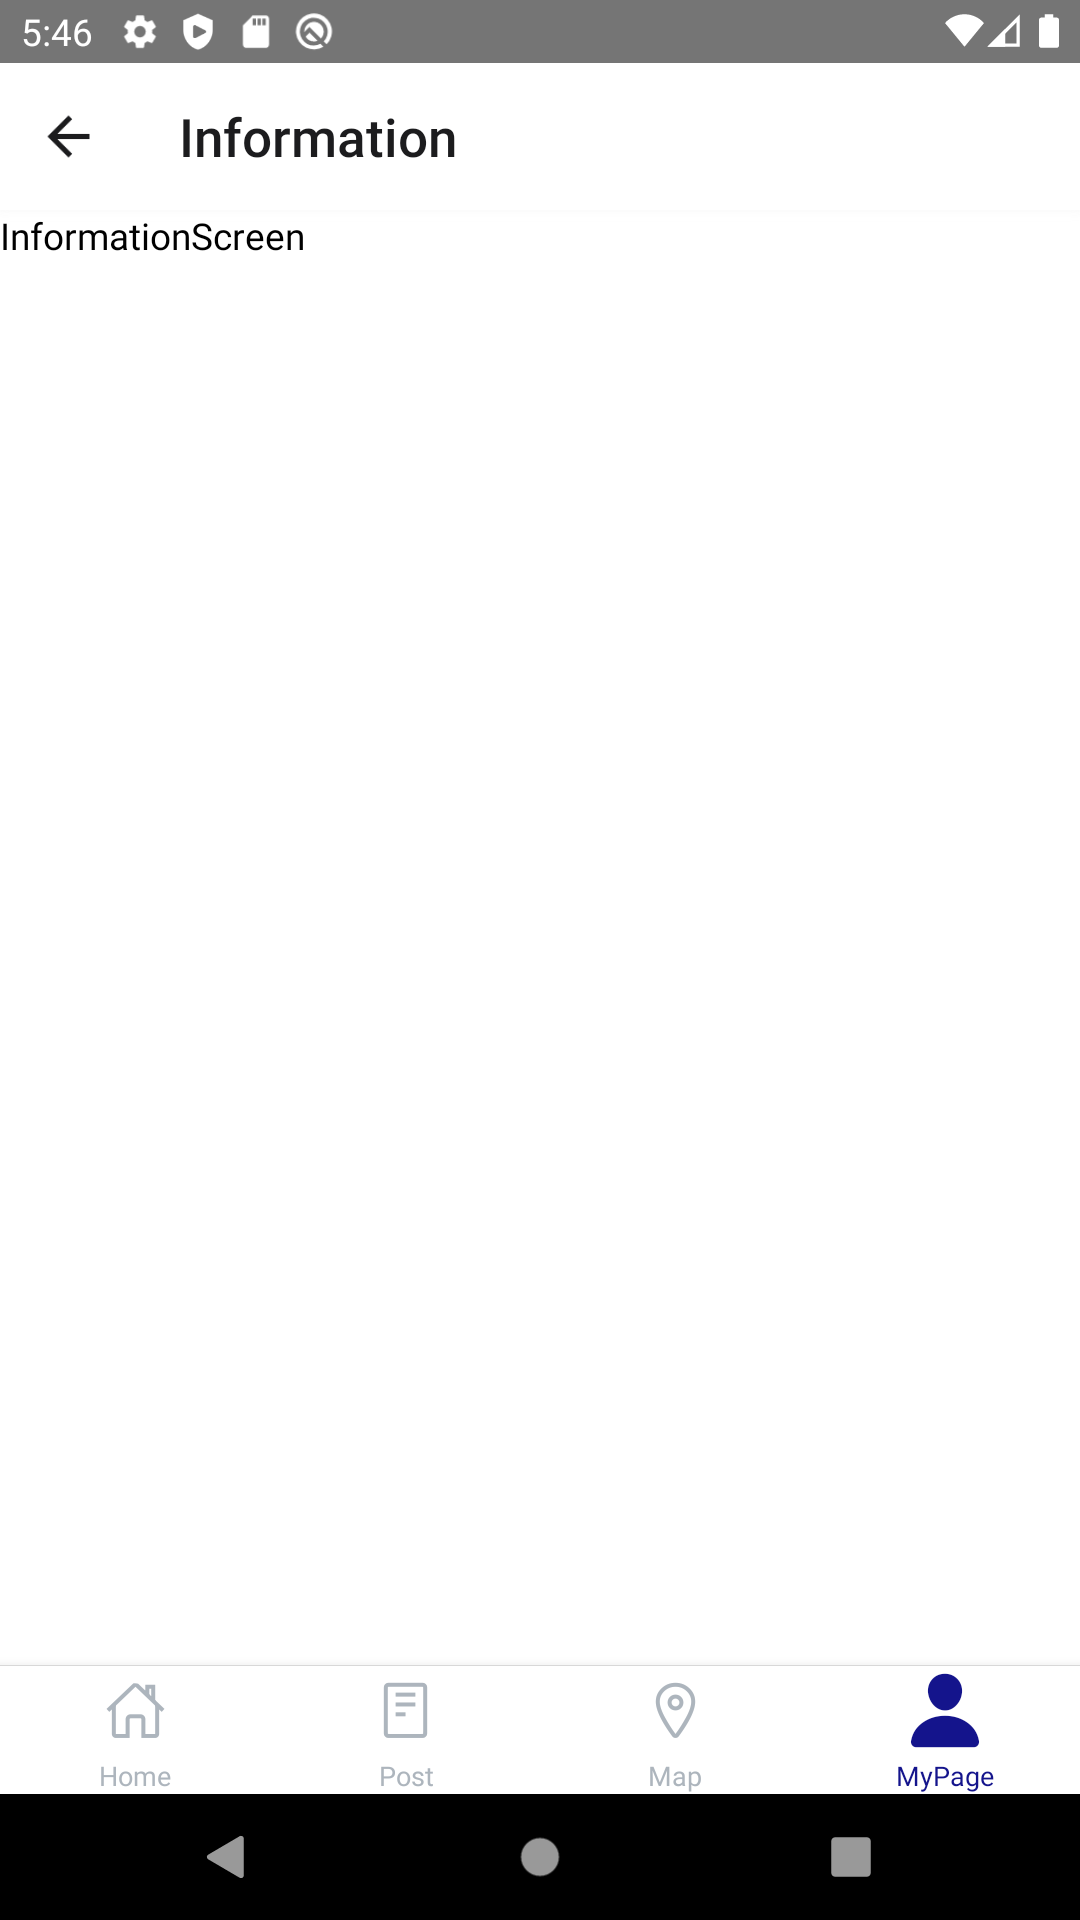
- /user/InformationScreen.js
import React from 'react';
import {
    StyleSheet,
    View,
    Text
} from 'react-native';
import palette from '../../styles/palette';

const InformationScreen = () => {
    return(
        <View style={ styles.container }>
            <Text>InformationScreen</Text>
        </View>
    );
};

const styles = StyleSheet.create({
    container: {
        flex: 1,
        backgroundColor: palette.white[0],
    },
});
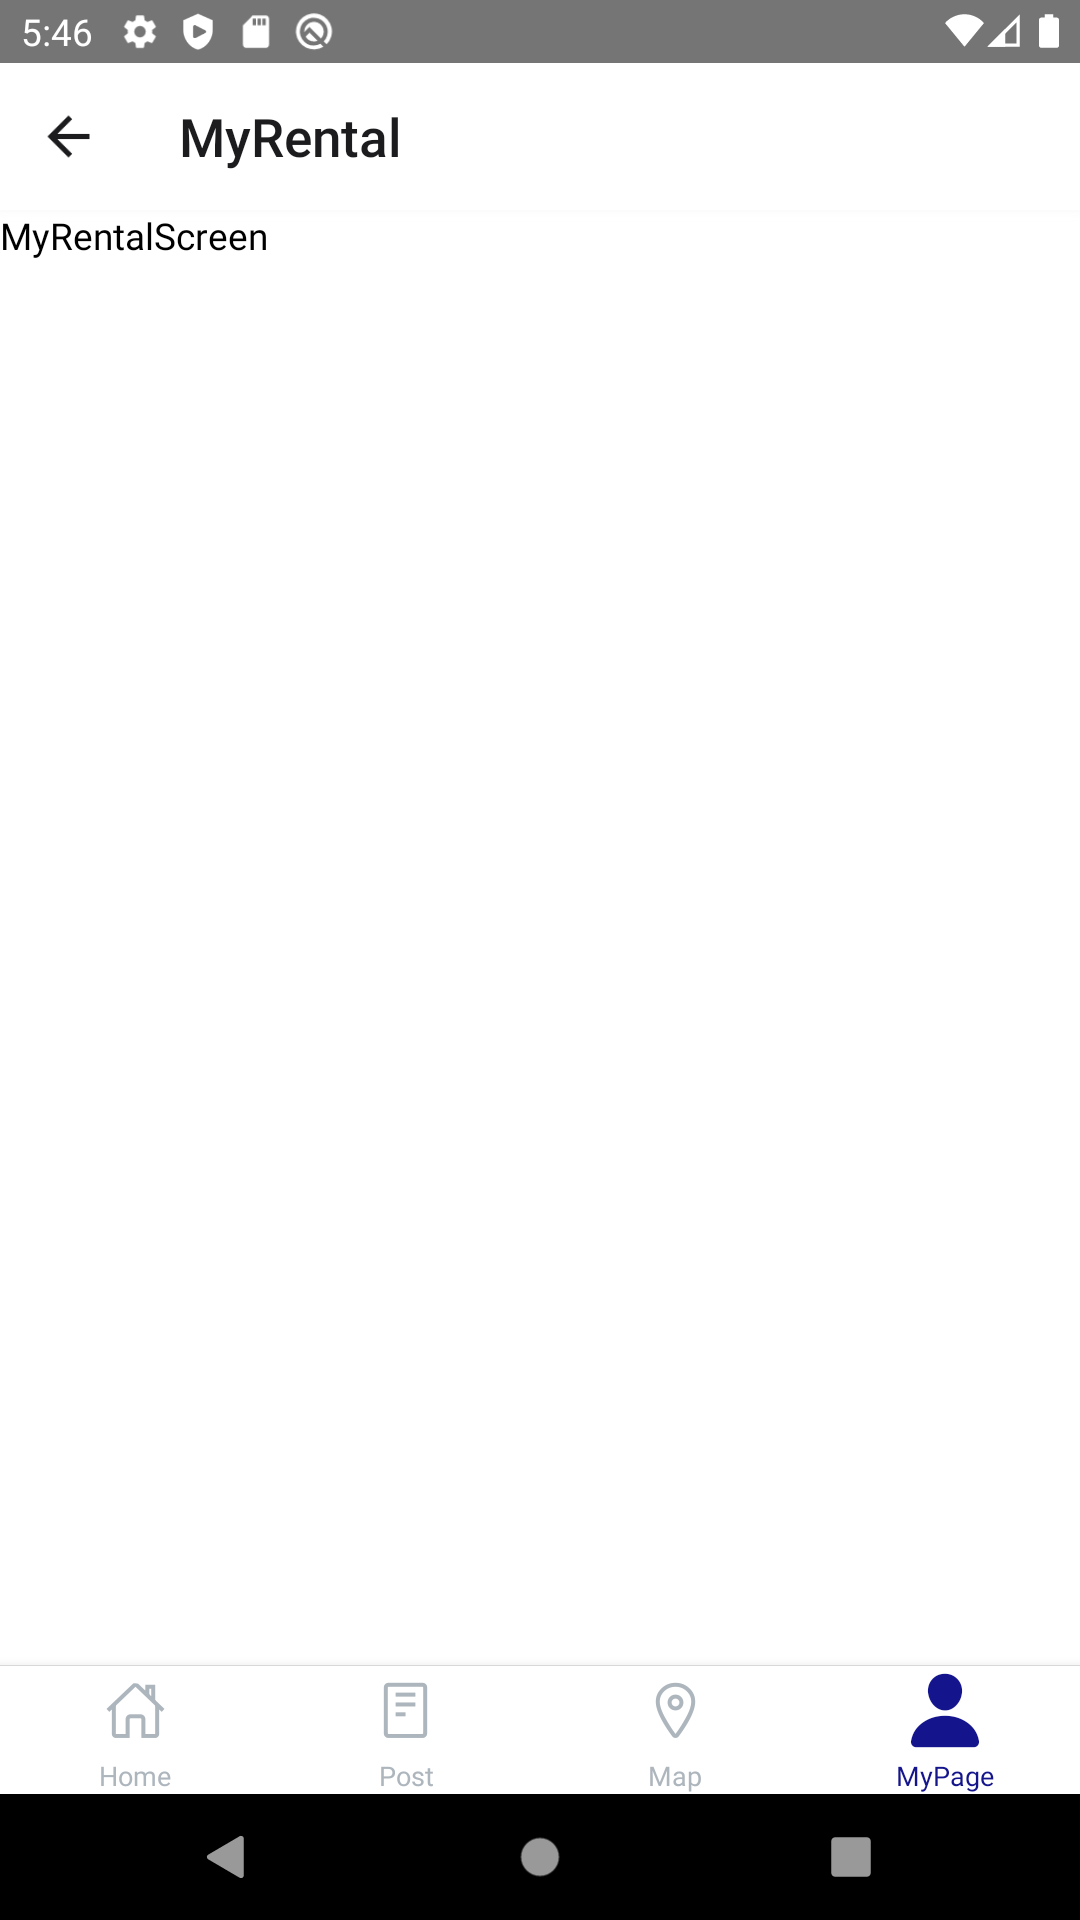
export default InformationScreen;- /user/MyRentalScreen.js
import React from 'react';
import {
    StyleSheet,
    View,
    Text
} from 'react-native';
import palette from '../../styles/palette';

const MyRentalScreen = () => {
    return(
        <View style={ styles.container }>
            <Text>RentalCancelScreen</Text>
        </View>
    );
};

const styles = StyleSheet.create({
    container: {
        flex: 1,
        backgroundColor: palette.white[0],
    },
});
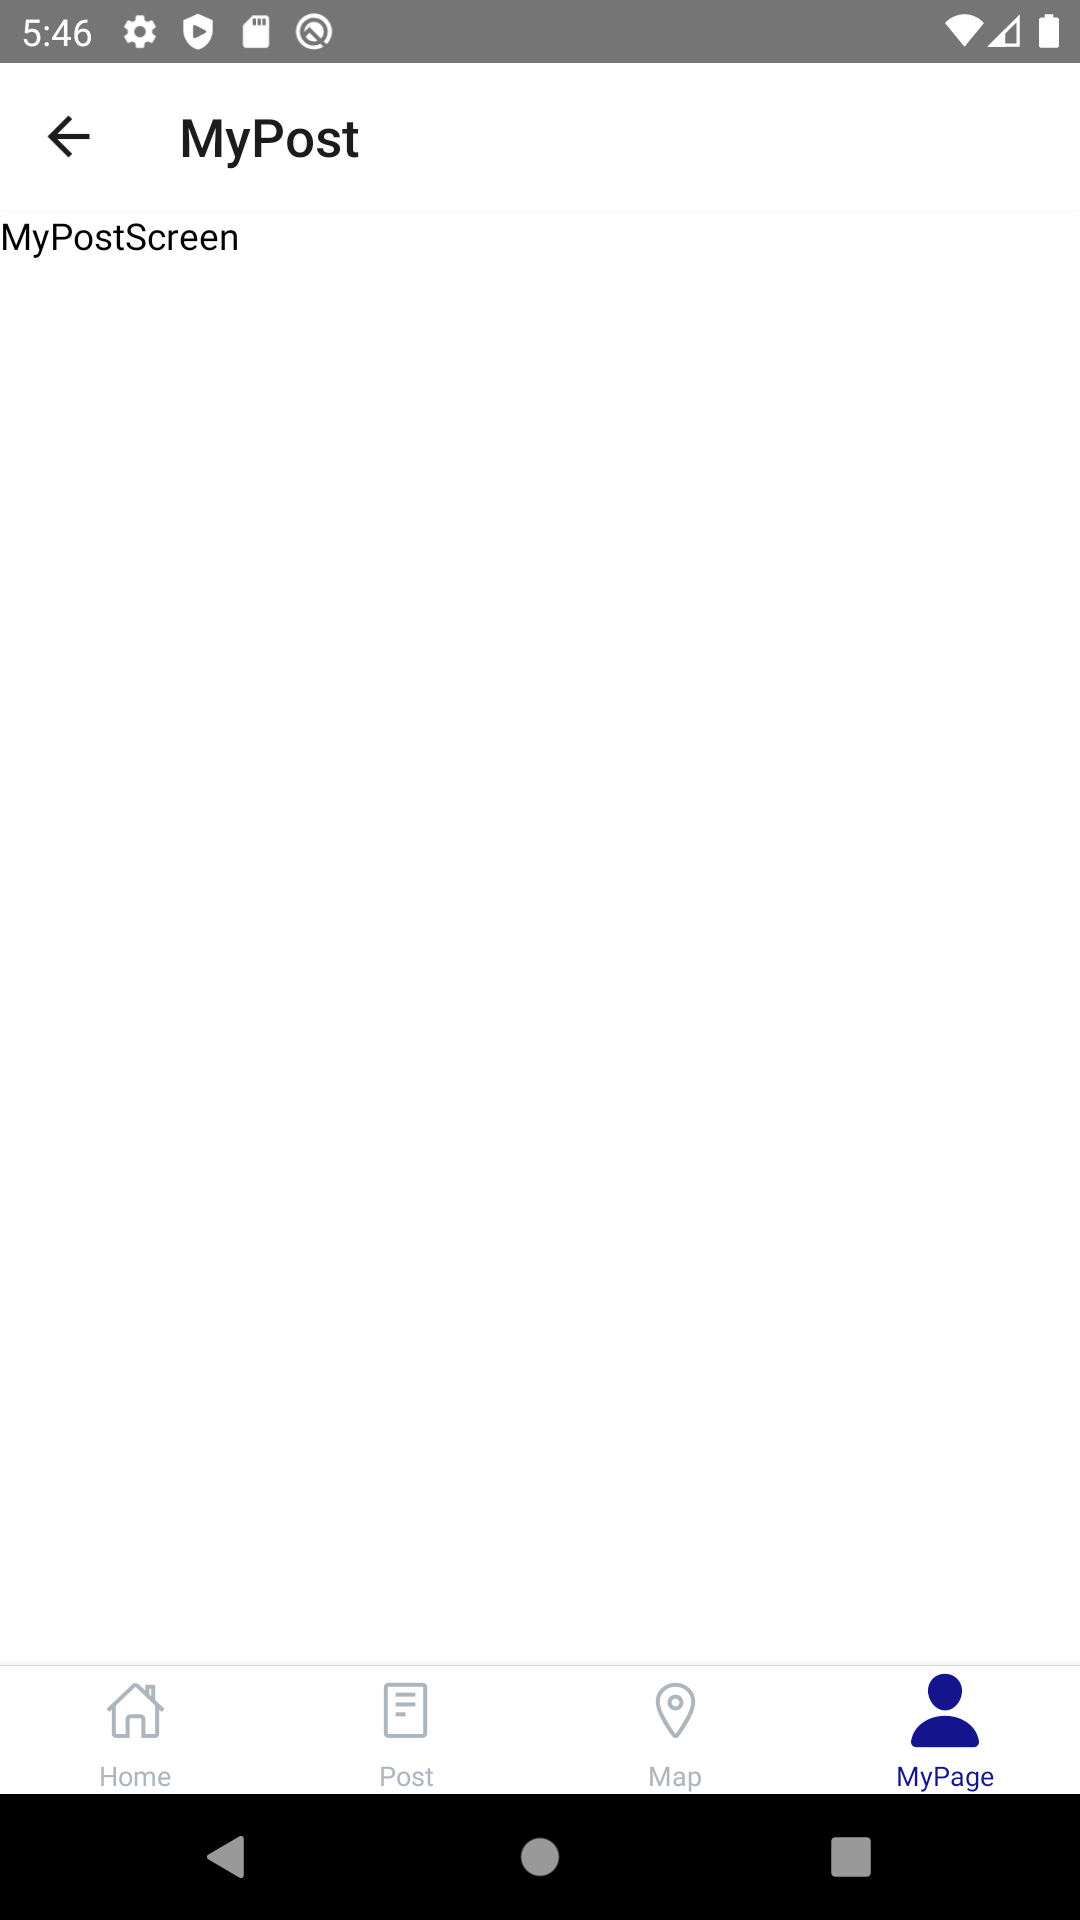
export default MyRentalScreen;- /user/MyPostScreen.js
import React from 'react';
import {
    StyleSheet,
    View,
    Text
} from 'react-native';
import palette from '../../styles/palette';

const MyPostScreen = () => {
    return(
        <View style={ styles.container }>
            <Text>MyPostScreen</Text>
        </View>
    );
};

const styles = StyleSheet.create({
    container: {
        flex: 1,
        backgroundColor: palette.white[0],
    },
});

export default MyPostScreen;
스크린들을 만들었으니 이제 MyPageContent에서 네비게이션으로 이 페이지들로 이동할 수 있는 press 메서드를 만들도록 하겠습니다.
- /user/components/MyPageContent.js
import { useNavigation } from '@react-navigation/native';
import React from 'react';
import {
    StyleSheet,
    View,
    Text,
    TouchableOpacity
} from 'react-native';
import CategoryIcon from '../../../styles/common/CategoryIcon';
import palette from '../../../styles/palette';

const MyPageContent = () => {
    const navigation = useNavigation();
    const onPressToInformation = e => {
        navigation.navigate("Information");
    };

    const onPressToMyRental = e => {
        navigation.navigate("MyRentalScreen");
    };


    const onPressToMyPost = e => {
        navigation.navigate("MyPost");
    };

    return(
        <View style={ styles.container }>
            <View style={ styles.icon }>
                <TouchableOpacity onPress={ onPressToInformation }>
                    <CategoryIcon
                        name={ 'ios-person-circle-outline' }
                        text={ "정보" }
                    />
                </TouchableOpacity>
            </View>
            <View style={ styles.icon }>
                <TouchableOpacity onPress={ onPressToMyPost }>
                    <CategoryIcon
                        name={ 'ios-albums-outline' }
                        text={ "게시글" }
                    />
                </TouchableOpacity>
            </View>
            <View style={ styles.icon }>
                <TouchableOpacity onPress={ onPressToMyRental }>
                    <CategoryIcon
                        name={ 'ios-card-outline' }
                        text={ "대관취소" }
                    />
                </TouchableOpacity>
            </View>
        </View>
    );
};

...

export default MyPageContent;
이제 마지막으로 MyPageStackNavigation을 BottomNavigation에 붙이고 테스트를 진행하도록 하겠습니다.
- /BottomNavigation.js
import React from 'react';
import { createBottomTabNavigator } from '@react-navigation/bottom-tabs';
import Icon from 'react-native-vector-icons/Ionicons';
import palette from '../styles/palette';
import HomeScreen from '../pages/home/HomeScreen';
import PostStackNavigation from './post/PostStackNavigation';
import MapStackNavigation from './map/MapStackNavigation';
import MyPageStackNavigation from './user/MyPageStackNavigation';

const Tab = createBottomTabNavigator();

const BottomNavigation = ({ route }) => {
    return(
        ...
            ...
            <Tab.Screen
                name="MyPage"
                options={{
                    headerShown: false
                }}
                children={
                    () => <MyPageStackNavigation />
                }
            />
        </Tab.Navigator>
    );
};

export default BottomNavigation;
#4 테스트

정상적으로 잘 작동하는 모습을 볼 수 있습니다. 그러면 다음 포스트에서는 redux와 Nest.js를 이용하여 회원관리 기능을 만들어보도록 하겠습니다.
