jquery 사용시 넣어야 할 구문 (title 밑에)
<script src="https://ajax.googleapis.com/ajax/libs/jquery/3.6.3/jquery.min.js"></script>after : 지정 태그 다음줄에
💡 예시
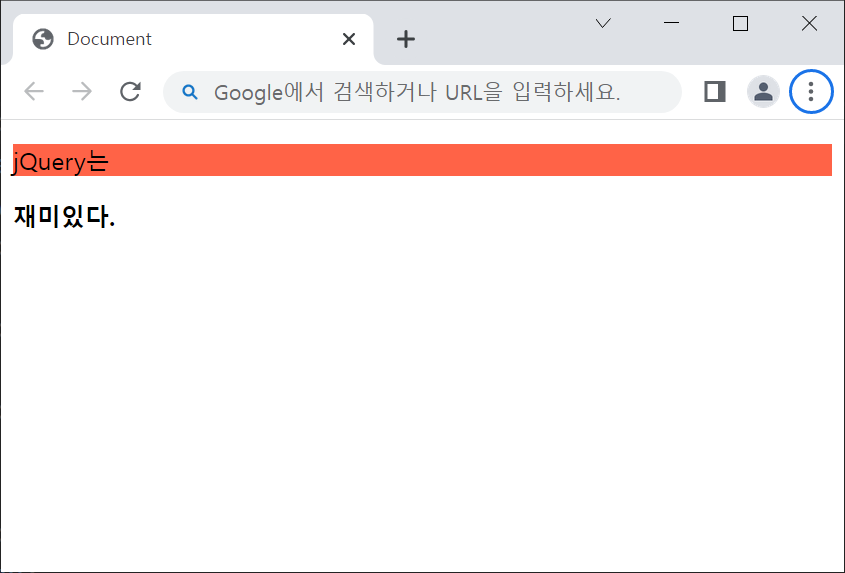
  <p>
    jQuery는
  </p>

  <script>
    // p태그 이후에 들어감
    $("p").after("<strong>재미있다.</strong>");
  </script>
🕜 결과
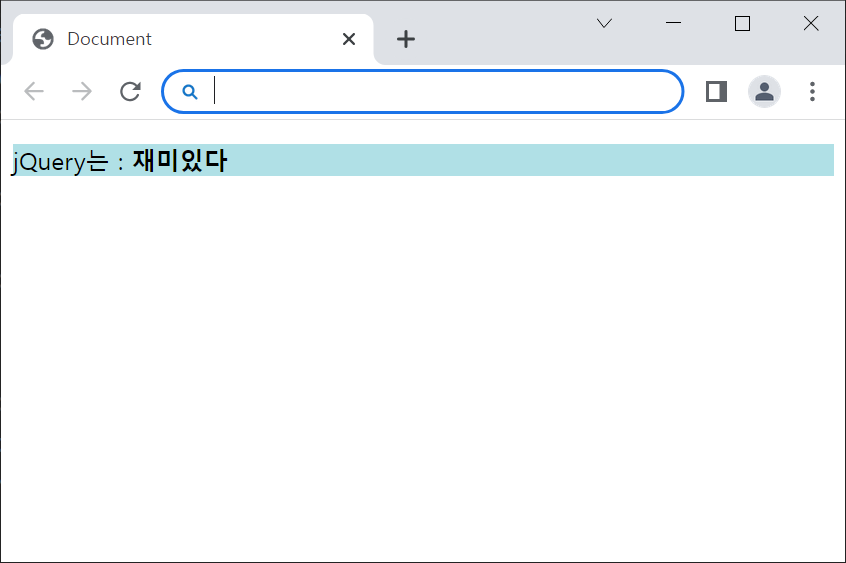
append : 지정태그에 자식태그로
💡 예시
  <p id="user_p">
    jQuery는 :
      </p>

  <script>
        // 자식태그로 삽입가능
        $("p").append("<strong>재미있다</strong>");
  </script>
🕜 결과
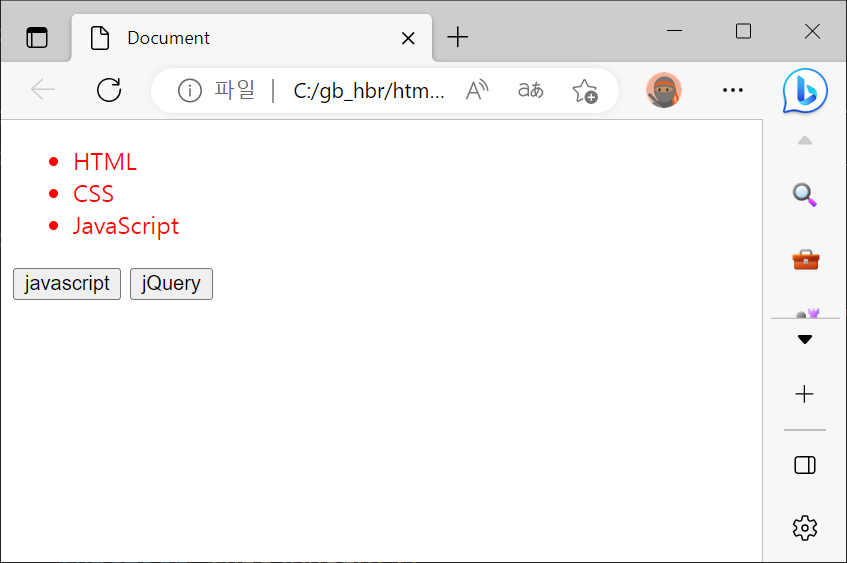
리스트에 jquery
💡 예시
<input type="button" value="jQuery" onclick="funcJQuery()">

<script>
  function funcJQuery(){
    $('li').css('color','red');
  }
</script>
🕜 결과
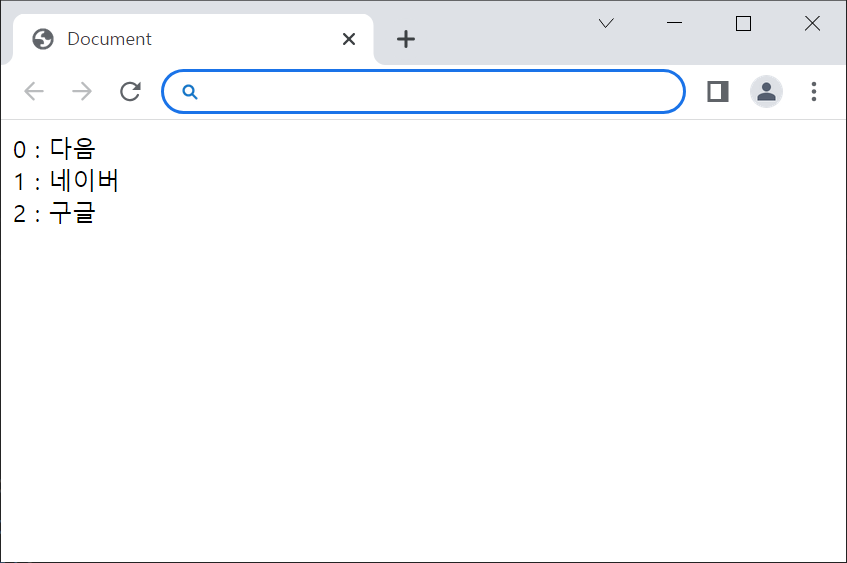
배열값 출력
💡 예시
    <script>
        let arr = ['다음', '네이버', '구글'];

        //$.each(object, function(index, item){});
        /*
            object  : 배열을 전달
            콜백함수 : index는 배열에서는 인덱스 값을 의미
                      item은 해당 인덱스가 가진 값을 의미
        */

        $.each(arr, function(index, item){
            let result = '';
            result = index + " : " + item;
            document.write(result + "<br>");
        })
    </script>
🕜 결과
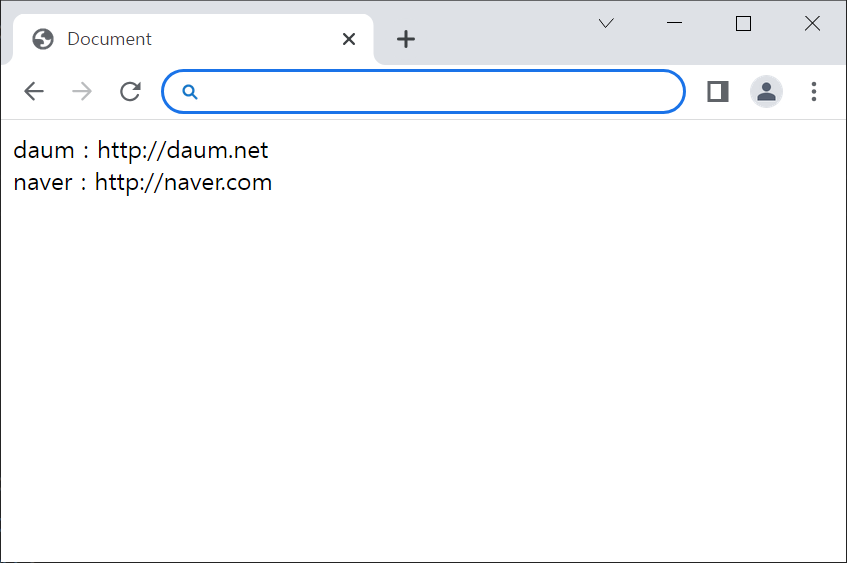
index에 숫자 대신 name
💡 예시
    <script>
        let obj = {
            daum : "http://daum.net",
            naver : "http://naver.com"
        };

        $.each(obj, function(index, item){
            let result = '';
            result += index + " : " + item;
            document.write(result + "<br>");
        })
    </script>
🕜 결과
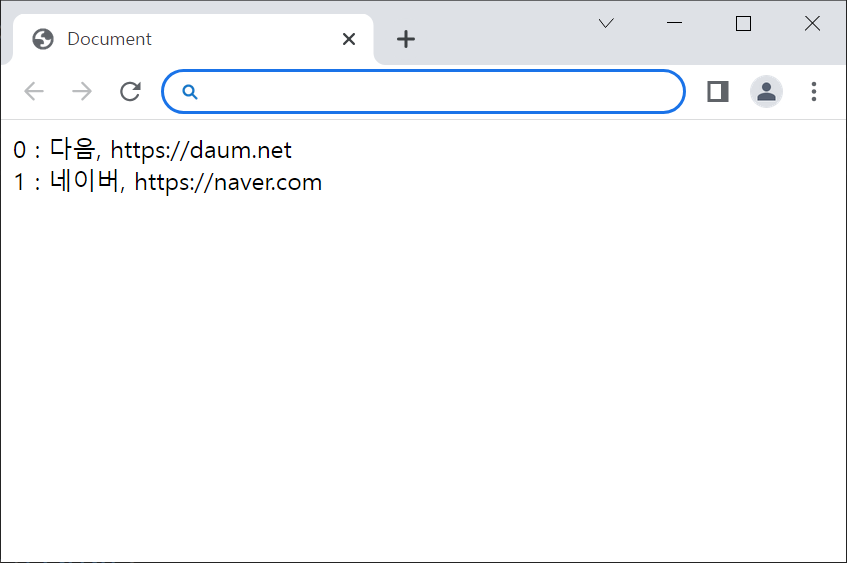
item 두개 이상
💡 예시
    <script>
        // 배열
        let arr = [
            {title : "다음", url : "https://daum.net"},
            {title : "네이버", url : "https://naver.com"}
        ]

        $.each(arr, function(index, item){
            let result = '';

            result += index + " : " + item.title + ", " + item.url;
            document.write(result + "<br>");
        })
    </script>
🕜 결과
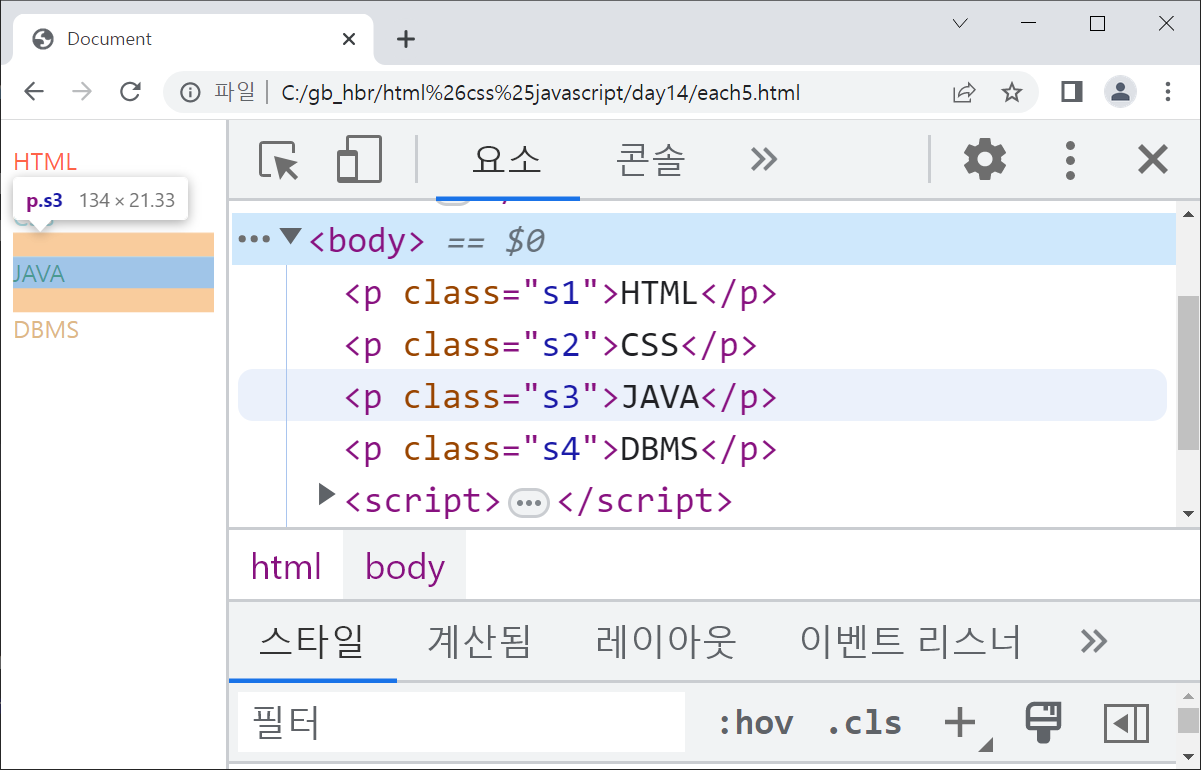
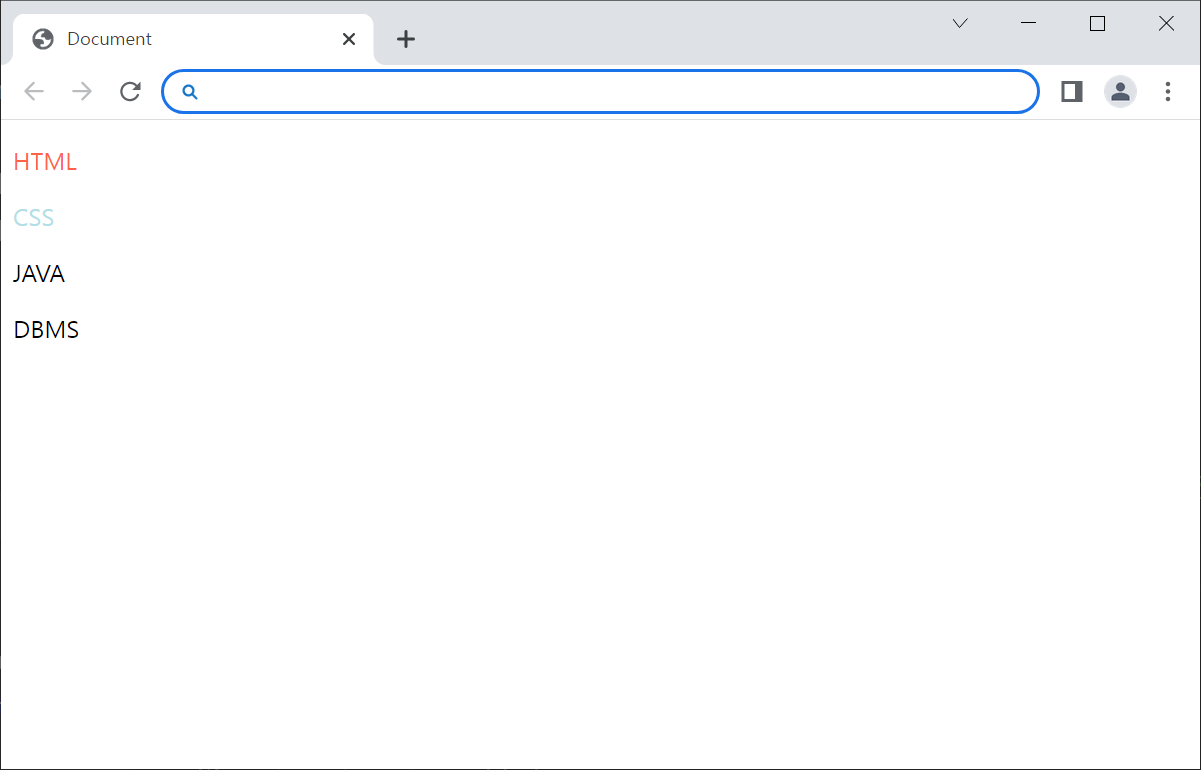
add Class 해주고 css값 자동 입력
💡 예시
<head>
    <style>
        .s1{color: tomato;}
        .s2{color: powderblue;}
        .s3{color: green;}
        .s4{color: burlywood;}
    </style>
</head>
<body>
    <p>HTML</p>
    <p>CSS</p>
    <p>JAVA</p>
    <p>DBMS</p>

    <script>
            $('p').each(function(index, item){
            // index : 인덱스
            // item  : 해당 선택자의 객체
            // $(item).addClass("li_0" + index);

            $(this).addClass("s" + (index+1));
        });
    </script>
🕜 결과
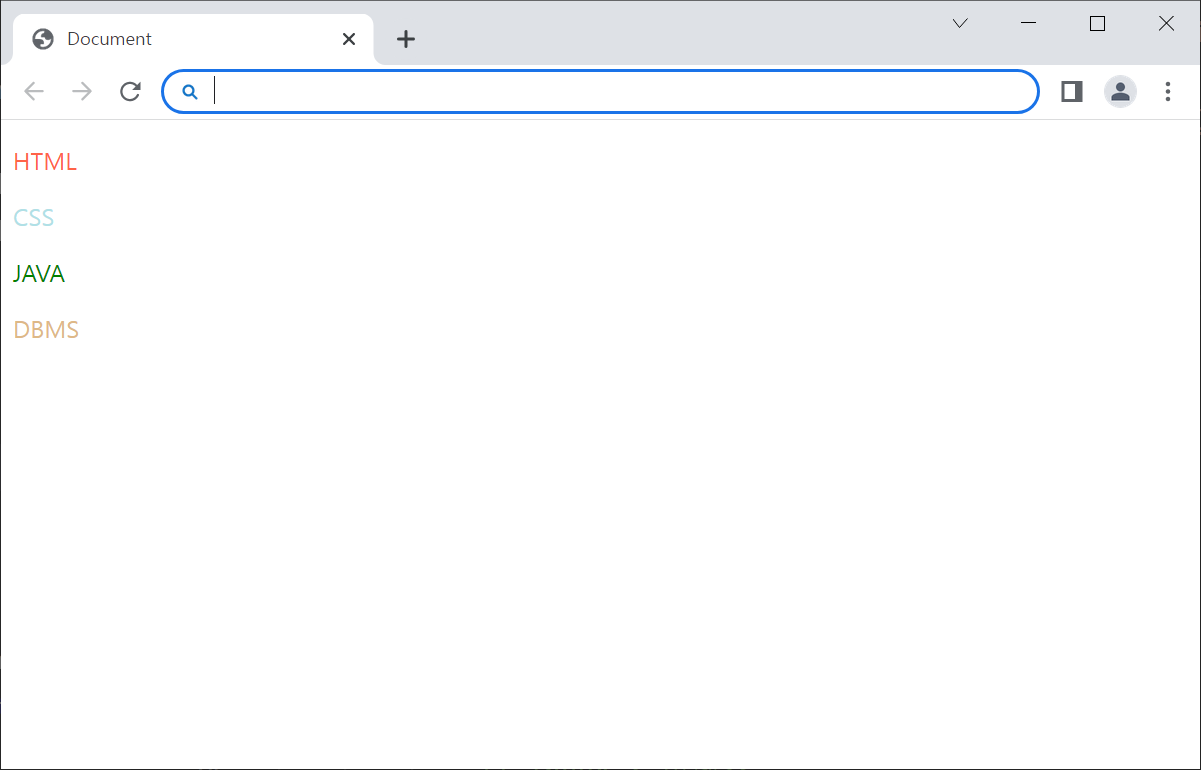
return false : 반복문 빠져나가고 싶을 떄
💡 예시
<head>
    <style>
        .s1{color: tomato;}
        .s2{color: powderblue;}
        .s3{color: green;}
        .s4{color: burlywood;}
    </style>
</head>
<body>
    <p>HTML</p>
    <p>CSS</p>
    <p>JAVA</p>
    <p>DBMS</p>

    <script>
        $('p').each(function(index, item){
		// 위랑 똑같은데 아래 구문만 추가
        if ( index == 2){
          return false;
        }

        $(this).addClass("s" + (index+1));

        });
    </script>
🕜 결과
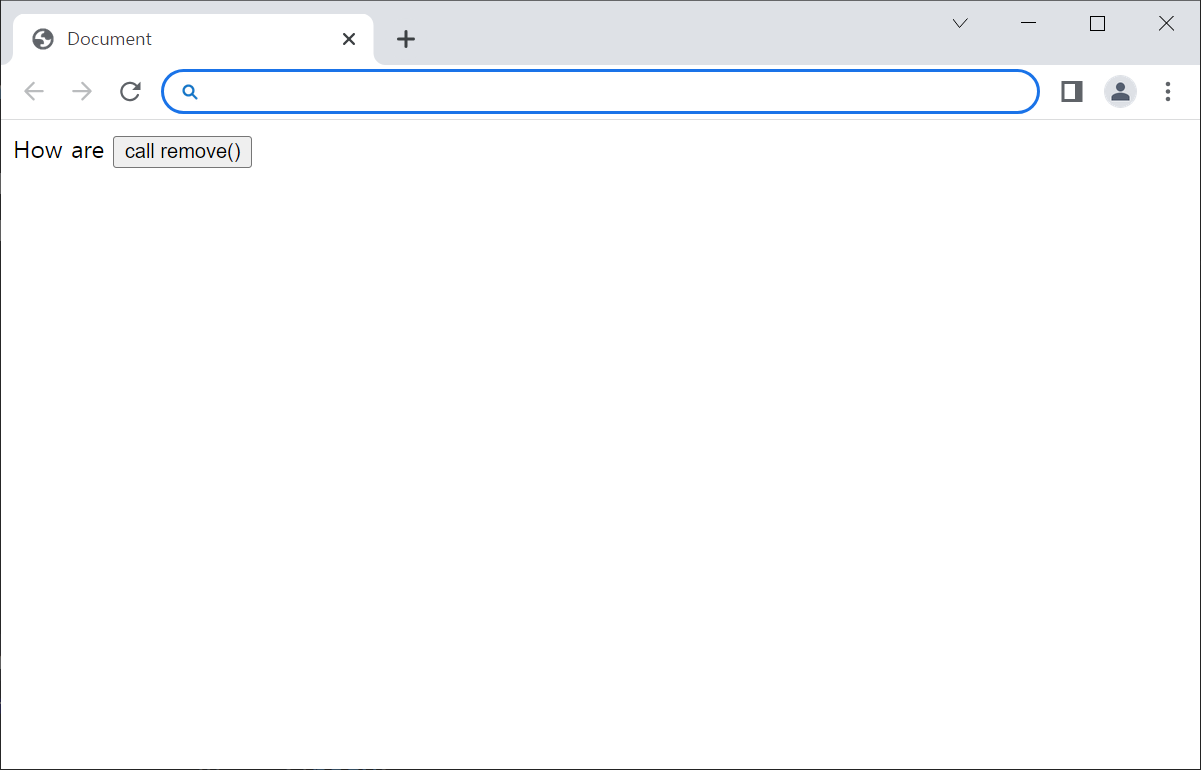
remove() : 지정 태그 삭제
💡 예시
<body>
    <p>Hello</p>
    How are
    <p>You</p>
    <button>call remove()</button>

    <script>
        $("button").click(function(){
            $("p").remove();
        })
    </script>
🕜 결과

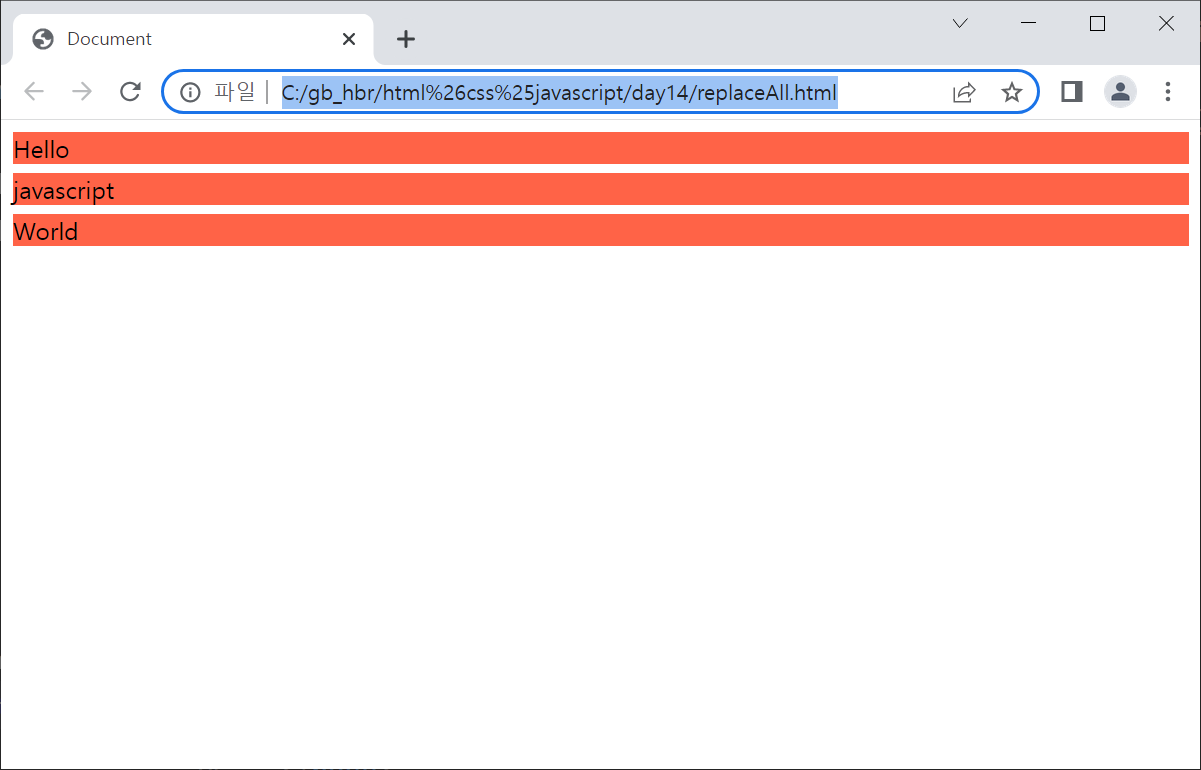
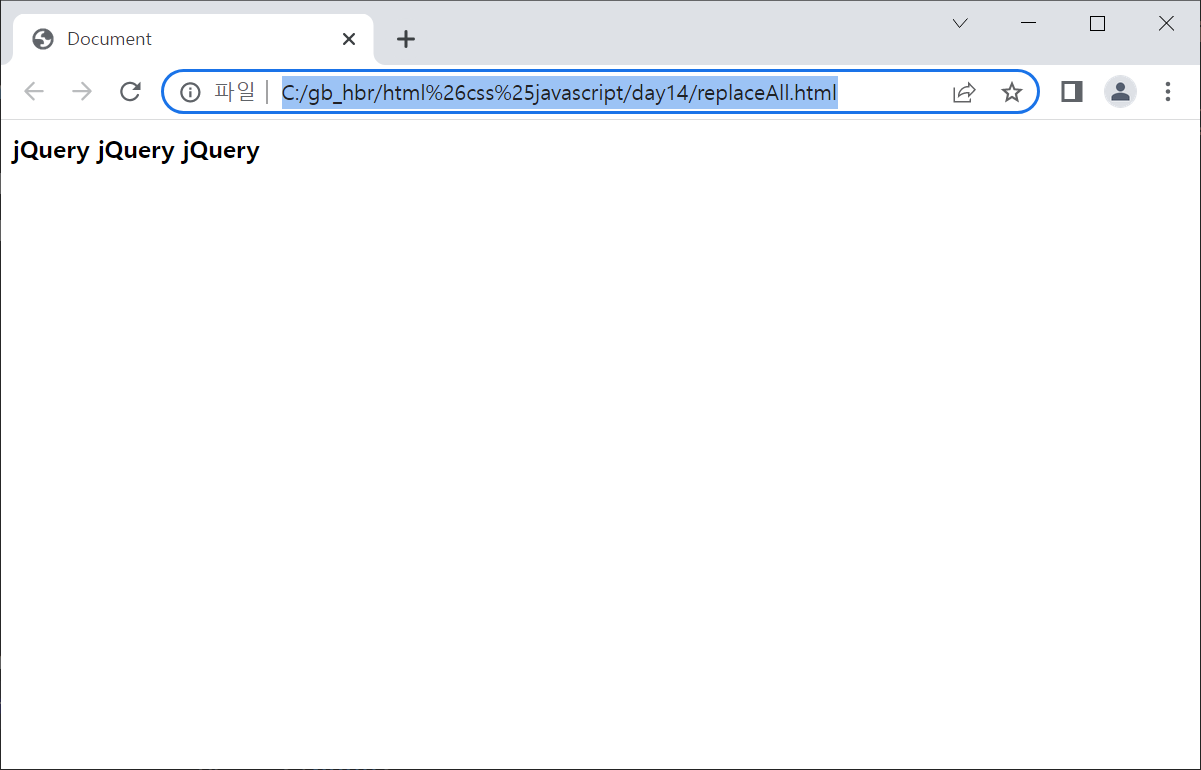
replaceAll(): 바꾸기
💡 예시
<head>
    <style>
        p{
            background-color: tomato;
            margin: 6px 0;
        }
    </style>
</head>
<body>
    <p>Hello</p>
    <p>javascript</p>
    <p>World</p>

    <script>
         $("<b>jQuery</b>").replaceAll("p");
    </script>
</body>
🕜 결과
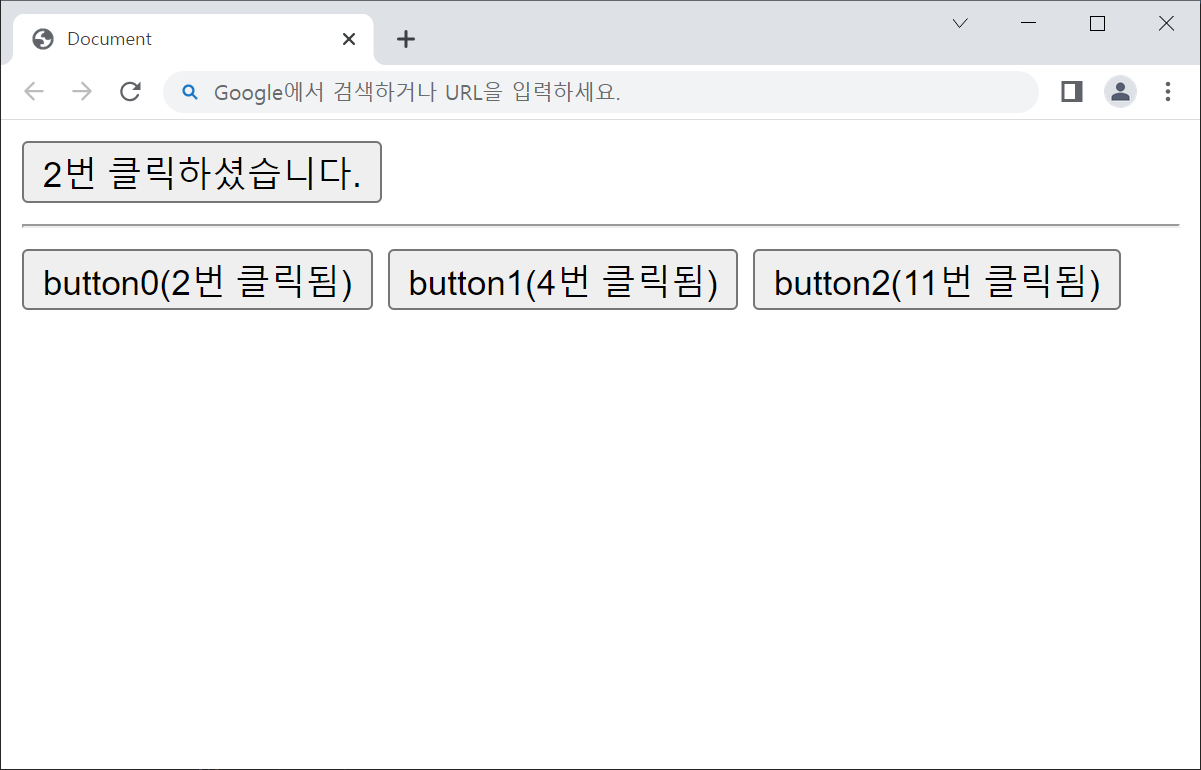
(this) : 나 자신
💡 예시
<body>
    <div>
        <button type="button" id="single">클릭하세요</button>
    </div>
    <hr/>
    <div>
        <button type="button" class="multi">button0(0번 클릭됨)</button>
        <button type="button" class="multi">button1(0번 클릭됨)</button>
        <button type="button" class="multi">button2(0번 클릭됨)</button>
    </div>
    <script>
        //single 값을 하나의 변수처럼 사용
        let count = {
            single : 0,
            multi  : [0,0,0]
        };

        $("#single").click(function(){
            count.single++;
            $(this).html(count.single +"번 클릭하셨습니다.");
        });

        $(".multi").click(function(){
            // 상위 div안에서 자신이 몇번째인지 확인
            // 0부터 시작되는 index
            let idx = $(this).index();
            count.multi[idx]++;
            $(this).html("button"+idx+"("+count.multi[idx]+"번 클릭됨)")
        })
    </script>
</body>
🕜 결과
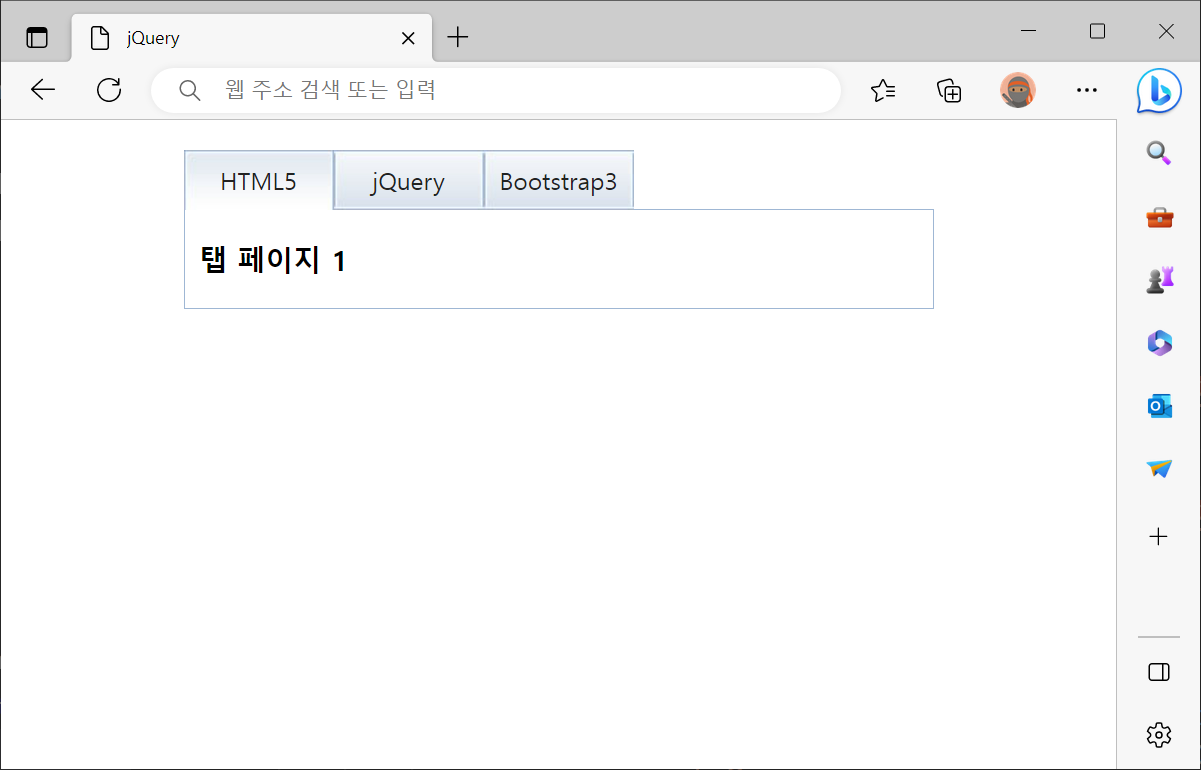
not(this) : 나자신 뺴고
💡 예시
    <div class="tab">
        <!-- 탭 버튼 영역 -->
        <ul class="tab-button clearfix">
            <li class="tab-button-item pull-left">
                <a class="tab-button-item-link selected" href="#tab-page-1">HTML5</a>
            </li>
            <li class="tab-button-item pull-left">
                <a class="tab-button-item-link" href="#tab-page-2">jQuery</a>
            </li>
            <li class="tab-button-item pull-left">
                <a class="tab-button-item-link" href="#tab-page-3">Bootstrap3</a>
            </li>
        </ul>
        <!-- 내용영역 -->
        <div class="tab-panel">
            <div id="tab-page-1"><h3>탭 페이지 1</h3></div>
            <div id="tab-page-2" class="hide"><h3>탭 페이지 2</h3></div>
            <div id="tab-page-3" class="hide"><h3>탭 페이지 3</h3></div>
        <div>
    </div>

    <script>
        // e가 있는 이유
        $('.tab-button-item-link').click(function(e){
            // 일단 페이지 이동방지
            e.preventDefault();

            // 클릭된 요소를 제외한 나머지에게 selected 클래스 제거
                // 나 자신 빼고
            $('.tab-button-item-link').not(this)
                                        // selected 제거
                                      .removeClass("selected")
            // 나 자신에게는(클릭된 요소에게는) selected 부여
            $(this).addClass("selected")
            // attr('class', 'tab-button-item-link selected')
            // let href = $(this).attr("href");
            // $('.tab-button-item-link').attr('href', href)

            // 나 자신의 속성 가져오기
            let target = $(this).attr("href");
      		// href랑 똑같은 이름의 id에 있는 class hide 빼기
            $(target).removeClass('hide');
            //.tab-panel 클래스를 가진 요소의 하위에 있는 모든 div 요소
            $('.tab-panel > div').not($(target))
                                 .addClass('hide');
        })
    </script>
🕜 결과
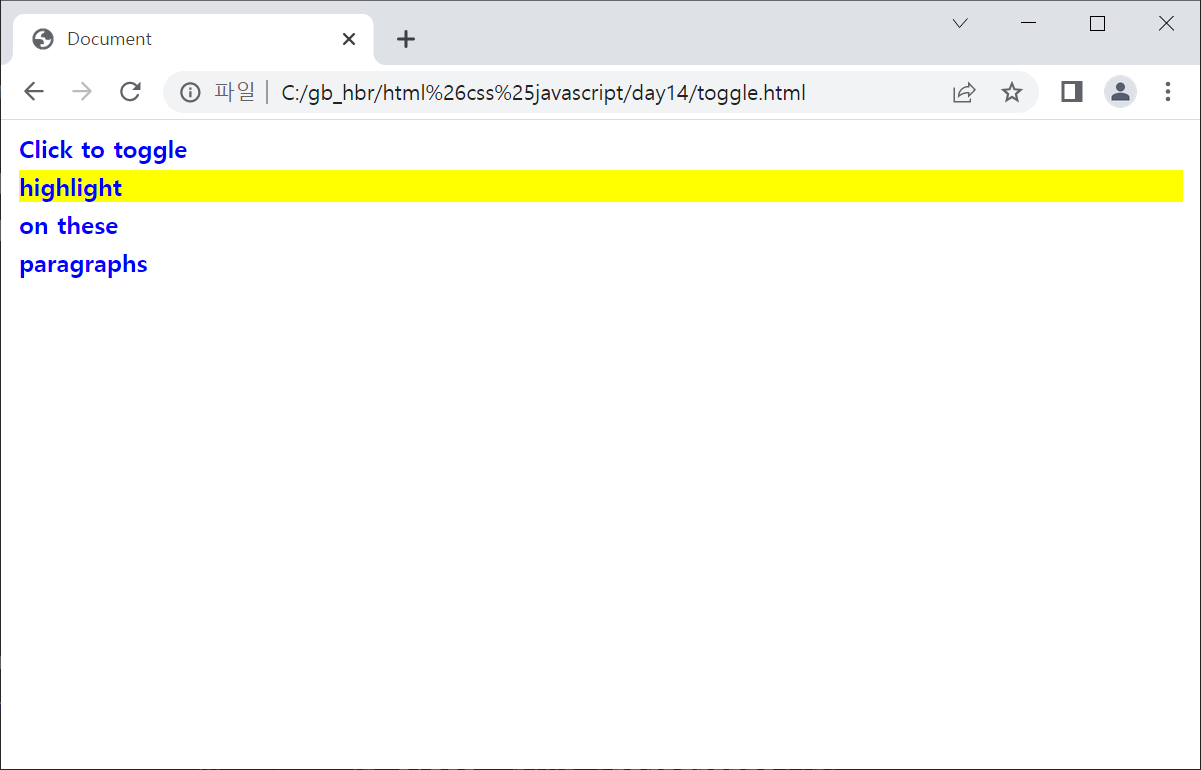
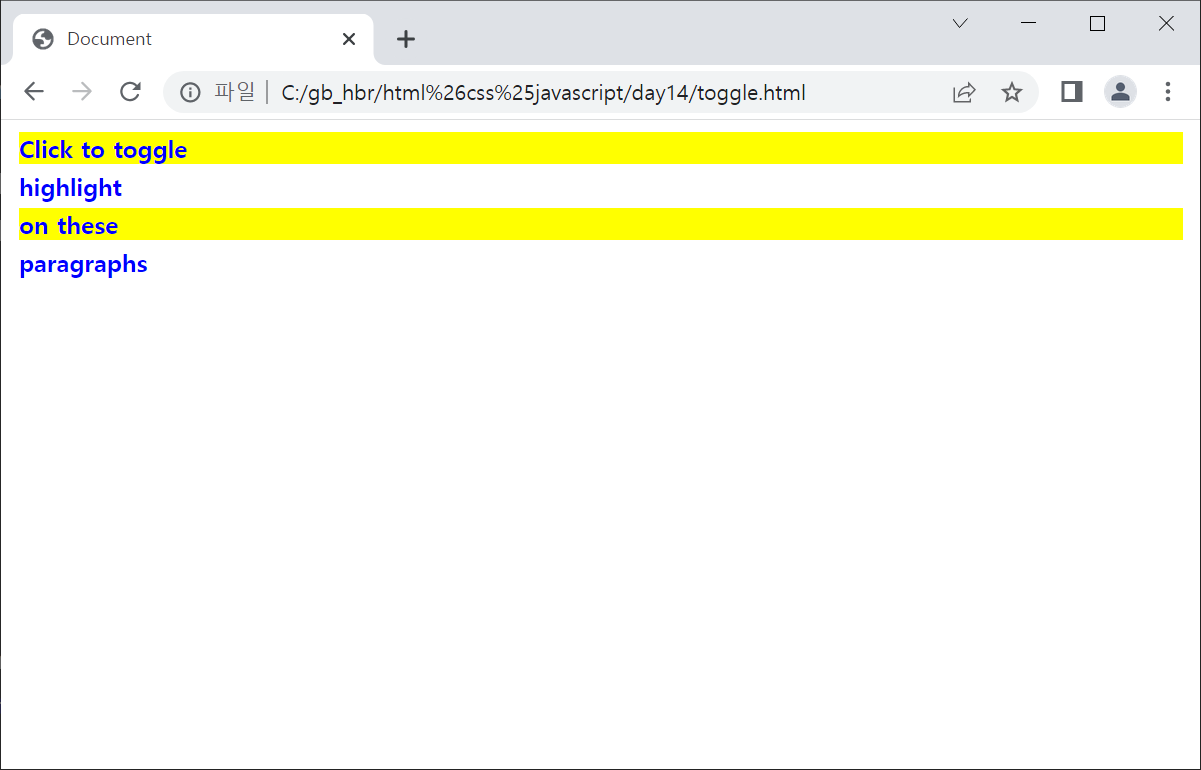
toggleClass() : 있으면 지워주고 없으면 만들어주고
💡 예시
<head>
    <style>
        p {
                margin: 4px;
                font-size:16px;
                font-weight:bolder;
                cursor:pointer;
            }
            .blue {
                color:blue;
            }
            .highlight {
                background:yellow;
            }
        </style>
</head>
<body>
    <p class="blue">Click to toggle</p>
    <p class="blue highlight">highlight</p>
    <p class="blue">on these</p>
    <p class="blue">paragraphs</p>

    <script>
        $("p").click(function(){
      							//cs에 정의
            $(this).toggleClass("highlight");
        })
    </script>
</body>
🕜 결과
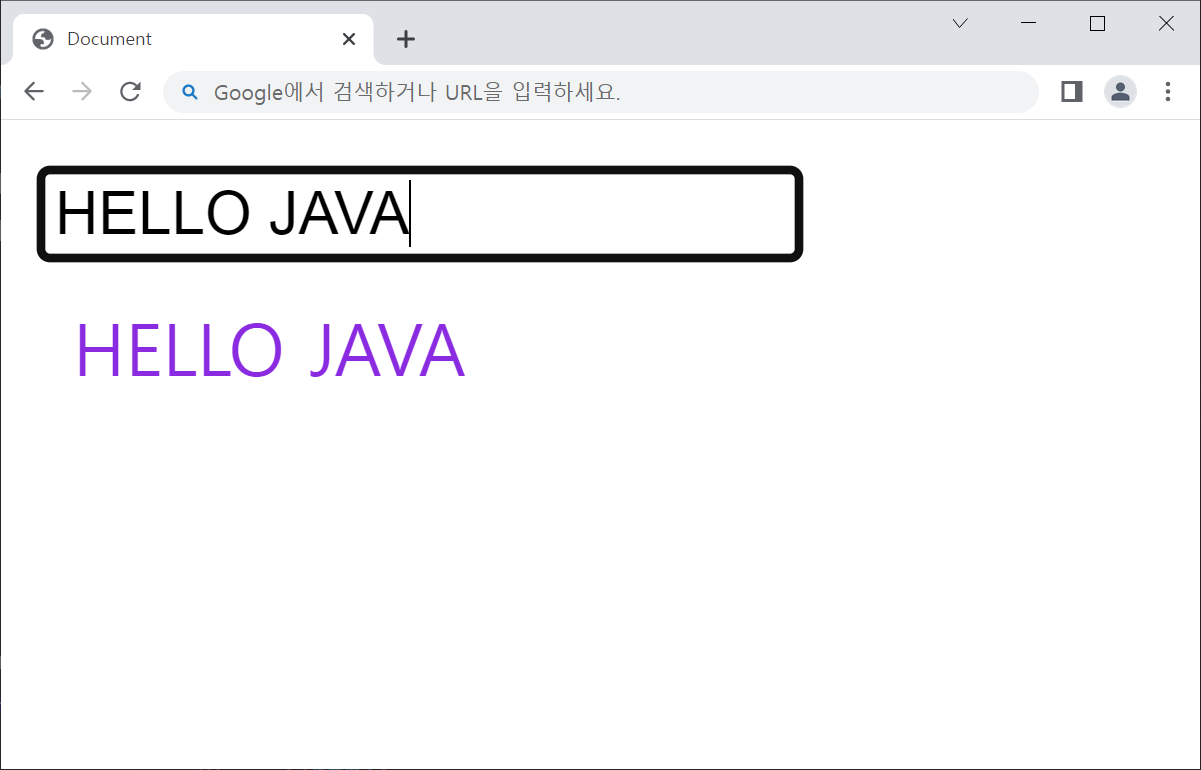
input값 획득
💡 예시
<head>
    <style>
        p{
            color: blueviolet;
            margin: 8px;
        }
    </style>
</head>
<body>
    <input type="text" value="some text">
    <p></p>

    <script>
        $("input").keyup(function(){
            //input 박스에 있는 값을 획득
            let value=$(this).val();
            $("p").text(value);
        })
    </script>
</body>
🕜 결과
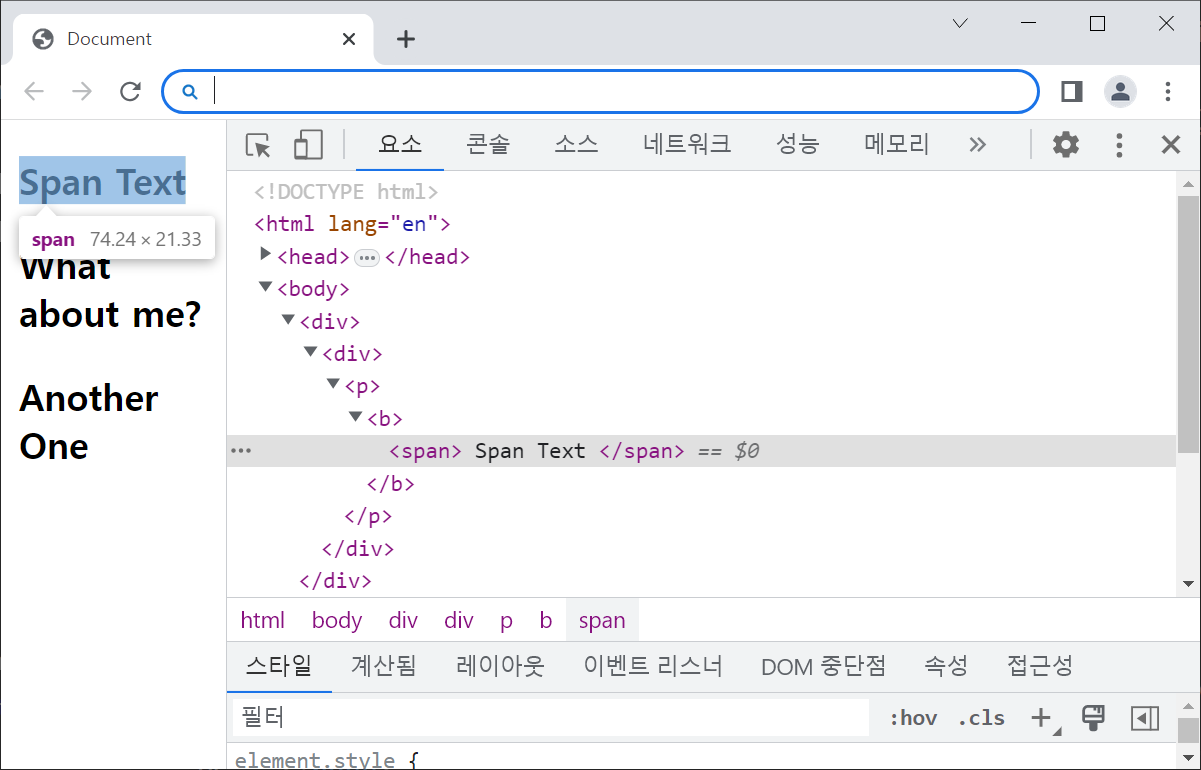
wrap() : 감싸주기
💡 예시
<body>
    <span>
        Span Text
    </span>
    <strong>
        What about me?
    </strong>
    <span>
        Another One
    </span>

    <script>
        $("span").wrap("<div><div><p><b></b></p></div></div>")
    </script>
</body>
🕜 결과
attr(): 특정 속성값을 얻기
- 속성값 얻기
let 변수 = $("요소").attr("속성이름");- 속성값 변경/추가
$("요소").attr("속성이름","값");- 다중처리
     $("요소").attr({
        "속성이름1":"값",
        "속성이름2":"값",
        "속성이름3":"값"
    })
💡 예시
<body>
    <!-- 베너영역 -->
    <div id="banner">
        <a href="#" id="banner-link" target="_blank">
            <img src="" id="banner-img" width="320" />
        </a>
    </div>

    <script>

        // 배너 이미지와 클릭시 이동할 URL을 JSON 배열로 정의
        let banner = [
            {img : 'img/1.jpg', url : '*'},
            {img : 'img/2.jpg', url : '*'},
            {img : 'img/3.jpg', url : '*'},
            {img : 'img/4.jpg', url : '*'}
        ];

        // n1~n2 사이의 랜덤값 리턴하는 함수
        function random(n1,n2){
            return parseInt(Math.random()*(n2 - n1 + 1)) + n1;
        }

        function random_banner(){
            // 0 ~ 배열길이-1 사이의 랜덤값 얻기
            let rand = random(0,banner.length-1);
            // 데이터 중 하나 선택
            let item = banner[rand];
            // 배너 적용하기
            $("#banner-link").attr("href", item.url);
            $("#banner-img").attr("src", item.img);
        }
        // 페이지가 열리자마자 호출될 함수
        $(function(){
            random_banner();
            setInterval(function(){
                random_banner();
            },1000)
        });
    </script>
</body>
🕜 결과
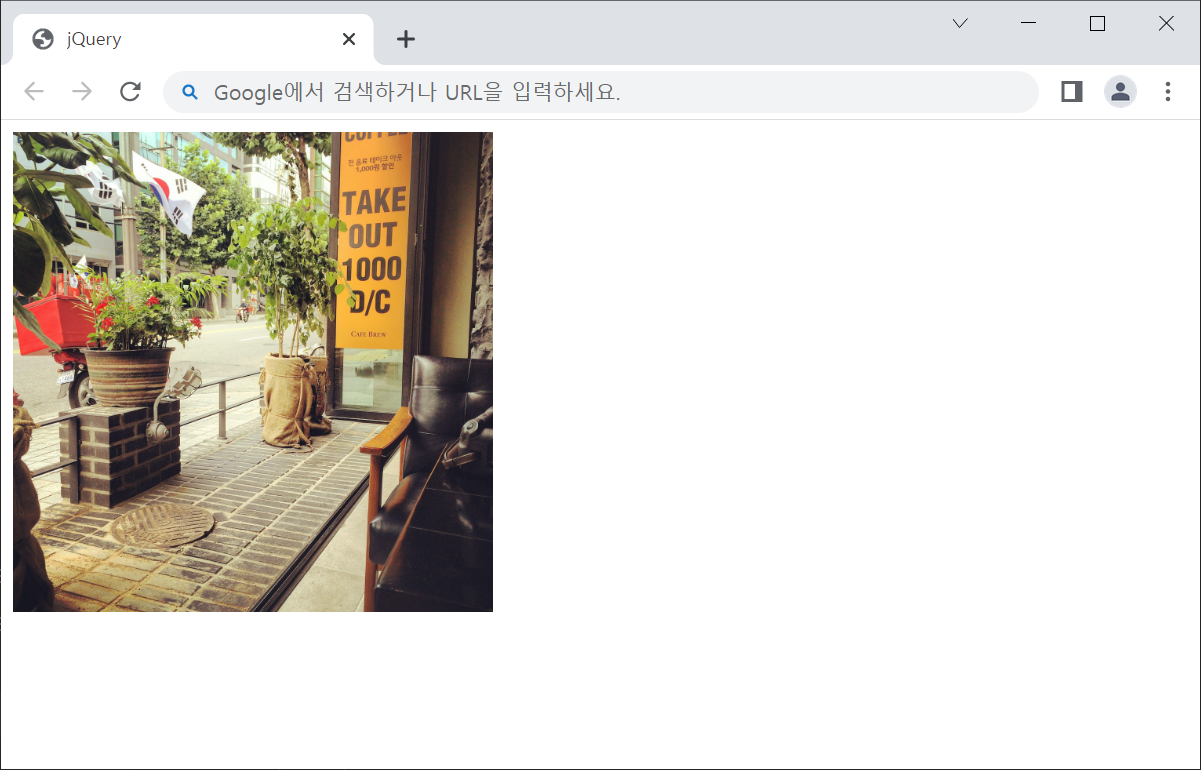
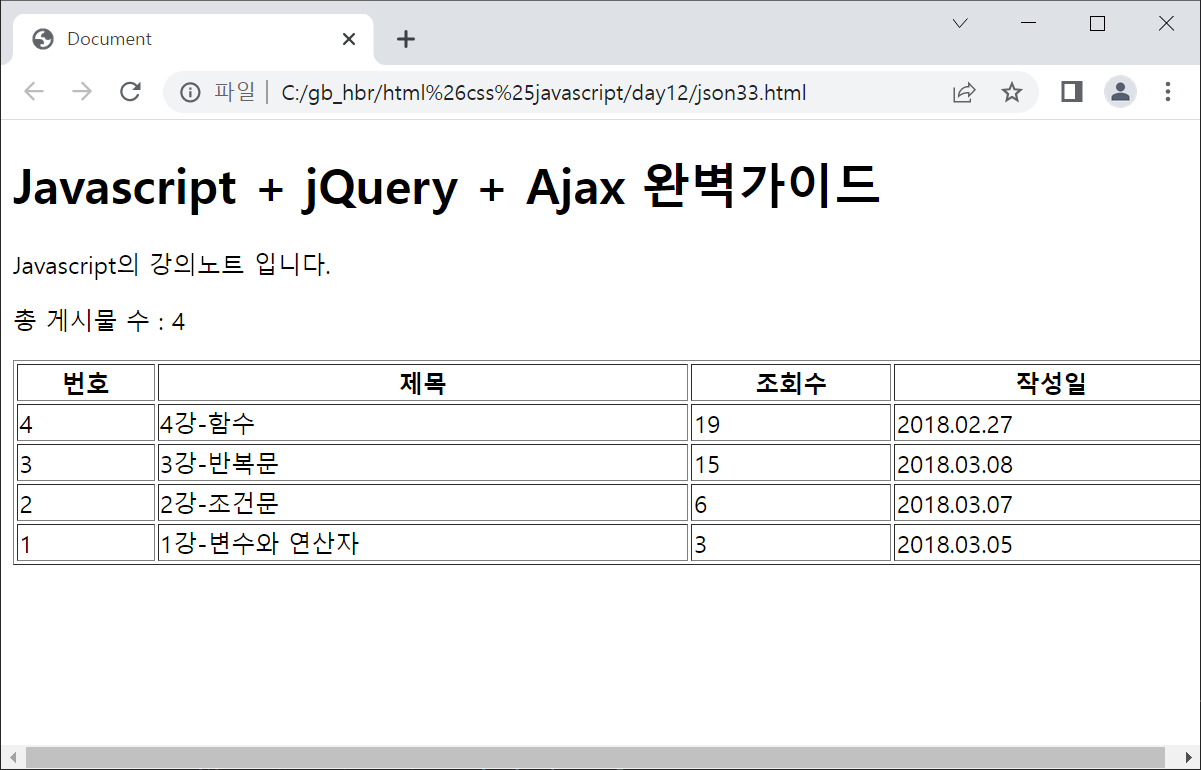
// 랜덤으로 이미지 띄워주고 이미지 클릭하면 하이퍼링크 접속json : 쿼리의 배열
💡 예시
<body>
    <h1 id="title"></h1>
    <p id="description"> </p>
    <p>총 게시물 수 : <span id="total"></span></p>
    <table width="800" border="1">
        <thead>
            <tr>
                <th align="center">번호</th>
                <th align="center">제목</th>
                <th align="center">조회수</th>
                <th align="center">작성일</th>
            </tr>
        </thead>
        <tbody id="list">

        </tbody>
    </table>

    <script>
        let bbs = {
            title : "Javascript + jQuery + Ajax 완벽가이드",
            description : "Javascript의 강의노트 입니다.",
            total : 4,
            item : [
                {no:4, subject: "4강-함수", views:"19", date:"2018.02.27"},
                {no:3, subject: "3강-반복문", views:"15", date:"2018.03.08"},
                {no:2, subject: "2강-조건문", views:"6", date:"2018.03.07"},
                {no:1, subject: "1강-변수와 연산자", views:"3", date:"2018.03.05"}
            ]
        }

        $("#title").text(bbs.title)
        $("#description").text(bbs.description)
        $("#total").text(bbs.total)

        let tag = "";

        for(let i = 0; i<bbs.item.length; i++){
            tag += "<tr>";
            tag += "<td>" + bbs.item[i].no + "</td>"
            tag += "<td>" + bbs.item[i].subject + "</td>"
            tag += "<td>" + bbs.item[i].views + "</td>"
            tag += "<td>" + bbs.item[i].date + "</td>"
            tag += "</tr>";
        }

        $("#list").html(tag);
    </script>
</body>
🕜 결과
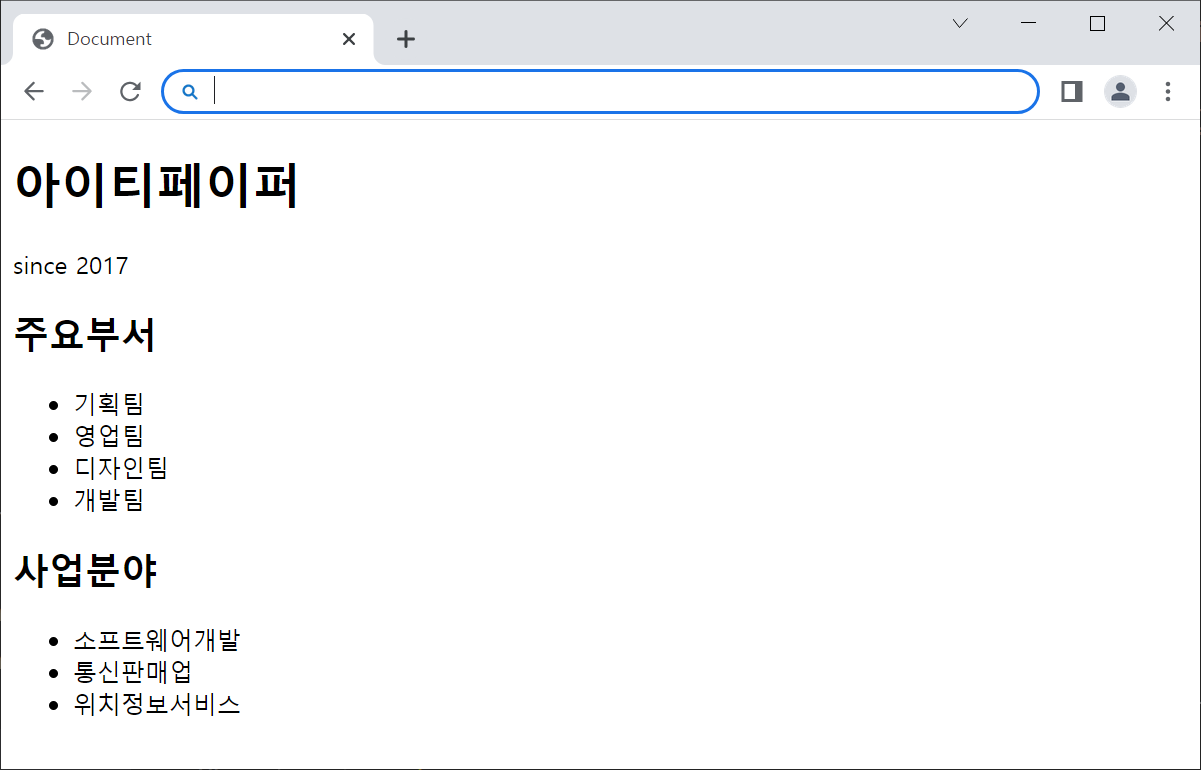
JSON 코드 예시 2
💡 예시
<body>
    <h1 id="name"></h1>
    <p>since <span id="since"></span> </p>
    <h2>주요부서</h2>
    <ul id="department"></ul>
    <h2>사업분야</h2>
    <ul id="biz"></ul>

    <script>
        let company = {
            name    : "아이티페이퍼",
            since   : 2017,
            department  : ["기획팀", "영업팀", "디자인팀", "개발팀"],
            biz     : ["소프트웨어개발", "통신판매업", "위치정보서비스"]
        }

        $("#name").html(company.name);
        $("#since").html(company.since);

        // 주요부서를 출력하기 위하여 배열을 반복문으로 읽는다.
        let dept_li = "";

        for(let i = 0; i < company.department.length ; i++){
           dept_li += "<li>"+company.department[i]+"</li>";
        }

        $("#department").html(dept_li);

        let biz_li = "";

        for(let i = 0; i < company.biz.length ; i++){
            biz_li += "<li>"+company.biz[i]+"</li>";
        }

        $("#biz").html(biz_li);
    </script>
🕜 결과

안녕하세요, 한보람입니다.