Today's Lesson: 3D UI Class Select
Summary
1. We take a look at how we can render our characters in 3D onto our class selection screen.
2. We go over placing the recording actor into our level and setting up the material that'll convert and place it onto our UI.
Virtus Learning Hub
✅ 3D UI
◼️ 캐릭터를 이용해 UI 만들기
- New Actor BP <RecordingActor>
- Add Component: Skeletal Mesh
Skeletal Mesh, Animation 설정
Magic Character, Sword Character - Add Component: Camera
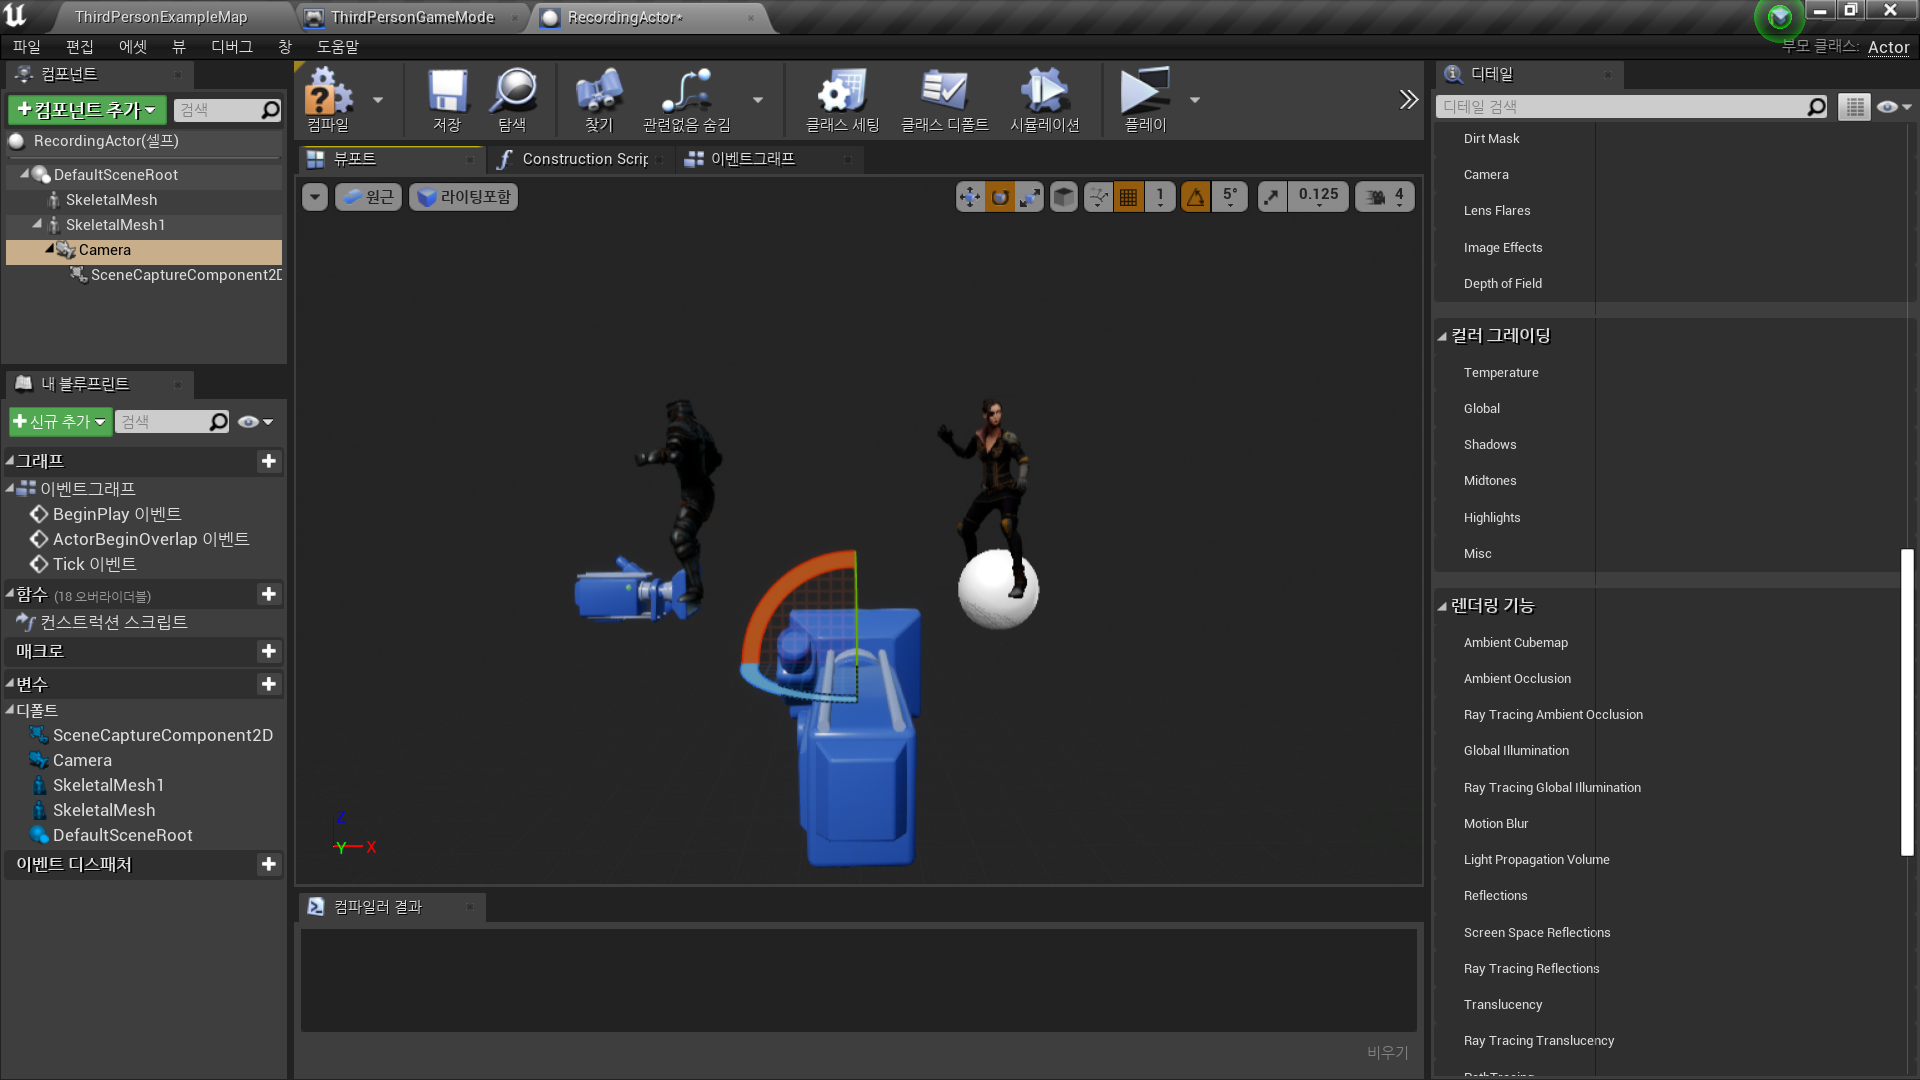
- Add Component: Scene Capture Component 2D
- Scene Capture - Texture Target: 새 에셋 생성 - 렌더 타겟
<CharacterRender>
- size x: 2048
- size y: 1024
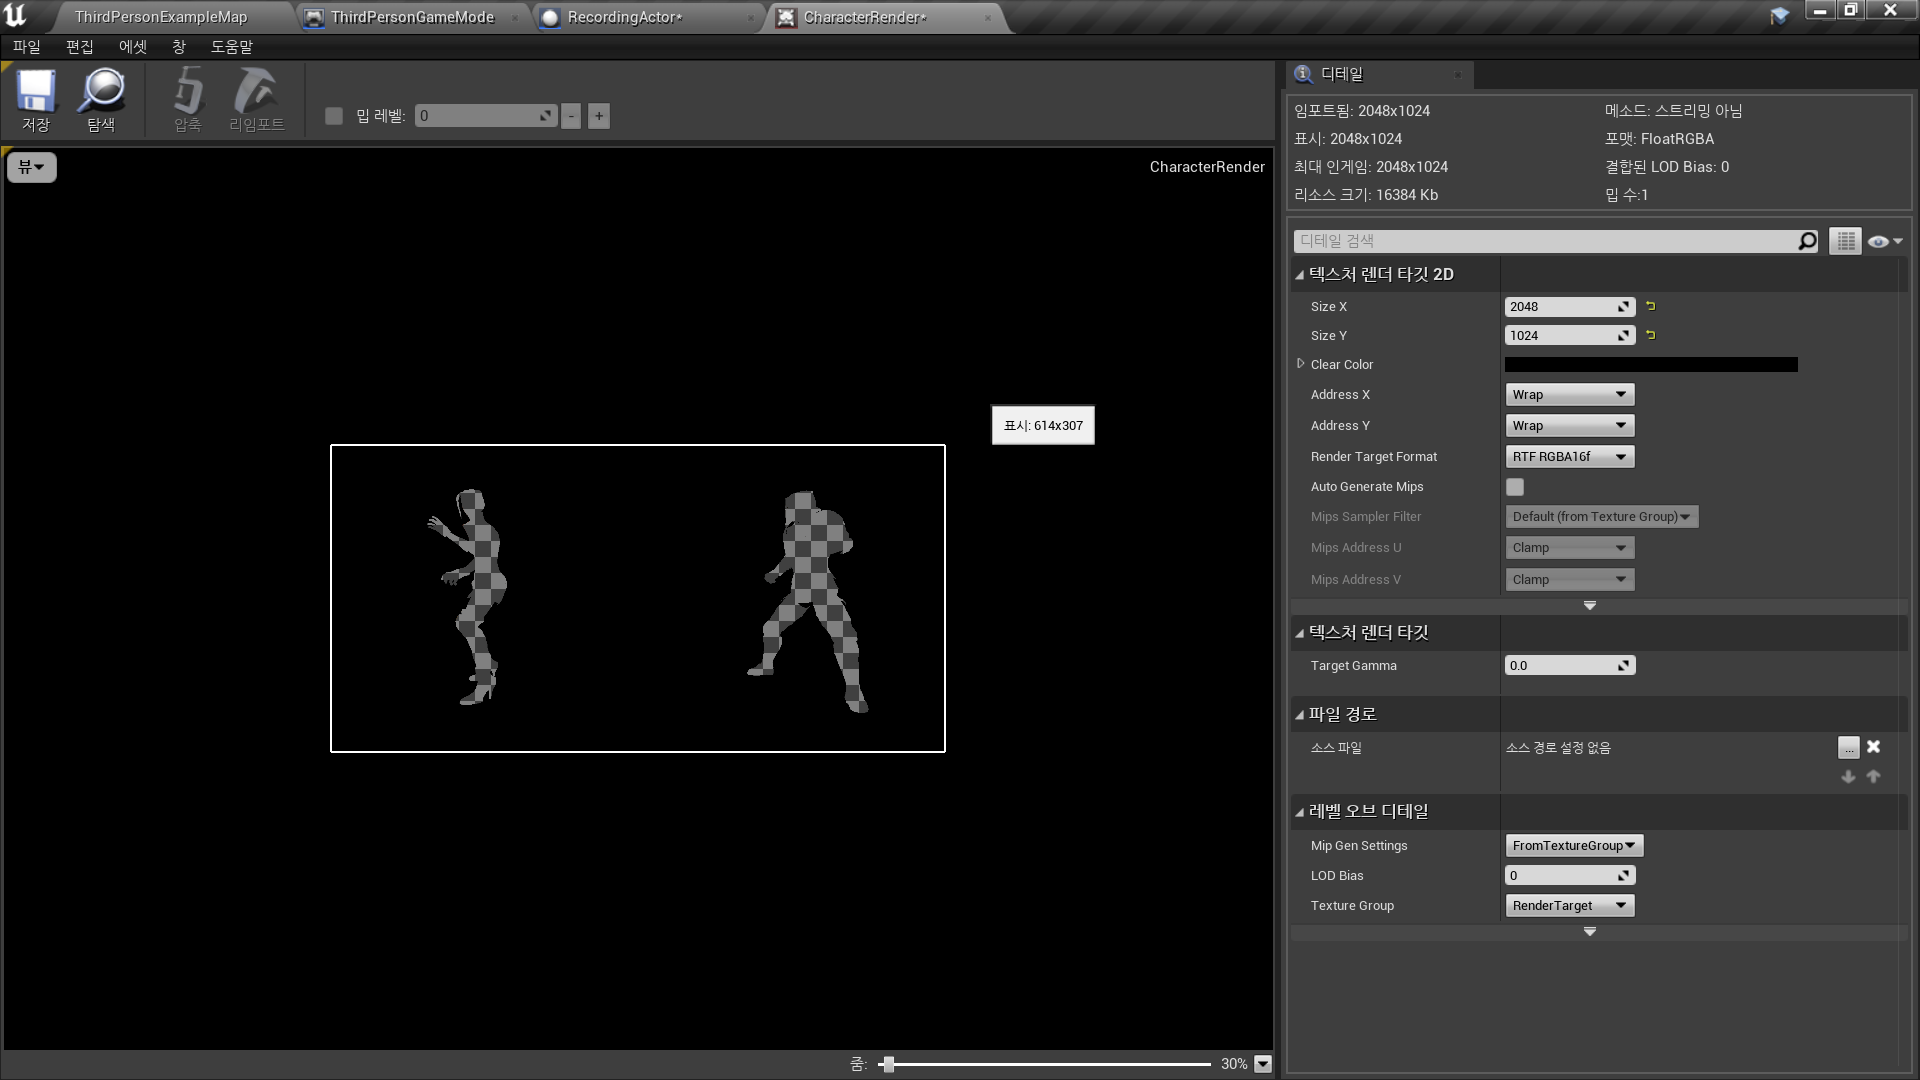
- Render Target 우클릭 - Create Material
- Blend Mode: Translucent(투명한)
- Alpha → 1 minus → Opacity
- RGB → Emissive Color
✅ 위젯에 표시
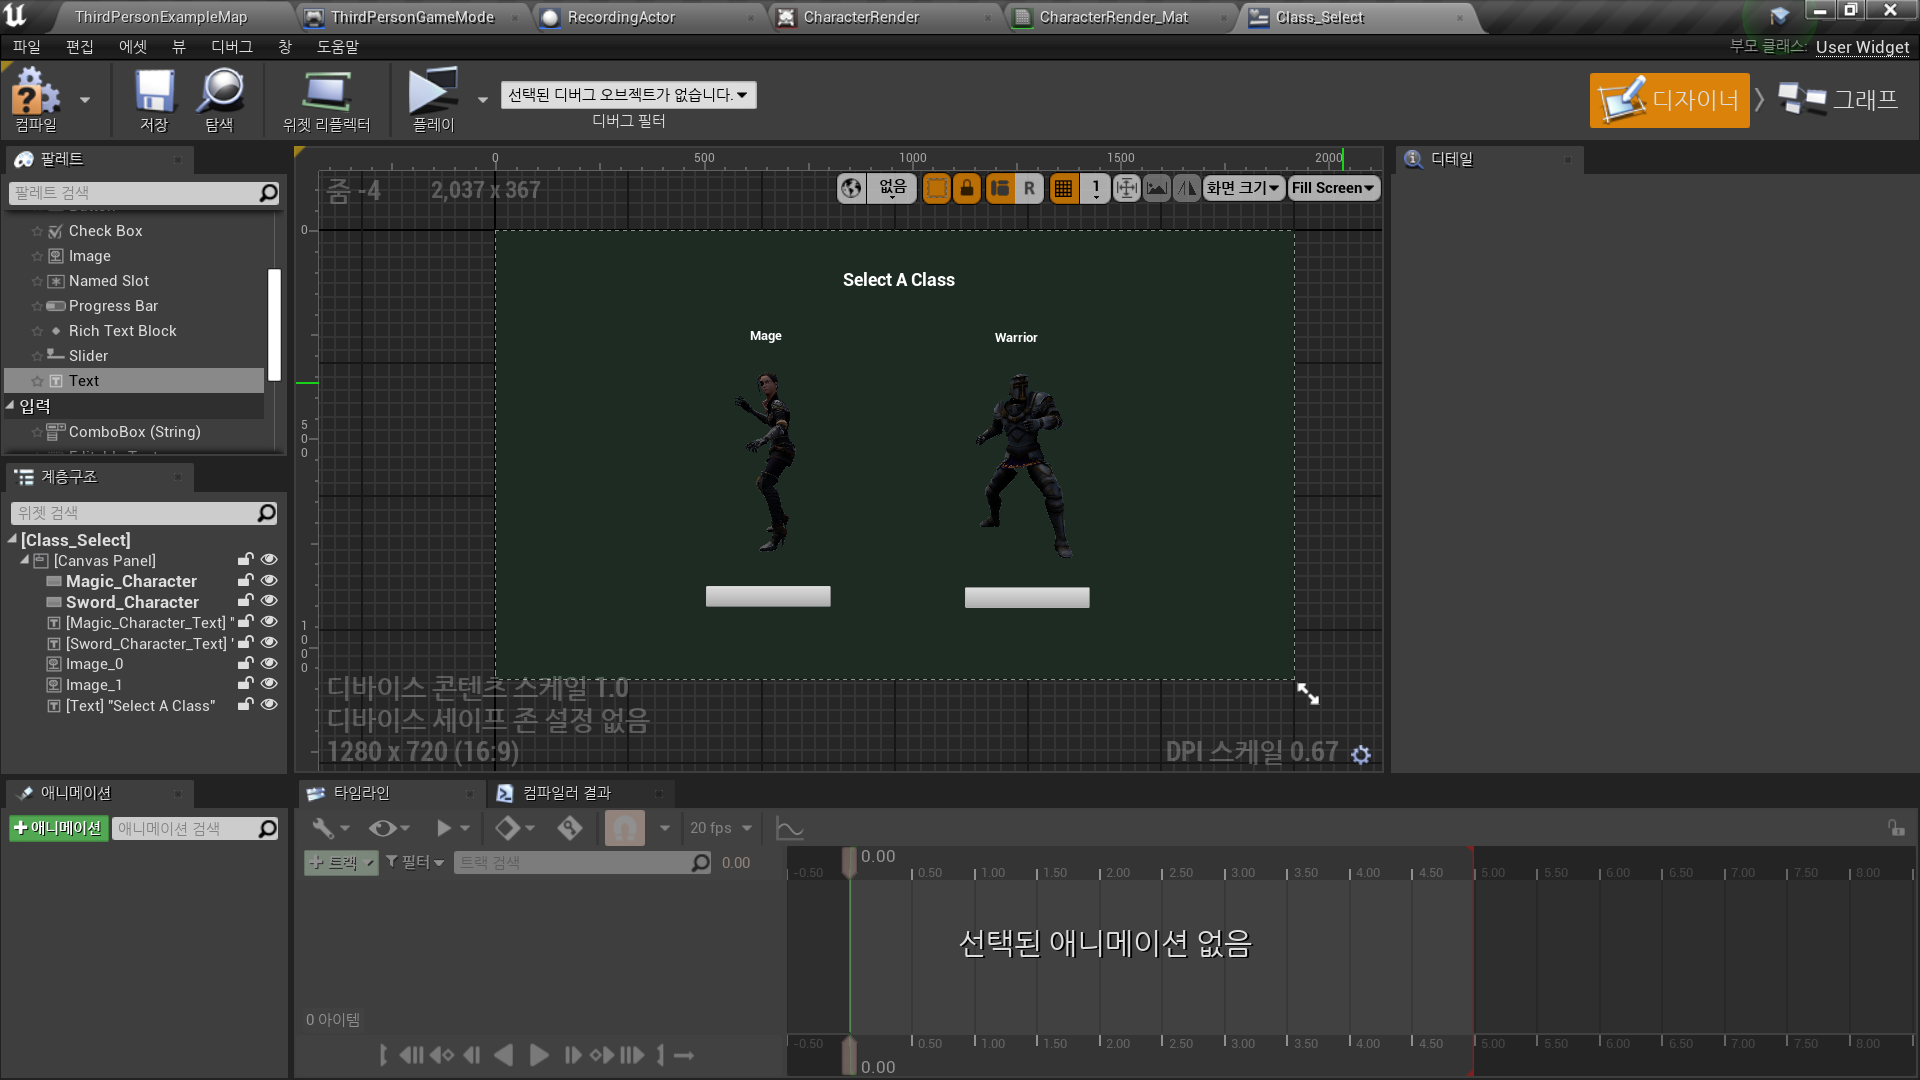
◼️ 위젯에서 Character Render Material 이용
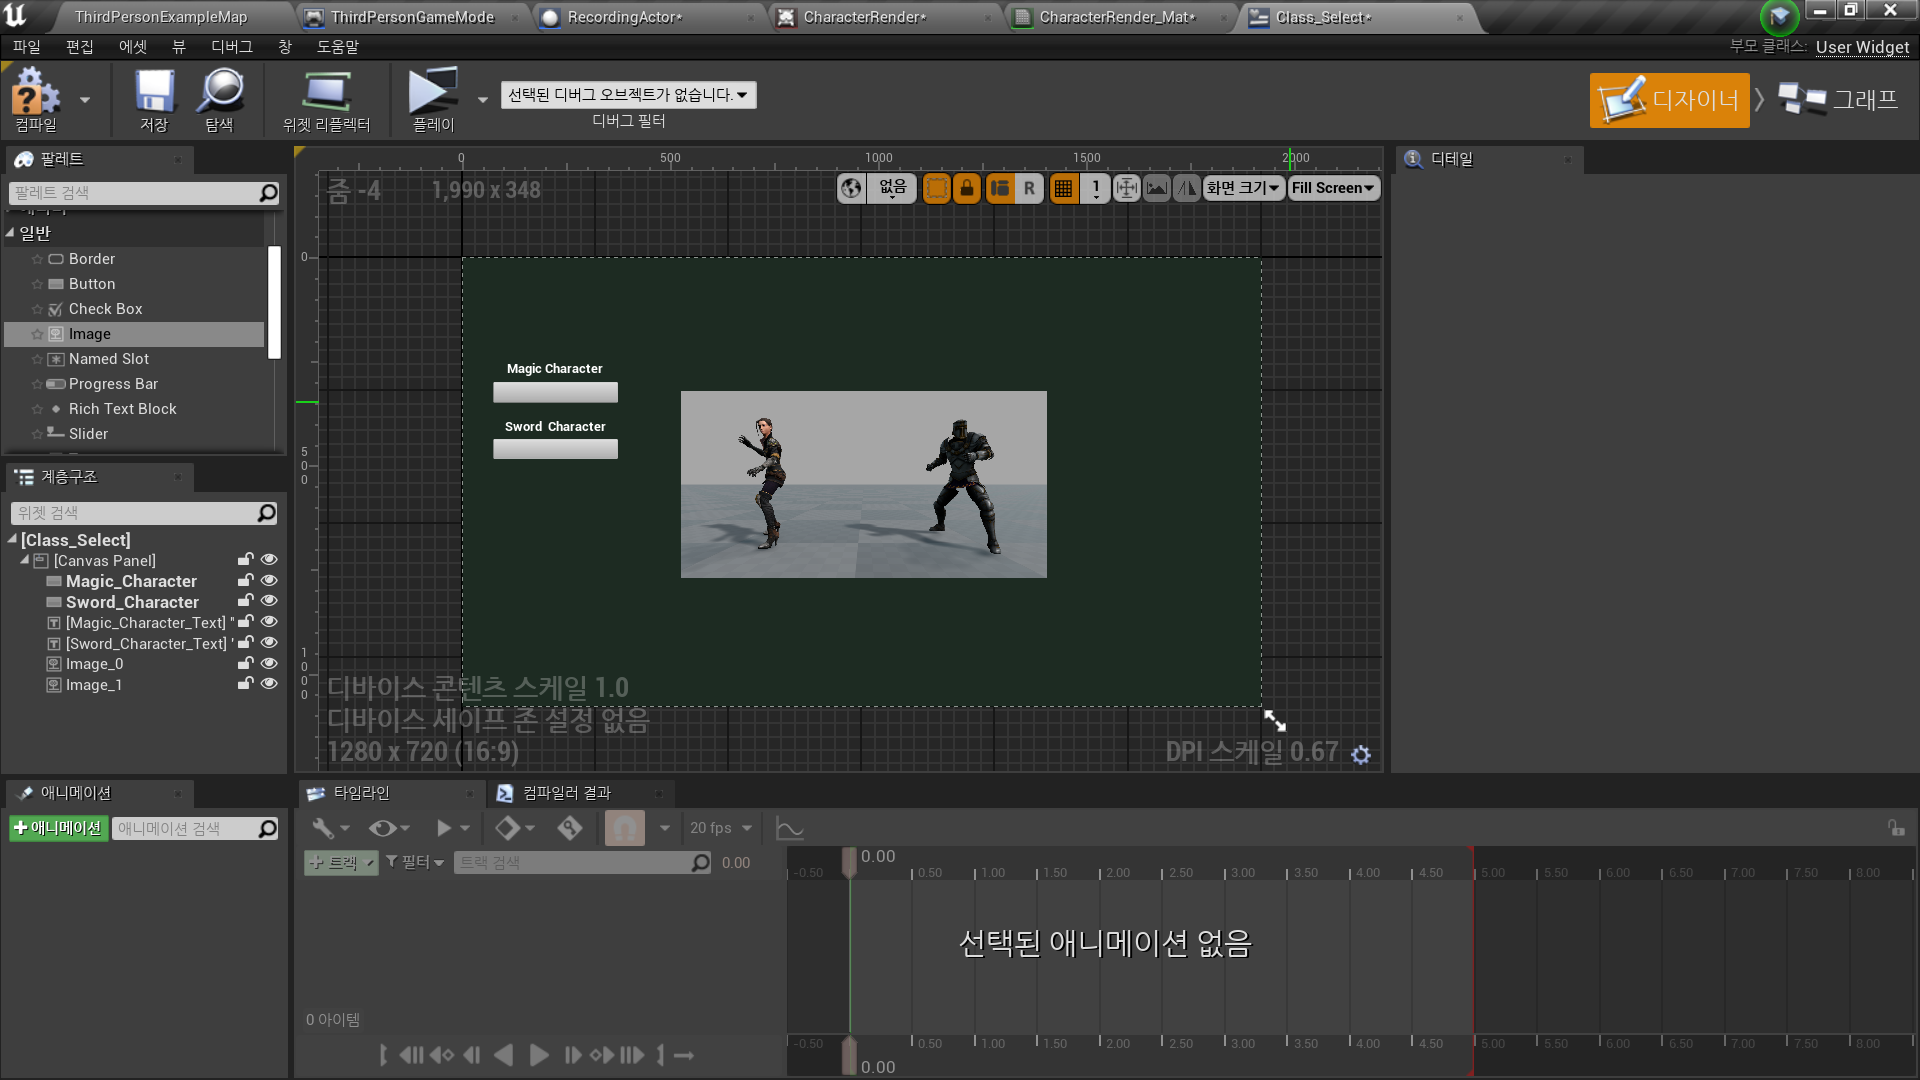
In Widget BP <Class_Select>
- Image
- Image: CharacterRenderMat
- 경고 메시지 클릭 후 컴파일
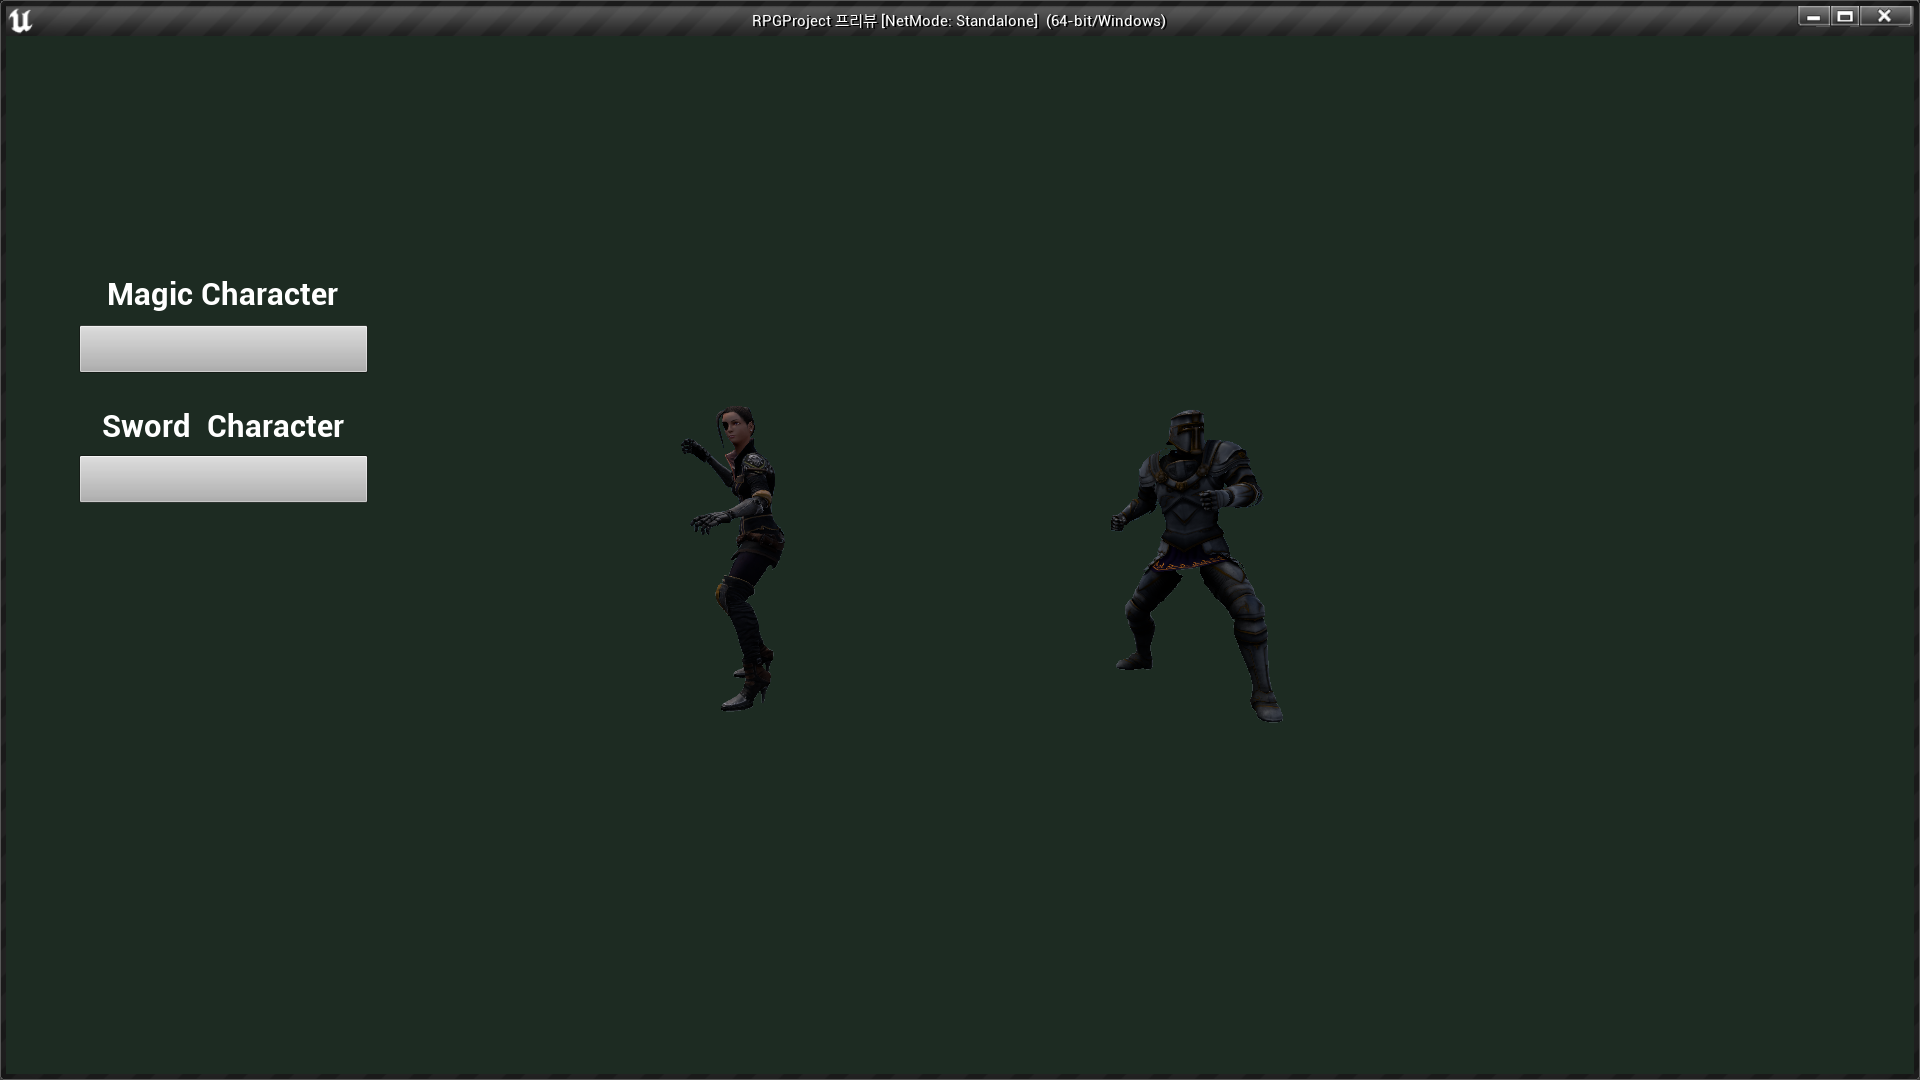
- Recording Actor 레벨에 배치
- Location 조정으로 뒷 배경이 보이지 않도록 함
✅ 위젯 수정
- 텍스트 추가 및 위치 조정
- Background Blur
흐림 처리.
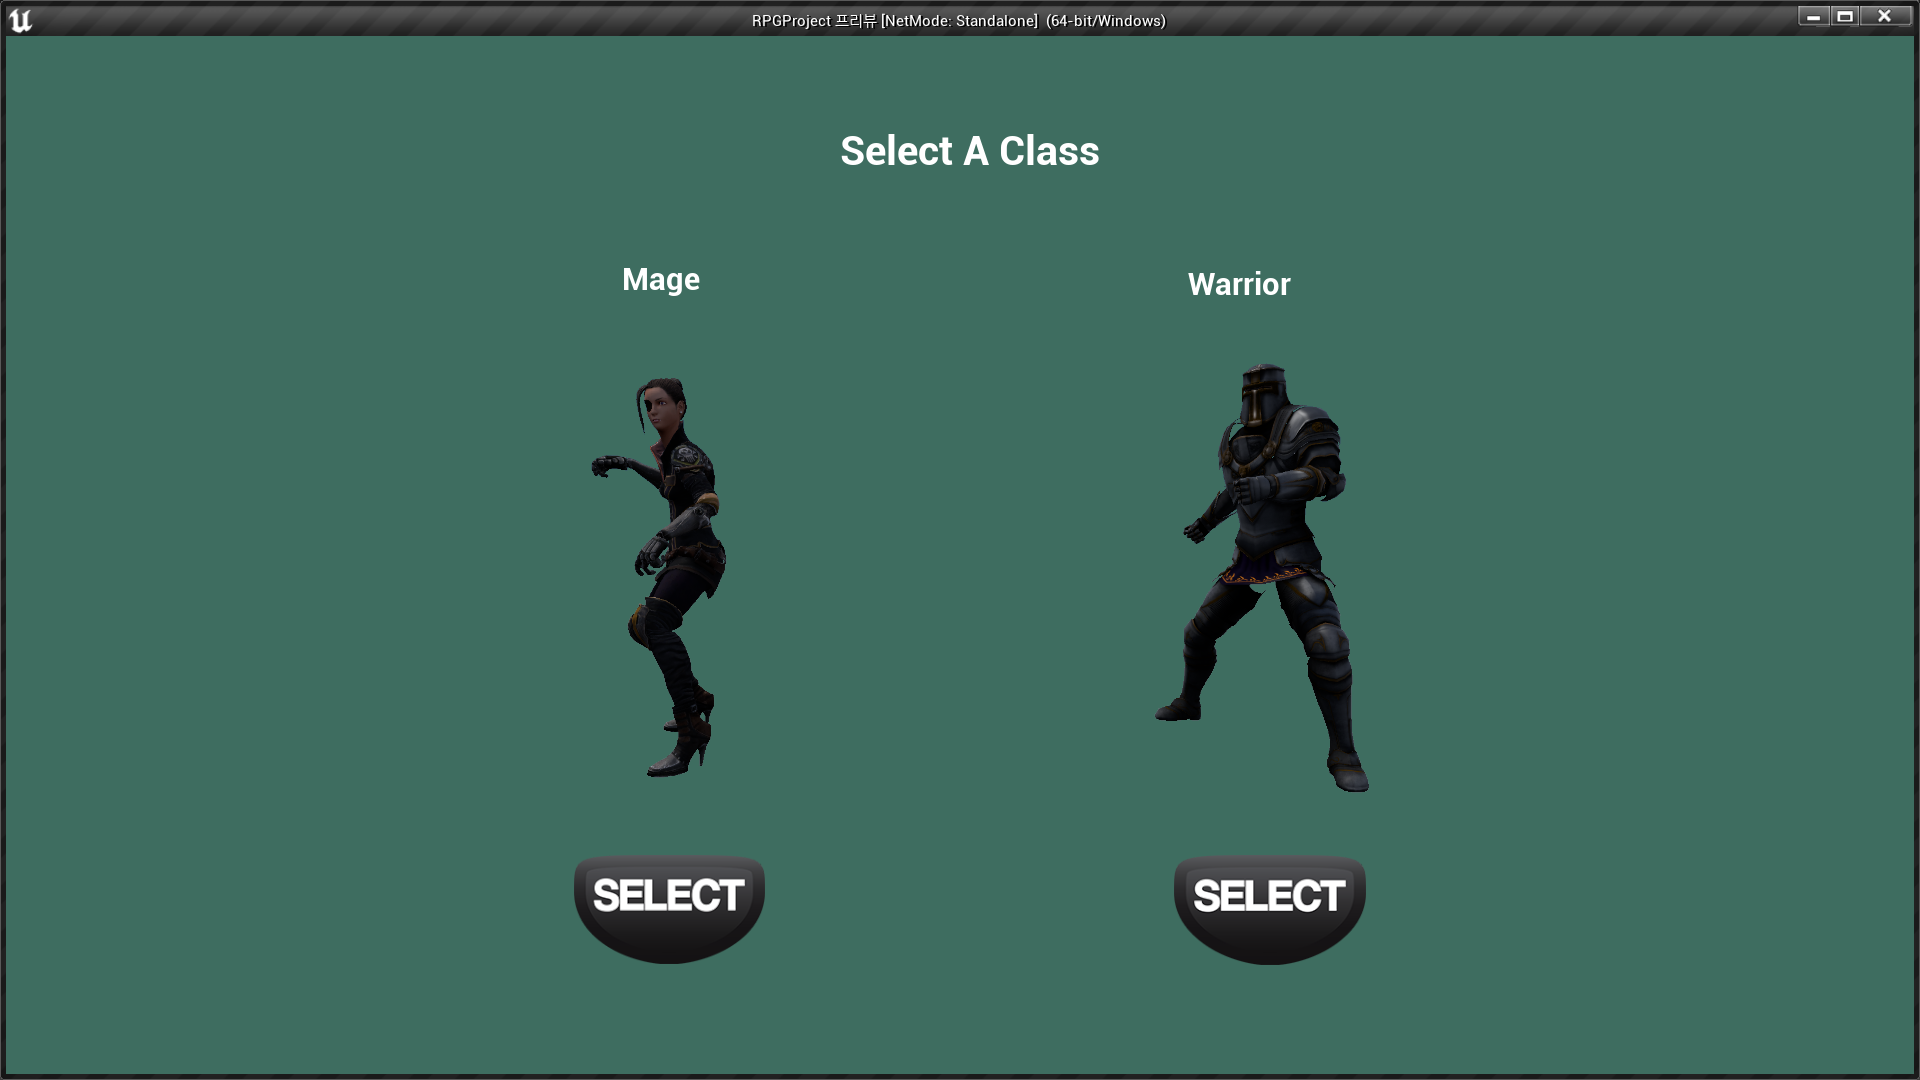
- Z order: -1 - Button
- Normal/Hovered/Pressed Image 설정
✅ Result
- 3D UI

RPG 기획자 지망생