Intel RealSense 카메라로 찍은 Custom Data를 활용하여
Instant NGP를 통해 3D reconstruction하는 방법을 서술합니다. 저는 'Intel RealSense D435' 모델을 랩탑에 연결하여 영상을 찍는 실험을 진행하였습니다.
1. 외부 카메라를 통해 영상 촬영하기
Uses Intel RealSense D435
먼저 'Intel RealSense D435'를 사용하기 위한 코드를 준비합니다.
import pyrealsense2 as rs
import numpy as np
import cv2

# Configure depth and color streams
pipeline = rs.pipeline()
config = rs.config()

# Get device product line for setting a supporting resolution
pipeline_wrapper = rs.pipeline_wrapper(pipeline)
pipeline_profile = config.resolve(pipeline_wrapper)
device = pipeline_profile.get_device()
device_product_line = str(device.get_info(rs.camera_info.product_line))

found_rgb = False
for s in device.sensors:
    if s.get_info(rs.camera_info.name) == 'RGB Camera':
        found_rgb = True
        break
if not found_rgb:
    print("The demo requires Depth camera with Color sensor")
    exit(0)

config.enable_stream(rs.stream.depth, 640, 480, rs.format.z16, 30)

if device_product_line == 'L500':
    config.enable_stream(rs.stream.color, 960, 540, rs.format.bgr8, 30)
else:
    config.enable_stream(rs.stream.color, 640, 480, rs.format.bgr8, 30)

# Start streaming
pipeline.start(config)

try:
    while True:

        # Wait for a coherent pair of frames: depth and color
        frames = pipeline.wait_for_frames()
        depth_frame = frames.get_depth_frame()
        color_frame = frames.get_color_frame()
        if not depth_frame or not color_frame:
            continue

        # Convert images to numpy arrays
        depth_image = np.asanyarray(depth_frame.get_data())
        color_image = np.asanyarray(color_frame.get_data())

        # Apply colormap on depth image (image must be converted to 8-bit per pixel first)
        depth_colormap = cv2.applyColorMap(cv2.convertScaleAbs(depth_image, alpha=0.03), cv2.COLORMAP_JET)

        depth_colormap_dim = depth_colormap.shape
        color_colormap_dim = color_image.shape

        # If depth and color resolutions are different, resize color image to match depth image for display
        if depth_colormap_dim != color_colormap_dim:
            resized_color_image = cv2.resize(color_image, dsize=(depth_colormap_dim[1], depth_colormap_dim[0]), interpolation=cv2.INTER_AREA)
            images = np.hstack((resized_color_image, depth_colormap))
        else:
            images = np.hstack((color_image, depth_colormap))

        # Show images
        cv2.namedWindow('RealSense', cv2.WINDOW_AUTOSIZE)
        cv2.imshow('RealSense', images)
        cv2.waitKey(1)

finally:

    # Stop streaming
pipeline.stop()Record video with webcam
촬영한 영상 혹은 사진을 Instant NGP가 사용할 수 있는 데이터로 정제하기 위해서 저장하는 과정을 거칩니다. 파일명은 이미 저장된 파일과 겹치지 않게 시간을 기준으로 생성되도록 작성하였습니다.
import cv2
import time
import pyrealsense2 as rs
import numpy as np

# intel realsense initial

# Configure depth and color streams
pipeline = rs.pipeline()
config = rs.config()

# Get device product line for setting a supporting resolution
pipeline_wrapper = rs.pipeline_wrapper(pipeline)
pipeline_profile = config.resolve(pipeline_wrapper)
device = pipeline_profile.get_device()
device_product_line = str(device.get_info(rs.camera_info.product_line))

# Get device product line for setting a supporting resolution
pipeline_wrapper = rs.pipeline_wrapper(pipeline)
pipeline_profile = config.resolve(pipeline_wrapper)
device = pipeline_profile.get_device()
device_product_line = str(device.get_info(rs.camera_info.product_line))

found_rgb = False
for s in device.sensors:
    if s.get_info(rs.camera_info.name) == 'RGB Camera':
        found_rgb = True
        break
if not found_rgb:
    print("The demo requires Depth camera with Color sensor")
    exit(0)

# config.enable_stream(rs.stream.depth, 640, 480, rs.format.z16, 30)

if device_product_line == 'L500':
    config.enable_stream(rs.stream.color, 960, 540, rs.format.bgr8, 30)
else:
    config.enable_stream(rs.stream.color, 640, 480, rs.format.bgr8, 30)

# Start streaming
pipeline.start(config)

# ------------------------------------------------------

fc = 20.0
codec = cv2.VideoWriter_fourcc('D', 'I', 'V', 'X')
count = 99

while(True):

    frames = pipeline.wait_for_frames()
    color_frame = frames.get_color_frame()
    color_image = np.asanyarray(color_frame.get_data())
    color_colormap_dim = color_image.shape
    images = color_image

    if count != time.strftime('%H',time.localtime(time.time())): # 시간이 바뀌면 영상파일을 새로 만든다. (시간으로 감지)

        count = time.strftime('%H',time.localtime(time.time()))
        print('시간 변경 감지')

        out = cv2.VideoWriter(time.strftime('%Y-%m-%d %H시 %M분',time.localtime(time.time()))+'.avi', codec, fc, (720,1084))
        print('파일 생성:',time.strftime('%Y-%m-%d %H시 %M분',time.localtime(time.time()))+'.avi')

    # Show images
    # cv2.namedWindow('RealSense', cv2.WINDOW_AUTOSIZE)
    cv2.imshow('Record&Save', images)
    out.write(images)
    if cv2.waitKey(1) & 0xFF == ord('q'):
        break

cv2.destroyAllWindows()
2. Instant NGP 실행 프로그램 다운로드
Instant NGP Github 페이지에서 'Installation' 파트에 있는 `instant-ngp.exe` 파일을 자신의 그래픽 카드 사양에 맞춰 다운로드합니다. 단, 해당 프로그램은 Windows 기반입니다. Linux를 사용하신다면 다른 방식 통해서 Instant NGP를 사용하실 수 있습니다.저는 그래픽카드로 RTX 3060을 사용하고 있으므로 'RTX 3000 & 4000 series, RTX A4000–A6000, and other Ampere & Ada cards' 응용 프로그램을 다운받아서 실험을 진행하였습니다.
3. 인풋 데이터 얻기
저는 COLMAP이 추정한 intrinsic parameters과 고정된 intrinsic parameters에 따라 reconstruction 결과가 달라지는지 비교하고자 두 단계를 거쳐 실험하였습니다. 단순히 추정치만으로 실험하실 분은 3.1 번의 과정을 진행하시면 됩니다.
3.1. COLMAP 추정 instrinsic parameters 사용 - Instant NGP에서 제공하는 코드 사용
NVIDIA에서는 친절하게 custom data를 활용한 Instant NGP 사용 tutorial video를 제공하고 있습니다. 아래 코드를 통해 본인의 데이터를 통해 모델에 필요한 파일 transform.json 을 얻으실 수 있습니다.
Go to data path
제 경우에는 촬영한 영상을 설치한 프로그램 폴더의 data 폴더 내의 test 폴더에 위치시켰습니다.
cd C:\(your path here)\Instant-NGP-for-RTX-3000-and-4000\data\test
Primary data cleaning
먼저 학습 데이터로 사용할 이미지를 추출하기 위한 작업을 거칩니다. 이때, 실험적으로 --video_in 에 사용될 영상은 .mov 파일 형식일 때 잘되는 것을 확인하였습니다.
python ..\scripts\colmap2nerf.py --video_in test.MOV --video_fps 2 --run_colmap --overwrite
비디오로부터 이미지를 추출하고 그 사이에서 양질의 이미지만을 고르는 과정을 거칠 것이기 때문에 "Feature extract"가 시작된다면 이미 이미지 추출은 끝났기때문에 ctrl+C를 눌러 작업을 취소합니다. (계속 진행해도 상관없습니다만 작업 속도가 오래걸릴 수 있습니다.)
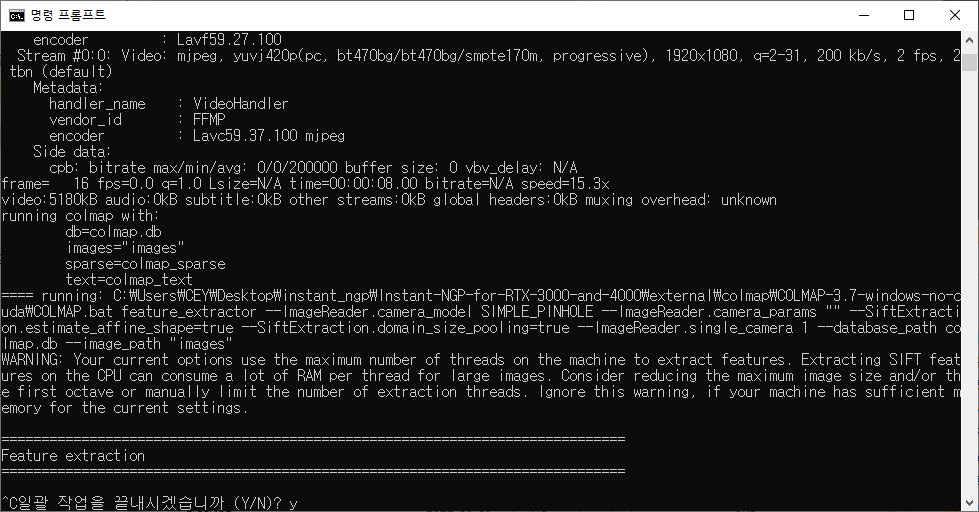
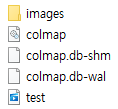
이후, C:\(your path here)\Instant-NGP-for-RTX-3000-and-4000\data\test 경로에 이미지와 여러 파일이 생성되는 것을 확인할 수 있습니다.
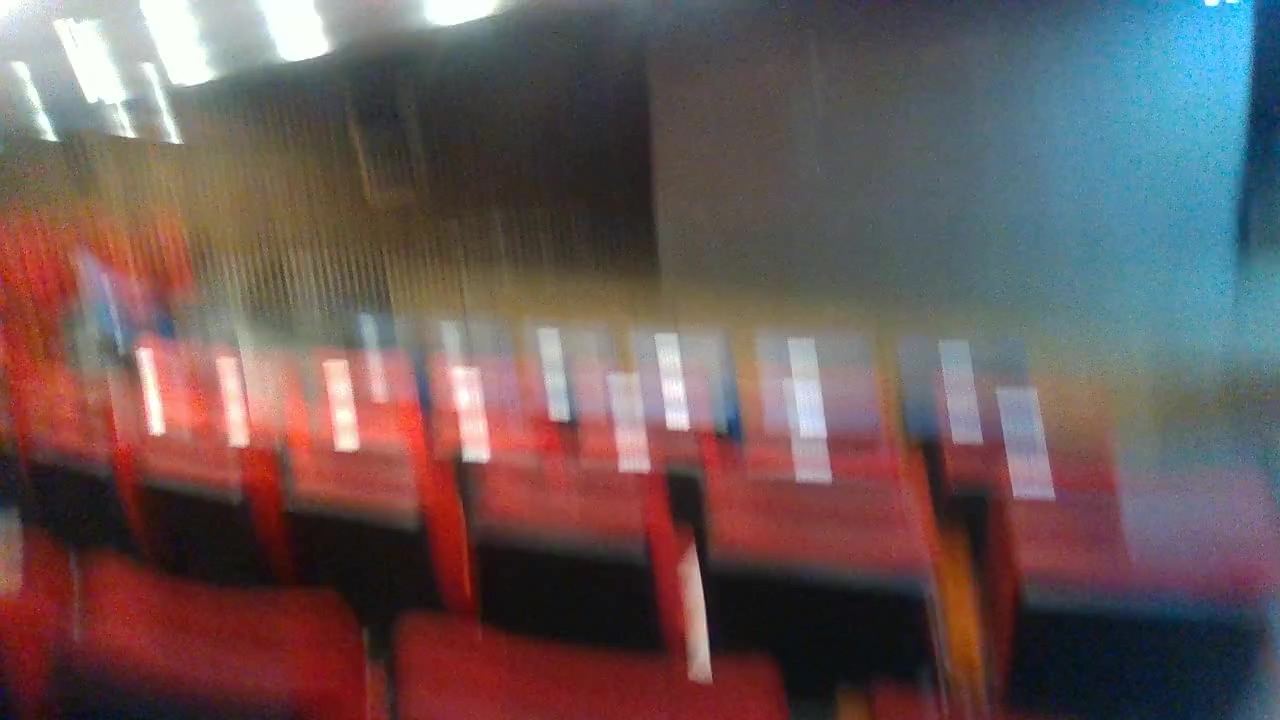
이후 images 폴더 내의 이미지 파일을 열어 흐릿하거나 쓸모 없는 프레임을 삭제합니다. 저는 IrfanView 64라는 프로그램을 이용하여 이미지 사이즈를 조절하거나, 흐린 사진을 간편하게 삭제하였습니다.
Secondary data cleaning
양질의 이미지세트를 얻었다면 이 이미지들을 기반으로 camera parameters를 추정합니다.
python C:\Users\(your path here)\instant-ngp\scripts\colmap2nerf.py --colmap_matcher exhaustive --run_colmap --aabb_scale 16 --overwrite
비디오 또는 밀접하게 관련된 샷 세트의 경우 이미지가 순서대로 있으므로 "--colmap_matcher"를 제거할 수 있습니다. 이렇게 하면 몇 분이 절약됩니다. 더 자세한 사항은 nerf_dataset_tips.md를 참조하세요.
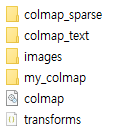
코드 실행이 끝나면 폴더에 다음과 같이 파일들이 생성되는 것을 확인하실 수 있습니다. 최종적으로 transforms.json 파일을 얻어 Instant NGP의 인풋데이터인 카메라 데이터를 얻을 수 있습니다.
3.2. 고정된 intrinsic parameters 사용 - Colmap을 통해 intrinsic parameters 얻기
Get intrinsic parameters
카메라가 기본적으로 가지고 있는 intrinsic parameters를 출력하였습니다.
import pyrealsense2 as rs
pipeline = rs.pipeline()
config = rs.config()

pipeline_wrapper = rs.pipeline_wrapper(pipeline)
pipeline_profile = config.resolve(pipeline_wrapper)
device = pipeline_profile.get_device()
device_product_line = str(device.get_info(rs.camera_info.product_line))

config.enable_stream(rs.stream.color, 640, 480, rs.format.bgr8, 30)

pipeline.start(config)


frames = pipeline.wait_for_frames()
color_frame = frames.get_color_frame()

intrinsics = color_frame.profile.as_video_stream_profile().intrinsics
fx, fy = intrinsics.fx, intrinsics.fy  # Focal length
cx, cy = intrinsics.ppx, intrinsics.ppy  # Principal point
coeffs = intrinsics.coeffs  # Distortion coefficients

print("Intrinsic parameters:")
print("Focal Length (fx, fy):", fx, fy)
print("Principal Point (cx, cy):", cx, cy)
print("Distortion Coefficients:", coeffs)

pipeline.stop()Find parameters through colmap

Colmap이란 간단히 말해 SfM(Structure from Motion)과 MVS(Multi-View Stereo) 기술을 사용하여, 여러 장의 2D 이미지로부터 3D 모델을 자동으로 생성하는 오픈소스 소프트웨어입니다. 정렬된 이미지 컬렉션과 정렬되지 않은 이미지 컬렉션을 재구성하기 위한 다양한 기능을 제공합니다:
- Automatic Camera Calibration: 이미지 집합에서 카메라의 위치와 방향을 추정합니다.
- Point Cloud Generation: 이미지 집합에서 3D 포인트 클라우드를 생성합니다.
- Dense 3D Reconstruction: 생성된 포인트 클라우드를 바탕으로 더 밀도 있는 3D 모델을 생성합니다.
- Texture Mapping for 3D Models: 3D 모델에 이미지 텍스처를 매핑하여 사실적인 외관을 생성합니다.
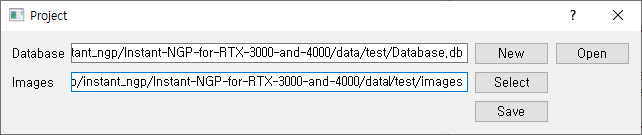
① Create project
- [File] - [New Project] 클릭
- [New] - Database를 저장할 원하는 경로에 Database 파일을 생성
- [Select] - Image들이 저장된 폴더를 지정
- [Save] 버튼 클릭
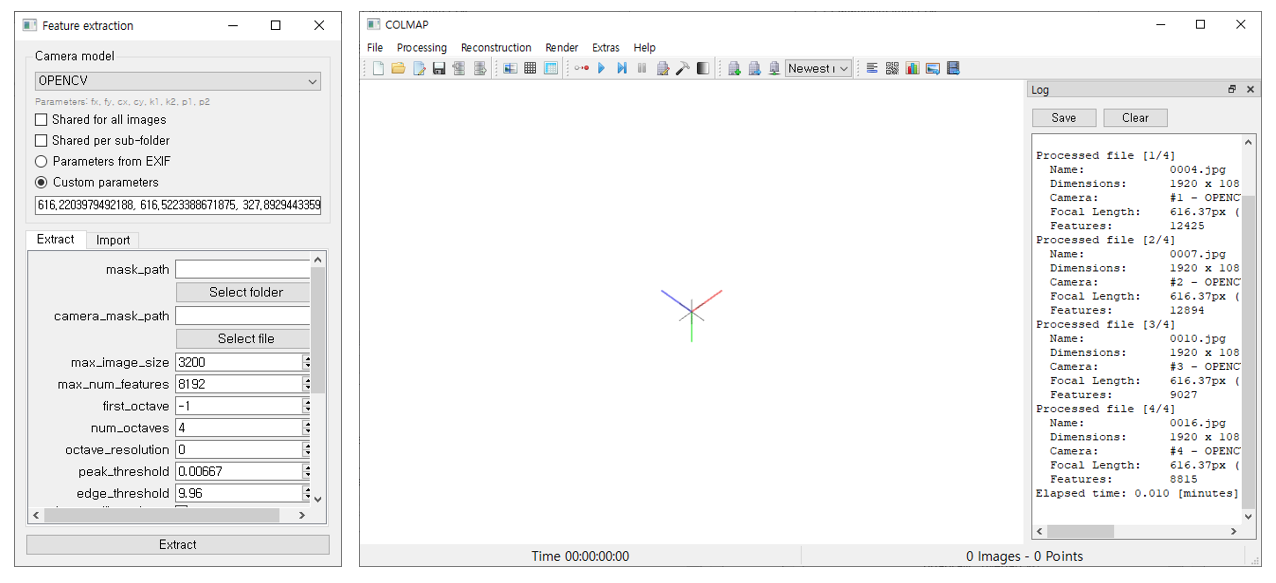
② Feature extraction for each image
- [Processing] - [Feature Extraction]
- custom parameters를 앞에서 구한 intel realsense의 intrinsic parameter로 설정 + Camera model은
OPENCV로 설정
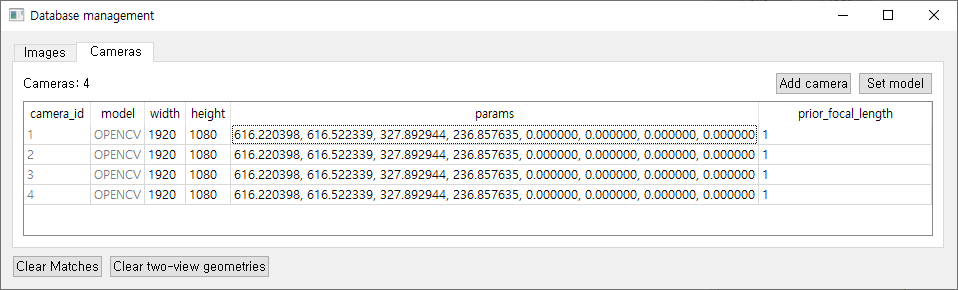
- [Database management] - [Cameras]
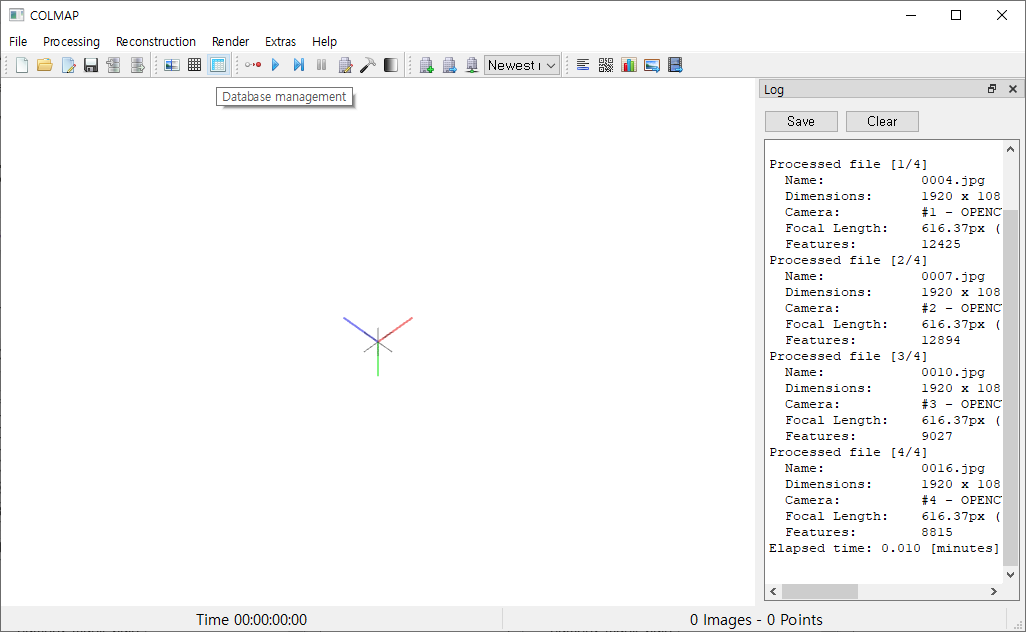
- 카메라 데이터 테이블을 통해 이미지에 대한 카메라 intrinsic parameters가 잘 매칭되어 있는지 확인합니다.
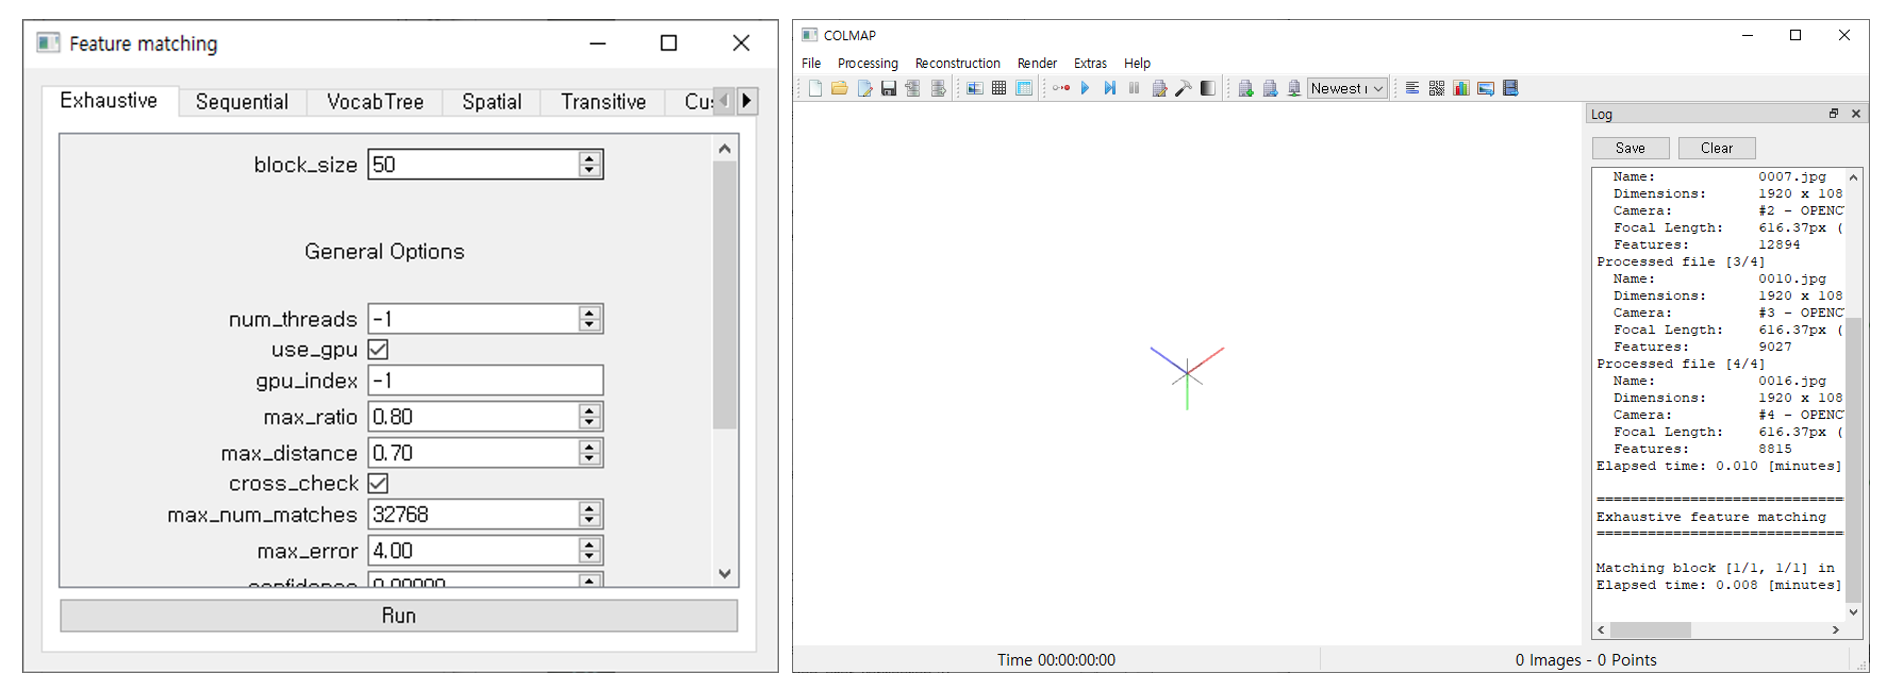
③ Feature matching for each image
[Processing] - [Feature Matching]
- 특징 매칭을 위한 단계입니다.
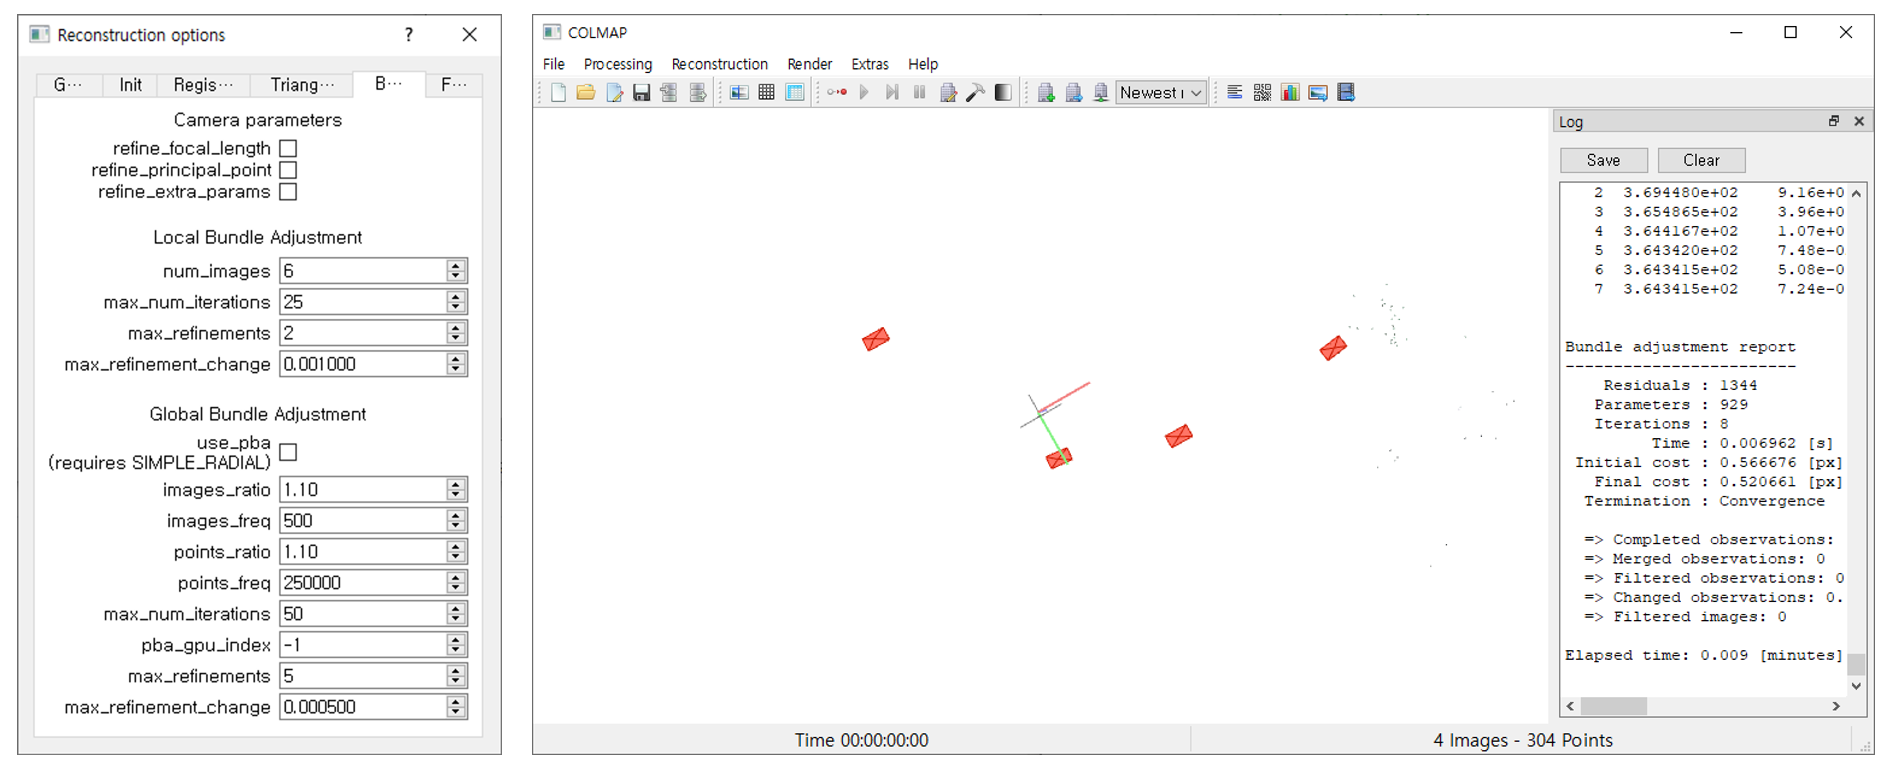
④ Reconstruction
[Reconstruction] - [Start Reconstruction]
- reconstruction 시작 전, reconstruction options - Bundle 에서 'Camera parameters' 파트의 카메라 파라미터 refine 항목들을 uncheck합니다.
⑤ Save model
[File] - [Export model as text]
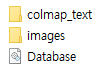
- 앞서 구한 카메라 파라미터를 Instant NGP에서 사용할 수 있는 데이터 형식으로 사용할 수 있도록,
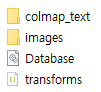
images폴더가 있는 데이터 root 폴더에colmap_text폴더를 생성합니다. 그리고 이 경로(제 경우에는C:\(your path here)\Instant-NGP-for-RTX-3000-and-4000\data\test\colmap_text)에 text로 된 model를 export합니다.
Get transforms.json file
애써 구한 파라미터들이 덮어 씌워지면 안되므로 기존 코드에 있던 --run_colmap 는 지우고 코드를 실행합니다.
python C:\Users\(your path here)\instant-ngp\scripts\colmap2nerf.py --aabb_scale 16 --overwrite
그러면 최종적으로 아래와 같이 tranforms.json 파일이 생성됩니다.
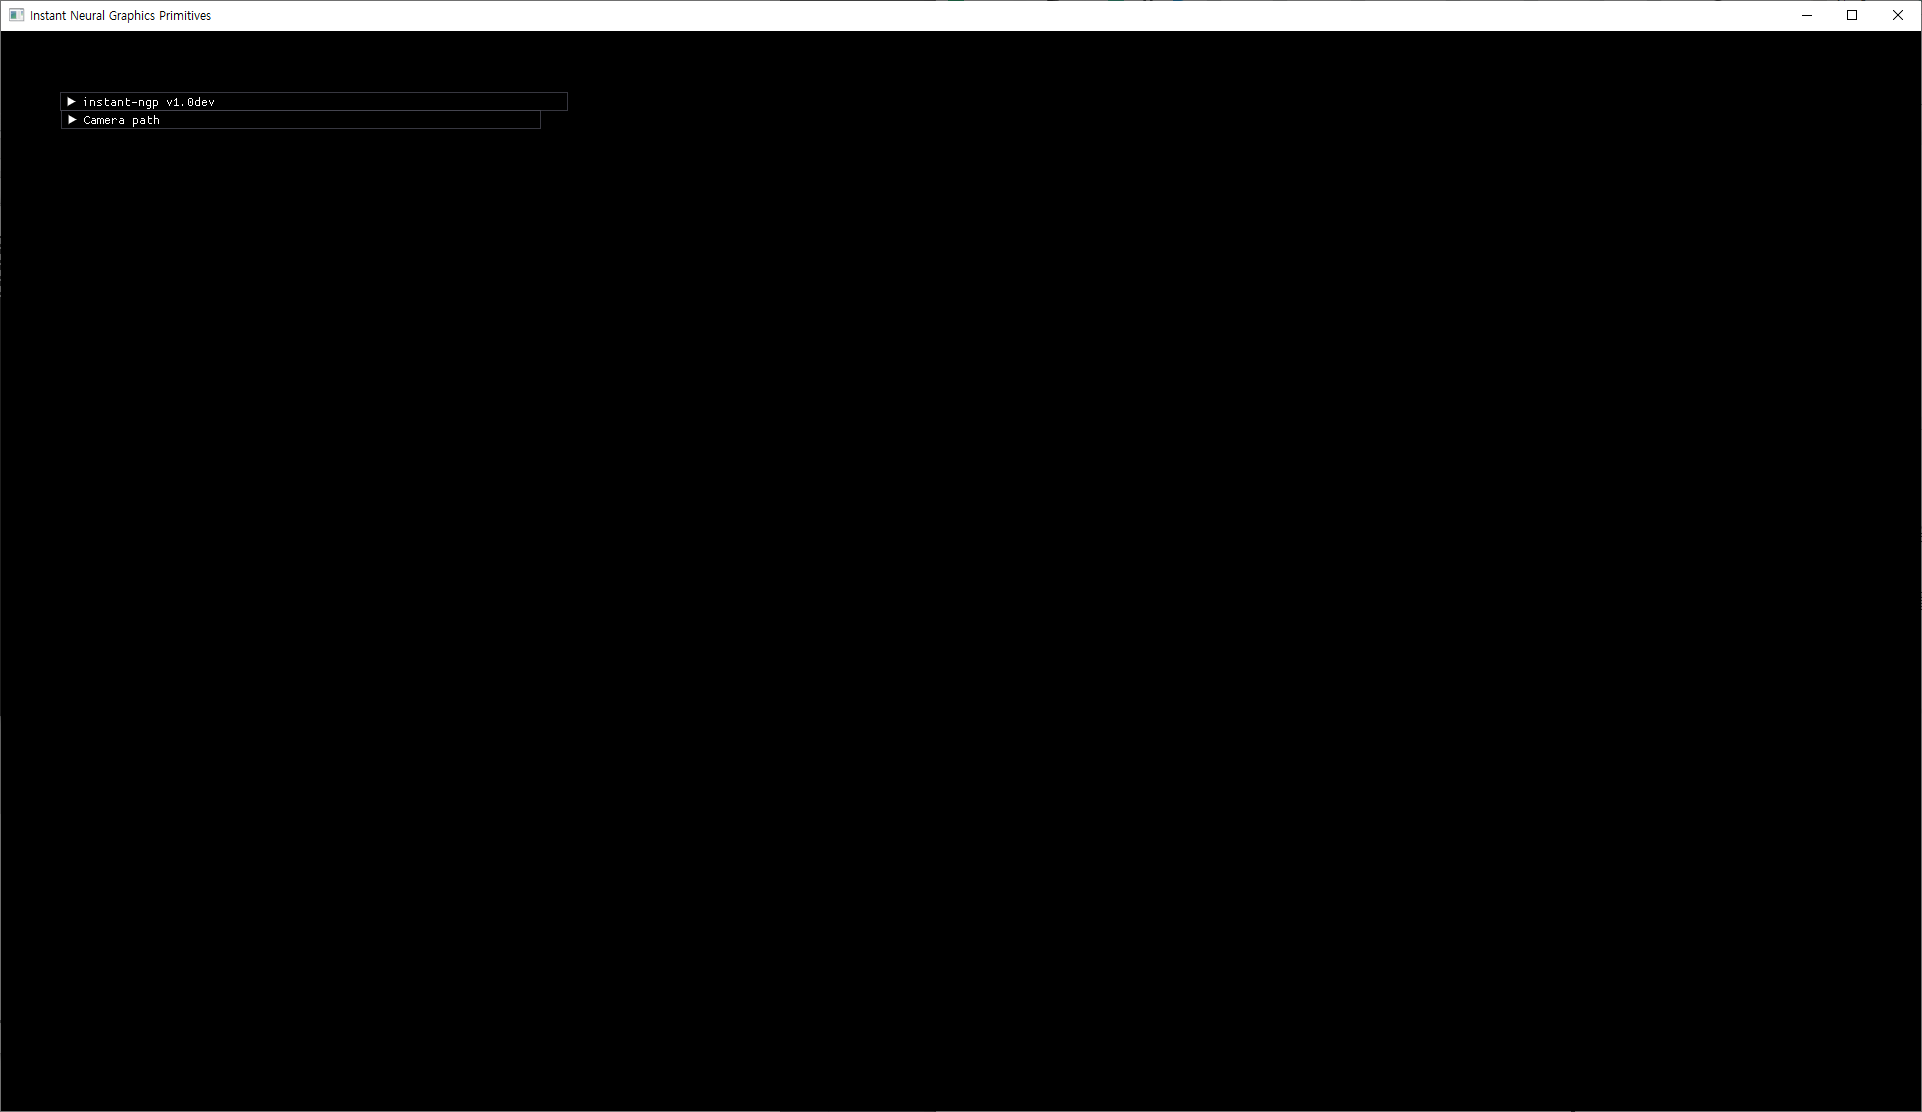
4. instant-ngp.exe 실행하기
앞서 설치한 instant-ngp.exe 응용 파일을 실행하시면 아래와 같이 처음에는 검은 화면으로 시작합니다. 이제 이 프로그램에 우리가 구한 인풋 데이터 images와 tranforms.json이 들어있는 폴더 채로 drag&drop 하여 넣어주면 됩니다.
Results
Reference