프로젝트 만들기
원하는 디렉토리로 이동 후 아래 명령어로 프로젝트 생성
$ django-admin startproject mysite생성되는 디렉토리 내부에 들어가면
manage.py 와 mysite 디렉토리가 생성된다.
이러한 구조이다.
mysite/
    manage.py
    mysite/
        __init__.py
        settings.py
        urls.py
        asgi.py
wsgi.py- manage.py : Django 프로젝트와 다양한 방법으로 상호 작용하는 커맨드라인의 유틸리티이다. (다양한 명령어를 실행하기 위한 파일)
- mysite/ : 프로젝트를 위한 실제 python 패키지들이 저장된다. 이 디렉토리 내의 이름을 이용하여 어디서나 python 패키지를 import 할 수 있다.
- mysite/init.py : 이 디렉토리를 패키지처럼 다루라고 알려주는 용도의 단순한 빈 파일
- mysite/settings.py : 현재 Django 프로젝트의 환경 및 구성을 저장한다. 환경 설정이 어떻게 동작하는지 확인 할 수 있다.
- mysite/urls.py : 현재 프로젝트의 URL 선언을 저장한다. Django로 작성된 사이트의 <<목차>>라고 할 수 있다.
개발 서버
프로젝트가 제대로 동작하는지 확인 해보자. mysite 디렉토리로 이동 후 다음 명령어를 입력
$ python manage.py runserverWatching for file changes with StatReloader
Performing system checks...
System check identified no issues (0 silenced).
You have 18 unapplied migration(s). Your project may not work properly until you apply the migrations for app(s): admin, auth, contenttypes, sessions.
Run 'python manage.py migrate' to apply them.
August 10, 2021 - 08:45:54
Django version 3.2.6, using settings 'mysite.settings'
Starting development server at http://127.0.0.1:8000/
Quit the server with CONTROL-C.무서웠다.
이 부분들은 현재 데이터베이스에 적용되지 않은 변경사항에 대한 경고들이 였다.
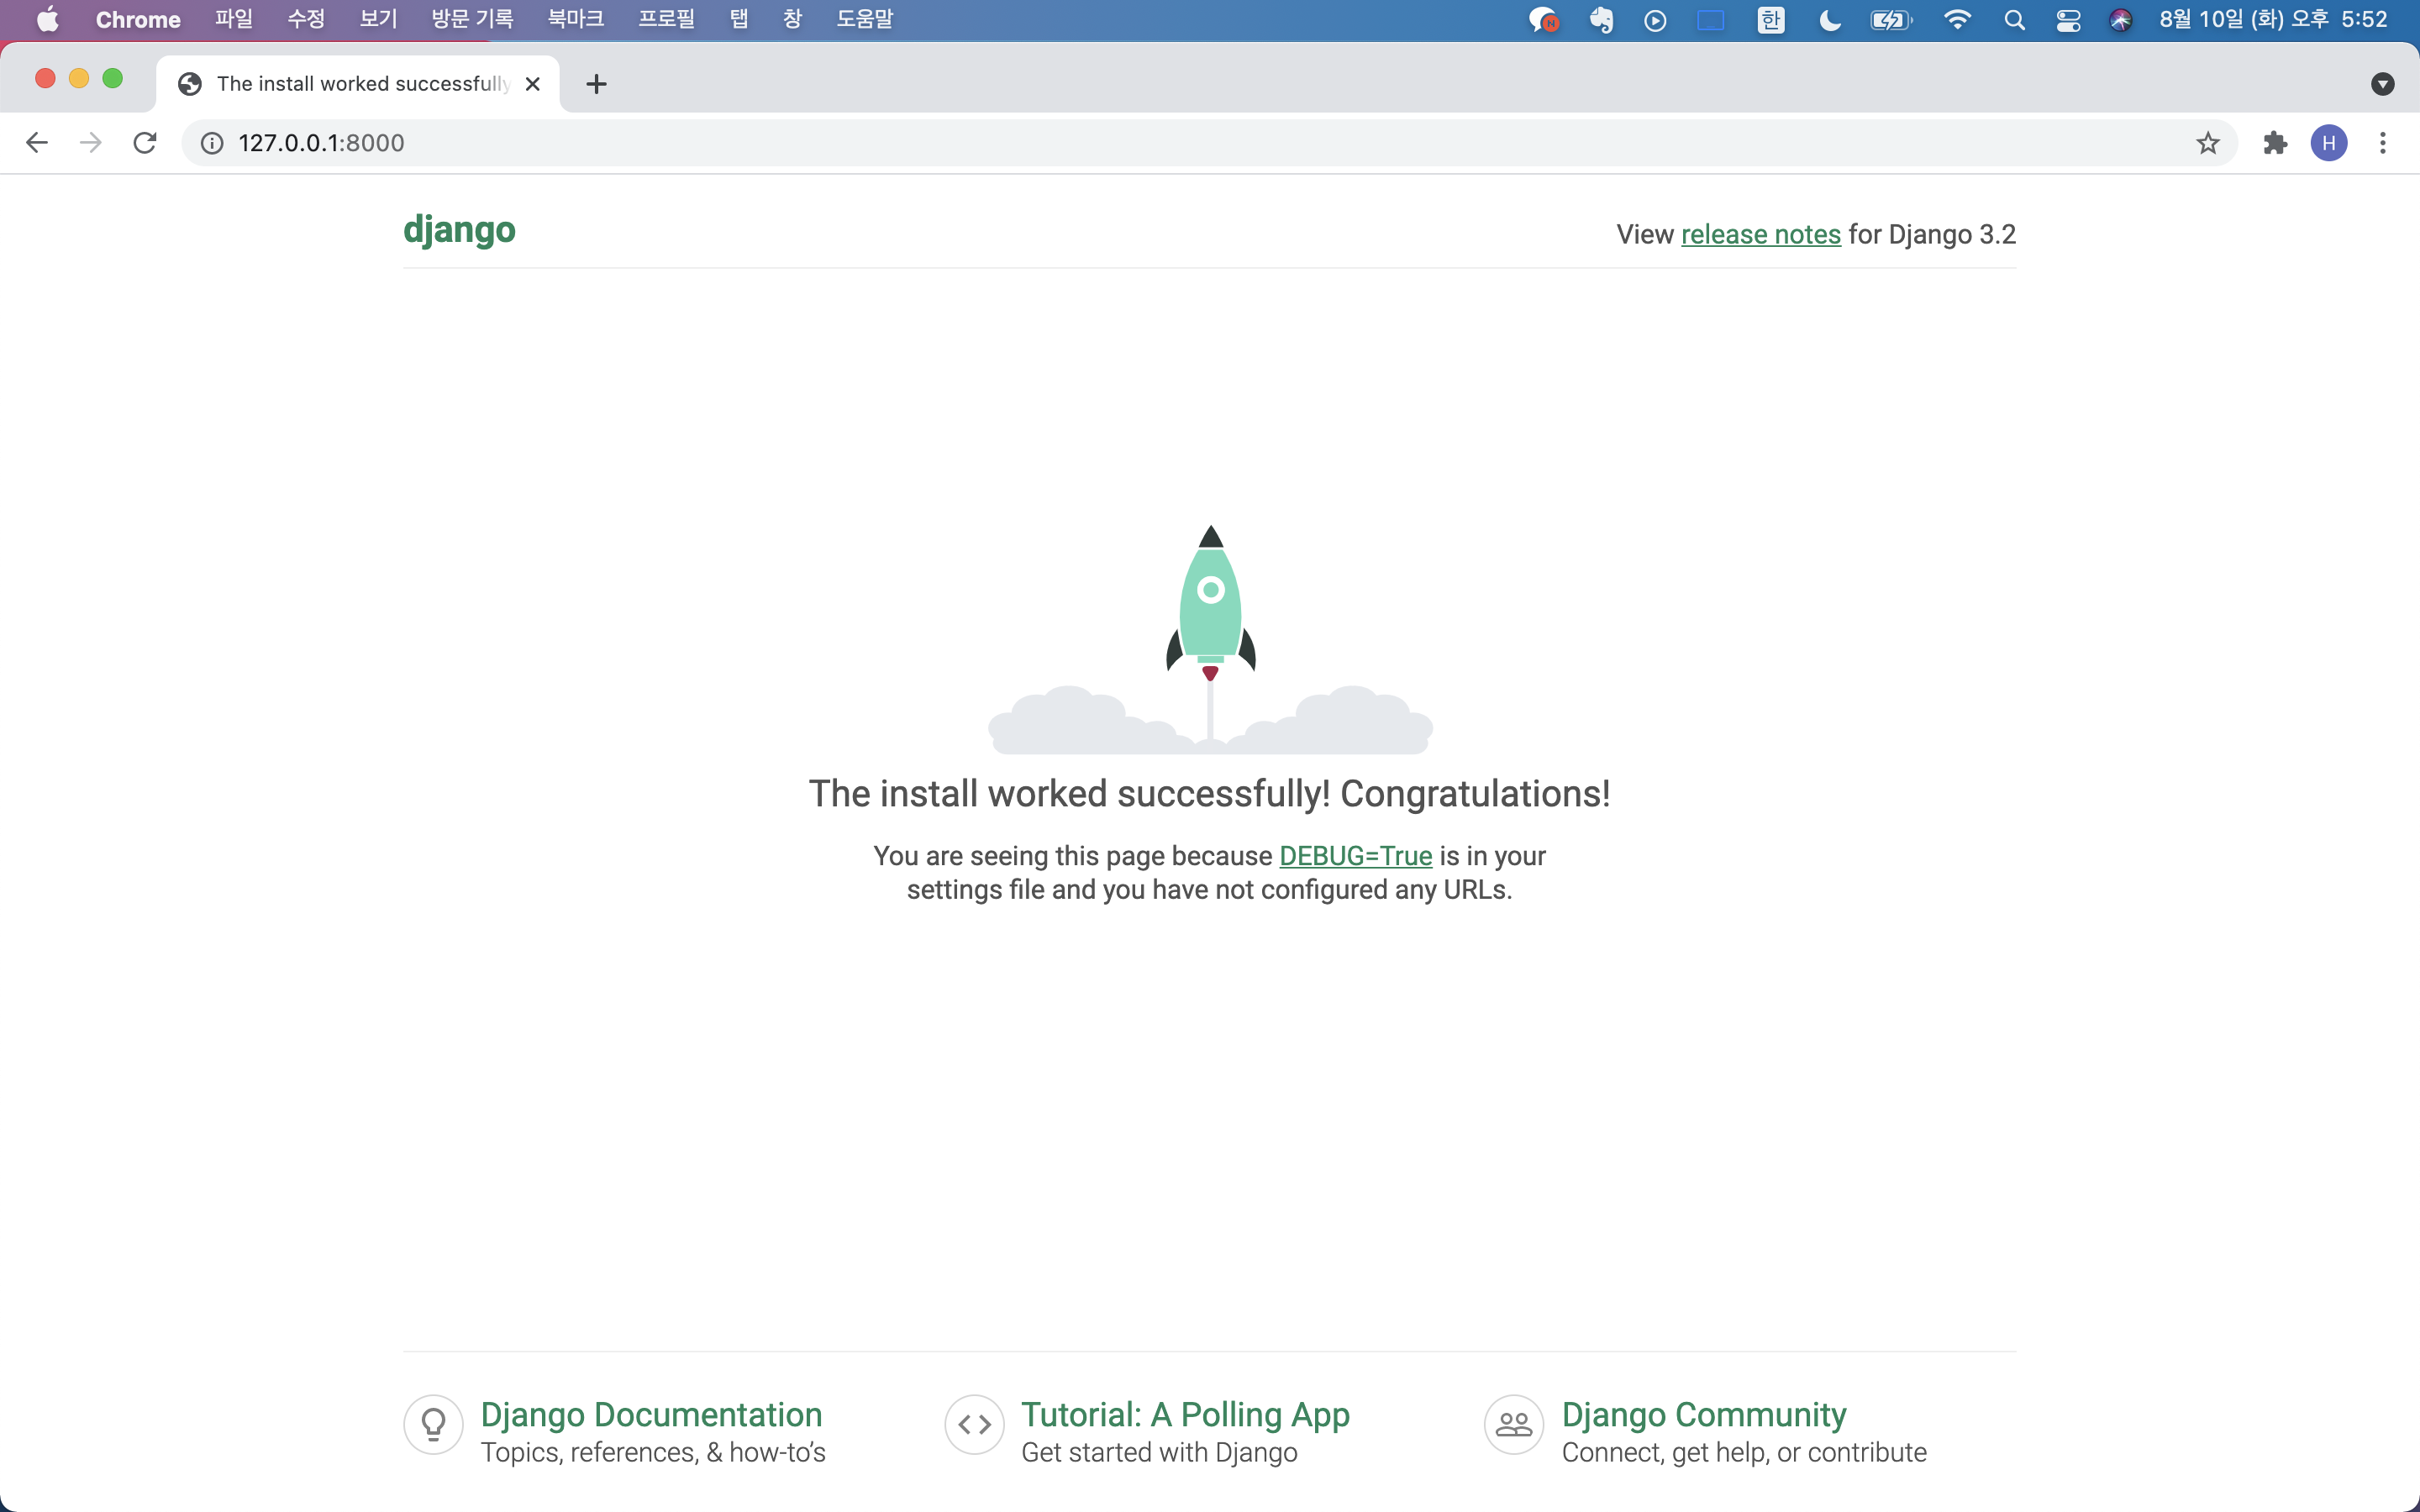
지금까지 만든 것은 순수히 python만을 이용한 경량 웹 서버이다. 아래 써 있듯이 이제 자신의 웹 브라우저에서 접속을 할 수 있다.

이게 뭐라고 뿌듯하다.
설문조사 앱 만들기
앱을 생성하기 위해서 manage.py가 존재하는 디렉토리에 다음 명령어를 입력한다.
$ python manage.py startapp polls이러면 polls 라는 디렉토리가 생긴다.
polls/
    __init__.py
    admin.py
    apps.py
    migrations/
        __init__.py
    models.py
    tests.py
    views.py
첫 번째 뷰 작성하기
polls/views.py 파일을 열어 다음과 같이 작성한다.
from django.http import HttpResponse


def index(request):
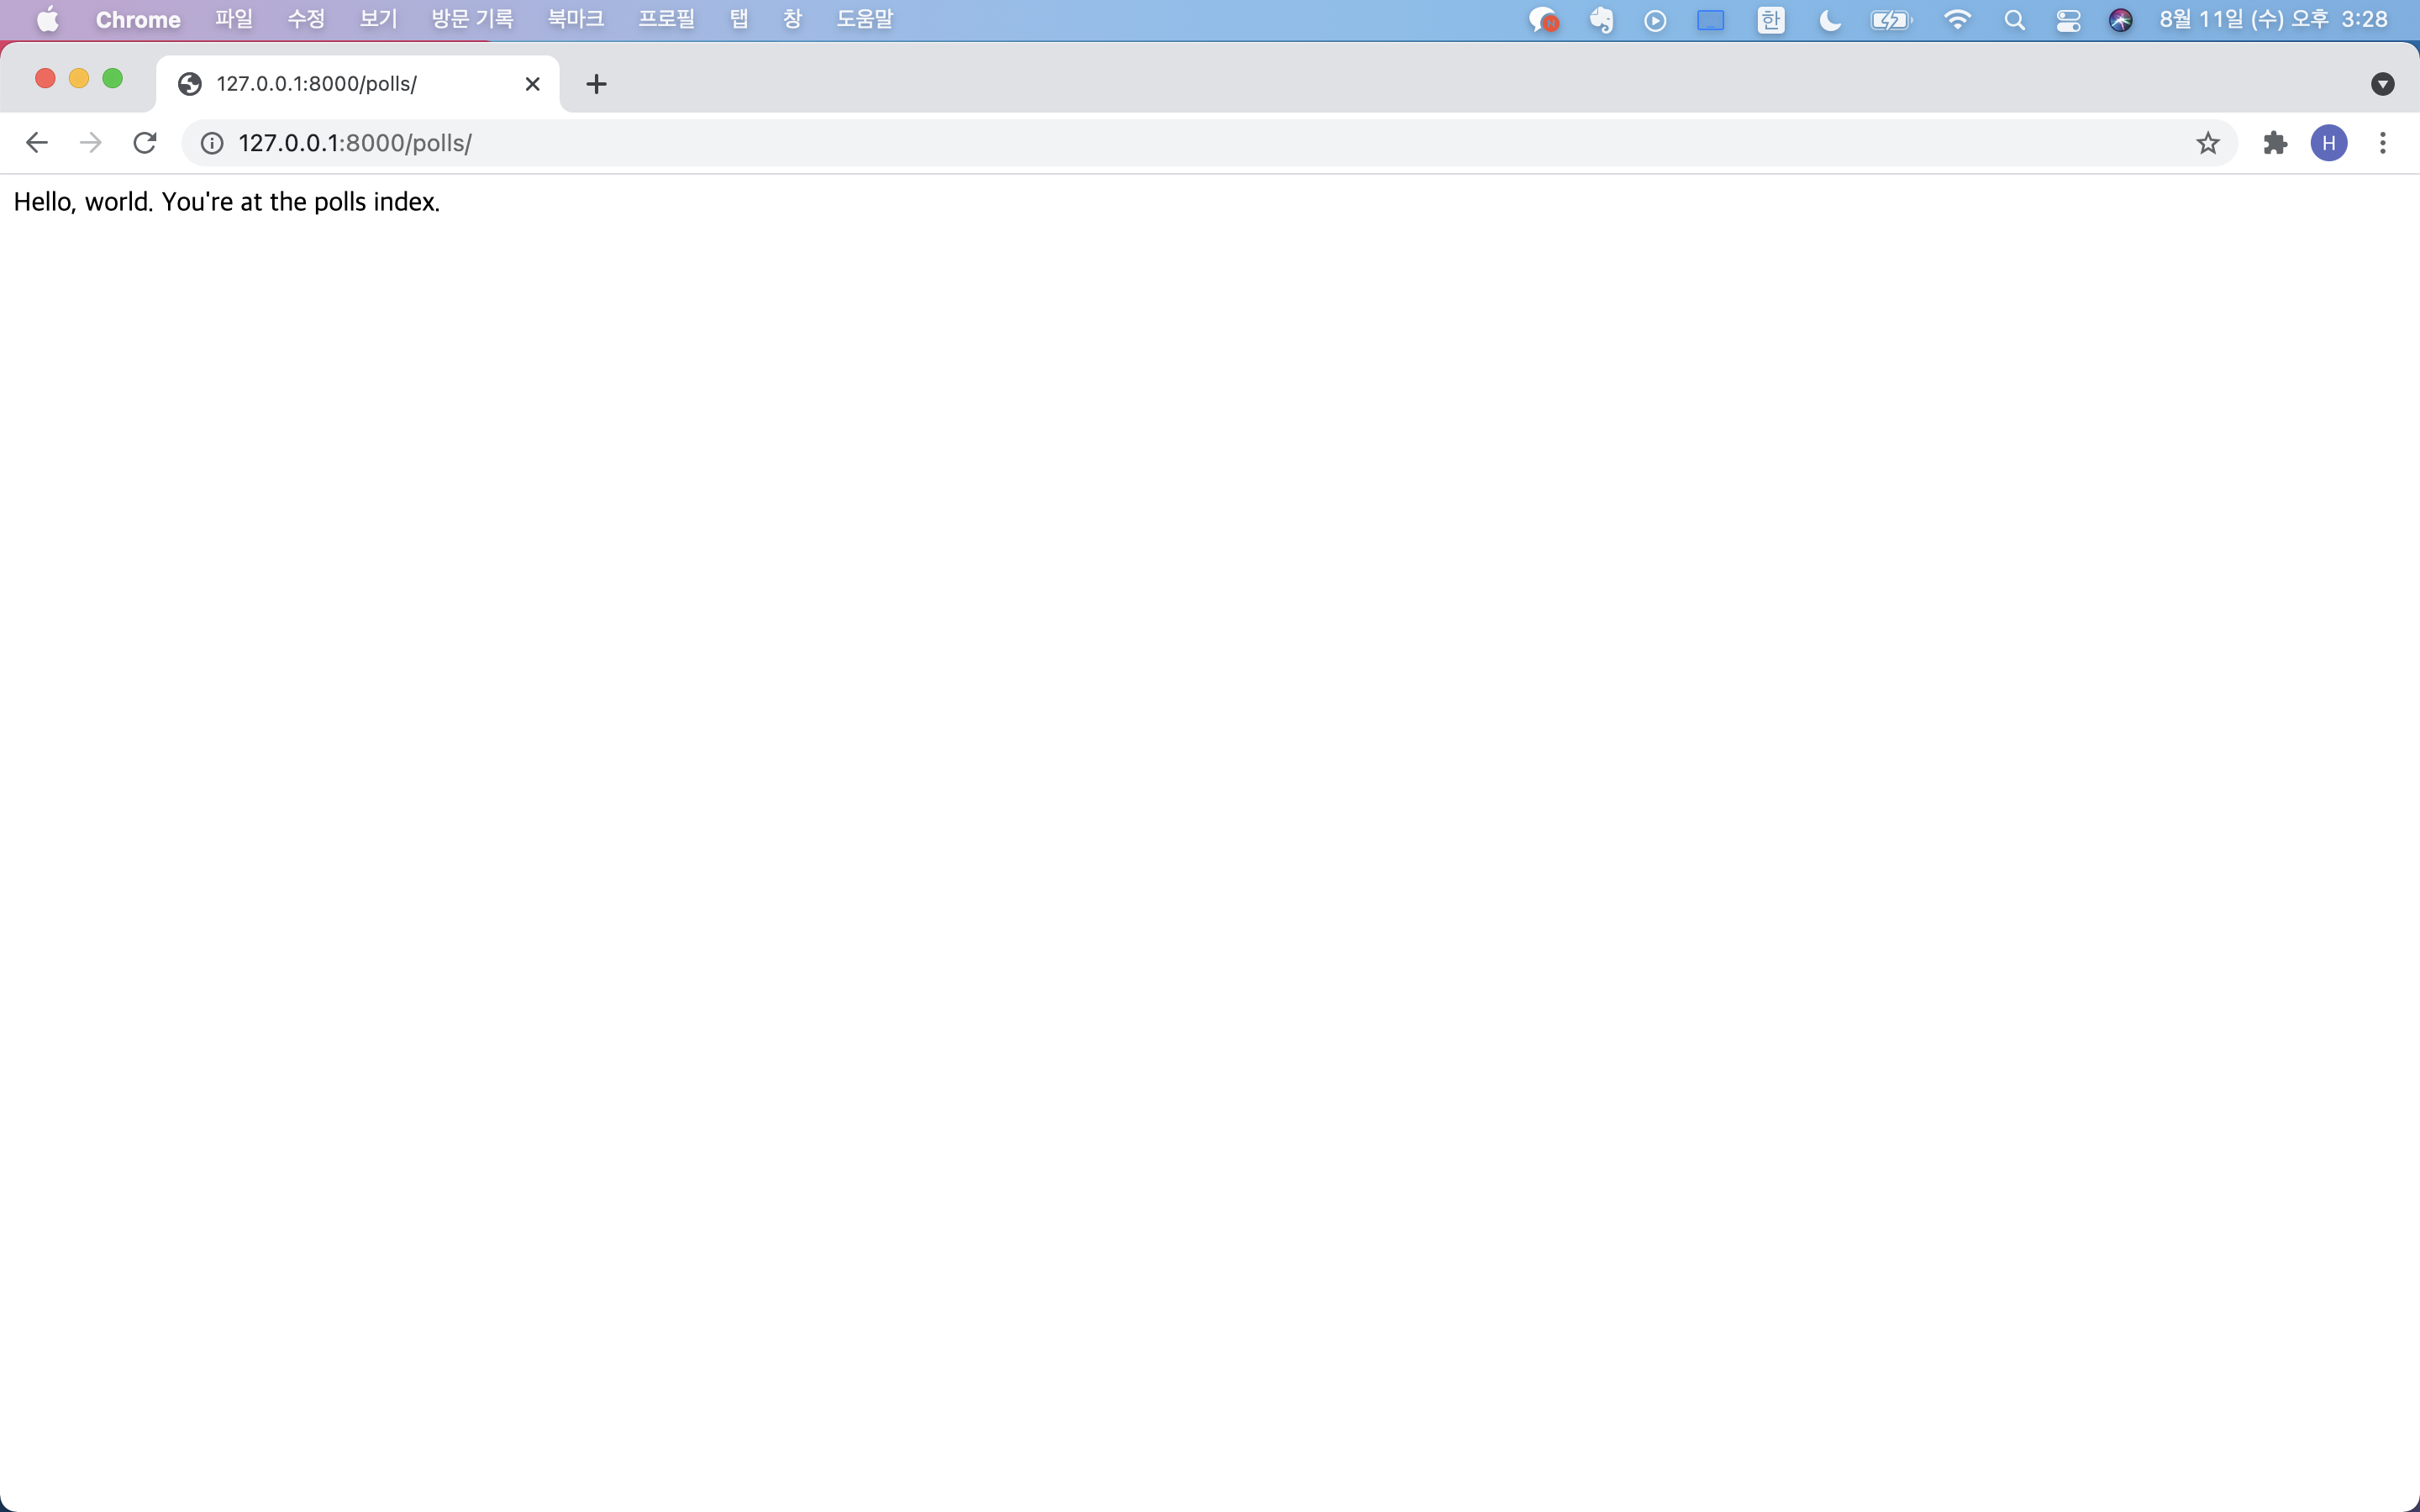
    return HttpResponse("Hello, world. You're at the polls index.")
Django에서 가장 간단한 형태의 뷰이다. 뷰를 호출하려면 이와 연결된 URL이 있어야 하는데, 이를 위해 URLconf가 사용된다.
다음으로 polls/urls.py파일에 아래와 같이 입력한다.
from django.urls import path

from . import views

urlpatterns = [
    path('', views.index, name='index'),
]
다음단계는 최상위 URLconf에서 poll.urls 모듈을 바라보게 설정한다. mysite/urls.py 파일을 열고 아래와 같이 입력한다.
from django.contrib import admin
from django.urls import include, path

urlpatterns = [
    path('polls/', include('polls.urls')),
    path('admin/', admin.site.urls),
]
django.urls의 include를 import하고, include()함수를 다음과 같이 추가한다.
include() 함수는 다른 URLconf들을 참조할 수 있도록 도와준다.
다른 URL 패턴을 포함할 때마다 항상 include()를 사용해야 한다.
그 후 서버를 시작하면
$ python manage.py runserver
Tutorial_1 끝!
