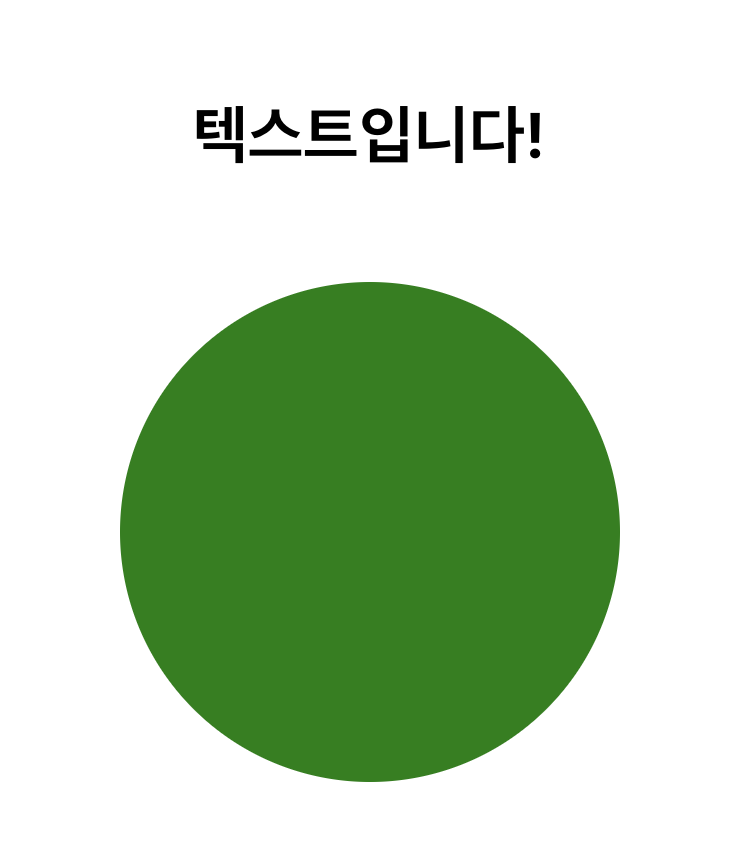
오늘 배울 것
 마우스오버시 텍스트(함수형 컴포넌트)의 배경색과 도형(클래스형 컴포넌트)에 색깔이 바뀌는 Event Listener를 구독해보자!
Event Listener
사용자가 어떤 행동(Event)을 했는지 안했는지 알려주는 것으로 Event Listener를 추가할 때는 Event Listener 구독이라 한다.
Ref로 요소를 잡아줌
null이 아닌 어떤 요소가 들어있다는 가정 하에 AddEventListener 추가
1. 클래스형 컴포넌트
App.js
import './App.css';
import React from "react";
import Text from "./Text";

class App extends React.Component {
  constructor(props) {
    super(props);

    this.state = {};
    this.circle = React.createRef(null);
  }

    hoverEvent = (e) => {
      console.log(e.target);
      console.log(this.circle.current);
      this.circle.current.style.background = "skyblue";
    }

  componentDidMount() {
    console.log(this.circle);
    this.circle.current.addEventListener("mouseover", this.hoverEvent);
  }

  componentWillUnmount() {
    this.circle.current.removeEventListener("mouseover", this.hoverEvent);
  }

  render() {
    return (
      <div style={{
        width: "100vw",
        height: "100vh",
        textAlign: "center"
        }}>
        <Text />
        <div style={{
          margin: "auto",
          width: "250px",
          height: "250px",
          background: "green",
          borderRadius: "250px"
          }}
          ref={this.circle}>
         </div>
      </div>
    );
  }
}

export default App;
1-Ⅰ. Render
Render를 먼저 살피는 이유
- 뷰가 어떻게 구성되어 있는지 봐야 함
- 어디에서 어떤 값을 사용하는지 미리 한 번 살펴보고 올라가야 코드를 찾기 수월함
import logo from './logo.svg';
import './App.css';
import React from "react";
import Text from "./Text";

class App extends React.Component{
  constructor(props){
    super(props);

    this.state = {};
    ✅this.circle = React.createRef(null);
  }

  componentDidMount(){
    console.log(this.circle);
  }

  componentWillUnmount() {

  }

  render() {
    return (
      <div style={{
      width: "100vw",
      height:"100vh",
      textAlign:"center"
      }}>
        <Text/>
        <div style={{
          margin:"auto",
          width: "250px",
          height: "250px",
          background:"green",
          borderRadius:"250px"
          }}
          ✅ref={this.circle}>
        </div>
      </div>
    );
  }
}

export default App;render에 {this.circle}로 ref를 잡아주었으니 코드 상단에서 this.circle이 어떻게 선언되었는지 확인해본다.
1-Ⅱ. 함수 생성
EventListener는 행위와 동작을 연결해주는 역할이기 때문에 EventListener를 실행하기 위해선 동작을 수행하는 함수가 존재해야 한다.
class App extends React.Component {
  ...
    hoverEvent = (e) => {
      console.log(e.target);
      console.log(this.circle.current);
    }
 ...
}console.log(e,target);에서 e는 이벤트 객체이고 target은 이벤트가 발생한 요소가 무엇인지 가져오는 역할이다. 여기에서는 this.circle.current이다. 즉, 함수 안에 있는 콘솔은 전부 같은 요소를 지칭한다.
1-Ⅲ. addEventListener
  componentDidMount() {
    console.log(this.circle);
    this.circle.current.addEventListener("mouseover", this.hoverEvent);
  }
1-Ⅱ에서 만든 함수를 사용하기 위해선 돔 요소가 있어야 한다. 즉, 마운트가 완료되어야 한다는 의미다. 그렇기 때문에 addEventListener는 componentDidMount()에 속한다.
this.circle.current.addEventListener("mouseover", this.hoverEvent);에서 "mouseover"는 이벤트 행위, this.hoverEvent는 이벤트 후에 실행될 행동에 해당된다.
1-Ⅳ. 색 바꾸기
1-Ⅱ의 console이 콘솔창에서 잘 뜨는 것을 확인했으면 아래에 원의 색상을 바꾸는 코드를 추가한다. this.circle.current.style.background = "skyblue";
이렇게 구독한 EventListener는 개발자도구-Elements-Event Listener에서도 확인할 수 있다.
1-Ⅴ. componentWillUnmount()
컴포넌트가 사라지면 eventListener도 지워줘야 한다. 이 과정을 클린업이라고 한다. 컴포넌트가 사라졌다가 다시 생기면 eventListener가 그만큼 새로 생성되기 때문에 이벤트를 한 번만 실행해도 eventListener는 여러번 실행 될 수 있기 때문이다.
  componentWillUnmount() {
    this.circle.current.removeEventListener("mouseover", this.hoverEvent);
  }
삭제하는 위치와 함수만 달라졌을 뿐, 나머지는 생성과 일치한다.
2. 함수형 컴포넌트
Text.js
import React from "react";

const Text = (props) => {
    const text = React.useRef(null);

    const hoverEvent = () => {
        text.current.style.background = "lavender";
    }

    React.useEffect(() => {
        text.current.addEventListener("mouseover", hoverEvent);

        return () => {
            text.current.removeEventListener("mouseover", hoverEvent);
        }
    }, []);

    return (
        <h1 ref={text} style={{padding: "30px"}}>텍스트입니다!</h1>
    )
}

export default Text;
useEffect()
리액트 훅의 일종으로 라이프 사이클 함수 중 componentDidMount, componentDidUpdate, componentWillUnmount를 합친 것과 같은 역할
React.useEffect(
	() => {}, **화살표 함수
    	[] **의존성 배열
    );
컴포넌트가 렌더링 되면 화살표 함수를 실행한다. 단, 조건이 있는데 첫 렌더링 시에는 무조건 실행이 되지만 리렌더링시에는 의존성 배열에 속한 요소의 변화 여부를 확인 후 바뀐 요소가 있을 때만 화살표 함수를 실행한다.
- 의존성 배열에 요소가 없을 때 ≒ componentDidMount
요소가 없으면 바뀔 요소도 없으므로 화살표 함수를 실행하지 않는다.
- 의존성 배열에 요소가 있을 때 ≒ componentDidUpdate
A라는 값이 있고 버튼을 누를시 A의 값이 변한다면 화살표 함수가 다시 실행된다.
- return ≒ componentWillUnmount
clean up 실행
2-Ⅰ. Return
import React from "react";

const Text = (props) => {
    ✅const text = React.useRef(null);

    React.useEffect(() => {

    }, []);
    return (
        ✅<h1 ref={text}>텍스트입니다!</h1>
    )
}

export default Text;
함수형 컴포넌트에서는 render를 쓰지 않으므로 render 역할을 하는 return부터 살펴본다.
2-Ⅱ. 함수 생성
const Text = (props) => {
    const text = React.useRef(null);

    const hoverEvent = () => {
        text.current.style.background = "lavender";
    }
	...
}
함수형 컴포넌트 역시 클래스형 컴포넌트와 마찬가지로 돔에다가 Event Listener를 붙여야 하지만 함수형 컴포넌트는 componentDidMount가 없으므로, 비슷한 역할을 하는 useEffect에 붙인다. 그 전에 useEffect에 두 번째 인자로 들어갈 함수를 먼저 생성한다.
2-Ⅲ. addEventListener
const Text = (props) => {
    const text = React.useRef(null);

    const hoverEvent = () => {
        text.current.style.background = "lavender";
    }

    React.useEffect(() => {
        text.current.addEventListener("mouseover", hoverEvent);
    }, []);
	...
}
위에서 생성한 함수를 useEffect에 붙인다.
2-Ⅳ. return
const Text = (props) => {
   	...
        return () => {
            text.current.removeEventListener("mouseover", hoverEvent);
        }
    }, []);
	...
    )
}
Event Listener를 등록했으면 컴포넌트가 삭제될 때를 대비해서 클린업도 생성한다.
