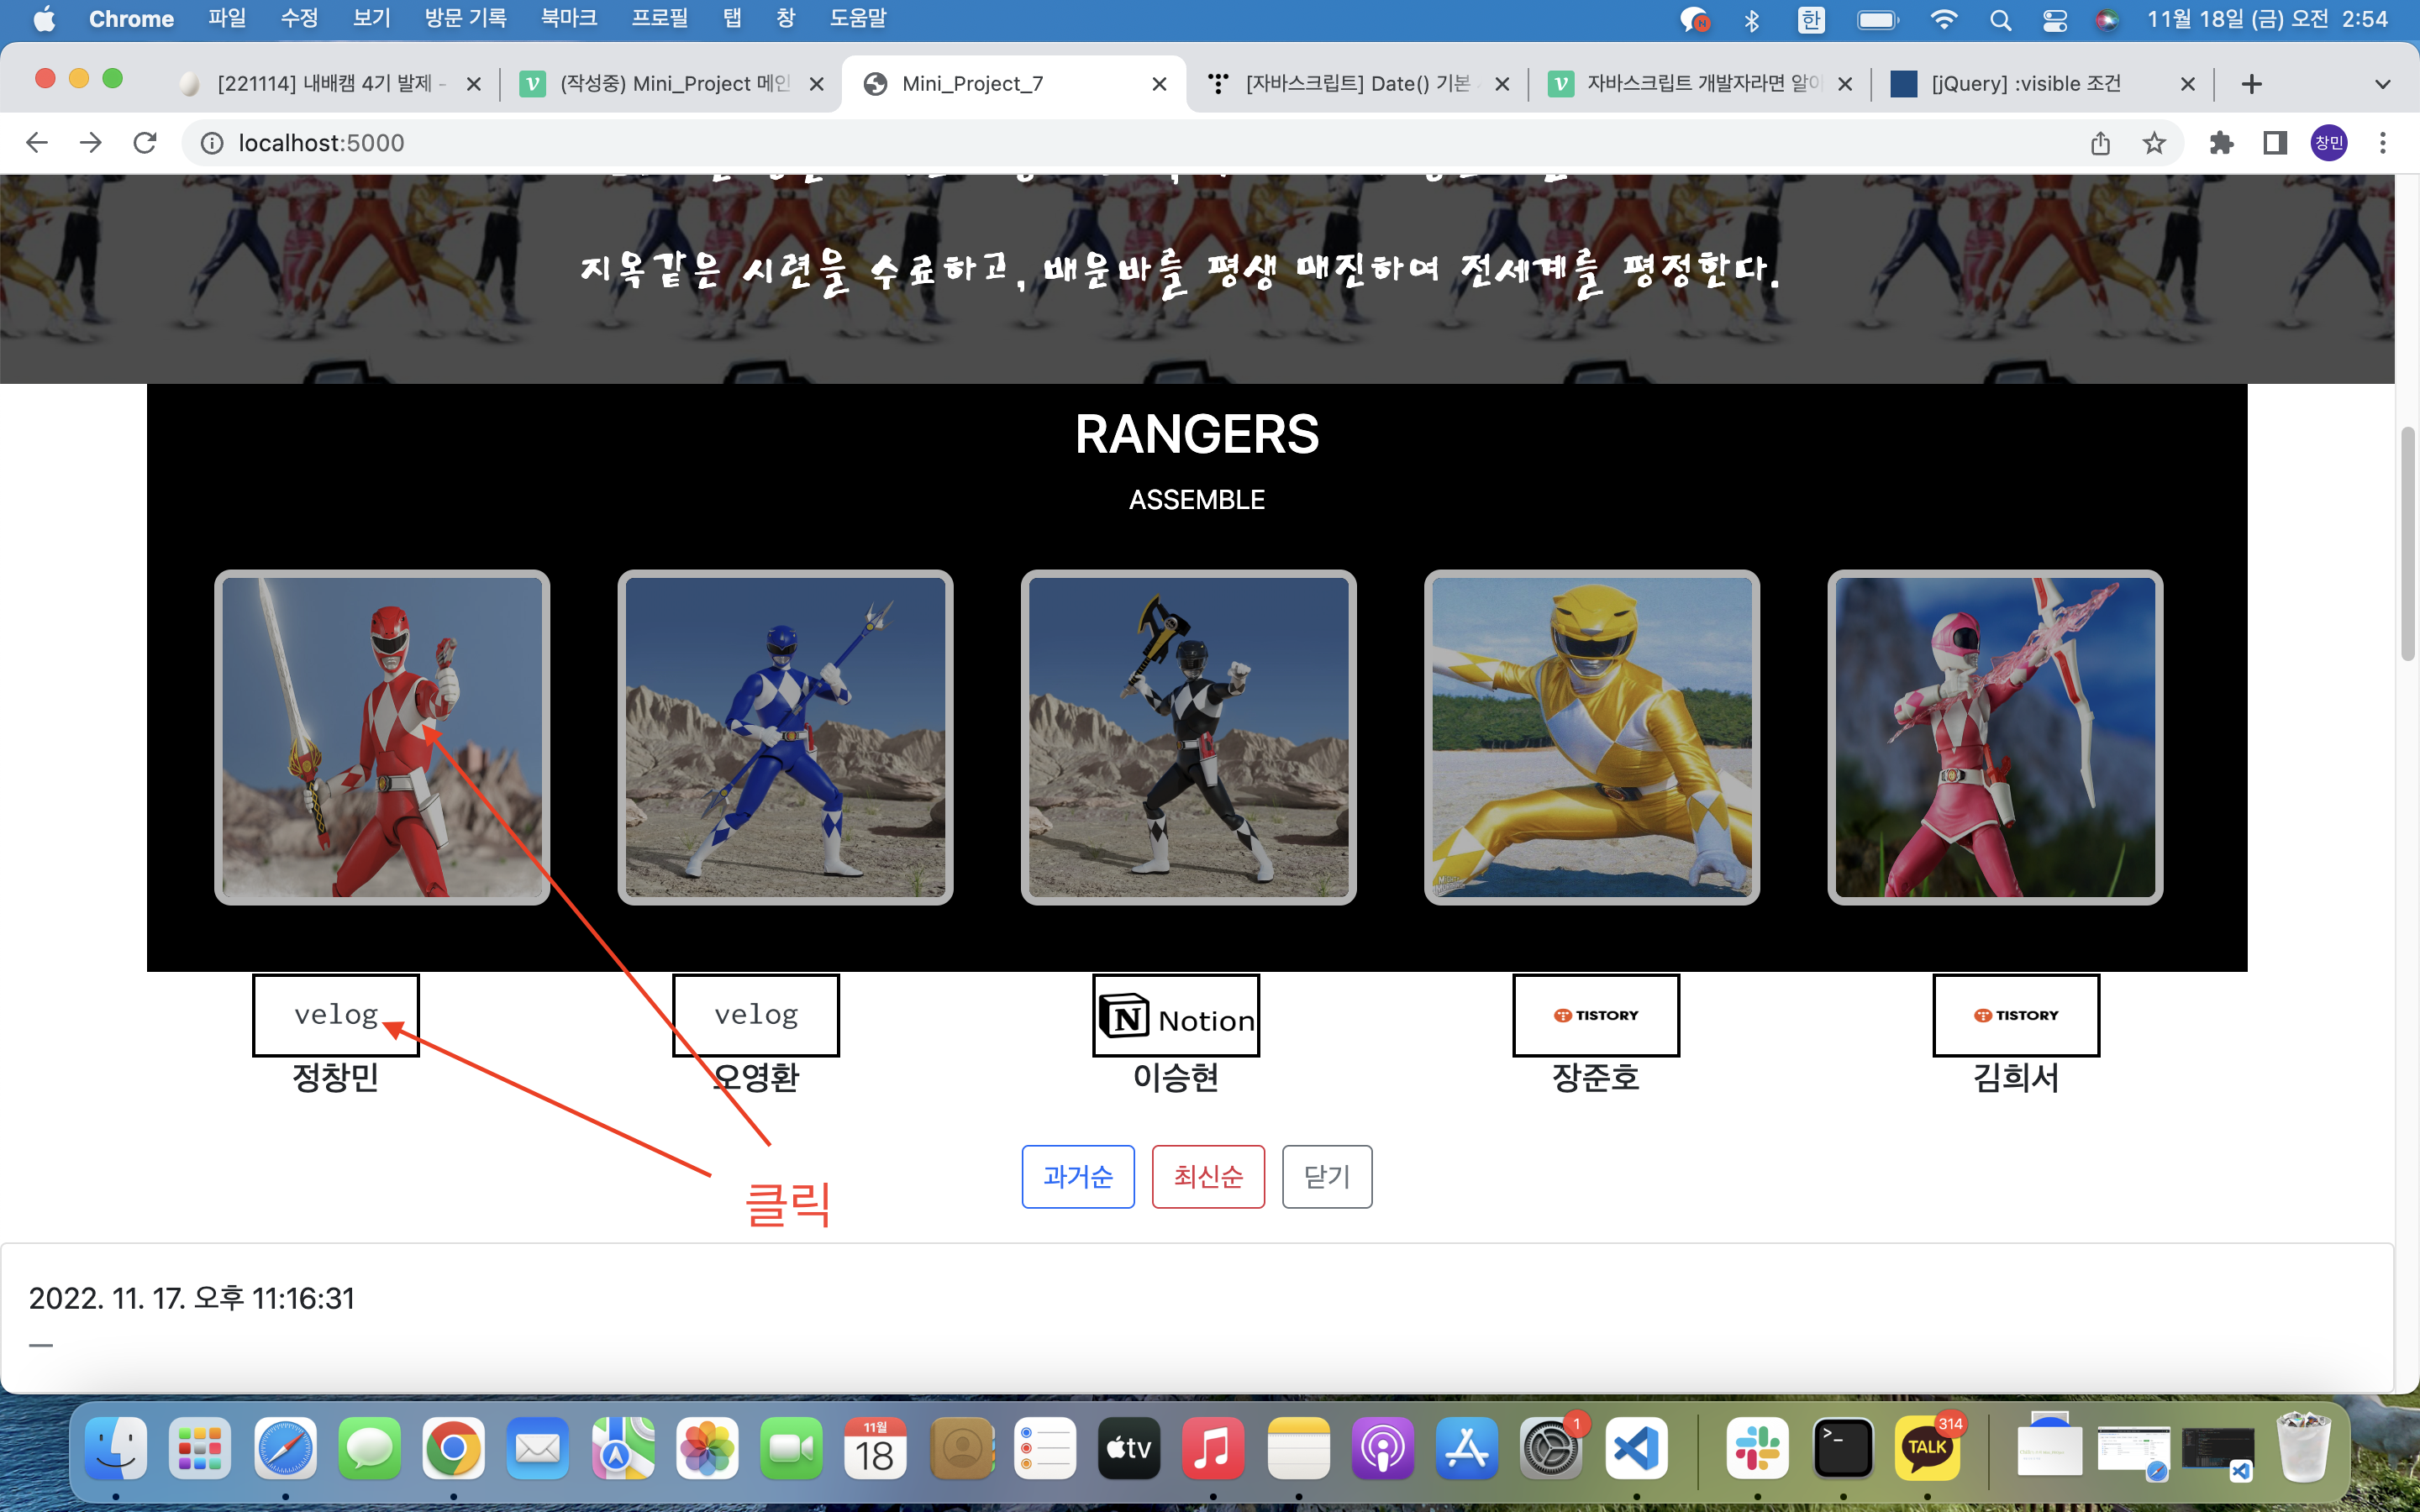
1. 이미지 클릭 시 해당 페이지로 이동
파이썬
@app.route('/')
def index_1():
  return render_template('index.html')

@app.route('/red')
def red():
  return render_template('red.html')
자바스크립트
$('#page_1').on('click', () => location.href="/red" );

$('#link_1').on('click', () => location.href="https://velog.io/@ckdals1994"

var 탭버튼 = $('.nav-item');
    탭버튼.eq(5).on('click', () => location.href="/" );
location.href="###"은 string type의 value로 들어오게 되며 파일의 경로가 들어간다.
파일의 경로로는 인터넷의 url과 서버 안에 있는 파일의 경로가 들어올 수 있다.
버튼을 클릭시 현재 페이지에서 서버 안에 있는 파일의 경로로 이동하도록 직관적이게 한 줄로 코딩을 해봤다.
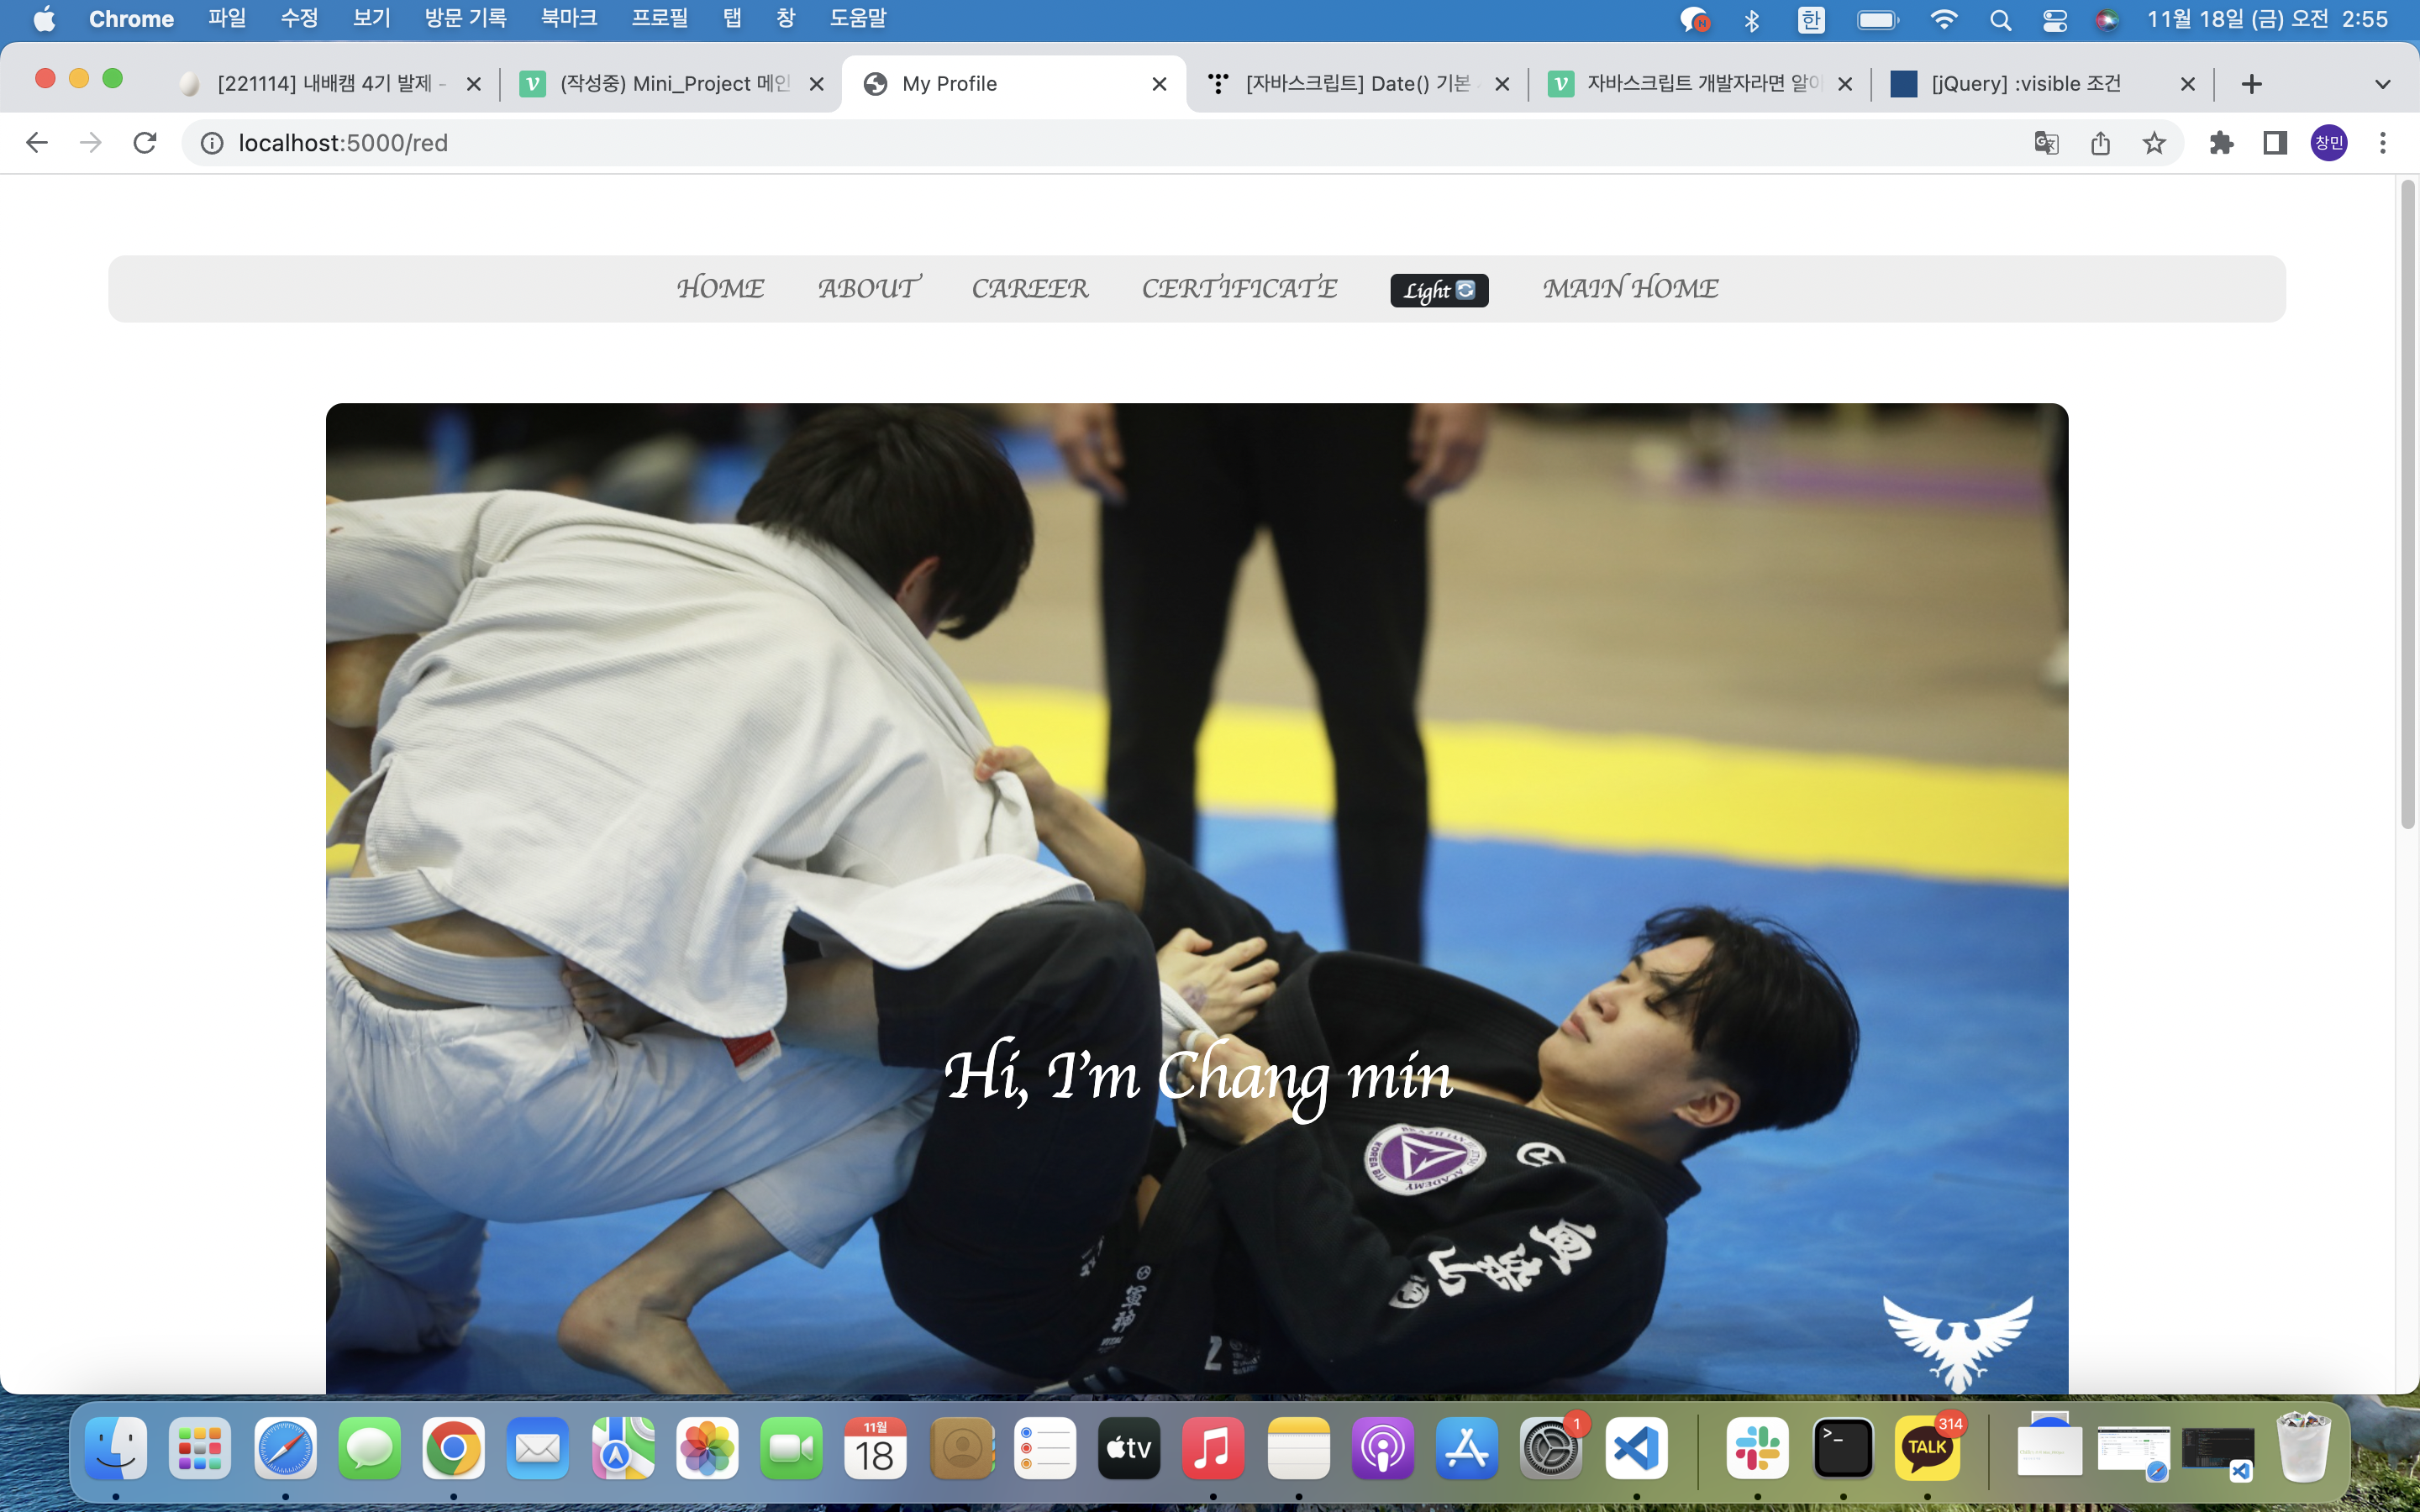
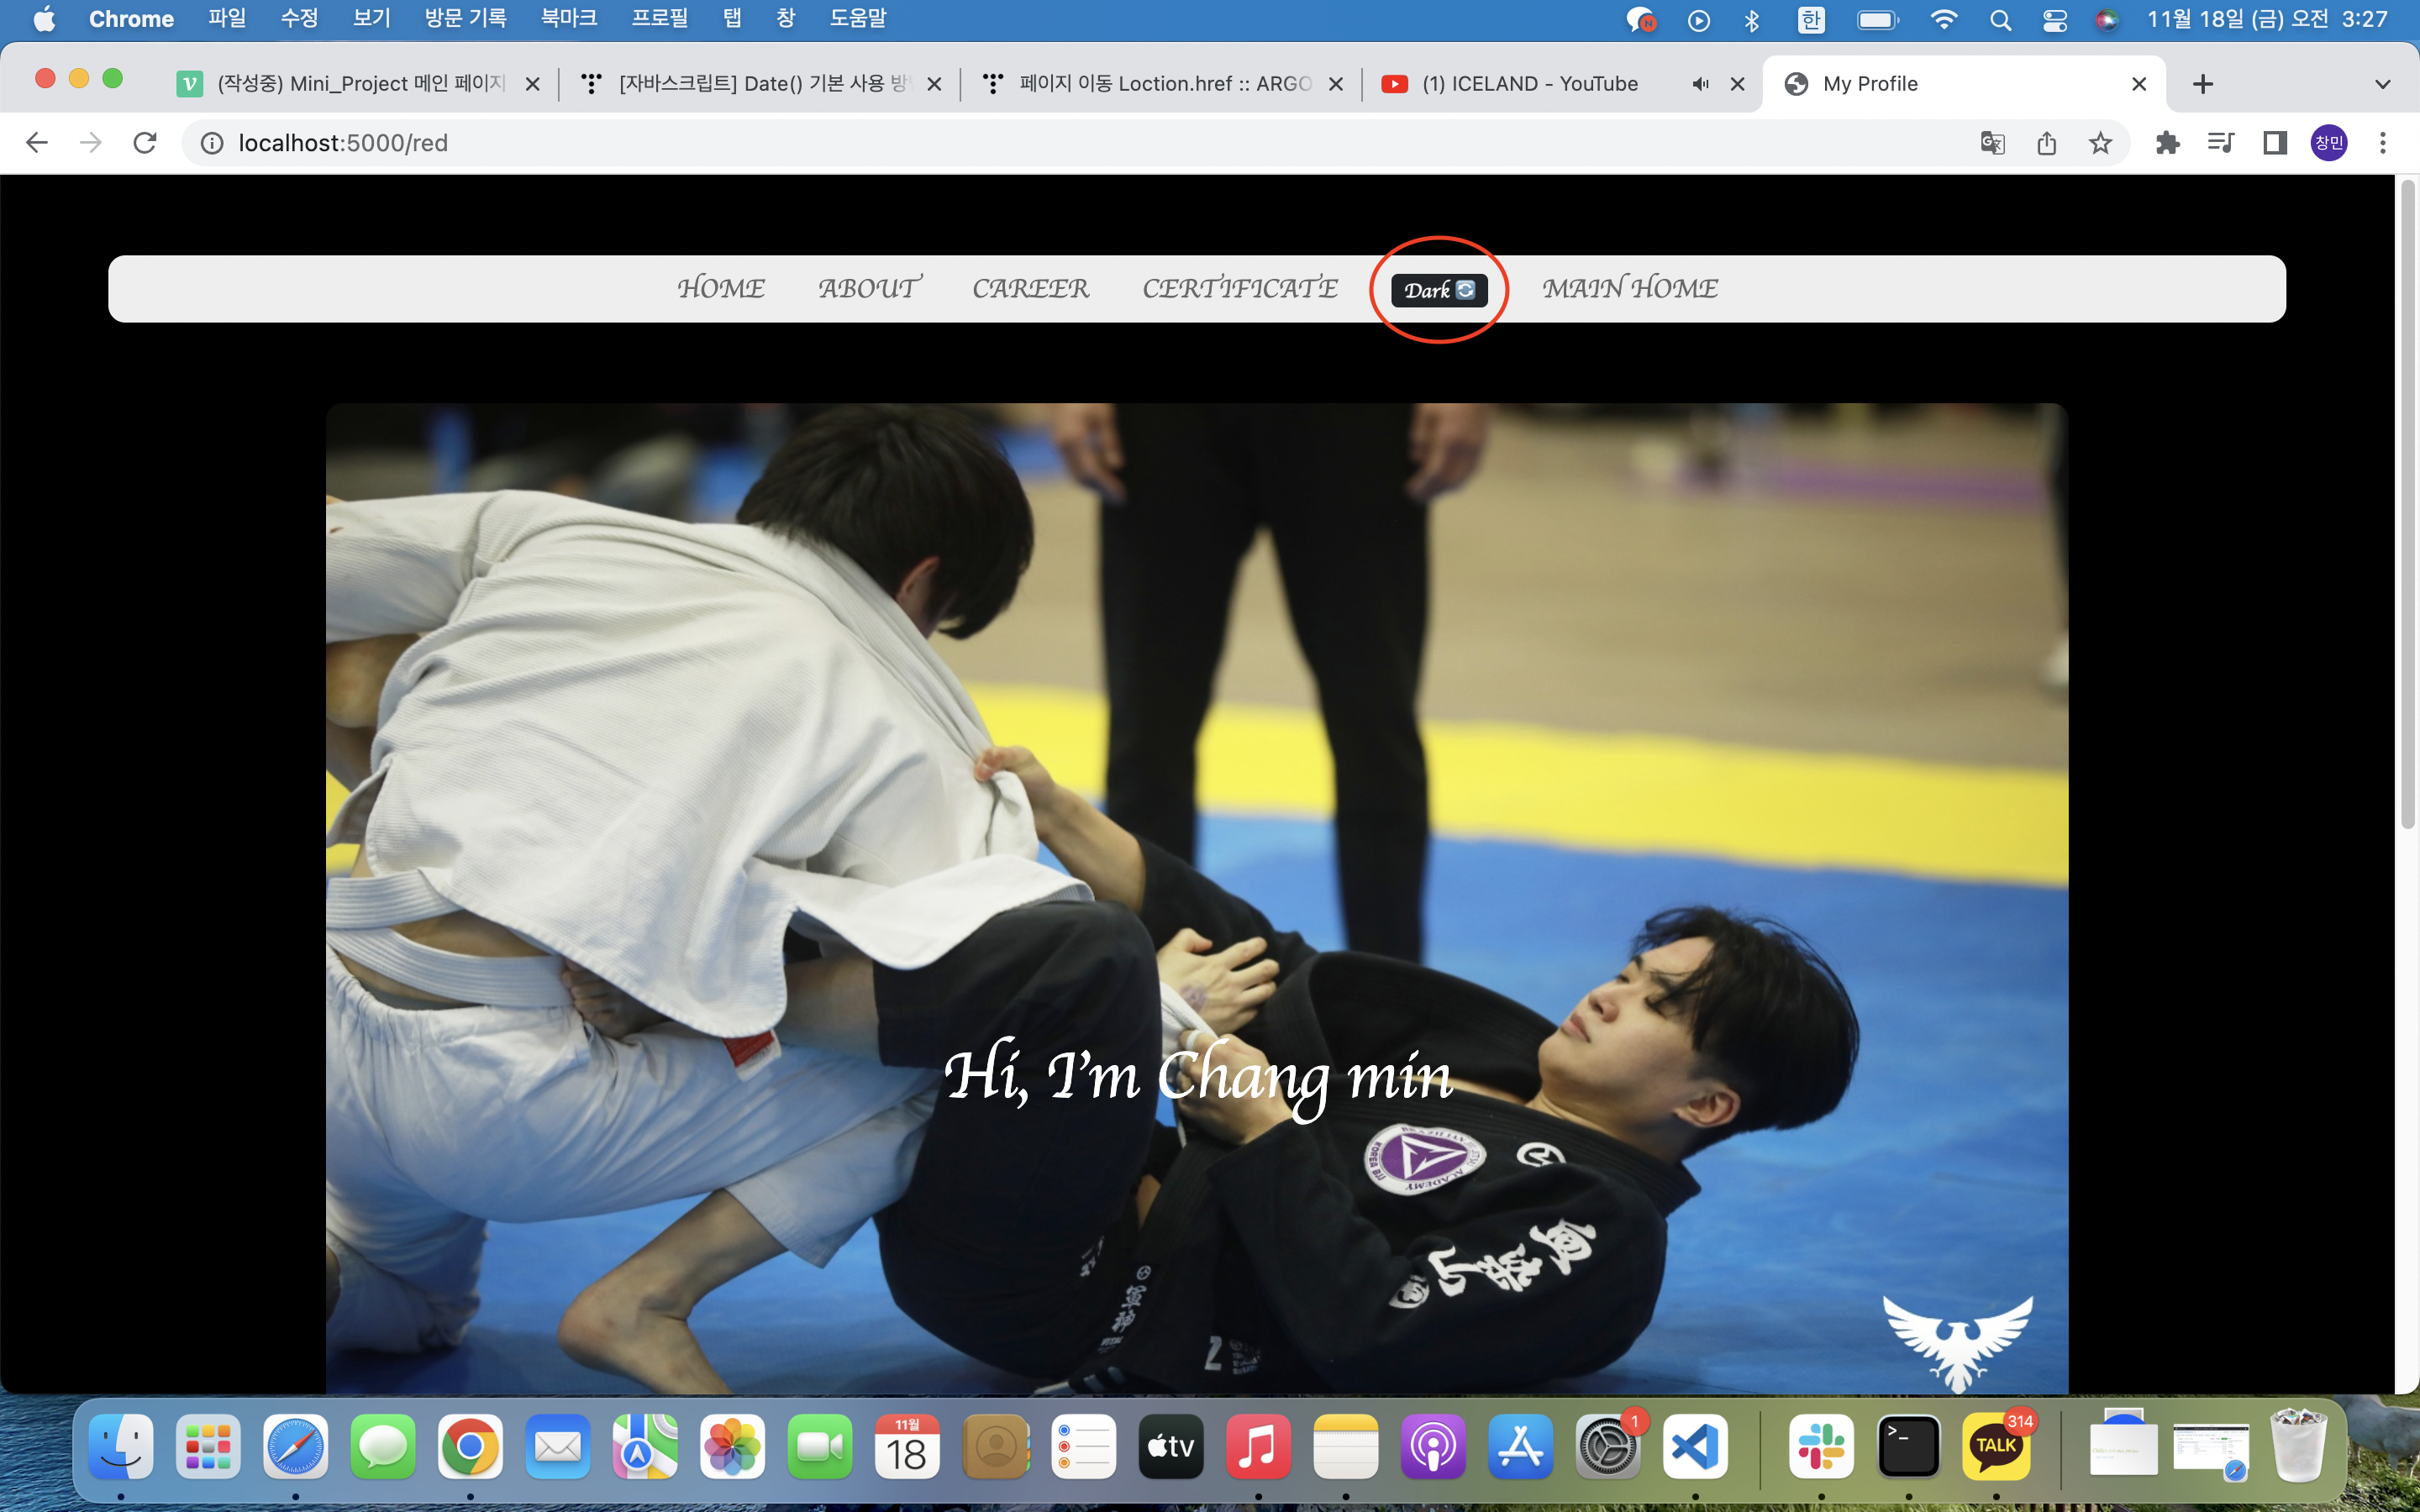
2. 다크모드
var counter = 0;

$('.badge').on('click', () => { // 다크모드
  counter++;
  if(counter % 2 == 1) {
    $('body').addClass('show');
    $('.badge').html('Dark 🔄');
  } else {
    $('body').removeClass('show');
    $('.badge').html('Light 🔄');
  }
})
버튼을 눌렀을 시 counter를 1씩 더한다.
counter % 2를 하여 나머지가 1일 땐 홀수, 그 외는 짝수로 구현했다.
홀수일 땐 class="show" (background-color: black)를 부착하여 배경화면을 검정색으로 만들었다. 짝수일 땐 class를 제거하여 라이트 모드를 구현했다.
3. 방명록 작성 시 main 페이지에 댓글 구현
파이썬
@app.route("/api/save_comment", methods=["POST"])
def homework_post():
  name_receive = request.form['name_give']
  comment_receive = request.form['comment_give']
  time_receive = request.form['time_give']
  doc = {
    'name': name_receive,
    'comment': comment_receive,
    'time': time_receive
  }
  db.guest.insert_one(doc)
  return jsonify({'msg':'댓글 입력 완료!'})


  @app.route("/api/load_comment", methods=["GET"])
def homework_get():
  comments_list = list(db.guest.find({},{'_id':False}))
  return jsonify({'comments_list': comments_list})
자바스크립트
function save_comment() {
    let name = $('#name').val()
    let comment = $('#comment').val()
    let today = new Date()
    let time = today.toLocaleString()
    $.ajax({
        type: 'POST',
        url: '/api/save_comment',
        data: {name_give: name, comment_give: comment, time_give: time},
        success: function (response) {
            alert(response['msg'])
            window.location.reload()
        }
    })
}


function show_comment() {
  $('#comment-cards').empty()
  $.ajax({
      type: "GET",
      url: "/api/load_comment",
      data: {},
      success: function (response) {
          doc = response['comments_list']
          for (let i = 0; i < doc.length; i++) {
              let comment = doc[i]['comment']
              let name = doc[i]['name']
              let time = doc[i]['time']
              let temp_html = `    <div class="card">
                              <div class="card-body">
                                  <blockquote class="blockquote mb-0">
                                      <small text-align="right">${time}</small>
                                      <p>${comment}</p>
                                      <footer class="blockquote-footer">${name}</footer>
                                  </blockquote>
                              </div>
                          </div>`
              $('#comment-cards').append(temp_html)
          }
      }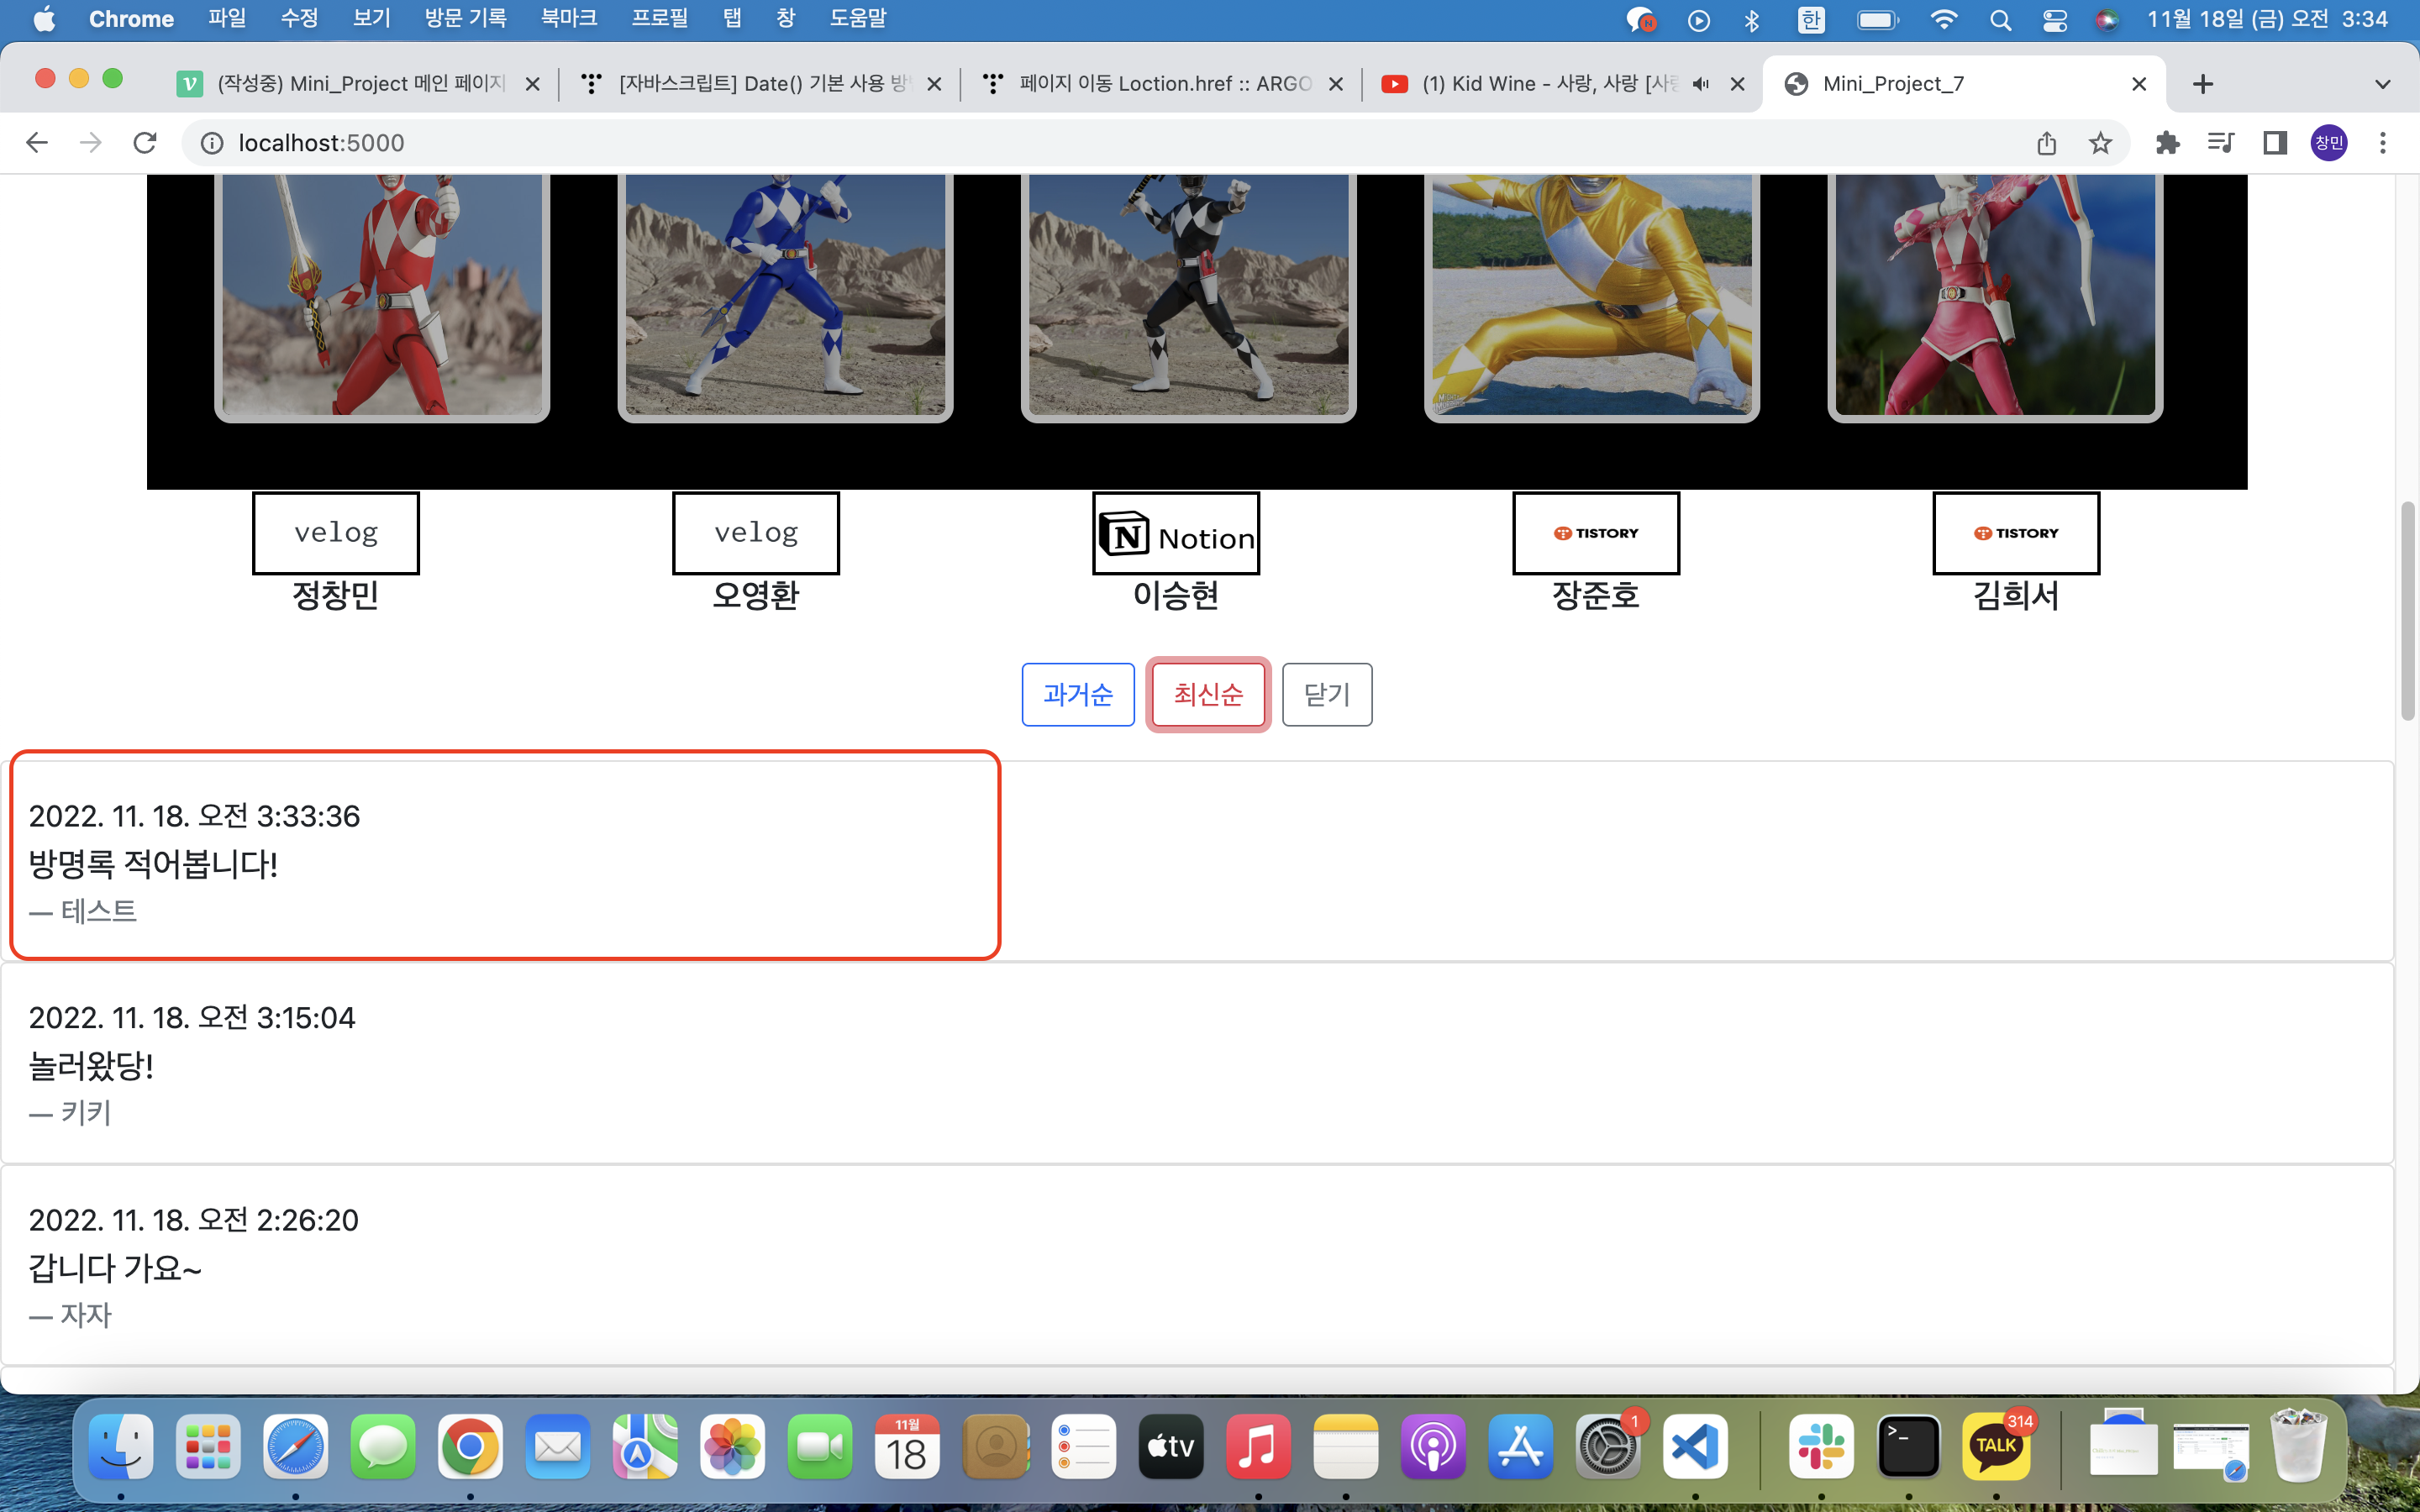
});- 개인 페이지에서 '응원하기' 버튼을 클릭 시 POST 요청으로 서버에 데이터를 보내고 또한 db에 데이터 저장한다.
- 그리고 get 요청으로 메인 페이지에 댓글이 날짜, 시간 순으로 나타내는 것을 구현하였다.
var date1 = new Date(); // 현재 날짜 및 시간
toLocaleString() 2018. 5. 17. 오후 5:15:11

안녕하세요~!