
분류
- 반응형, 클론코딩
- 사용언어 : html, css
- 라이브러리 : j-query, gsap, slitType
- 제작기간: 7일
Point
- fixed content
- GSAP
- 반응형 GSAP
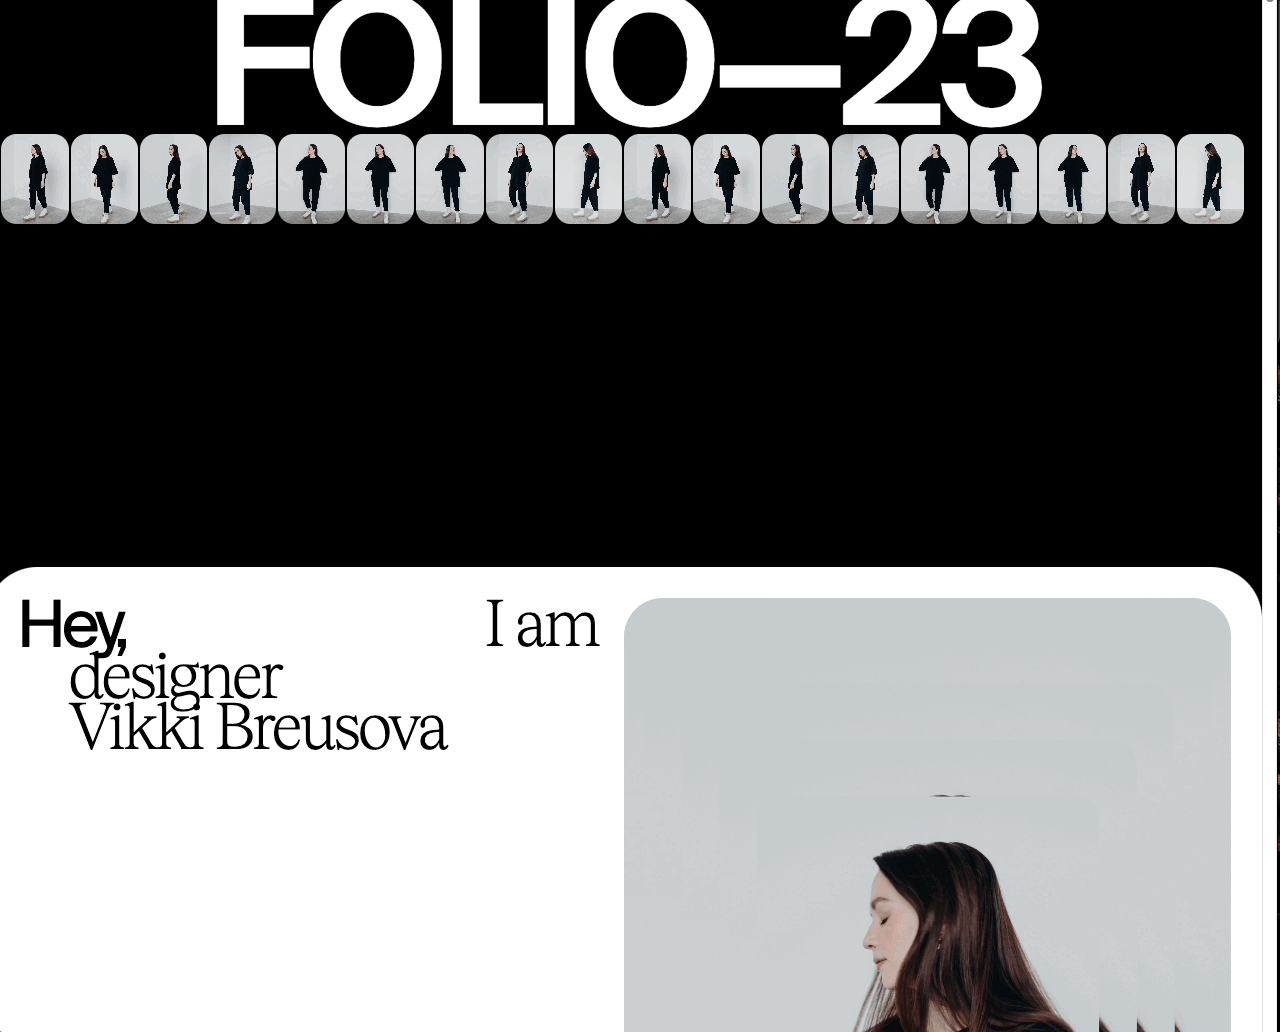
1. fixed content
하단 콘텐츠가 스크롤이 된지 한참 뒤에 올라오는 효과
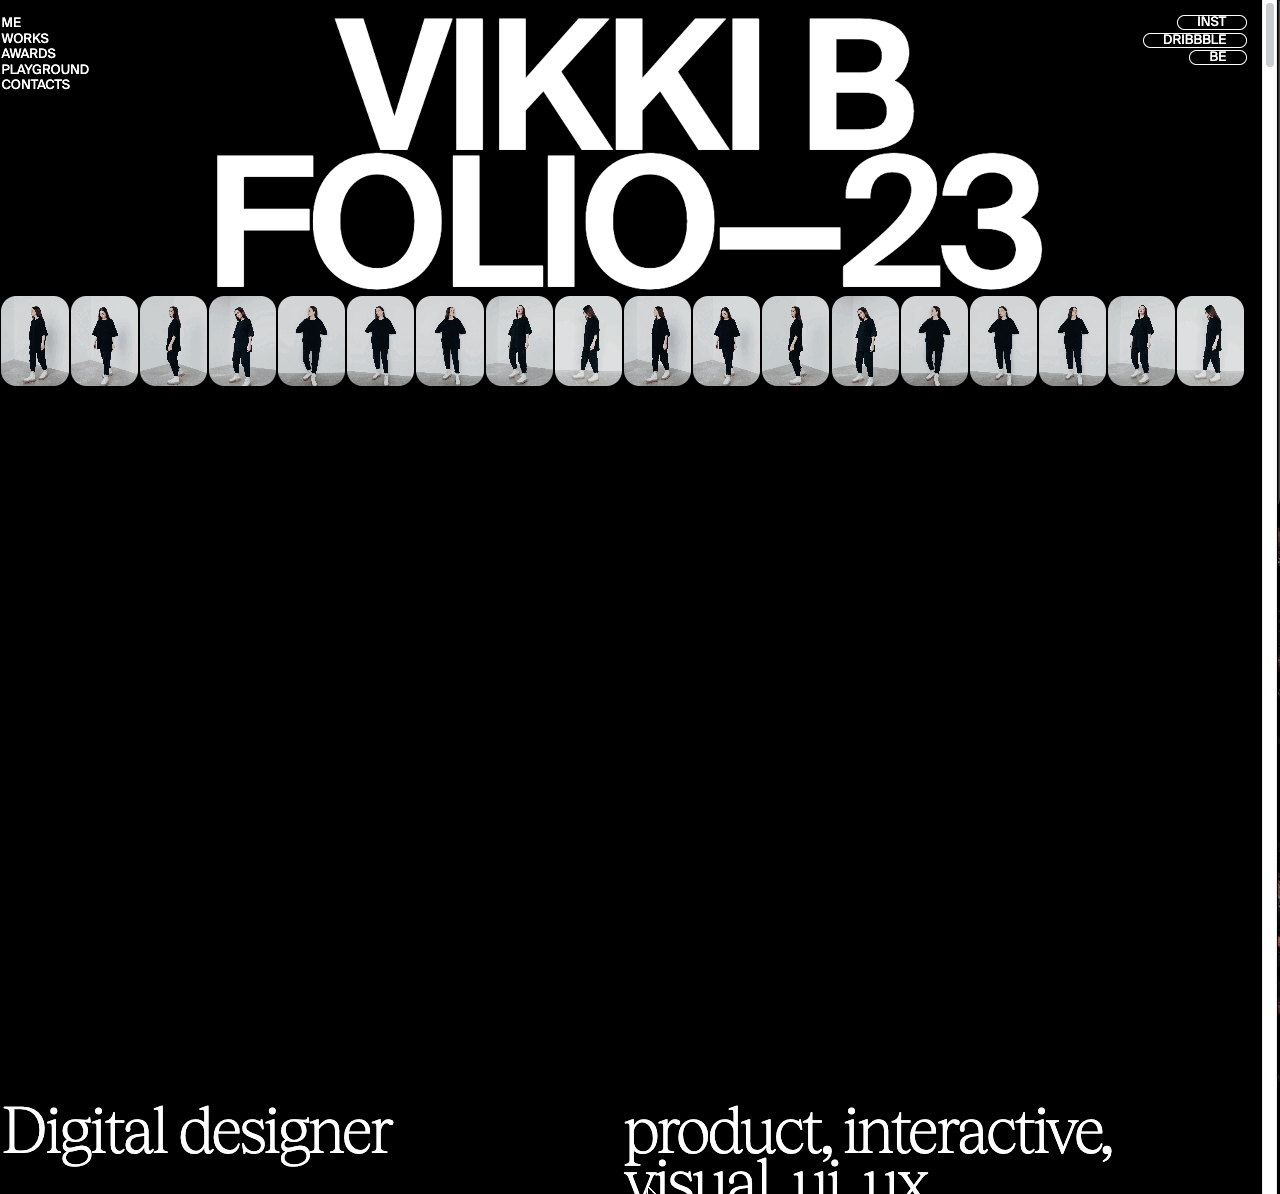
다음으로 올라올 영역에 margin-top:200vh;를 넣어준다2. GSAP
GSAP중에서도 전체적으로 scrollTrigger를 사용하였다.
코드 작성 하기 앞서 제일 상단에
gsap.registerPlugin(ScrollTrigger);
위의 코드를 적어야 사용할 수 있다.
이미지가 스크롤에 따라 scale이 줄어드는 효과
html
여러 이미지를 data-scale에 각각 보여질 크기로 작성한다.
<div class="img-wrap">
  <div class="img-item"><img src="./assets/img/img-01.jpg" alt class="img img1" data-scale="1"></div>
  <div class="img-item"><img src="./assets/img/img-01.jpg" alt class="img img1" data-scale="0.9"></div>
  <div class="img-item"><img src="./assets/img/img-01.jpg" alt class="img img2" data-scale="0.7"></div>
  <div class="img-item"><img src="./assets/img/img-01.jpg" alt class="img img3" data-scale="0.5"></div>
  <div class="img-item"><img src="./assets/img/img-01.jpg" alt class="img img4" data-scale="0.3"></div>
</div>
css
제일 첫번째 이미지는 고정
.sc-intro .img-wrap .img-item:not(:first-child) {
    position: absolute;
    top: 50%;
    left: 50%;
    transform: translate(-50%, -50%);
    width: 100%;
    height: 100%;
}
js
여러개의 이미지 이므로 img에 대해 each문 돌리고
index가 아닌 element에 대해 trigger 한다.
dataset값을 변수에 담고 scale에 넣어준다.
부드러운 스크롤 효과를 위해 scrub:1을 넣어준다 (부드럽지 않길 원하면 0)
 $('.sc-intro .img').each(function (idx, ele) {
   scaleVal = $(this).data('scale')
   gsap.to(ele, {
     scrollTrigger: {
       trigger: '.sc-intro .title-area',
       start: '0% 100%',
       end: '100% 0%',
       scrub: 1
     },
     scale: scaleVal
   })
 })
스크롤 시 고정된 content에서 이미지 scale 및 글자 효과

html
<div class="sticky-wrapper">
  <div class="sticky-trigger">
    <section class="sc-intro2">
      <div class="frame-wrap">
        <strong class="headline1 none">7 years</strong>
        <strong class="headline2 none">experience <br>in digital <br>design</strong>
        <strong class="headline3">observing<br>crafting<br> doing stuff</strong>
      </div>
      <div class="img-area">
        <div class="img-wrap">
          <div class="img-box">
            <img src="./assets/img/interview-01.gif" class="scroll-img1" alt>
            <img src="./assets/img/interview-07.png" class="scroll-img2" alt>
            <img src="./assets/img/interview-08.jpg" class="scroll-img3" alt>
          </div>
          <!--이하생략-->
      <div class="fixed-wrap">
        <span>RECENT</span>
        <span>WORKS</span>
      </div>
    </section>
  </div>
</div>
스크롤되면서 바뀔 이미지를 .img-box 안에 한거번에 담는다.
gsap.set('.sc-intro2 .headline2,.sc-intro2 .headline3', {
  visibility: 'hidden'
})
gsap.set('.sticky-trigger .scroll-img2, .sticky-trigger .scroll-img3 ', {
  visibility: 'hidden'
})

const intro2 = gsap.timeline({
  scrollTrigger: {
    trigger: '.sc-intro .sticky-trigger',
    start: '20% 100%',
    end: '100% 100%',
    scrub: 1
  },
})

intro2
  .to('.sc-intro2 .headline1', {
  scale: 1.3
})
  .addLabel('a')
  .set('.sc-intro2 .headline1', {
  visibility: 'hidden'
}, 'a')
  .set('.sc-intro2 .headline2', {
  visibility: 'visible'
}, 'a')

  .set('.sticky-trigger .scroll-img1', {
  visibility: 'hidden'
})
  .set('.sticky-trigger .scroll-img2', {
  visibility: 'visible'
})


  .to('.sc-intro2 .headline2', {
  scale: 1.3
})
  .set('.sc-intro2 .headline2', {
  visibility: 'hidden'
})
  .set('.sc-intro2 .headline3', {
  visibility: 'visible'
})

  .set('.sticky-trigger .scroll-img2', {
  visibility: 'hidden'
})
  .set('.sticky-trigger .scroll-img3', {
  visibility: 'visible'
})


  .to('.sc-intro2 .headline3', {
  scale: 1.3
})
  .to('.sticky-trigger .scroll-img3', {
  scale: 0
})
순차대로 일어나야하는 이벤트이므로 gsap.timeline을 사용하였다.
trigger할 부분은 position:sticky 되어있는 .sticky-trigger(길게 스크롤되어야 하므로 height 300vw) 는 에 걸어주고 2,3번째 이미지와 텍스트는 숨겨둔다.
시작지점은 콘텐츠의 20% 지점 뷰포트의 100% 지점이다.
종료지점은 콘텐츠의 100% 지점 뷰포트의 100% 지점이다.
첫번째 텍스트의 scale 1.3으로 커지게 하고,
그에 이어서 다 커진 텍스트는 숨겨진 뒤, 숨겨준 두번째 텍스트를 보이게 한다.
그와 동시에 두번째 이미지가 보이고 세번째도 위와 동일하게 한 다음
마지막스크롤이 끝날때 마지막 이미지인 3번째 이미지의 scale을 0으로 해준다.
스크롤 시 고정된 content 위로 올라오는 contents
const slidePin = gsap.timeline({
  scrollTrigger: {
    trigger: '.sc-slide',
    start: '0% -100%',
    end: '100% 100%',
    scrub: 1
  },
})

slidePin
  .addLabel('a')
  .to('.sc-slide .slide-01 img', {
  scale: 1.3
}, 'a')
  .to('.sc-slide .slide-02', {
  top: '7vw'
}, 'a')

  .addLabel('b')
  .to('.sc-slide .slide-02 img', {
  scale: 1.3
}, 'b')
  .to('.sc-slide .slide-03', {
  top: '15vw'
}, 'b')

  .addLabel('c')
  .to('.sc-slide .slide-03 img', {
  scale: 1.3
}, 'c')
  .to('.sc-slide .slide-04', {
  top: '22.8vw'
}, 'c')

  .to('.sc-slide .slide-04 img', {
  scale: 1.3
})
이 효과도 순차적으로 일어나야 하므로 gsap.timeline을 사용하였다.
시작지점 콘텐츠의 0%, 뷰포트의 -100%인 이유는 이미 이전 콘텐츠가 보여지고 있어야 하므로 -100%이여야 한다.
순차적으로 일어나면서 같이 일어나야 하는것들은 .addlabel로 묶어주었다.
scale이 기존보다 커지면서, 올라와서 고정되는 위치의 top값을 적어주었다.
스크롤 시 글자 가로로 나타나기

gsap.set('.sc-awards .em-list .em-box',{
  opacity:0,
  xPercent:10
})

gsap.to('.sc-awards .em-list .em-box', {
  scrollTrigger: {
    trigger: '.sc-awards .em-list',
    start: '0% 100%',
    end: '100% +=700px',
    scrub: 0
  },
  opacity:1,
  xPercent:0,
  stagger:0.2
})
문자들을 .set으로 opaticy와 xPercent를 설정해준다.(각각 0, 10)
이후 문자들을 감싼 .em-list에 trigger를 해준 뒤
opacity:1, xPercent:0을 해준다. stagger는 각 요소 시작 시간사이에 0.1초가 있게 하는 것이다.
스크롤 시 글자 세로로 슬라이드
gsap.to('.sc-awards .scroll-area .scroll-box .absolute-wrap',{
  scrollTrigger:{
    trigger:'.sc-awards .scroll-area',
    start:"0% 50%",
    end:"100% 50%",
    scrub:0,
  },
  top:'100%',
  yPercent:-100,
  ease:'none'
})

$('.sc-awards .scroll-wrap .scroll-list').each(function (idx,ele){

  fontClass = ['a1', 'a2', 'a3']
  fontText = ['key','special','crush']
  fontText2 = ['skils','expertise','things']

  ScrollTrigger.create({
    trigger: ele,
    start: '0% 50%',
    end: '100% 50%',
    scrub: 0,
    onEnter:function(){
      $('.sc-awards .absolute-wrap p').text(fontText[idx]).removeClass('a1 a2 a3').addClass(fontClass[idx]);
      $('.sc-awards .absolute-wrap.text2 p').text(fontText2[idx])
    },
    onEnterBack:function(){
      $('.sc-awards .absolute-wrap p').text(fontText[idx]).removeClass('a1 a2 a3').addClass(fontClass[idx]);
      $('.sc-awards .absolute-wrap.text2 p').text(fontText2[idx]);
    },
  })
})
제일 부모를 trigger한다. 스크롤되며 같이 내려갈 문자는 yPercent:-100해준다.
ease를 none 해주어 부드러운 효과를 제거해준다.
각각의 문자들이 담겨있는 리스트의 부모인 .scroll-list를 each문으로 돌린다.
각각 스크롤 시 변경될 text를 array에 담는다.
trigger는 각각의 element이다.
시작 지점은 콘텐츠의 0%, 뷰포트의 50% 종료 지점은 콘텐츠의 100%, 뷰포트의 50%이다.
이벤트 발생 위치에 도달했을 때 텍스트를 array에 들어 있는 text 대로 트리거 된다! fontClass는 font-family에 대한 부분이다.
toggleAction 구성
onEnter : 이벤트 발생 위치에 도달
onLeave : 이벤트 발생 위치를 떠남
onEnterBack: 스크롤을 다시 올려 이벤트 발생 위치에 도달
onLeaveBack: 스크롤을 다시 올려 이벤트 발생 위치를 떠남
스크롤 시 이미지 나타나기
gsap.set('.sc-awards .awards-item',{
  scale:0
})

$('.sc-awards .awards-item').each(function(idx,ele){
  const playMotion2 = gsap.timeline({
    scrollTrigger: {
      trigger: ele,
      start: '0% 100%',
      end: '100% 100%',
      scrub: 1,
    },
  })
  playMotion2
    .to(ele, {
    scale: 1,
  })
})
기존 이미지들은 scale:0으로 안보이게 한다.
각각의 element에 대해 each문을 돌린다.
trigger는 element에 걸어준 다음 scale을 1로 키운다.
스크롤 시 텍스트 및 이미지 나타나기

const letTxt = new SplitType('.sc-contact .title-wrap h3', {type:'words, chars'})
// 글자 쪼개기

gsap.set(letTxt.chars,{
  opacity:0,
  xPercent:100
})
//쪼갠 글자들 오른쪽으로 보내버리고 투명도 0

$('.sc-contact .title-wrap h3').each(function(idx,ele){
  gsap.to($(this).find('.char'),{
    scrollTrigger: {
      trigger: '.sc-contact .title-wrap',
      start: '20% 50%',
      end: '100% 100%',
      scrub:1,
    },
    opacity:1,
    xPercent:0,
    stagger:0.01
  })
})
//쪼갠 글자들을 감싼 부모에게 trigger걸어주고 투명도 1, x축 위치 원상복귀, stagger 주기


gsap.set('.sc-contact .title-wrap .img-box img',{
  scale:0,
})
//스크롤 트리거 할 이미지 scale 0으로 줄여놓기

gsap.to('.sc-contact .title-wrap .img-box img',{
  scrollTrigger: {
    trigger: '.sc-contact',
    start: '0% 60%',
    end: '100% 100%',
    scrub:0,
  },
  scale:1,
})
//scale로 키워주기 -> 이미지가 가운데서부터 커진다면 transform-origin으로 조절해줄 수 있다!
3. 반응형 gsap
내가 원하는 브라우저 크기에서만 스크립트가 실행되기 원한다면 아래와 같이 작성해줄 수 있다.
  ScrollTrigger.matchMedia({
    "(min-width: 992px)": function() {
    	//여기에 작성
    })

    "all": function() {
  		//여기에 작성
  	})

  })