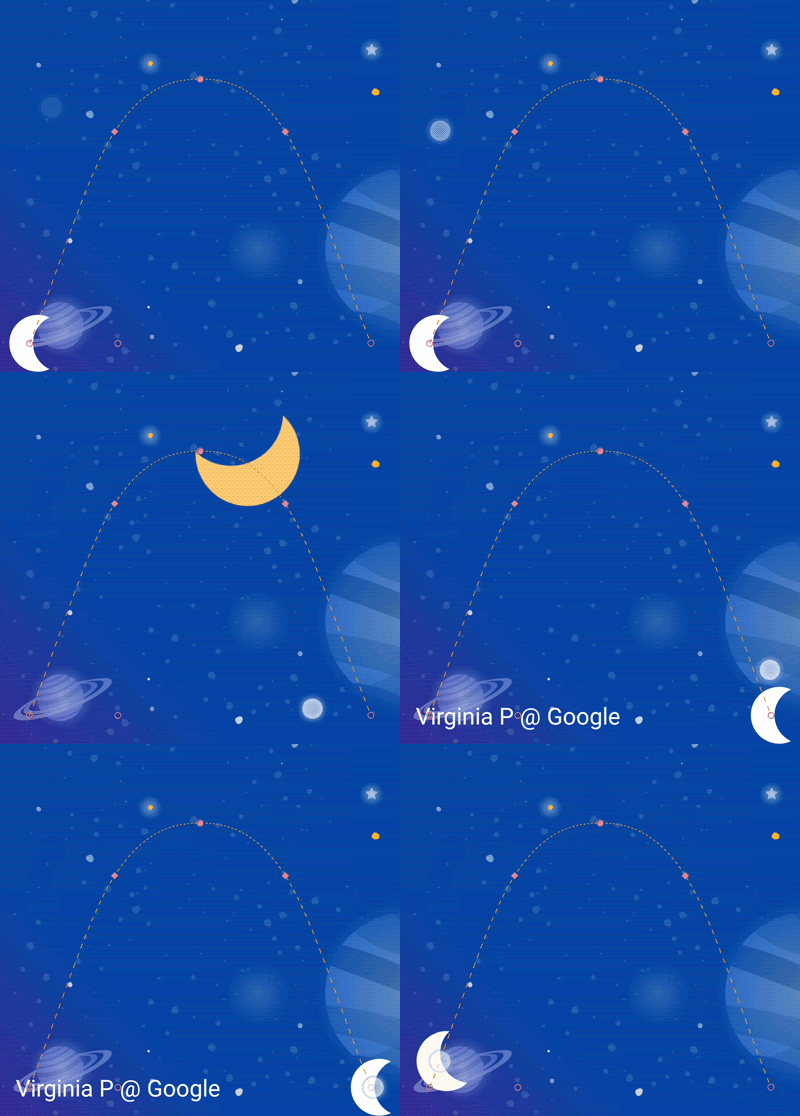
앞서 keyPositionType에서 좌표계에 대해 알아보았으니 적용해보자.
Building complex paths
framePosition별로 앞서 배운 keyPositionType을 이용해 위치를 명시한다.
그러면 달은 keyPosition에서 지정한 시간에 지정한 위치를 지나게 될 것이다.
앞서 살펴본 달 예제에서 아래 두 keyPosition을 추가한다면 curve를 좀더 둥글게 만들 수 있을 것이다.
<KeyPosition
       motion:framePosition="25"
       motion:motionTarget="@id/moon"
       motion:keyPositionType="parentRelative"
       motion:percentY="0.6" />
<KeyPosition
       motion:framePosition="75"
       motion:motionTarget="@id/moon"
       motion:keyPositionType="parentRelative"
       motion:percentY="0.6" />
Changing attributes during motion
이번에는 keyPosition이 아닌 keyAttribute로 motion 중의 속성을 바꿔보자.
keyPosition때와 같이 framePosition과 motionTarget을 잡아준다.
KeyAttribute는 View에 적용될 수 있는 attribute들을 지원한다.
아래의 attribute들을 고려해서 좀더 풍부한 애니메이션을 만들 수 있을 것이다.
visibility, alpha, elevation, rotation, scale, tranlation
examples
<KeyAttribute
    android:rotation="-360"
    android:scaleX="2.0"
    android:scaleY="2.0"
    motion:framePosition="50"
    motion:motionTarget="@id/moon" />
위 keyAttribute를 줘서 중간지점에서 360도 회전 및 4배 커지게 할 수 있다.
<KeyAttribute
    android:alpha="0.0"
    motion:framePosition="85"
    motion:motionTarget="@id/credits" />
위 keyAttrivute를 줘서 원래 0 ~ 100으로 가며 서서히 보이던 credit을 85부터 서서히 보이게 만들 수 있다.
Chaning custom attributes
KeyAttribute에는 앞서 설명한 attribute 말고도 다른 attribute를 적용할 수 있다.
예를 들면 backgroundColor도 적용할 수 있다.
내부적으로 reflection을 이용해 적당한 setter를 찾아 적용하는 방식이다.
우선 CustomAttribute안에서 사용할 attributeName을 정한다.
예를 들면 setColorFilter()라는 setter를 쓰려고 했으면 colorFilter로 lowerCamelCase로 표현한다.
그리고 customXXXValue에 type에 맞는 값을 넣어주면 된다. XXX에는 다음과 같은 type이 쓰일 수 있다.
Color, Integer, Float, String, Dimension, Boolean
Apply colorFilter
<KeyAttribute
    motion:framePosition="0"
    motion:motionTarget="@id/moon">
    <CustomAttribute
        motion:attributeName="colorFilter"
        motion:customColorValue="#FFFFFF" />
</KeyAttribute>
<KeyAttribute
    motion:framePosition="50"
    motion:motionTarget="@id/moon">
    <CustomAttribute
        motion:attributeName="colorFilter"
        motion:customColorValue="#FFB612" />
</KeyAttribute>
<KeyAttribute
    motion:framePosition="100"
    motion:motionTarget="@id/moon">
    <CustomAttribute
        motion:attributeName="colorFilter"
        motion:customColorValue="#FFFFFF" />
</KeyAttribute>
위 코드에서는 colorFilter를 사용해서 start(0)와 end(100)에 #FFFFFF흰색을, 50일 때 #FFB612노란색을 적용했다.
Drag events and complex paths
onSwipe를 써서 drag event를 처리하는 방법을 아래 예제를 통해 익혀보자.

기본적으로 drag event를 생각했다면 다음과 같이 onSwipe를 Transition 아래에 추가한다.
<OnSwipe motion:touchAnchorId="@id/moon" />하지만 이대로는 달을 오른쪽 끝까지 쉽게 drag할 수 없을 것이다.
링크를 떠올려보면 touchAnchorSide나 dragDirection을 사용해야할 것 같다.
하지만 이 경우 touchAnchorSide는 달이 회전하기때문에 쉽게 원하는 모양이 나오지 않을 것이다.
대신 dragDirection을 dragRight으로 지정하면 오른쪽으로 잘 이동할 것이다.
만약 path가 너무 복잡하면 간단한 path를 따르는 invisible한 뷰를 도입할 수 있다.(?)
touchAnchorSide는 진행방향과 일관되는 방향(또는 반대방향)으로 정한다. (?)
(여기서는 left / right다. top / bottom은 올라갔다 내려오므로 일관되지 않음)
<OnSwipe
    motion:dragDirection="dragRight"
    motion:touchAnchorId="@id/moon"
    motion:touchAnchorSide="right" />
Running motion with code
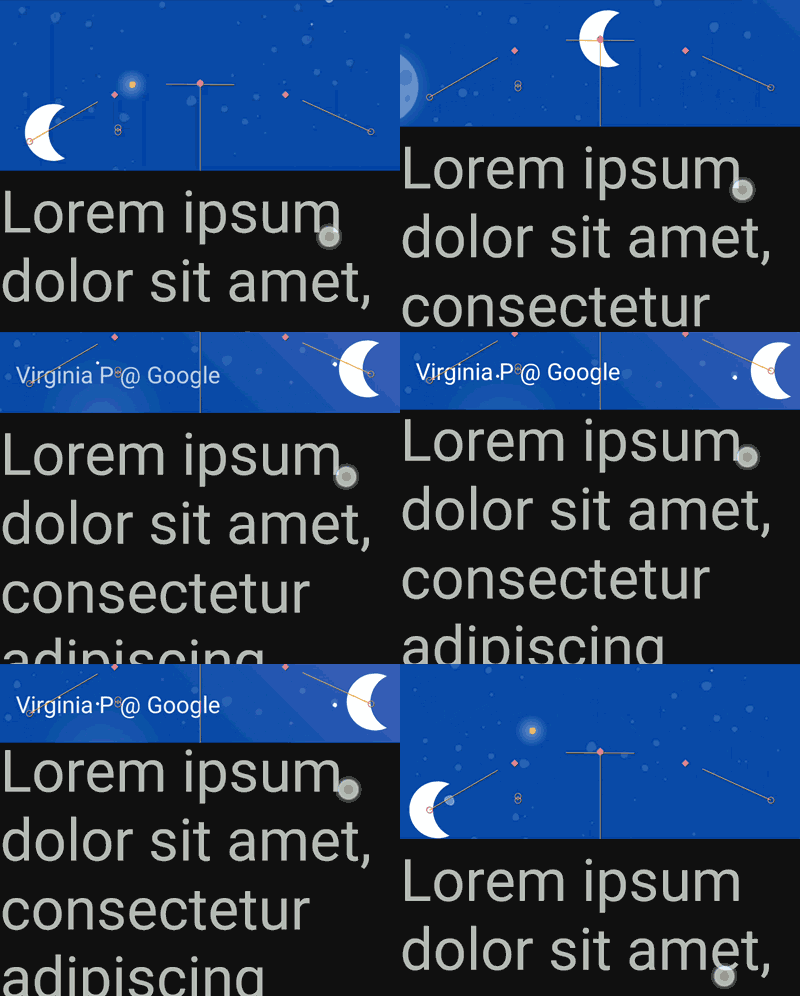
CoordinatorLayout과 같이 사용해서 collapsible header를 만들어보자.

레이아웃 구조는 아래와 같이 해서 AppBarLayout과 NestedScrollView가 스크롤 정보를 공유하게 한다.
<CoordinatorLayout>
  <AppBarLayout>
    <MotionLayout>
    </MotionLayout>
  </AppBarLayout>
  <NestedScrollView>
  </NestedScrollView>
</CoordinatorLayout>
우선 MotionLayout에 scroll을 넣고, 최소한의 높이를 보장하기 위해 아래를 추가한다.
<androidx.constraintlayout.motion.widget.MotionLayout
...
android:minHeight="88dp"
app:layout_scrollFlags="scroll|enterAlways|snap|exitUntilCollapsed">
그다음 AppBarLayout에 걸리는 스크롤 효과를 MotionLayout에서의 progress로 적용하기 위해 listener를 등록한다.
즉 코드에서 직접 MotionLayout의 progress를 지정해준다.
private fun coordinateMotion() {
    val appBarLayout: AppBarLayout = findViewById(R.id.appbar_layout)
    val motionLayout: MotionLayout = findViewById(R.id.motion_layout)
    val listener = AppBarLayout.OnOffsetChangedListener { _, verticalOffset ->
        val seekPosition = -verticalOffset / appBarLayout.totalScrollRange.toFloat()
        motionLayout.progress = seekPosition
    }
    appBarLayout.addOnOffsetChangedListener(listener)
}
+ AppBarLayout이 안에 있는 MotionLayout을 resize 시켜주는게 아니므로, constraintTop이라도 있으면 화면을 심하게 벗어나는 등 이상하게 보여질 것이다.
