👉🏻 vanilla javascript에서 REACT로 👈🏻
진행기간
08.30 - 09.08
Used skills
- REACT with JSX
- ROUTER
- SASS
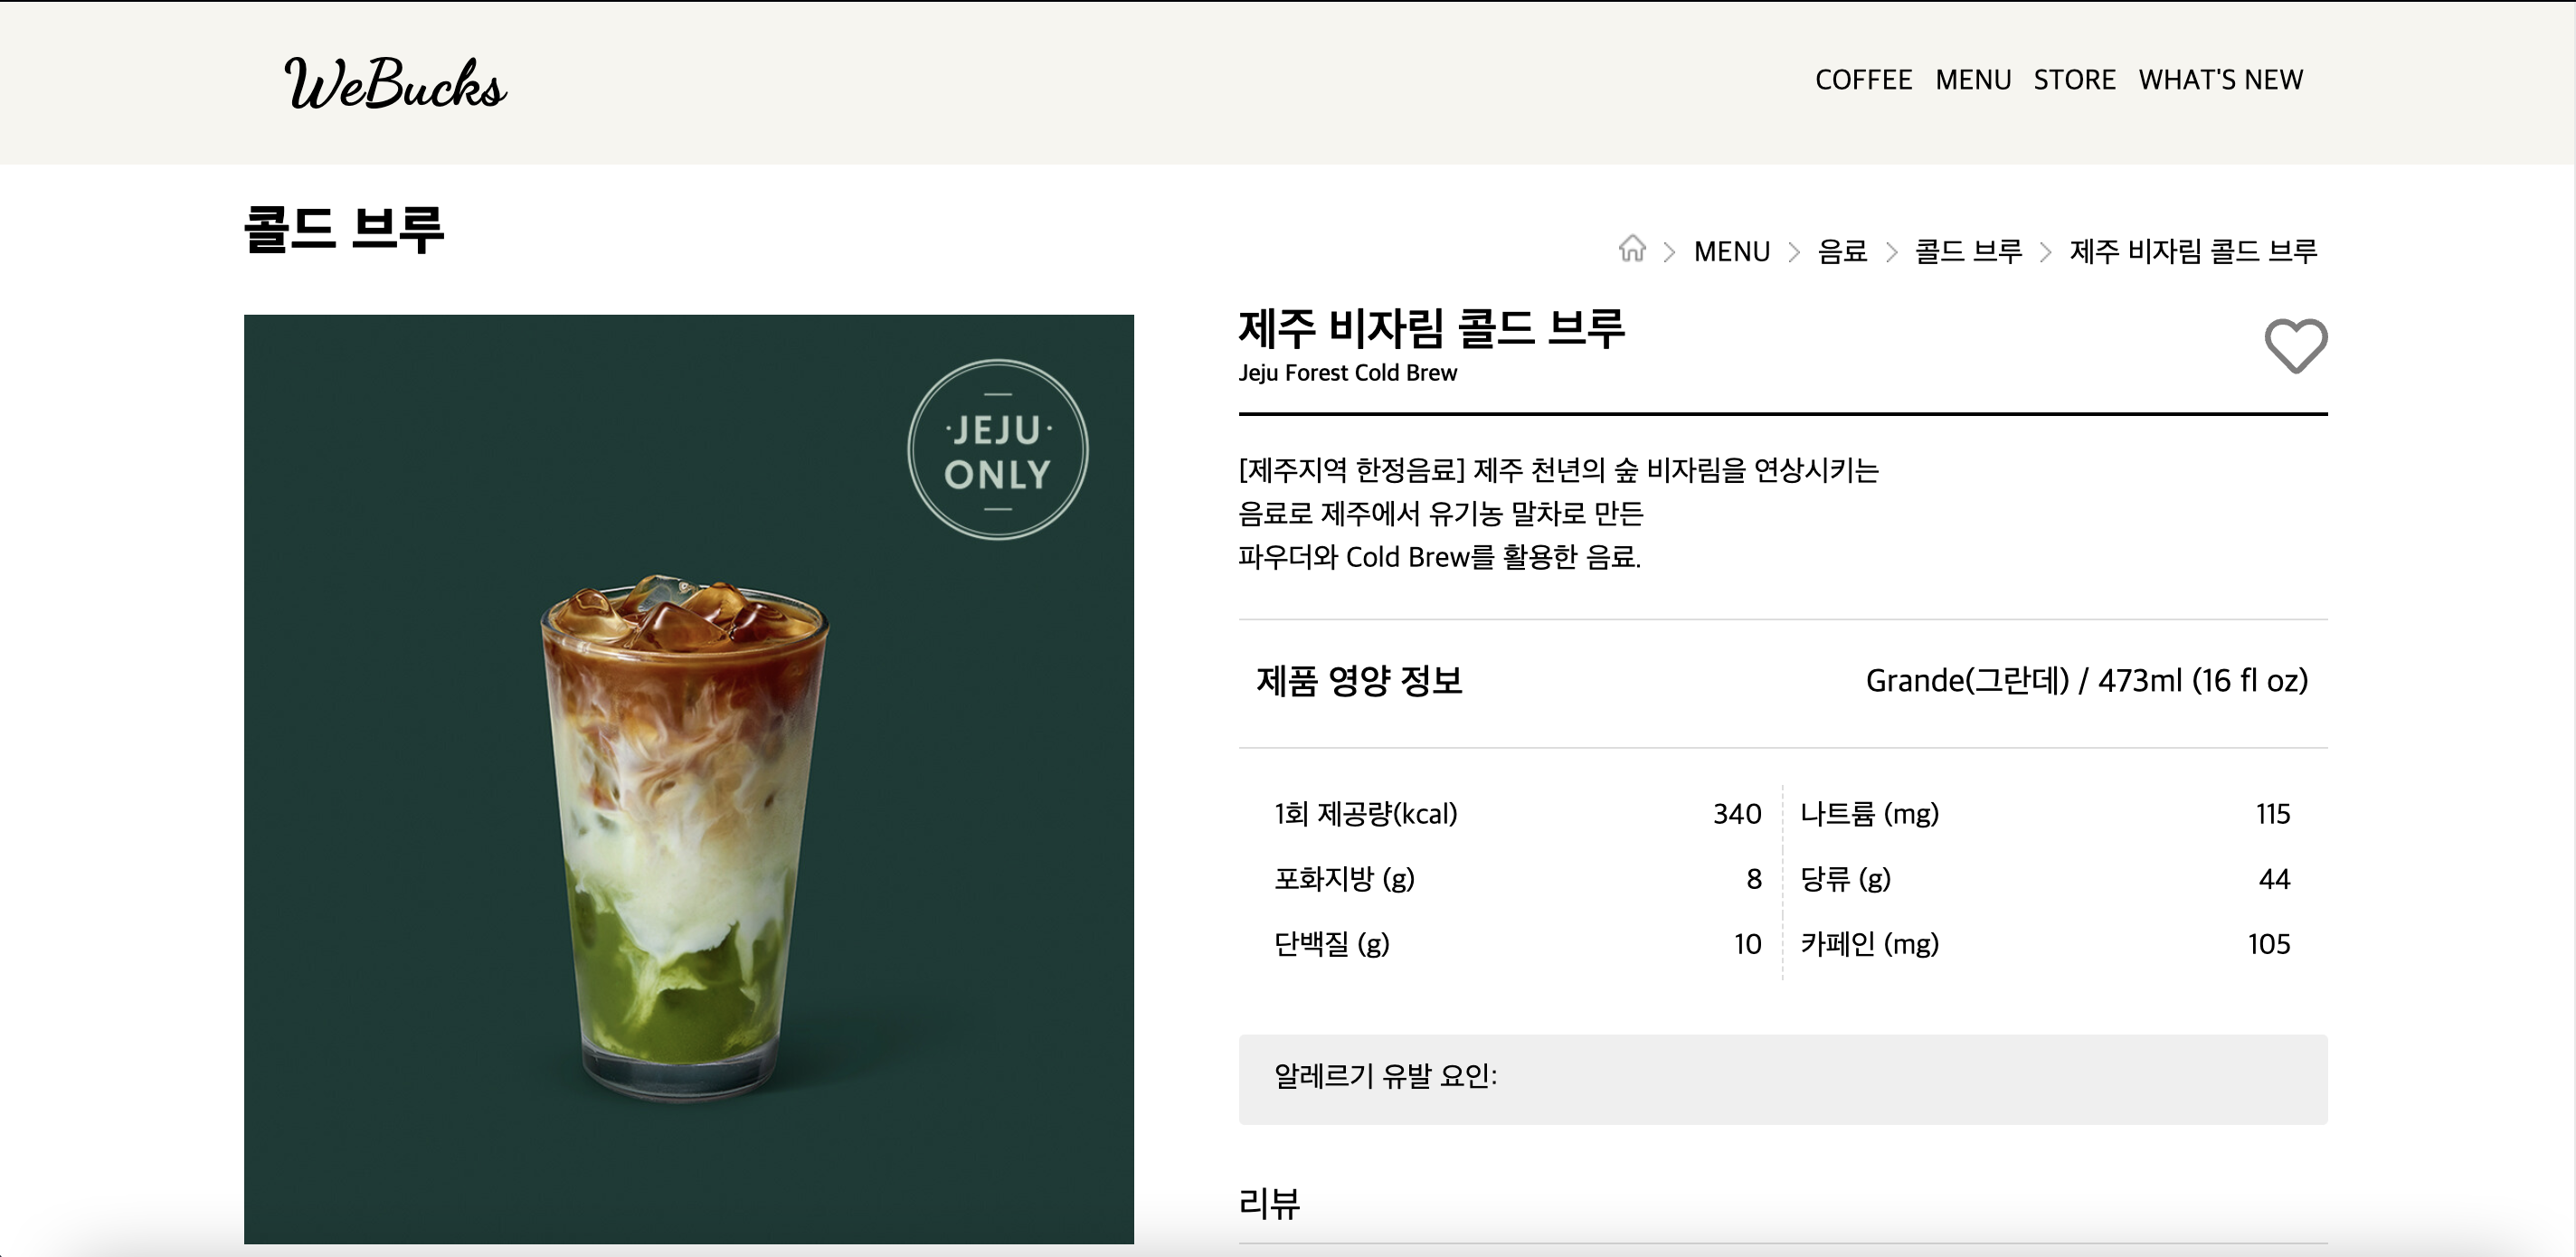
html, css, vanila javascript로 구현한 webucks 홈페이지와 동일하며, 리액트 라우팅을 사용해 리스트 페이지에서 각각의 정보를 담은 디테일 페이지로 넘어가는 기능을 추가했다.
login page
로그인 성공시 리스트 페이지로 연결
list page
라우팅 사용
반응형

detail page
댓글 삭제 기능
댓글 추가 기능
REACT JS
ROUTER
라우팅 사용 방법 https://velog.io/@dabin0219/TIL-29-React-Router
동적 라우팅(Dynamic Routing)으로 각각의 커피에 대한 상세페이지를 구현할 수 있었다. 동적 라우팅을 위해서는 path parameter과 query string을 사용할 수 있다. 이번에는 path parameter을 통해 구현했다.
//Routes.js

//id값에 따라 달라지는 path parameter
//query string은 ?id 등으로 형태가 다르다.
<Route exact path="/list-dabin/detail-dabin/:id" component={detailDabin} />


//CoffeeCard.js(list페이지의 커피이미지와 커피이름을 묶은 자식 컴포넌트)

//withRouterHOC(higher order component) 사용
//커피 이미지를 누르면 props로 전달 받은 id값을 가진 path로 이동한다.
<img
  className="coffeeImg"
  alt={this.props.title}
  src={this.props.img}
  onClick={() =>
    this.props.history.push(
      `/list-dabin/detail-dabin/${this.props.id}`
    )
  }
/>
//List.js
{COFFEE_LIST[0].coldbrew.map(data => {
  return (
    <CoffeeCard
      key={data.id}
      id={data.id}
      title={data.title}
      img={data.img}
    />
  );
})}


//Detail.js

//라우팅한 컴포넌트는 history, location, match props를 추가로 전달받는다.
componentDidMount() {
  //어떤 Route가 match 되었는지 알려주는 match props에서 :id값을 가져온다.
  const id = this.props.match.params.id * 1;
  fetch('http://localhost:3000/data/detailMockData.json', {
    method: 'GET',
  })
    .then(res => res.json())
    .then(data => {
      this.setState({
        //path의 id와 일치하는 데이터만 가져와 보여준다.
        details: data.data.filter(detail => detail.id === id)[0],
      });
    });
}
라우트로 인해 추가로 전달받은 props는 아래와 같다.
- match : url('/'), path(route 컴포넌트에 프로퍼티로 넘겨준 path 값), isExact(path로 넘겨준 url 주소와 현재 화면 주소가 일치하면 true
- history: 페이지간 이동(push, replace)

좋아요 버튼
처음에는 아래와 같이 구현했으나, 좋아요의 상태를 버튼에서 가지고 있으면 항상 좋아요가 false인 상태이기 때문에 props로 받아서 사용해야 하기 때문에 수정했다. 수정한 코드는 아래 '댓글 추가, 삭제 기능'에 첨부
import React, { Component } from 'react';

//리액트에서는 fontawesome을 라이브러리로 받아서 사용한다. *설치할 때 fortawesome이니 주의
import { FontAwesomeIcon } from '@fortawesome/react-fontawesome';
//가독성이나 구분을 위해 as로 자체적으로 사용할 name 설정
import { faHeart as heartInactive } from '@fortawesome/free-regular-svg-icons';
import { faHeart as heartActive } from '@fortawesome/free-solid-svg-icons';
import './LikeButton.scss';
class LikeButton extends Component {
constructor() {
super();
this.state = {
clicked: false,
};
}
//1. 클릭되면 this.state.clicked의 값을 변경
likeButtonClicked = () => {
this.setState({ clicked: !this.state.clicked });
};
render() {
const { clicked } = this.state;
return (
<i onClick={this.likeButtonClicked}>
<FontAwesomeIcon
//2. 그에 따라 icon의 종류와 style을 적용할 className이 변경됨
icon={clicked ? heartActive : heartInactive}
className={clicked ? 'fillHeart' : ''}
/>
</i>
);
}
}props
//Detail.js
<NutritionInfo
  kcal={details.kcal}
  fat={details.fat}
  protein={details.protein}
/>

//NutritionInfo.js(Detail.js의 하위 컴포넌트)
<table className="leftTable">
  <tbody>
    <tr>
      <td>1회 제공량(kcal)</td>
      <td>{this.props.kcal}</td>
    </tr>
    <tr>
      <td>포화지방 (g)</td>
      <td>{this.props.fat}</td>
    </tr>
    <tr>
      <td>단백질 (g)</td>
      <td>{this.props.protein}</td>
    </tr>
  </tbody>
</table>
댓글 추가, 삭제 기능
https://velog.io/@dabin0219/TIL-32-REACT-%EB%8C%93%EA%B8%80-%EC%B6%94%EA%B0%80-%EC%82%AD%EC%A0%9C-%EA%B8%B0%EB%8A%A5
데이터에 map 적용
map 적용시 key값을 설정해야하며, index값은 요소가 추가되고 삭제되며 변경될 수 있어 사용을 지양하고 각 데이터가 지닌 명확한 값을 사용해야 한다. id가 제품별로 다르기 때문에 id로 설정했다.
<div className="coffeeList">
  {COFFEE_LIST[0].coldbrew.map(data => {
    return (
      <CoffeeCard
        key={data.id}
        id={data.id}
        title={data.title}
        img={data.img}
      />
    );
  })}
</div>
로그인 기능
https://velog.io/@dabin0219/TIL-33-REACT-%EB%A1%9C%EA%B7%B8%EC%9D%B8-%EA%B8%B0%EB%8A%A5
SASS
mixin
//font.scss
@import url("https://fonts.googleapis.com/");

@mixin FontDancingScripts {
  font-family: "Dancing Script", cursive;
}

//Login.scss
@import '../../../Styles/font.scss';

.loginPageLogo {
  margin: 60px 0px 30px;
  @include FontDancingScripts;
  font-size: 60px;
}

------------------------------------------------
//Login.scss
@mixin border {
  border:2px solid #dddddd;
  border-radius: 5px;
}

.loginBox {
  width: 300px;
  height: 37px;
  margin-bottom: 15px;
  padding-left: 10px;
  color: #b7b7b7;
  background-color: #f7f7f7;
  @include border;
  outline: none;
}
nesting
리액트 사용시 className이 다른 컴포넌트와 겹치면 스타일이 깨질 수 있어 직관적으로 파악할 수 있는 고유한 className을 부여하는 것이 좋다. body main등의 태그 명으로 작성되어 있던 것을 모두 className을 부여해 nesting하였다. 이렇게 className과 nesting을 동시에 적용한다면 유지보수를 할 때 부모태그 등에 변화가 있어도 스타일이 깨지지 않고 안전하게 적용될 것 같다.
.ListPage {
  padding-top: 90px;
	.listMain {
	  width: 80vw;
	  margin: 0 auto;
	  z-index: 1;
   	  .listContainer {
	    width: 80vw;
		padding-top: 30px;
	  }
    }
}

.coffeeList {
  display: grid;
  grid-template-columns: repeat(4, 1fr);
	@media screen and (max-width:1000px) {
	  grid-template-columns: 1fr 1fr 1fr;
	}
	@media screen and (max-width:800px) {
	  grid-template-columns: 1fr 1fr;
   	  min-width: 440px;
	}
}
JSON파일 줄바꿈 적용
리액트에서는 줄바꿈이 잘 적용이 되지 않는다. 방법을 고민하던 중 팀원분께서 split을 사용한 것을 보고 fetch한 json 데이터에 시도했는데, 오류가 나서 좀 더 쉬운 방법을 찾던 중 발견했다. css의 white-space 속성을 사용하면 쉽게 줄바꿈을 할 수 있다.
//detailMockData.json
{
  "data": [{
	"id": 101,
	"summary": "콜드 브루\n*아이스크림 블렌딩 콜드 브루는 일부 쿠폰 사용이 제한됩니다",
  }]
}

//Detail.scss
.detailDescription {
  white-space: pre-wrap;
}
table 왼쪽 오른쪽 다른 스타일 적용할 때?
처음에는 필요한 td에 하나하나 className을 부여했지만, 하드코딩이라는 생각이 들어 방법을 고민해본 결과 &:nth-child를 사용하면 될 것 같다는 생각이 들었고, 생각대로 결과가 나와줬다!
td {
  padding: 10px;
  &:nth-child(odd) {
  text-align: left;
  }

  &:nth-child(even) {
    text-align: right;
  }
}
개선사항
- scss 변수, extend, modules, operators 사용하기
https://sass-lang.com/guide - scss 파일 작성시 rem, em 단위 활용해보기
peer review, code review 후 수정 사항
- fetch 함수의 default method는 GET이라 생략이 가능하다.
- 비구조화한 뒤 문자열=>숫자열
//원래 코드
componentDidMount() {
  const id = this.props.match.params.id * 1;
  fetch('http://localhost:3000/data/detailMockData.json', {
    method: 'GET',
    })
    .then(res => res.json())
    .then(data => {
      this.setState({
        details: data.data.filter(detail => detail.id === id)[0],
      });
    });

//변경한 코드
const { id } = this.props.match.params;
  fetch('http://localhost:3000/data/detailMockData.json')
    .then(res => res.json())
    .then(data => {
      this.setState({
        details: data.data.filter(detail => detail.id === +id)[0],
      });
});- 이름 그대로 넘길 때 줄일 수 있는 방법은?
https://developer.mozilla.org/ko/docs/Web/JavaScript/Reference/Operators/Spread_syntax
//원래 코드
<NutritionInfo
  servingSize={details.servingSize}
  kcal={details.kcal}
  fat={details.fat}
  protein={details.protein}
  natrium={details.natrium}
  sugars={details.sugars}
  caffeine={details.caffeine}
  allergen={details.allergen}
/>

//변경된 코드
<NutritionInfo
  {...details}
/>- mixin 파일 따로 분리
- concat 사용시 객체는 배열로 감싸기
배열과 배열을 합쳐 새로운 배열을 만들기 때문에 객체를 배열로 감싸는게 정확하다.
//원래 코드
if(userValue !== '' && textValue !== '') {
  newComments = newComments.concat({
    id: this.maxId,
    userName: this.state.userValue,
    comment: this.state.textValue,
  });
}

 //변경된 코드
if(userValue !== '' && textValue !== '') {
  newComments = newComments.concat([{
    id: this.maxId,
    userName: this.state.userValue,
    comment: this.state.textValue,
  }]);
}
리액트를 다루며 느낀 리액트의 장점은?
컴포넌트로 재사용을 해 효율을 높이고, props와 state를 통해 바닐라 자바스크립트로는 어려웠던 기능을 손쉽게 구현할 수 있는 것은 정말이지 사랑일 수 밖에 없다. JSX 문법으로 눈을 html css js까지 이리저리 굴리며 코딩하던 저번 달과 비교하면 한 눈에 UI 구조와 이벤트에 따른 함수까지 확인할 수 있었고, 신기하게도 하드코딩에 안구건조증을 앓던 눈이 정말 하나도 아프지 않았다. 줄바꿈이 되지 않아서 잠시 리액트에 실망할 뻔 했으나 css로 간단히 해결하고 나서는 역시 리액트는 사랑이라는 생각이 떠나질 않았다. 특히, 몇 줄의 코딩으로 동적 라우팅까지 뚝딱 해결할 수 있었는데, 라우팅과 함께할 때 리액트는 빛이 났다. 코린이의 빛 리액트,, 앞으로도 꾸준히!