1. 프로젝트 만들기
yarn create react-app fan2. 폴더 만들기
- fan\src\ 폴더 내부에 components, pages, redux, shared 폴더 생성
- fan\src\redux 폴더 내부에 config와 modules 폴더 생성
3. 각각 파일 생성하기
- fan\src\pages 폴더 내부에 Home.jsx와 Detail.jsx 생성
- fan\src\shared 폴더 내부에 Router.js 생성
- fan\src\redux\config 폴더 내부에 configStore.js 생성
4. styled-components, react-router-dom 설치하기
yarn add styled-components
yarn add react-router-dom
5. title 변경
index.html 에서 title 변경하기
[이다원] 아티스트 컬렉션6. 절대 경로 설정하기
1) 최상위 폴더에 jsconfig.json 만들기
2) 파일 열어서 아래 코드 채우기
{
	"compilerOptions": {
		"baseUrl": "src"
	},
	"include": ["src"]
}
7. props-drilling 브랜치 생성
git checkout -b props-drilling8. Router 만들기
1) 아래처럼 라우터 구성하기
//Router.js
import { BrowserRouter, Route, Routes } from "react-router-dom";
import Home from "pages/Home";
import Detail from "pages/Detail";
const Router = () => {
  return (
    <BrowserRouter>
      <Routes>
        <Route path="/" element={<Home />} />
        <Route path="Detail" element={<Detail />} />
      </Routes>
    </BrowserRouter>
  );
};

export default Router;
2) App.jsx에 Router 컴포넌트 넣기
import Router from "shared/Router";

function App() {
  return (
    <>
      <Router />
    </>
  );
}

export default App;
9. 전역 스타일링하기
1) GlobalStyle.jsx를 만들어서 아래 코드(Reset.css) 넣기
import { createGlobalStyle } from "styled-components";

const GlobalStyle = createGlobalStyle`
/* http://meyerweb.com/eric/tools/css/reset/
   v2.0 | 20110126
   License: none (public domain)
*/

html, body, div, span, applet, object, iframe,
h1, h2, h3, h4, h5, h6, p, blockquote, pre,
a, abbr, acronym, address, big, cite, code,
del, dfn, em, img, ins, kbd, q, s, samp,
small, strike, strong, sub, sup, tt, var,
b, u, i, center,
dl, dt, dd, ol, ul, li,
fieldset, form, label, legend,
table, caption, tbody, tfoot, thead, tr, th, td,
article, aside, canvas, details, embed,
figure, figcaption, footer, header, hgroup,
menu, nav, output, ruby, section, summary,
time, mark, audio, video {
	margin: 0;
	padding: 0;
	border: 0;
	font-size: 100%;
	font: inherit;
	vertical-align: baseline;
}

  * {
        box-sizing: border-box;
    }

/* HTML5 display-role reset for older browsers */
article, aside, details, figcaption, figure,
footer, header, hgroup, menu, nav, section {
	display: block;
}

body {
	line-height: 1;
}
ol, ul, li {
	list-style: none;
}
blockquote, q {
	quotes: none;
}
blockquote:before, blockquote:after,
q:before, q:after {
	content: '';
	content: none;
}
table {
	border-collapse: collapse;
	border-spacing: 0;
}
`;

export default GlobalStyle;
2) App.jsx에 import하기
import Router from "shared/Router";
import GlobalStyle from "GlobalStyle";

function App() {
  return (
    <>
      <GlobalStyle />
      <Router />
    </>
  );
}

export default App;
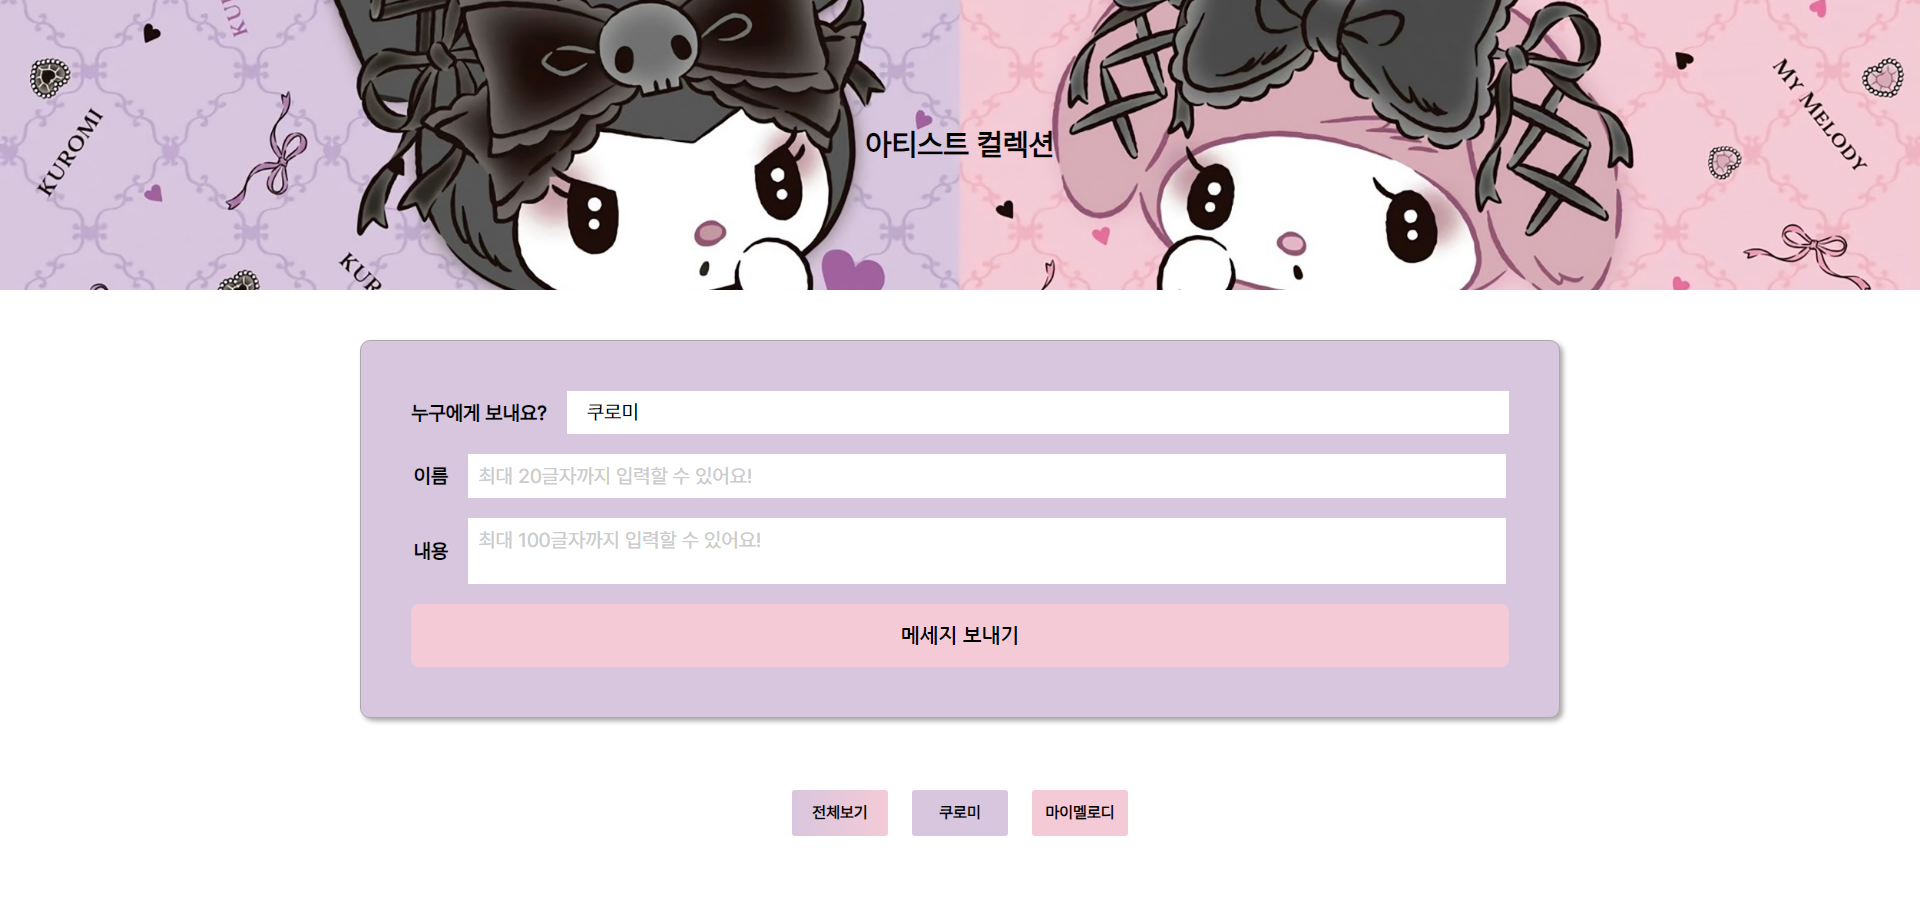
10. 화면 구성하기 (상단)
return에 들어갈 jsx 넣어주고 스타일링하기
import styled from "styled-components";

function Home() {
  const Header = styled.header`
    background-color: #ffc8dd;
    padding: 100px;
  `;

  const Title = styled.h2`
    font-size: 30px;
    text-align: center;
    margin: 30px 0;
    font-weight: bold;
  `;

  const MemberBox = styled.ul`
    display: flex;
    justify-content: center;
  `;
  const Member = styled.li`
    background-color: #cdb4db;
    padding: 10px 5px;
    margin: 0 10px;
    cursor: pointer;
  `;
  return (
    <div>
      <Header>
        <Title>아티스트 컬렉션</Title>
        <MemberBox>
          <Member>철수</Member>
          <Member>영희</Member>
          <Member>길고양이</Member>
        </MemberBox>
      </Header>
    </div>
  );
}

export default Home;
☞ 처음엔 사실 조금 헤맸으나 이제 익숙해졌다.
11. 인풋박스 만들기
  const FormBox = styled.form`
    max-width: 1200px;
    min-width: 800px;
    margin: 100px auto;
    background-color: lemonchiffon;
    font-size: 16px;
    padding: 50px;
    display: flex;
    gap: 20px;
    flex-direction: column;
    border-radius: 10px;
  `;

  const FormGroup = styled.div`
    display: flex;
    align-items: center;
    justify-content: center;
  `;

  const FormLabel = styled.label`
    padding-right: 20px;
    font-size: 20px;
  `;

  const FormInput = styled.input`
    padding: 10px;
    width: calc(100% - 60px);
    border: none;
    &::placeholder {
      color: #ccc;
    }
  `;

  const FormTextarea = styled.textarea`
    padding: 10px;
    width: calc(100% - 60px);
    height: 100px;
    border: none;
    &::placeholder {
      color: #ccc;
    }
  `;

  const Select = styled.select`
    padding: 10px 20px;
    width: calc(100% - 168px);
    border: none;

    outline: none;
    -webkit-appearance: none; /* 화살표 없애기 for chrome*/
    -moz-appearance: none; /* 화살표 없애기 for firefox*/
    appearance: none; /* 화살표 없애기 공통*/
    &::-ms-expand {
      display: none; /*for IE10,11*/
    }
  `;

<FormBox>
        <FormGroup>
          <FormLabel htmlFor="input-name">누구에게 보내요?</FormLabel>
          <Select>
            <option>철수</option>
            <option>영희</option>
            <option>길고양이</option>
          </Select>
        </FormGroup>

        <FormGroup>
          <FormLabel htmlFor="input-name">이름</FormLabel>
          <FormInput
            type="text"
            id="input-name"
            maxLength={20}
            placeholder="최대 20글자까지 입력할 수 있어요!"
          />
        </FormGroup>
        <FormGroup>
          <FormLabel htmlFor="input-text">내용</FormLabel>
          <FormTextarea
            id="input-text"
            maxLength={100}
            placeholder="최대 100글자까지 입력할 수 있어요!"
          />
        </FormGroup>
      </FormBox>
☞ 구성하고 스타일링 해줬다. 글자제한도 해주고, 이것저것 css 꾸며봤다.
일단 오늘은 여기까지! 재충전해서 또 달려야겠다!
오늘의 한줄평 : 와...

귀여운 걸 좋아하고 흥미가 있으면 불타오릅니다💙 최근엔 코딩이 흥미가 많아요🥰