제목만 봤을때는 대체 뭘 개발했다는거지? 싶겠지만
위 링크의 동영상에서 보이는 원숭이, 코뿔소같은
플레이어에게 물리적인 힘을 주어서 강제이동 시키는 오브젝트가 필요하여서 개발하였다.
우리 게임에서의 이 오브젝트는 식충식물이 플레이어를 잠깐 물었다가 뱉는 컨셉이다.
오브젝트 스프라이트가 아직 나오지 않아서 일단 만들어놓고 다음 포스트에서 애니메이션 처리를 해줄 예정이다.
오브젝트 생성/설정
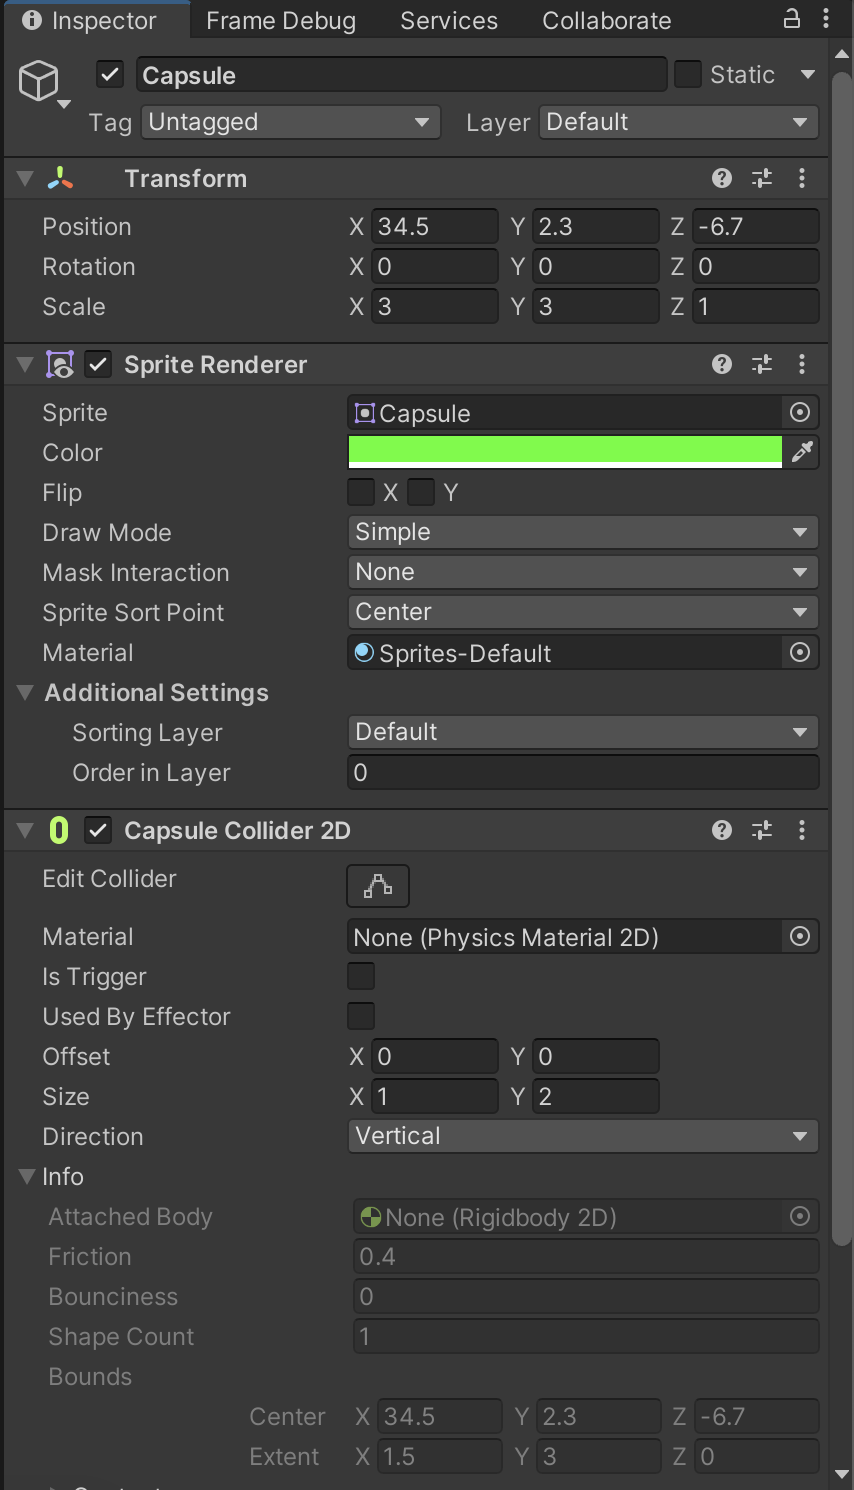
일단 Capsule 2D Object를 생성해주었다.
사이즈가 조금 커야하므로 Scale 값에 (3,3,1)을 넣어주었다.
식물느낌을 대충 주기 위해서 녹색 컬러를 주었다.

플레이어와의 콜리전 처리를 위해 Capsule Collider 2D를 추가해 주었다.
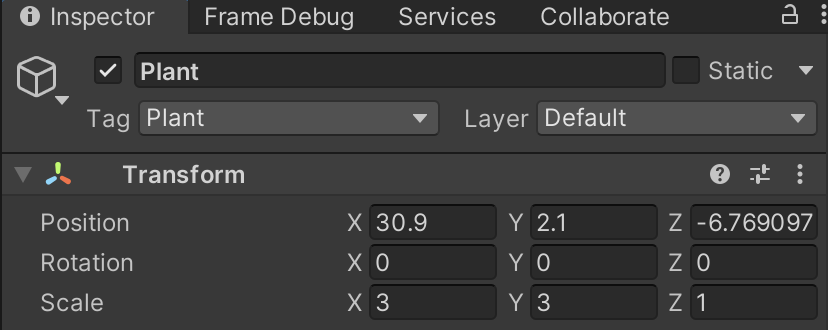
이름을 Plant로 바꿔주고 태그또한 Plant를 생성하여 넣어주었다.
스크립트 처리
일단 Plant 오브젝트에 tpPlant.cs를 생성하여 넣어준다.
tpPlant.cs
using System.Collections;
using System.Collections.Generic;
using UnityEngine;

public class tpPlant : MonoBehaviour
{
    public GameObject player;
    public static tpPlant instance;
    public Rigidbody2D rb;

    public float xVec;
    public float yVec;

    private void Awake()
    {
        instance = this;
    }

    // Start is called before the first frame update
    void Start()
    {
        player = GameObject.FindGameObjectWithTag("Player");
        //플레이어 오브젝트를 가져옴.
        rb = player.GetComponent<Rigidbody2D>();
        //플레이어에게 물리력을 행사하기위해(?) 리지드바디를 가져온다.
    }

    // Update is called once per frame
    void Update()
    {

    }

    public void jumpPlayer()
    {
        PlayerMovement01.instance.MovingStop();
        //플레이어 스크립트의 MovingStop() 사용.
        Debug.Log("Jump Player to Location");
        StartCoroutine("Delay");
        //Delay 코루틴 실행
    }

    IEnumerator Delay()
    {
        Debug.Log("jumpPlayer Delay 3.0f");
        yield return new WaitForSeconds(3.0f);
        //3초 딜레이
        PlayerMovement01.instance.srActive();
        //플레이어의 스프라이트렌더러를 Active 시켜주는 스크립트
        rb.velocity = new Vector2(xVec, yVec);
        //플레이어의 리지드 바디에 xVec,yVec 만큼 물리력 행사
    }

}
PlayerMovment01.cs
public class PlayerMovement01 : MonoBehaviour
{
    public static PlayerMovement01 instance;

    private void Awake()
    {
        instance = this;
    }
    //public enum Mod { Flash,Size,Animal }; //Mod
    public enum colTag { Ground, tree, Poison, Spike, SavePoint, Stalker, Reverse, Reverse1, Key, Trigger, Portal, Plant};//Collision Tag Enum

...

    public void MovingStop()
    {
        Debug.Log("Moving Stop");
        rb.velocity = Vector2.zero;
        //플레이어 리지드바디의 모든 힘을 제거.
    }

    public void srActive()
    {
        SpriteRenderer sr = GetComponent<SpriteRenderer>();
        sr.gameObject.SetActive(true);
        //스프라이트 렌더러를 Active상태로 바꿔줌.
    }
콜리전 이벤트가 필요한 모든 오브젝트의 태그를 colTag라는 enum으로 관리해주고 있다.
새로운 태그가 생길때마다 추가해줘야 하지만 한눈에 보여서 관리가 편하다고 생각해서 사용하고있다.
플레이어에 콜리전 이벤트를 넣어주었다.
    public void OnCollisionEnter2D(Collision2D col)
    {

    ...

    else if (col.gameObject.CompareTag(colTag.Plant.ToString()))
        //오브젝트에 Plant라는 태그를 넣어주었다.
        //스크립트 최상단에 colTag 라는 enum을 선언하여 Plant를 넣어주어야 한다.
        {
            SpriteRenderer sr = this.gameObject.GetComponent<SpriteRenderer>();
            sr.gameObject.SetActive(false);
            //식물이 플레이어를 먹었다는 느낌을 주기위해 스프라이트 렌더러를 Deactive
            this.gameObject.transform.position = new Vector2(col.gameObject.transform.position.x, col.gameObject.transform.position.y + 5f);
            //플레이어를 식물의 바로 위쪽으로 이동
            Debug.Log("Plant Collide");
            tpPlant.instance.jumpPlayer();
        }

     }
이후 플레이 버튼을 눌렀을때 tpPlant.cs를 인스펙터창에서 확인하면
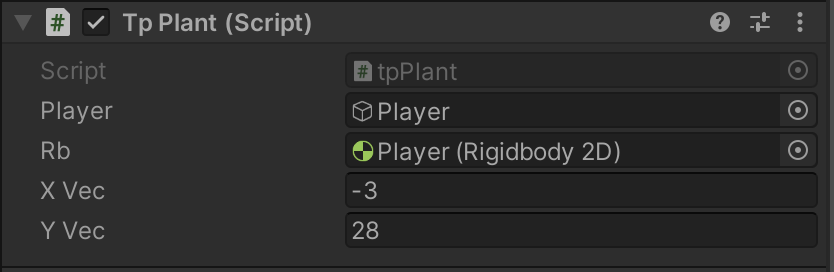
이런식으로 플레이어 오브젝트와 리지드바디가 들어가 있어야한다.
xVec값에 리지드바디에 행사할 x벡터값을 넣어주고
yVec값에는 y벡터 값을 넣어주면 된다.
결과

게임 개발하고 음악하는 사람