[React] Routing (and upload Github Pages)
Github pages이란?
npm i gh-pagesgh-pages란 github의 page domain에 자신의 프로젝트를 올릴 수 있는 기능이다. 무료로 static 웹사이트 (HTML, CSS, Javascript)를 업로드 할 수 있다.
//package.json
{
	...
	"homepage": "https://denmark-banana.github.io/moon"
}
package.json에 다음과 같이 추가한다. ("https://{userName}.github.io/{projectName}"

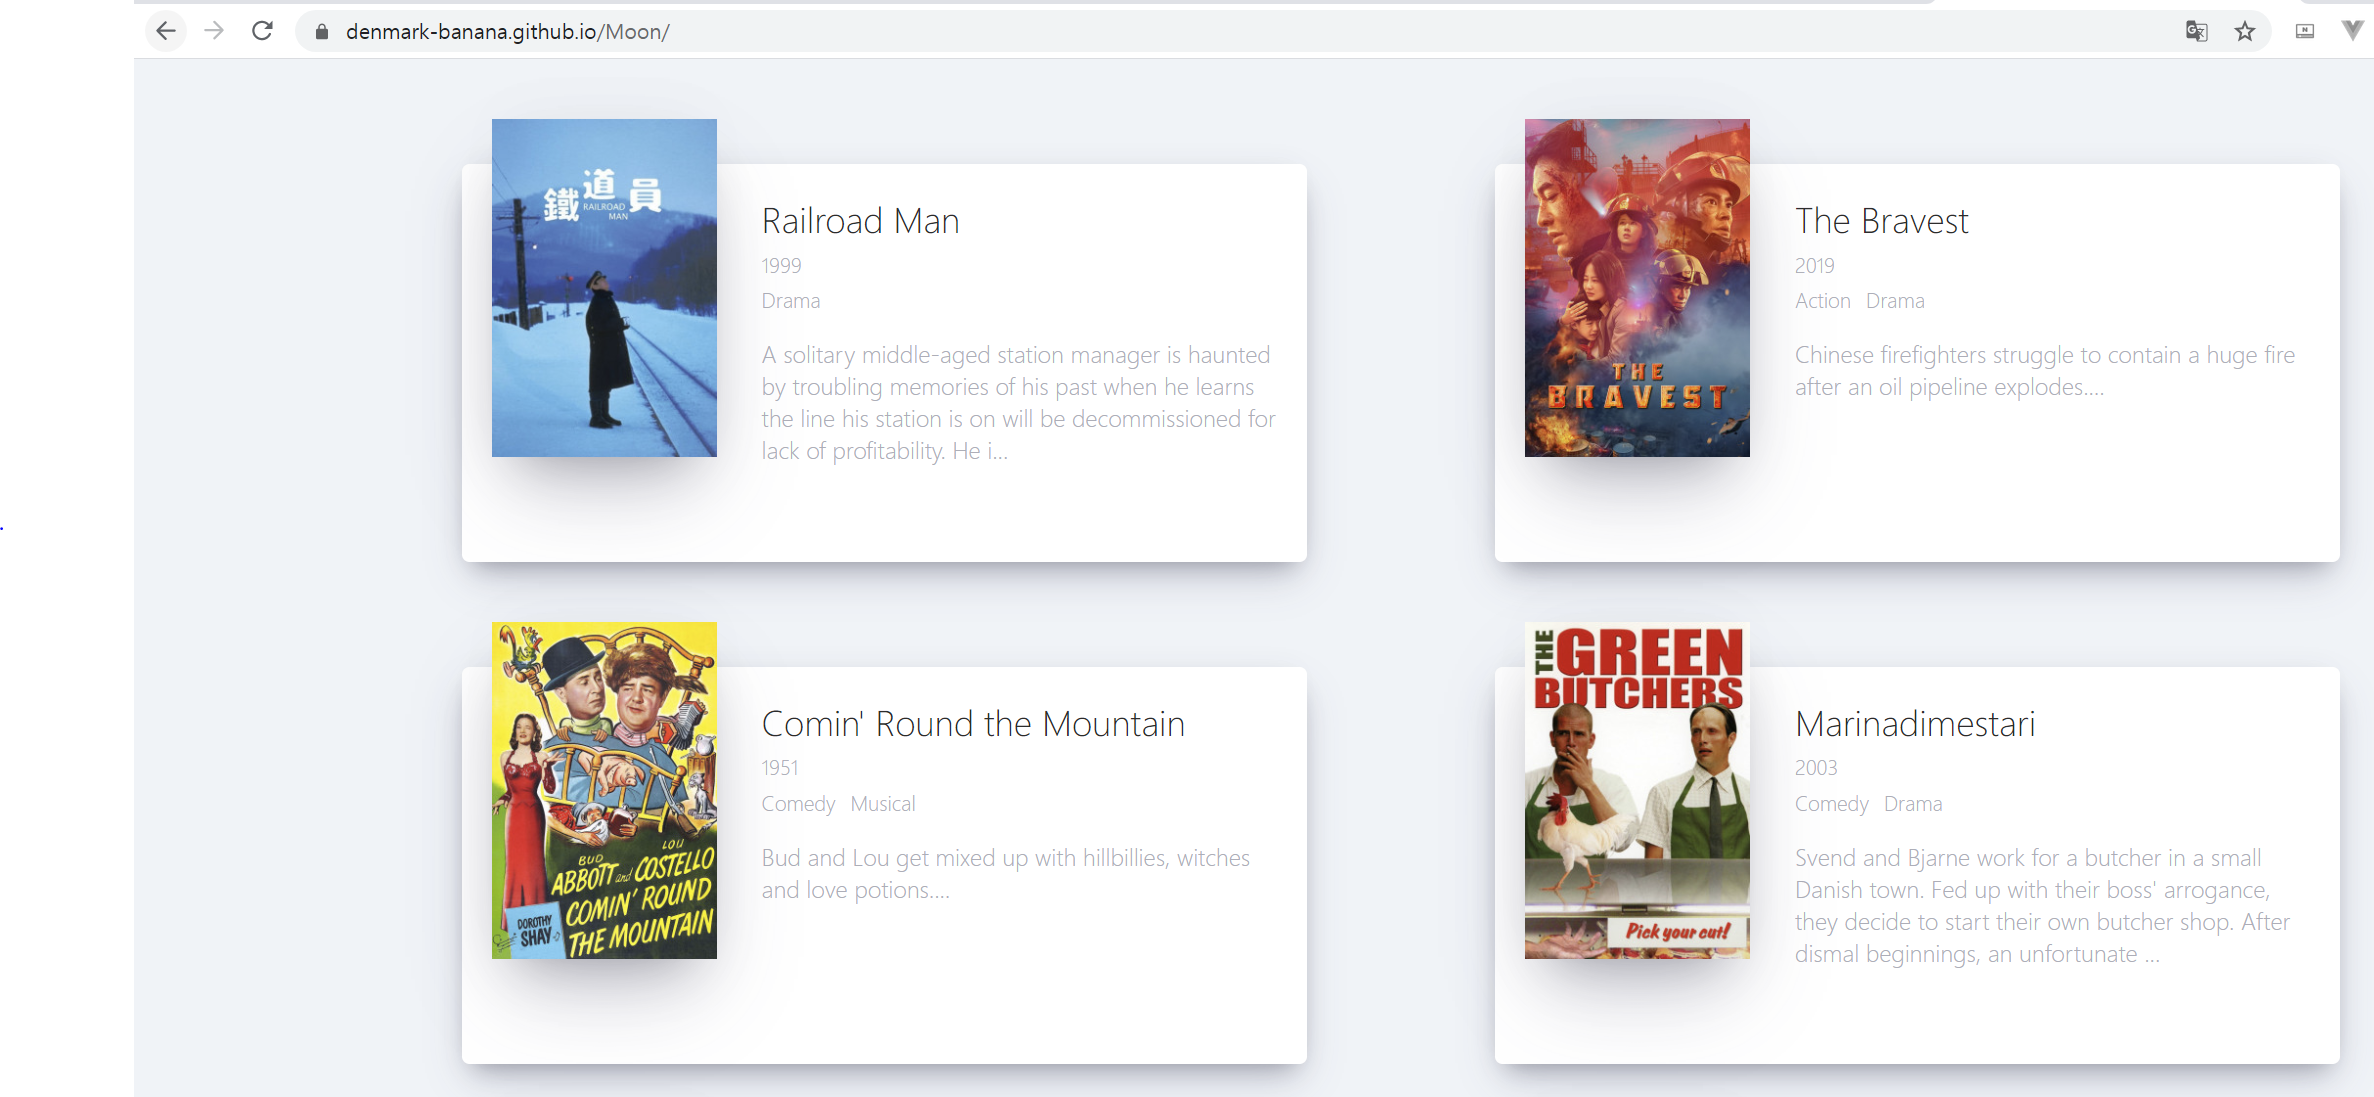
github pages에 프로젝트 업로드를 성공하였다.
Routes
react-router-dom
npm install react-router-dom//app.js
function App() {
return (
<HashRouter>
<Navigation />
<Route path="/" exact={true} component={Home} />
<Route path="/about" component={About} />
</HashRouter>
);
}react-router에서 /about 링크를 접근 시 위의 "/about"과 "/" 라우트를 동시에 들르게 되므로 exact={true}라는 옵션을 주어서 해당 url이 정확히 "/"일때만 라우트를 접근하게 했다.
navigation
//Navigation.js
function Navigation() {
  return (
    <div className="nav">
      <Link to="/">Home</Link>
      <Link to="/about">About</Link>
    </div>
  );
)
export default Navigation;
Navigation component에서는
<a href>대신<Link to>태그를 사용한다.
Link to Props
//Movie.js
function Movie({ id, year, title, summary, poster, genres }) {
  return (
    <div className="movie">
      <Link
        to={{
          pathname: `/movie/${id}`,
          state: {
            year,
            title,
            summary,
            poster,
            genres
          }
        }}
      >
		...
    </div>
  );
}

//Detail.js
class Detail extends React.Component {
  componentDidMount() {
    const { location, history } = this.props;
    if (location.state === undefined) {
      history.push("/");
    }
  }
  render() {
    const { location } = this.props;
    if (location.state) {
      return <span>{location.state.title}</span>;
    } else {
      return null;
    }
  }
}
export default Detail;
이렇게 Link를 통해 Props도 전달할 수 있다. '{{ pathname, state }}' 을 통해 상세 페이지에 Data를 전달하였다. Link를 통해 받은
props는location을 통해 접근할 수 있다.history는 url에 관련된 정보를 담고 있다.
마무리
지금까지의 구현은 Home 페이지로 돌아갔을때마다 state(영화 정보)를 로딩해야 하는 단점이 있다. 이러한 문제점은 redux를 통해 해결할 수 있다. redux는 state를 스크린 밖에 있게 한다.

강의는 이렇게 완료! 짧은 시간이었지만 1주일동안 이 강의를 통해 reactJS 기초를 배우고 웹사이트를 만들 수 있었다..!
참고
노마드 ReactJS로 웹 서비스 만들기 강의
https://academy.nomadcoders.co/courses/category/KR
