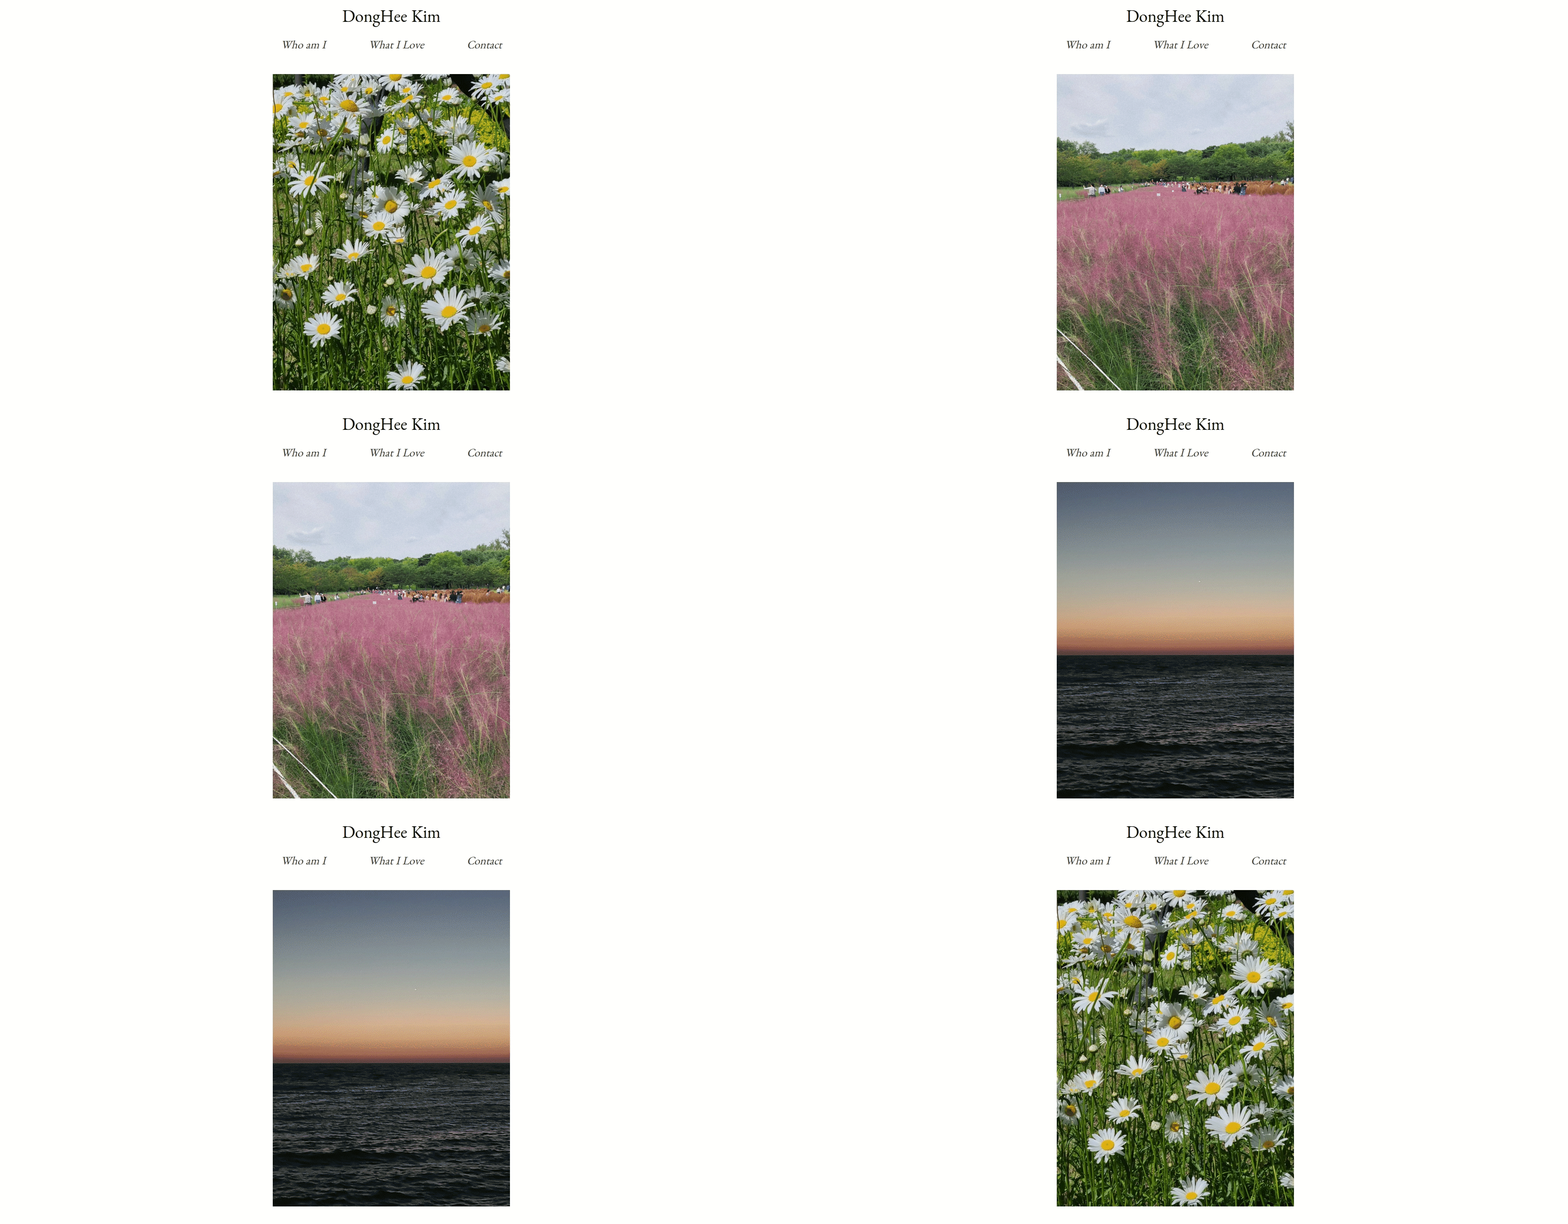
Overview
HTML과 CSS로 만들었던 자기소개 페이지의 A/S를 진행했다.
누덕누덕 기워놓듯이 작성했던.. CSS 코드도 다시 요모조모 뜯어보고, 미리 생각해두었던 동적인 효과 몇가지도 Javascript로 넣어보았다. 완성지었던 결과물을 다시 꺼내 그 초라함을 느끼고, 버그를 마주하며 새로운 기능을 추가하는 과정은 역시나 쉽지않았다.
보완 및 추가한 기능들
보완한 기능
CSS 단위 변경 (from px to %,vw)
현재 Ubuntu 듀얼 부팅으로 리눅스와 윈도우를 함께 사용하고 있는데, 윈도우 환경에서 페이지를 완성한 후 리눅스 환경에서 보니 메인페이지의 레이아웃이 전혀 달랐다. 짧뚱하고 위쪽으로 잔뜩 쏠려있는 사진을 보았을 때의 충격이란.. 🤯️
잘 살펴보니 리눅스와 윈도우 환경에서 브라우저 해상도에 차이가 있었다.
고정단위인 픽셀(px) 단위로 설정해두었던 사진 넓이를 좀 더 유동적인 %로 변경하고, 슬라이드쇼(캐러샐) 기능을 위한 div 박스의 너비를 뷰포인트 기준인 Viewport Width(vw)로 수정했다. 스터디 팀원들의 조언으로, 움직이지 않도록 사진엔 position:fixed 도 함께 설정!
HTML 코드
<div class="container">
	<div class="slider">
	  <img src="pic/daisy.jpg">
	</div>
	<div class="slider">
     <img src="pic/pink.jpeg">
 	</div>
	<div class="slider">
	  <img src="pic/jejusea.jpg">
	</div>
</div>
CSS 코드
.container {
  width: 300vw;
  display: flex;
}

.slider {
  width: 100vw;
  display: flex;
  justify-content: center;
  position: fixed;
  z-index: 0;
  opacity: 0;
  transition: opacity 0.5s ease-in-out;
}

.slider img {
  width: 30%;
}

.showing {
  z-index: 1;
  opacity: 1;
}
추가한 기능
중앙에서 시작되는 밑줄 애니메이션

페이지의 헤더 부분이 너무 심심하다는 생각이 들었고, CSS의 after, hover를 이용해 커서를 두면 중앙에서부터 확장되는 밑줄 애니메이션 기능을 넣었다.
CSS 코드
//Who am I 등 각각의 요소가 header__menu

.header__menu:after {
  background: none repeat scroll 0 0 transparent;
  bottom: 0;
  content: "";
  display: block;
  height: 1px;
  left: 50%;
  position: absolute;
  background: rgb(219, 219, 219);
  transition: width 0.3s ease 0s, left 0.3s ease 0s;
  width: 0;
}

.header__menu:hover:after {
  width: 100%;
  left: 0;
  padding-top: -10vh;
}
캐러샐 (슬라이드 효과)

처음부터 메인페이지에 꼭 구현하고 싶었던 기능인 캐러셀 🎠️
Step1 : CSS로 세 개의 사진(class = slider)을 겹쳐둔 뒤 z-index, opacity를 조정해 모두 보이지 않게 해두고, 별도로 사진이 보일 수 있는 환경인 showing class를 만들어두었다.
Step2 : Javascript로 넘어가 첫 사진 / showing class가 적용되는 중인 현재 사진 / 다음 사진을 각각 변수에 할당하고, 각 사진마다 showing class를 추가했다 지우는 함수 slide()를 만들었다. setInterval()을 통해 함수를 무한 반복시키면 끝!
+ 슬라이드 효과의 생명은 부드러운 전환효과.. CSS에 transition을 주는 것도 잊지않았다.
HTML 코드
<div class="container">
	<div class="slider">
	  <img src="pic/daisy.jpg">
	</div>
	<div class="slider">
     <img src="pic/pink.jpeg">
 	</div>
	<div class="slider">
	  <img src="pic/jejusea.jpg">
	</div>
</div>
CSS 코드
.container {
  width: 300vw;
  display: flex;
}

.slider {
  width: 100vw;
  display: flex;
  justify-content: center;
  position: fixed;
  z-index: 0;
  opacity: 0;
  transition: opacity 0.5s ease-in-out;
}

.slider img {
  width: 30%;
}

.showing {
  z-index: 1;
  opacity: 1;
}
Javascript 코드
'use strict';

const SHOWING_CLASS = "showing";
const firstSlide = document.querySelector(".slider:first-child");

function slide() {
   const currentSlide = document.querySelector(`.${SHOWING_CLASS}`);
   if(currentSlide) {
       currentSlide.classList.remove(SHOWING_CLASS);
       const nextSlide = currentSlide.nextElementSibling;

       if(nextSlide) {
       nextSlide.classList.add(SHOWING_CLASS);
   } else {
       firstSlide.classList.add(SHOWING_CLASS);
    }

   } else {
       firstSlide.classList.add(SHOWING_CLASS);
   }
};


slide();
setInterval(slide, 3000);
마우스오버시 사진 확대

사실 CSS로도 구현할 수 있다고 알고있지만, 조금 덜 효율적이더라도 지금껏 배운 내용을 실습할 겸 Javascript로 구현해보았다. 이론으로만 배웠던 for문 등을 활용해보았다는 점에서 만족!
Javascript 코드
//.love__list-lic : 각 사진이 공통적으로 가지고있는 class

'use strict';

let target = document.querySelectorAll('.love__list-pic');

function zoomIn(x){
    x.target.style.transform = "scale(1.2)";
    x.target.style.zIndex= 1;
    x.target.style.transition = "all 0.5s";
}

function zoomOut(x){
    x.target.style.transform = "scale(1)";
    x.target.style.zIndex= 0;
    x.target.style.transition = "all 0.5s";
}


for(let i=0; i<target.length; i++) {
    target[i].addEventListener('mouseover',zoomIn);
    target[i].addEventListener('mouseout',zoomOut);
};
느낀 점
좋았던 점
- 첫 자기소개 페이지는 완성 후 자랑스럽게 Velog에 글을 작성했다는 사실이 부끄러울 정도로 허점투성이인 결과물이였다. 하지만 그렇게 묻어둘 수도 있는 결과물을 다시 꺼내 부족한 점을 찾아내고, 추가 기능을 구현해낸 경험 자체가 값지고 귀중하다.
지금은 레이아웃이 바뀌었지만처음 오마주하기로 마음먹었던 탬버린즈 사이트와 비슷한 느낌으로 마무리되어 만족한다. - 이론 위주로 학습하던 Javscript를 실제 웹페이지를 만드는데 사용해보는 것도 흥미로웠다. CSS와는 다른 방식으로 동적인 효과를 주는 재미!
아쉬웠던 점
- 내 마음대로 움직이지않았던 요소들(특히 메인페이지의 사진..^^)과 씨름하며 아직 나는 CSS에 익숙하지않구나, 더 능숙해져야겠다고 절실히 느꼈다. 레이아웃을 정하는데 편리하다는 CSS Grid를 배워야겠다는 생각도!
- Javascript로 동적인 효과를 주는 과정에서 내가 조금 더 알았더라면 다양한 효과를 줄 수 있지 않았을까하는 아쉬움을 느꼈다. 이 아쉬움이 계속 지속되지 않도록 열심히 배워나가자

슬라이드 구현 방법이 신선해서 좋았습니다!!🤭 이렇게 또 하나 배워갑니다.