브라우저에서 F12를 눌려보면 확인해 볼 수 있다.
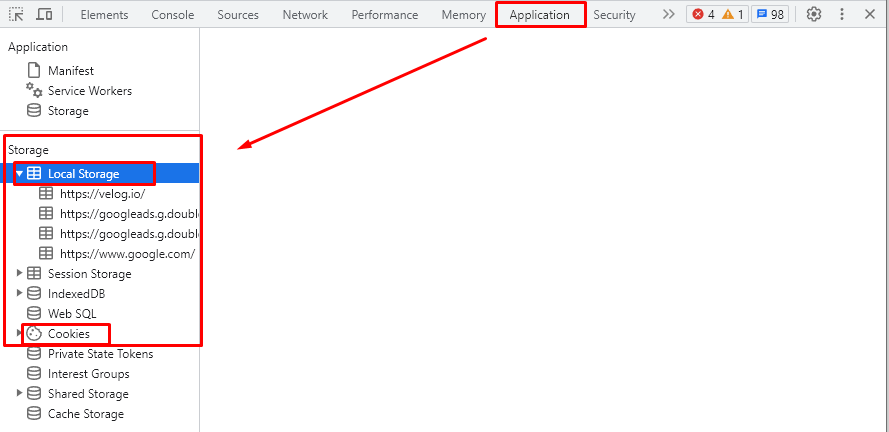
쿠키
임시 정보인데 서버에 저장한다.
- 유저 로그인(서버 세션 등)
- 이용자 통계(구글 애널리틱스 등)
- 임시데이터 (장바구니 등)
- 광고활용(비로그인 방문자 판별 등)
localStorage(로컬 스토리지)
- 로컬 저장 데이터(다크모드 등)
- 임시데이터(장바구니 등)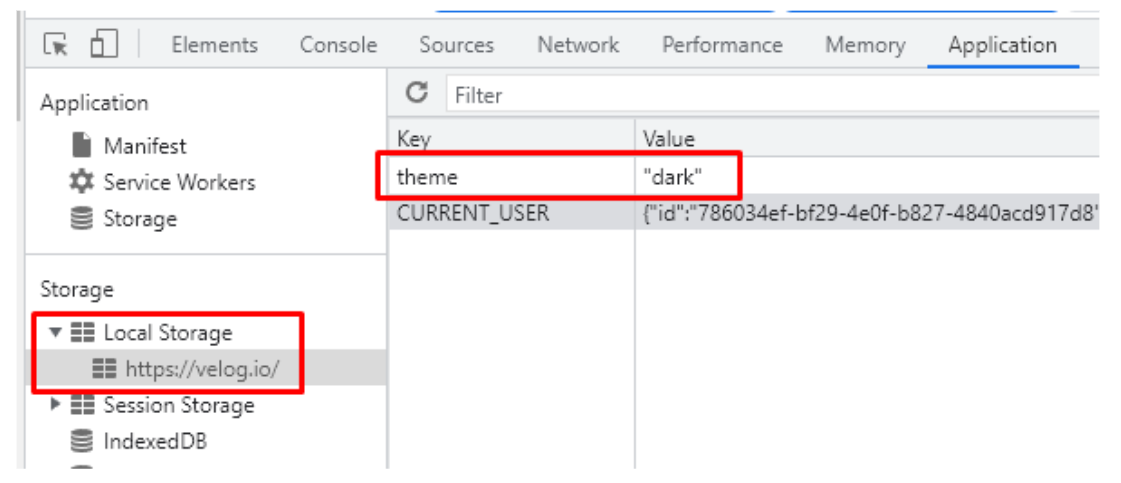
쿠키와 로컬스토리지의 차이
쿠키
- 서버에서 통신으로 삽입가능
- 데이터 요청 시 자동으로 서버로 전송
- 브라우저가 꺼지면 삭제되도록 설정 가능
- 해커가 js로 탈취하지 못하도록 설정가능
로컬 스토리지
- js로만 삽입가능
- 서버로 데이터 전송되지 않음
- 브라우저가 꺼져도 유지됨
- 해커가 js로 쉽게 탈취 가능
json
json을 쓰는 이유
현재 다양한 언어들이 있다
ex) 자바, 자스, 파이썬, 다트 , c#
자바의 객체는 자스의 객체로 사용할 수 없다.
그래서 중간에서 공통적으로 사용할 수 있는 데이터가 필요하다.
자바 객체 -> 문자열 -> 자스 객체
json활용 사이트
josn을 사용해볼 수 있는 사이트이다.
https://jsonplaceholder.typicode.com/ 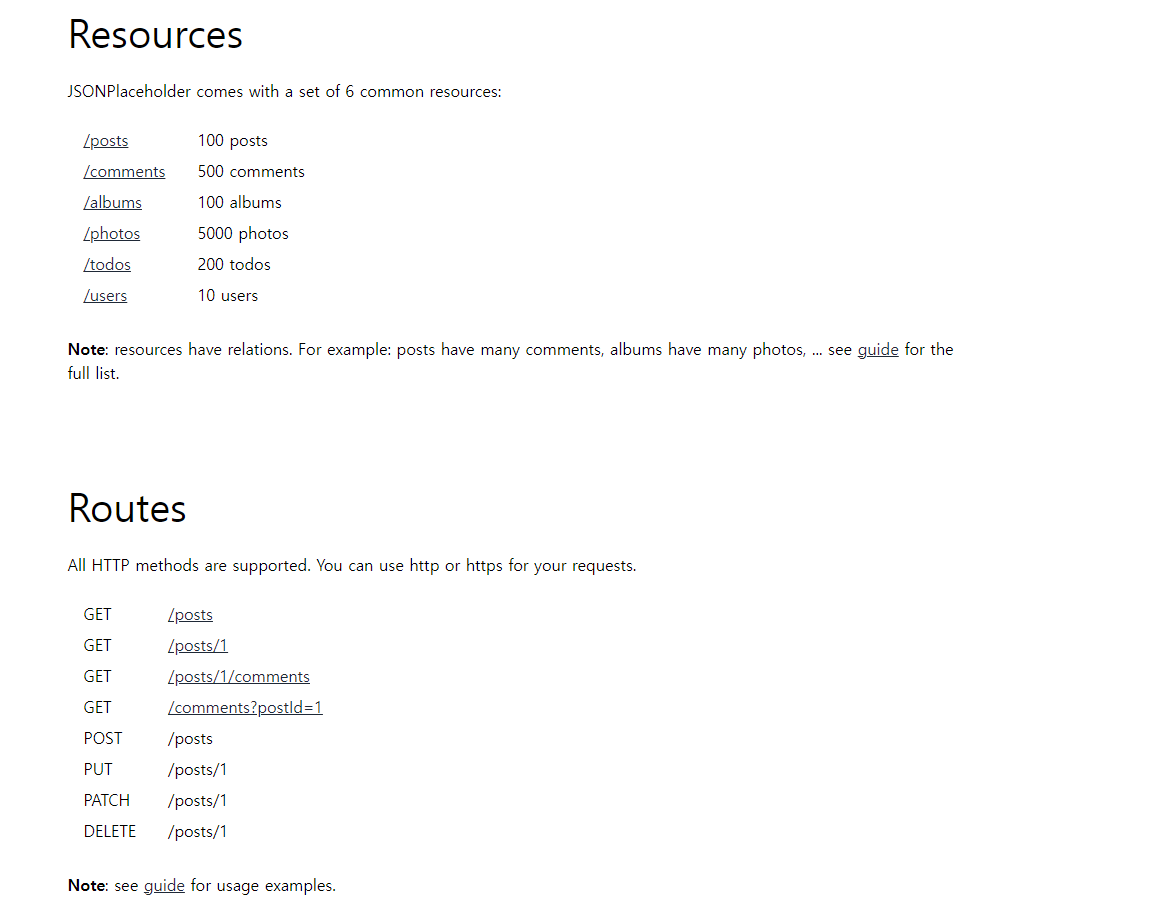
위에 화면에서 보면 Routes에 /posts/1을 타고 들어가면 아래의 화면과 같이 나온다.
https://jsonplaceholder.typicode.com/posts/1 
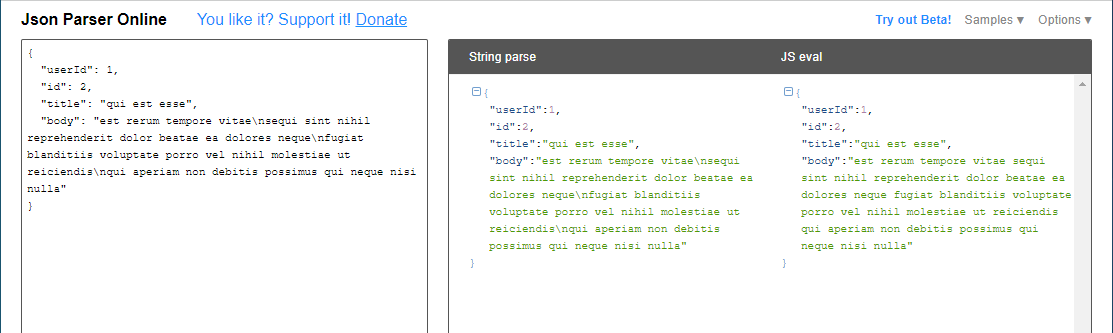
json을 parse해주는 사이트이다.
http://json.parser.online.fr/
/post/1의 json을 들고와 넣으면 parse해준다.
실습 - s18.html
주석으로 설명
<!DOCTYPE html>
<html lang="en">
<head>
    <meta charset="UTF-8">
    <meta name="viewport" content="width=device-width, initial-scale=1.0">
    <title>Document</title>
</head>
<body>
    <script>
        // 로컬 스토리지
        // 데이터 저장
        // key value가 필요하다
        // key value 모두 문자열이어야만 한다
        // (객체를 사용할 수 없다)
        localStorage.setItem("theme", "light");

        const obj = {
            name : "홍길동",
            age : 12,
        }

        // json - 자바스크립트 객체 형태의 문자열
        const objJson = JSON.stringify(obj);
        // 	"{\"name\":\"홍길동\",\"age\":12}

        localStorage.setItem("theme", objJson);

        const resulfJson = localStorage.getItem("theme");

        // console.log(resulfJson);
        // alert(resulfJson);

        // Json문자열을 자바스크립트 객체로 변겅
        const result = JSON.parse(resulfJson);

        console.log(result);
        alert(result);

        result.name;

    </script>
</body>
</html>
실행결과

실습 - s18Quiz.html
벨로그의 다크모드, 화이트모드 기능을 구현해봤다.
주석으로 설명
<!DOCTYPE html>
<html lang="en">
<head>
    <meta charset="UTF-8">
    <meta name="viewport" content="width=device-width, initial-scale=1.0">
    <title>Document</title>
    <style>
        .dark{
            background-color: black;
        }
        .light{
            background-color: white;
        }
    </style>
</head>
<body>
    <button id="themeBtn">변경</button>
    <script>
        // body의 배경을 흰색 검은색
        // style, class

        // 변경 버튼을 누르면 흰색 검은색 토글
        // 이벤트 리스너
        document.querySelector("#themeBtn").addEventListener("click", () => {
            if (document.body.classList.contains("dark")) {
                document.body.className = "light";
                // document.body.classList.remove("light");
                // document.body.classList.remove("dark");

                // document.body.classList.add("light");
                localStorage.setItem("theme", "light");
            } else {
                document.body.className = "dark";
                // document.body.classList.remove("light");
                // document.body.classList.remove("dark");

                // document.body.classList.add("dark");
                localStorage.setItem("theme", "dark");
            }
        });

        // 새로고침해도 색깔이 유지되어야 한다
        // 로컬스토리지 / 객체 json안써도 됨, 문자열 사용

        const setBackColor = () => {
            if (localStorage.getItem("theme") === "dark") {
                document.body.classList.add("dark");
            } else {
                document.body.classList.add("light");
            }
        };

        setBackColor();

    </script>
</body>
</html>
실행결과
실행하면 아래와 같은 화면이 나오고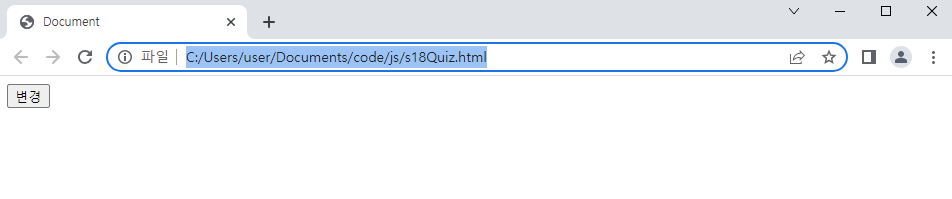
변경버튼을 눌리면 검은색화면으로 변경된다.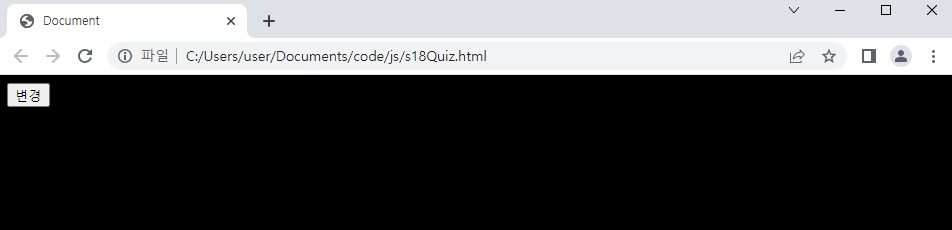
새로고침을 눌려도 검은색 화면이 변경되지 않게 기능을 만들었다.
(화이트화면에서 마찬가지)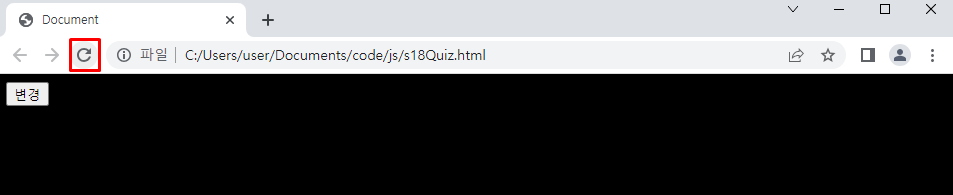

미래가 기대되는 풀스택개발자 공부 이야기~~
정보가 풍부해서 많은 도움이 되었습니다.