1. mysql 설치하기
2. strapi 프로젝트 생성
https://strapi.io/documentation/developer-docs/latest/getting-started/quick-start.html
두 가지 방법으로 생성이 가능합니다.
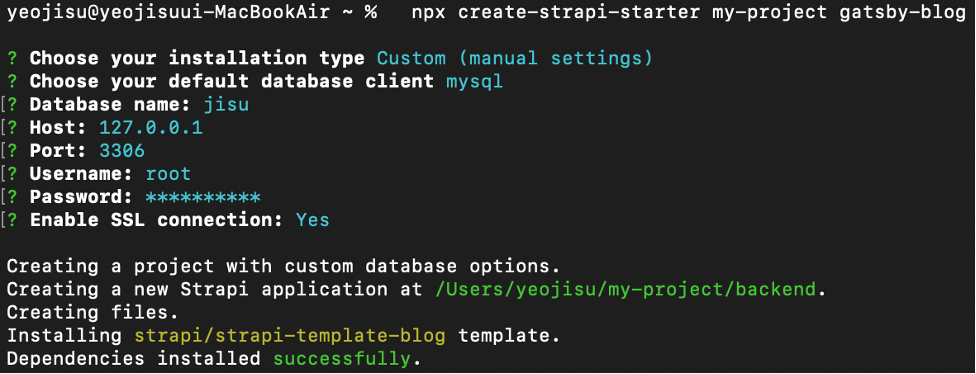
> npx create-strapi-starter my-project gatsby-blog
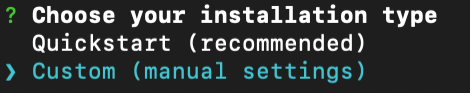
> yarn create strapi-starter my-project gatsby-blog- Choose your installation type
custom으로 선택합니다.
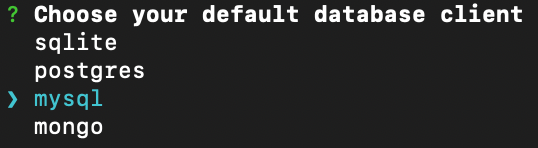
- Choose your default database client
mysql로 선택합니다.
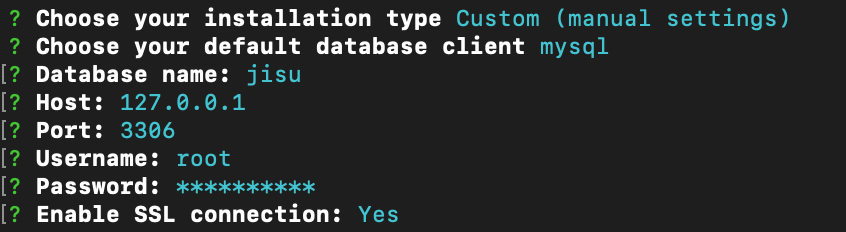
- database는 앞전에 mysql에서 생성한 빈 데이터베이스(jisu)로 선택합니다.
" ⛔️ Connection test failed: ER_NOT_SUPPORTED_AUTH_MODE: Client does not support authentication protocol requested by server; consider upgrading MySQL client " 라는 에러가 발생하면?
--> 이 문제는 클라이언트 프로그램에서 mysql 패스워드 플러그인 "caching_sha2_password"을 소화하지 못해서 생기는 오류입니다.
mysql 를 실행해서 클라이언트 프로그램에서 사용할 수 있도록 유저의 패스워드 Plusin을 바꿔줍시다
mysql 을 실행해서
ALTER USER 'root'@'localhost' IDENTIFIED WITH mysql_native_password BY '사용할패스워드'
입력 !> mysql.server start <br> > mysql -u root -p <br> mysql > ALTER USER 'root'@'localhost' IDENTIFIED WITH mysql_native_password BY '사용할 패스워드'
-
Dependencies installed successfully. 라는 메세지가 뜨면 프로젝트가 mysql과 연동하여 설치가 된 것입니다.
-
ls 를 해보면 my-project 디렉토리가 생성되어 있고, 디렉토리로 이동합니다.


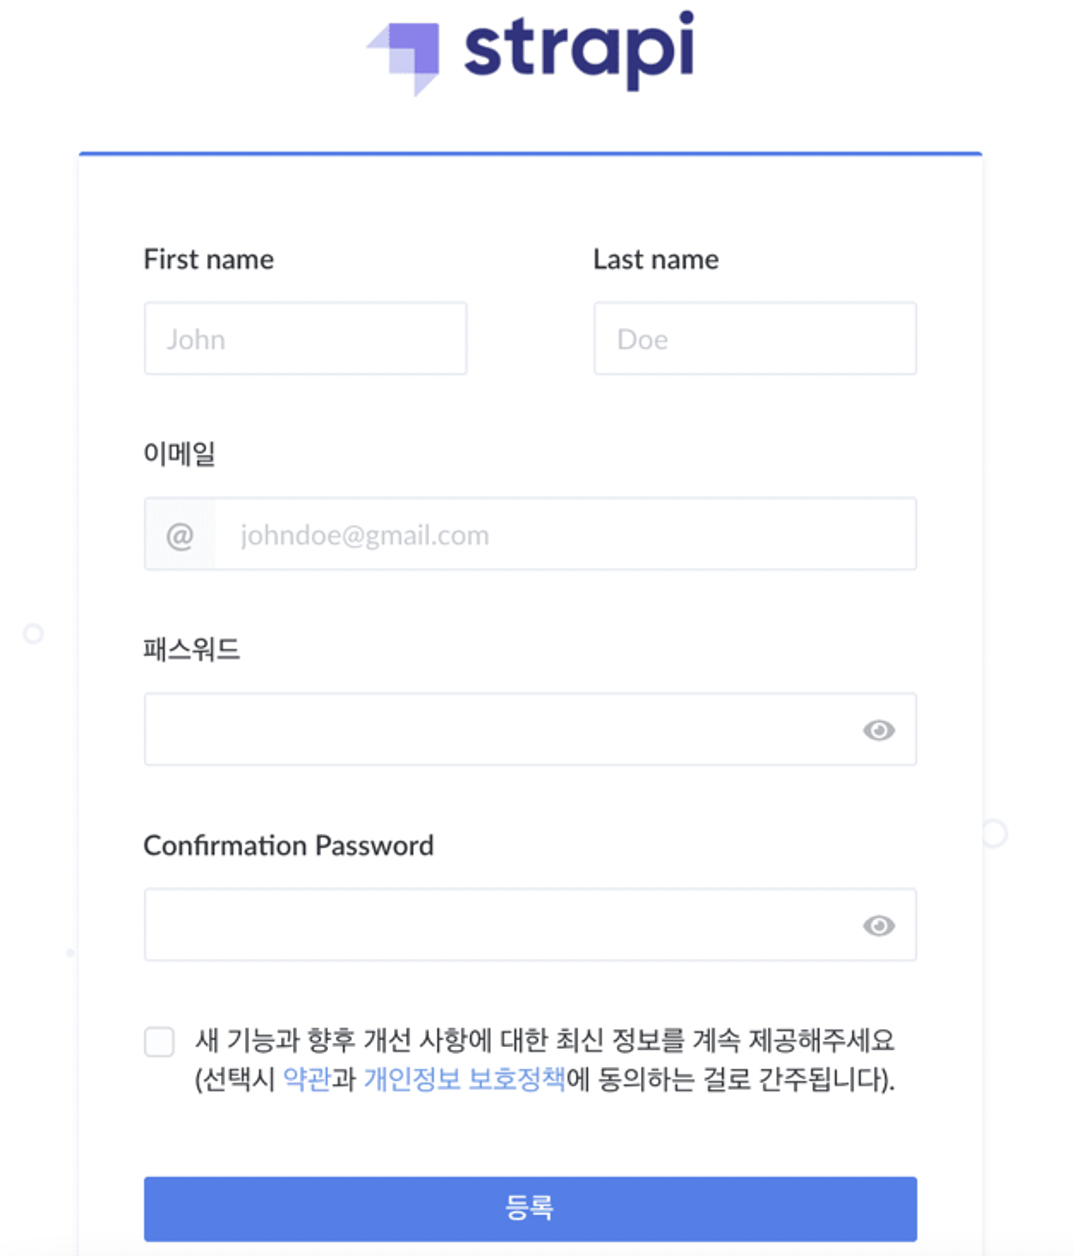
3.strapi 실행
- npm run develop

- strapi admin 등록 창이 뜨고 등록 후 이용 가능 합니다.