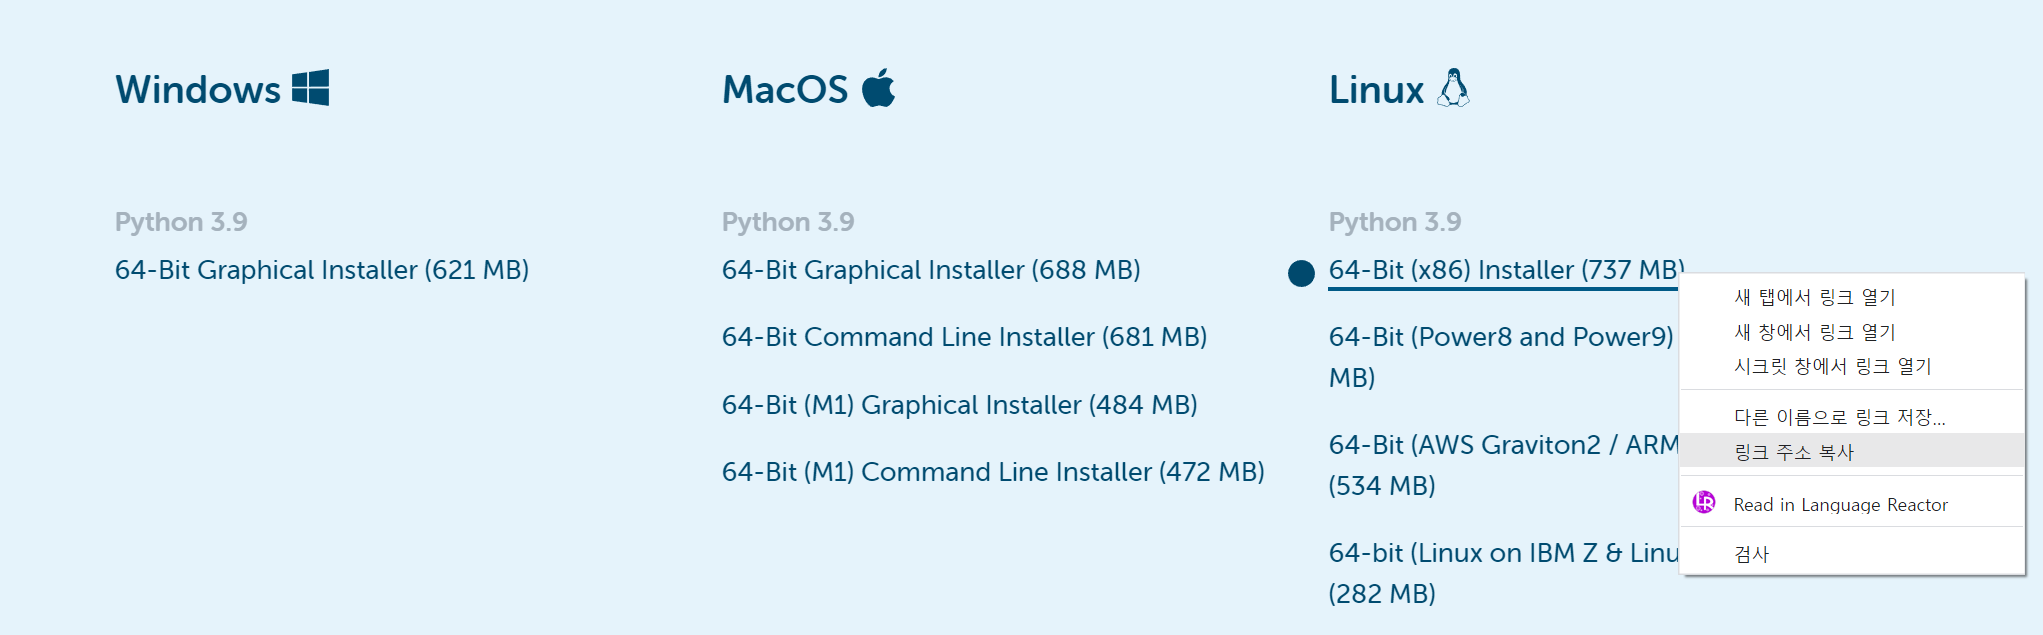
1. Conda설치 파일 주소 복사하기
https://www.anaconda.com/products/distribution
2. 터미널 열기
좌측 상단 메뉴 - 터미널 - 새터미널 혹은 Ctrl+ Shift + `
3. 다운받고자 하는 폴더 가기
$ cd /data/~~~
$ wget 위에서 복사한 링크주소 붙여넣기
$ ls
$ bash 파일명
Welcome to Anaconda3 2022.10
In order to continue the installation process, please review the license
agreement.
Please, press ENTER to continue
ENTER 입력 후 안내문은 Enter꾹 누르다보면
Please answer 'yes' or 'no':'
이 문구가 뜬 후 yes를 입력하면 설치가 되게됩니다.
Anaconda3 will now be installed into this location:
/home/rlaalsrl0922/anaconda3
- Press ENTER to confirm the location
- Press CTRL-C to abort the installation
- Or specify a different location below
[/home/rlaalsrl0922/anaconda3] >>>
따로 위치를 지정하고 싶으시다면 해당하는 위치를 입력하시면 되고, 아니라면 Enter 누르시면 설치가됩니다.
4. Anaconda 실행
$ conda activate base
입력시에 conda가 실행됩니다.
4.1 가상환경 만들기
한가지 프로젝트만 진행하는게 아니기 때문에 다양한 환경을 세팅하기 위해선 base를 기반으로 환경을 만들어줍니다.
conda create -n <환경 이름>
4.2 가상환경 지우기
$ conda env remove -n <환경 이름>
4.3 가상환경 리스트
$ conda env list
4.4 yaml파일을 통한 가상환경 만들기
$ conda create -n <환경 이름> -f <yaml 파일 이름>
💡 경고문구 발생시 (To initialize your shell, run)
To initialize your shell, run

   $ conda init <SHELL_NAME>

Currently supported shells are:
 - bash
 - fish
 - tcsh
 - xonsh
 - zsh
 - powershell

See 'conda init --help' for more information and options.

IMPORTANT: You may need to close and restart your shell after running 'conda init'.con
1. $ vim ~/.bashrc
1번 입력시 아래와 같은 화면이 나옵니다
2.
3. E 누르기
4. 환경변수 설정
맨 아랫줄에 export PATH=/콘다설치주소/bin/:$PATH5. 파일저장
:wq
작성 후 enter
6. 활성화되는지 확인하기
터미널 재실행 후
conda activate 하면 실행될겁니당


글이 너무 재미가 없어요ㅠㅠ