1. MediaPipe 개념
-
Google에서 개발한 오픈소스 프레임워크로, 실시간으로 멀티모달 데이터 처리와 추론을 수행할 수 있음
-
미리 설계된 다양한 머신러닝 솔루션을 제공함
- Hands: 손 추적 및 손가락 관절 위치 추정
- Face Detection/Face Mesh: 얼굴 검출 및 3D 얼굴 메쉬 생성
- Pose: 인체 포즈 추정
- Objectron: 3D 객체 감지 및 추적
- Holistic: 얼굴, 손, 몸 전체를 동시에 추적
-
CPU 및 GPU를 사용하는 경량화된 모델로 저사양 디바이스에서도 잘 동작함
-
Python에서도 간단한 API를 사용하여 빠르게 모델을 활용할 수 있음
 출처: Google Developers MediaPipe 소개 기사
2. MediaPipe 설치
pip명령어를 이용하여 간단하게 설치할 수 있음
pip install mediapipe- Jupyter Notebook 내 이미지 출력을 위한 함수 구현
from IPython.display import Image, display
import cv2
import mediapipe as mp

def img_show(image, width=400):
  _, buffer = cv2.imencode(".jpg", image)
display(Image(data=buffer, width=width))- 샘플 이미지 출력
img = mp.Image.create_from_file("person.jpg")
img_cv = img.numpy_view()
img_cv = cv2.cvtColor(img_cv, cv2.COLOR_BGR2RGB)
img_show(img_cv)
- Pre-train 분류모델 불러오기
from mediapipe.tasks import python
from mediapipe.tasks.python import vision

base_opts = python.BaseOptions(model_asset_path="effi.tflite")
opts = vision.ImageClassifierOptions(base_options=base_opts, max_results=4)
clf = vision.ImageClassifier.create_from_options(opts)

# 샘플이미지 분류 실시
res = clf.classify(img)- 예측 결과를 이미지에 입혀 출력하기
for idx, cat in enumerate(res.classifications[0].categories):
  text = f"{cat.category_name}: {cat.score:.2f}"
  pos = (100, 300 + idx * 300)
  cv2.putText(img_cv, text, pos, cv2.FONT_HERSHEY_SIMPLEX,
              7, (255, 0, 0), 20, cv2.LINE_AA)

img_show(img_cv)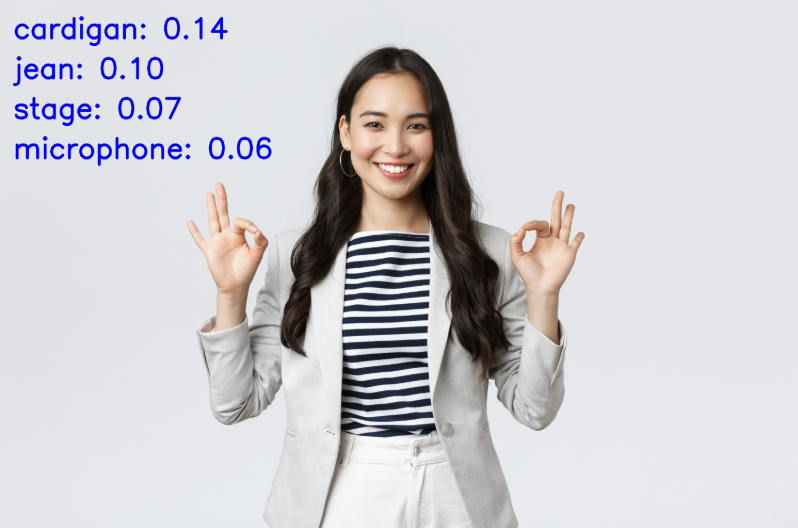
*이 글은 제로베이스 데이터 취업 스쿨의 강의 자료 일부를 발췌하여 작성되었습니다.

데이터 분석, 데이터 사이언스 학습 저장소