
세팅된 express 에 라우팅 구성
app.get("/getEmpList", (request, response) => {

  connection.query("SELECT * FROM emp", (err,result) => {
    response.json({data:result})
  });

})

app.get("/getEmpInfo/:id", (request, response) => {

  connection.query("SELECT * FROM emp where id = "+ request.params.id,  (err,result) => {
    response.json({data:result})
  });

})

app.get("/setEmpInfo/:id/:name", (request, response) => {

  connection.query("UPDATE emp SET name = '"+request.params.name+"' WHERE id = "+request.params.id ,  (err,result) => {
    response.json({data:result})
  });

})

app.get("/delEmpInfo/:id", (request, response) => {

  connection.query("DELETE FROM emp WHERE id = "+request.params.id ,  (err,result) => {
    response.json({data:result})
  });

})

app.get("/insEmpInfo/:name", (request, response) => {

  connection.query("INSERT INTO emp (name) VALUES ('"+request.params.name+"')" ,  (err,result) => {
    response.json({data:result})
  });

})
리액트 컴포넌트 구성
- 메인(목록) 컴포넌트
function EmpList() {

  let history = useHistory();

  let [empList, changeEmpList] = useState([]);
  let [inputName, changeInputName] = useState("");
  let [refreshComponent, changeRefreshComponent] = useState("");

  useEffect( ()=>{

    fetch("http://localhost:3001/getEmpList").then(

      (response)=>{
        return response.json();
      }
    ).then( (response)=>{

      changeEmpList(response.data);
    } )

  }, [ refreshComponent ] );


  return (
      <>
      <div>
        <input type="text" onChange={ (e)=>{ changeInputName(e.target.value) }} />
        <button onClick={ ()=>{

          fetch("http://localhost:3001/insEmpInfo/"+inputName).then(
            (response)=>{
              console.log("success insEmpInfo");
              changeRefreshComponent(Math.random()+"");

            }
          )

        } }>{inputName} 으로 등록!</button>
        </div>

        <div>
        <table align="center" border="1">
        {
          empList.map( (obj, index)=>{
              return (

                <tr>
                  <td>
                  <Link to={ '/detail/'+obj.id }>
                    {obj.id}
                  </Link>
                  </td>
                  <td>
                  <Link to={ '/detail/'+obj.id }>
                    {obj.name}
                  </Link>
                  </td>
                </tr>

              )
          } )

        }
        </table>
      </div>

      </>
  )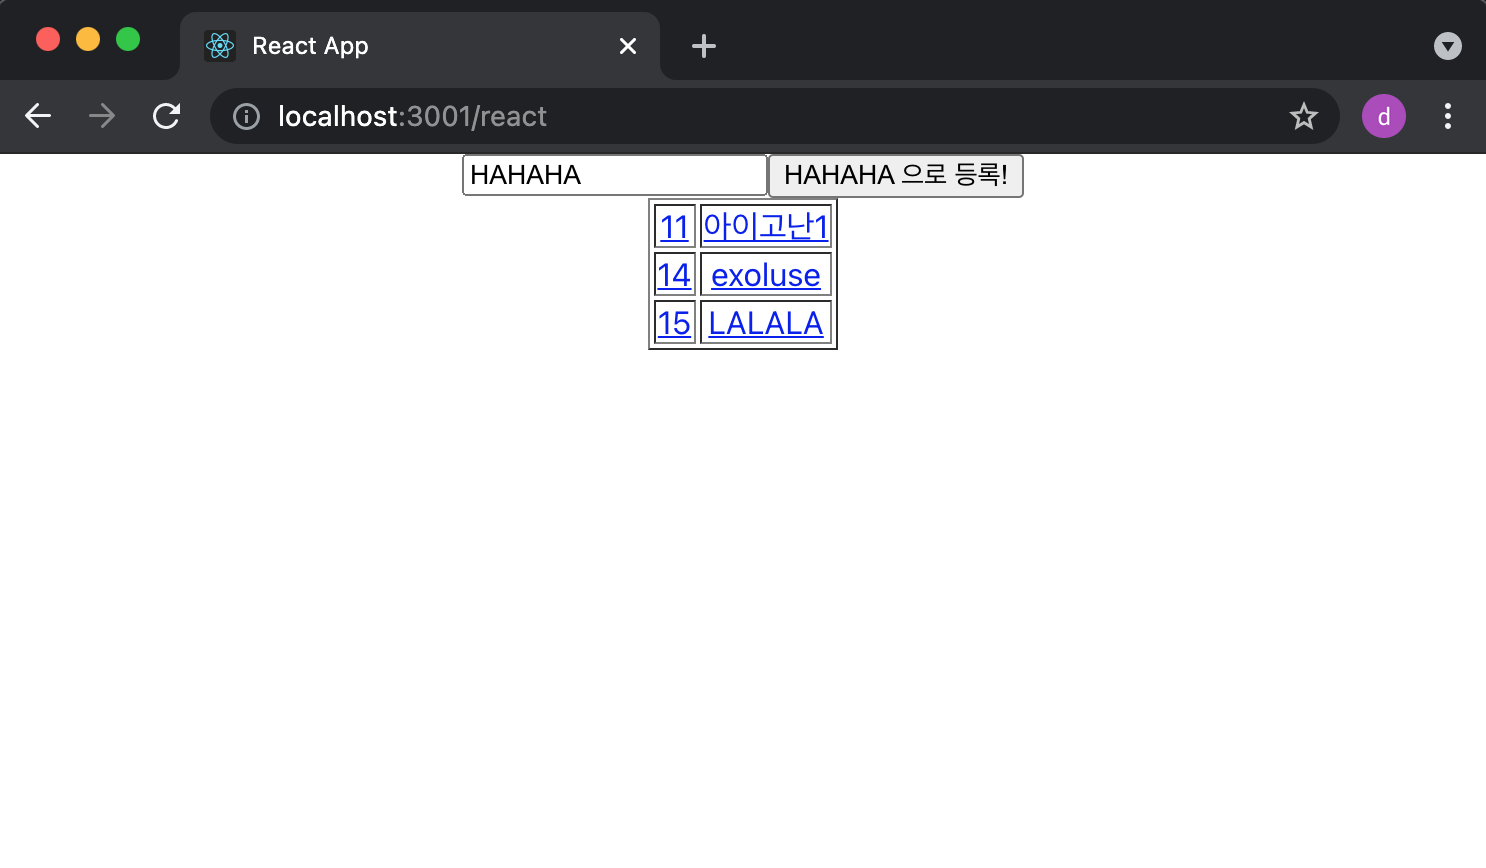
}- 리스트의 링크를 클릭하면 상세 페이지로 넘어가는... 이런식으로 화면 구성이 된다.
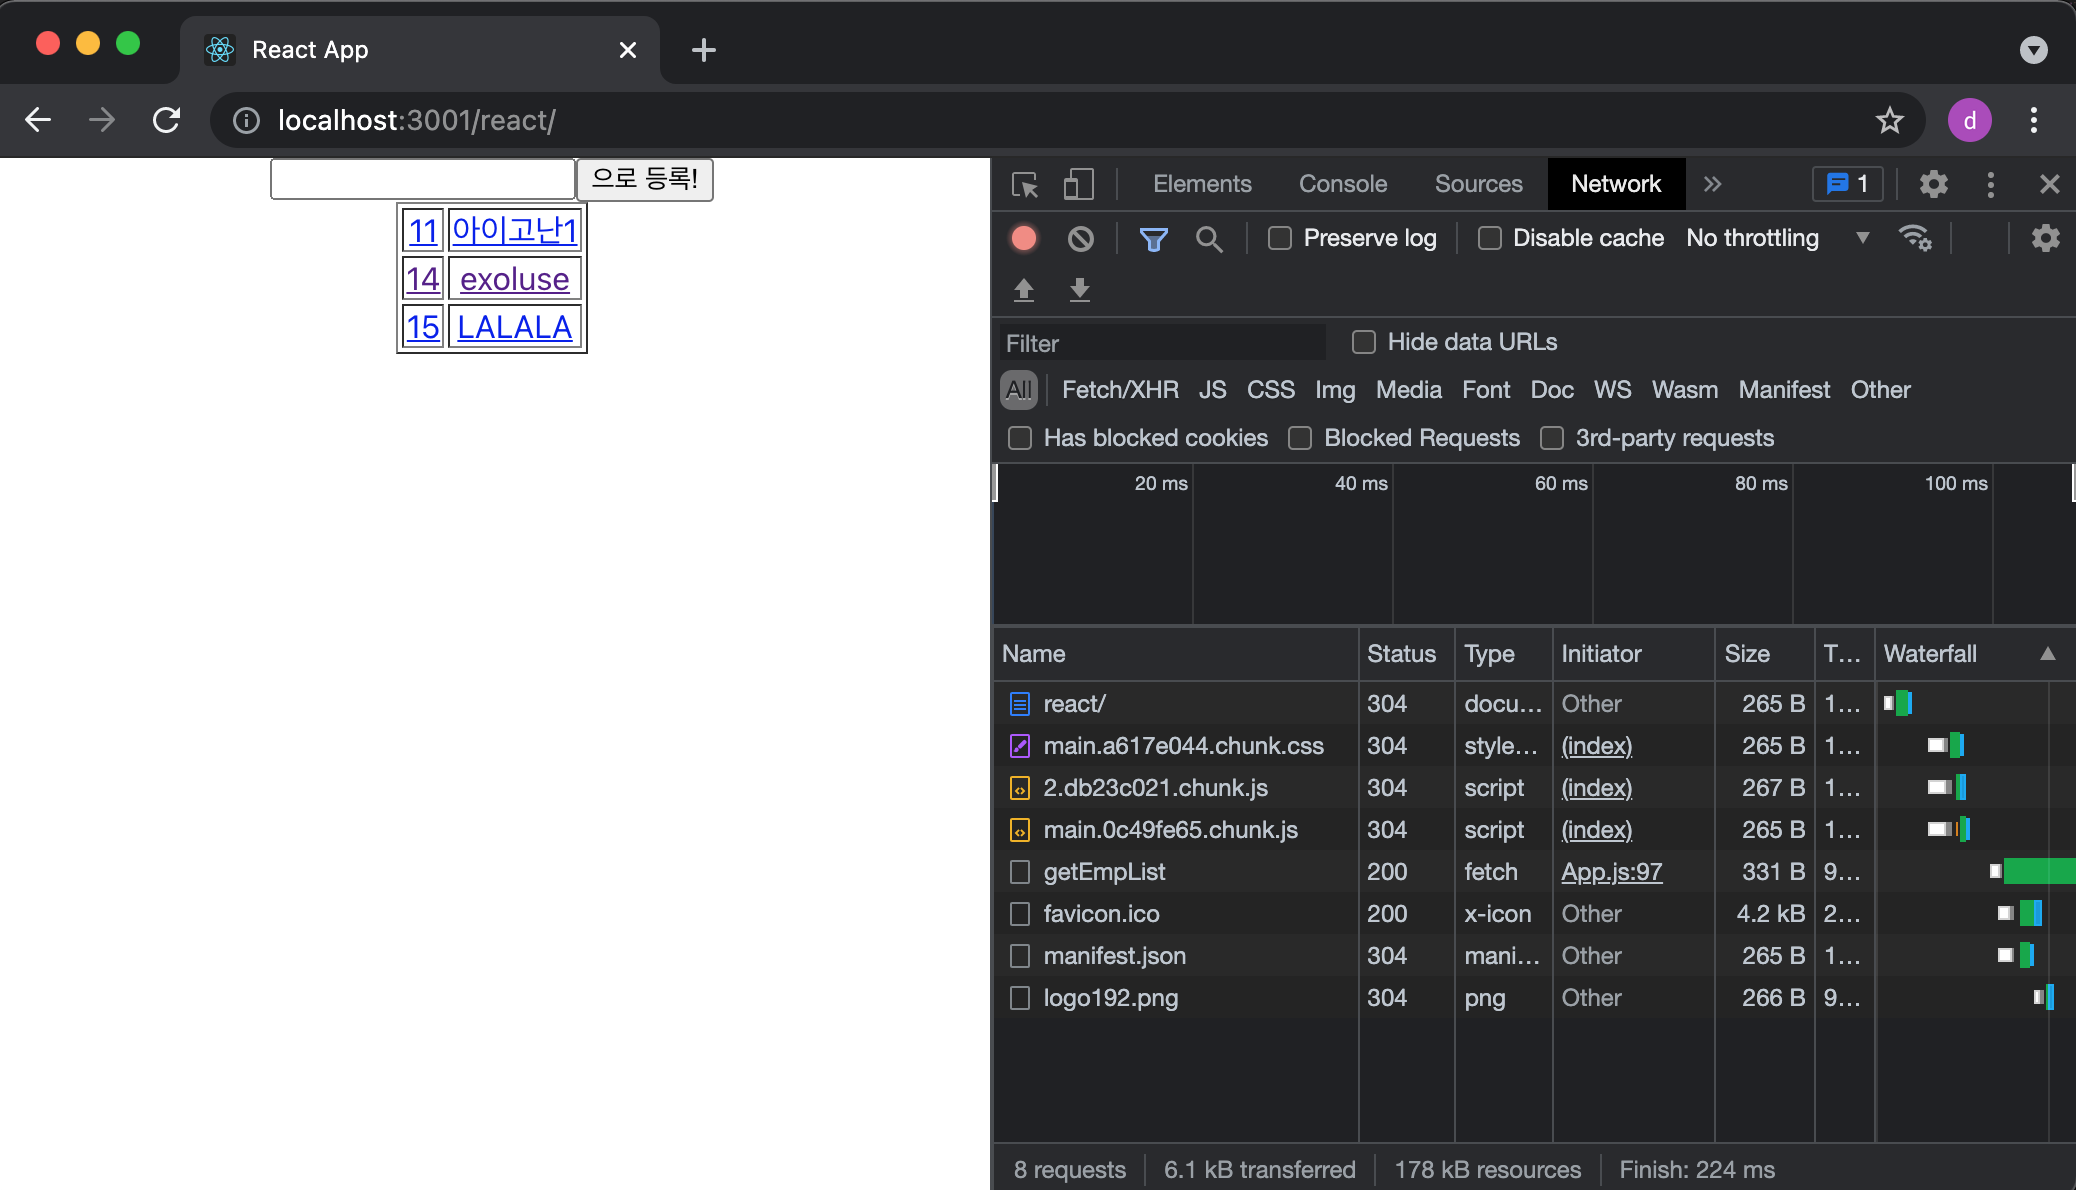
- 리액트 프로젝트를 로드하면 아래와 같이 네트워크에 표시된다. getEmpList 가 호출되는 것도 확인했다.
- 상세(상세/수정/삭제) 컴포넌트는 이렇게
function EmpList() {

  let history = useHistory();

  let [empList, changeEmpList] = useState([]);
  let [inputName, changeInputName] = useState("");
  let [refreshComponent, changeRefreshComponent] = useState("");

  useEffect( ()=>{

    fetch("http://localhost:3001/getEmpList").then(

      (response)=>{
        return response.json();
      }
    ).then( (response)=>{

      changeEmpList(response.data);
    } )

  }, [ refreshComponent ] );


  return (
      <>
      <div>
        <input type="text" onChange={ (e)=>{ changeInputName(e.target.value) }} />
        <button onClick={ ()=>{

          fetch("http://localhost:3001/insEmpInfo/"+inputName).then(
            (response)=>{
              console.log("success insEmpInfo");
              changeRefreshComponent(Math.random()+"");

            }
          )

        } }>{inputName} 으로 등록!</button>
        </div>

        <div>
        <table align="center" border="1">
        {
          empList.map( (obj, index)=>{
              return (

                <tr>
                  <td>
                  <Link to={ '/detail/'+obj.id }>
                    {obj.id}
                  </Link>
                  </td>
                  <td>
                  <Link to={ '/detail/'+obj.id }>
                    {obj.name}
                  </Link>
                  </td>
                </tr>

              )
          } )

        }
        </table>
      </div>
      </>
  )
}-
변경, 삭제 버튼을 클릭하면 기능 동작 후 메인 페이지로 넘어간다.
-
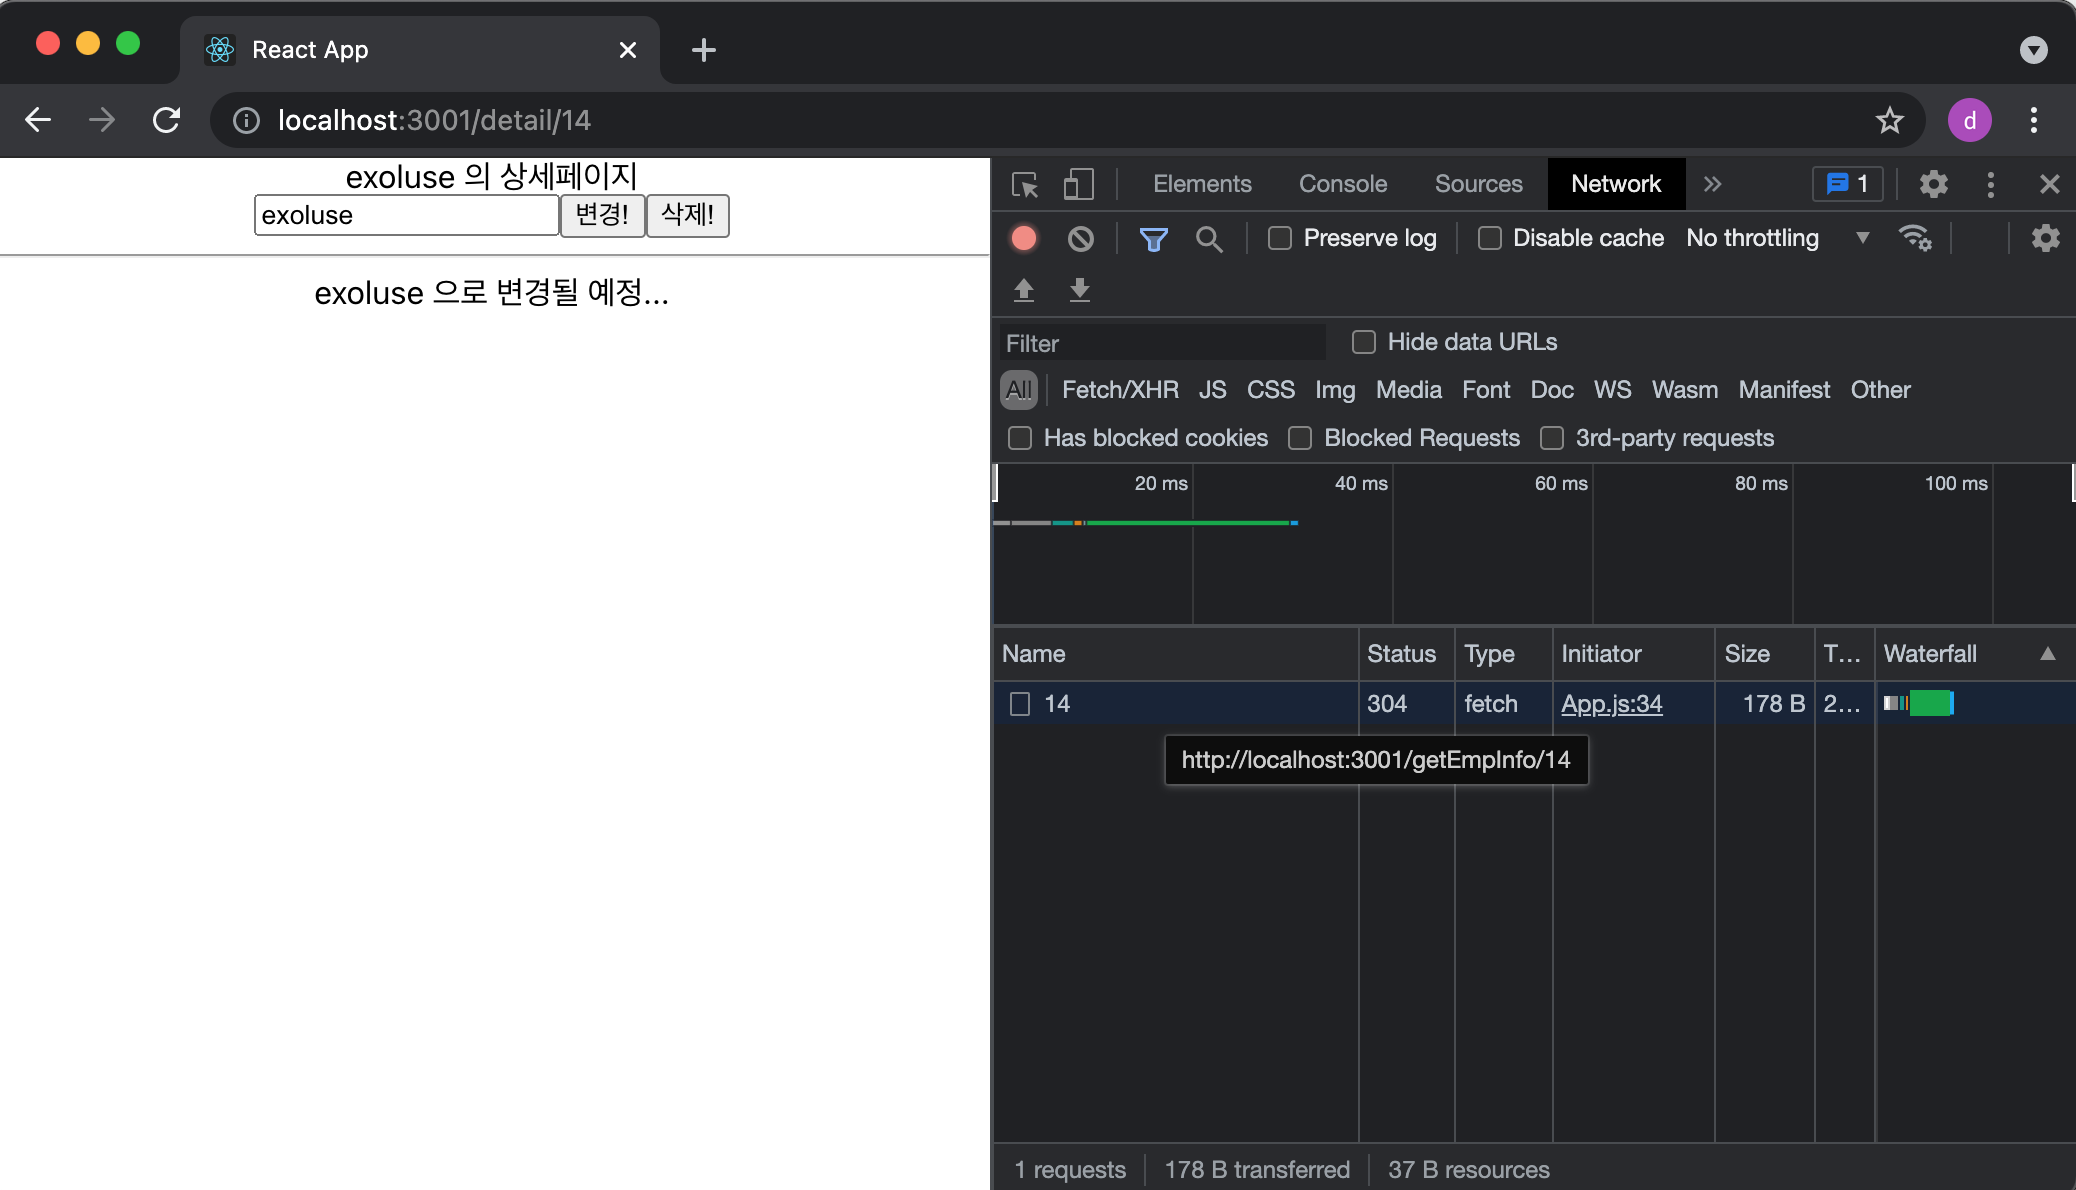
상세 페이지로 이동할 때 그 어떤 파일도 로드하지 않는 것을 볼 수 있다. useEffect 로 호출하는 getEmpInfo 만 로드한다.
-
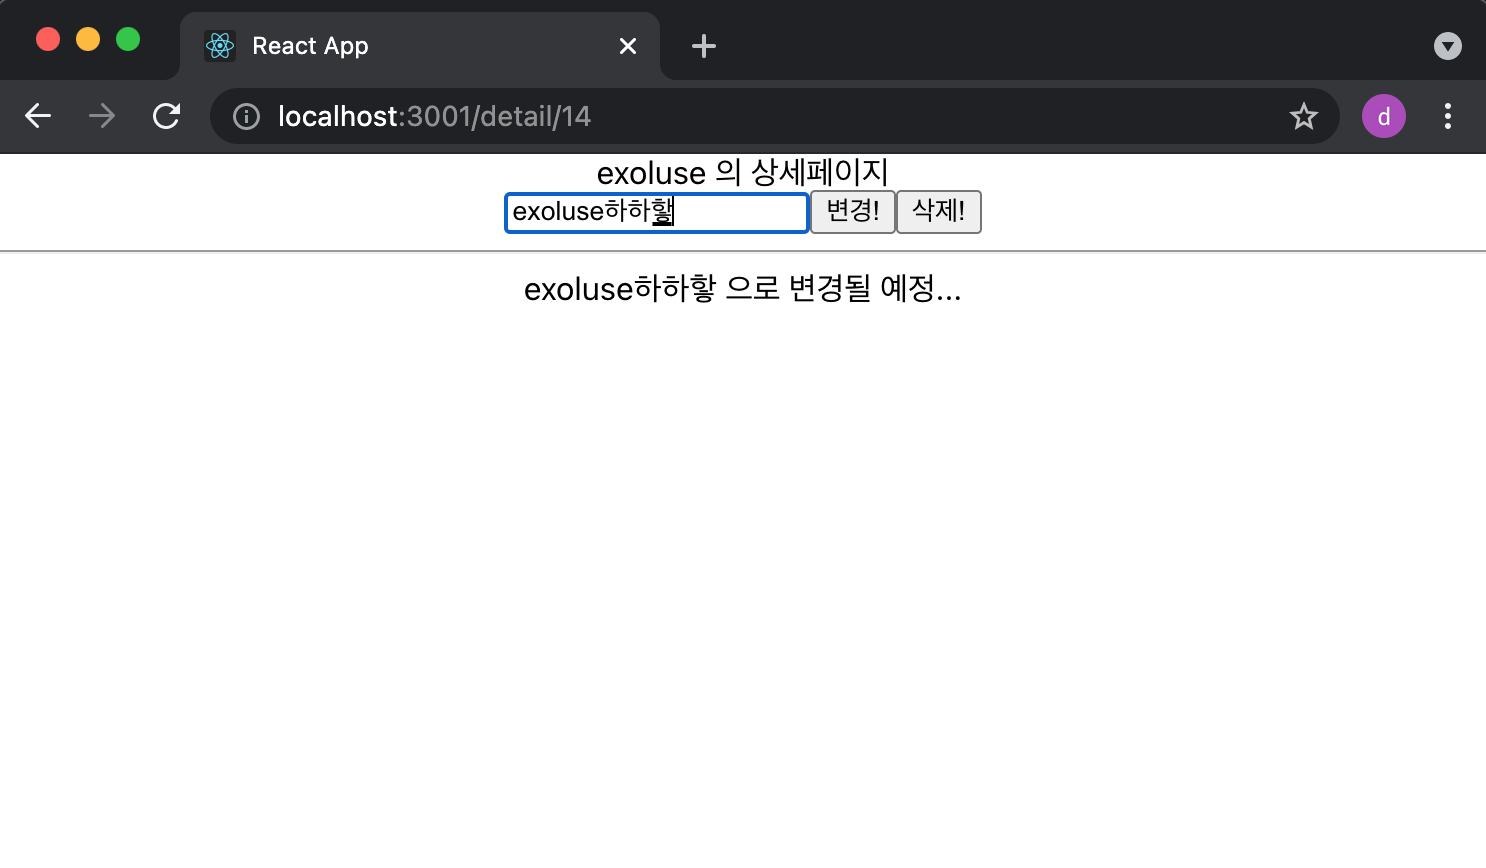
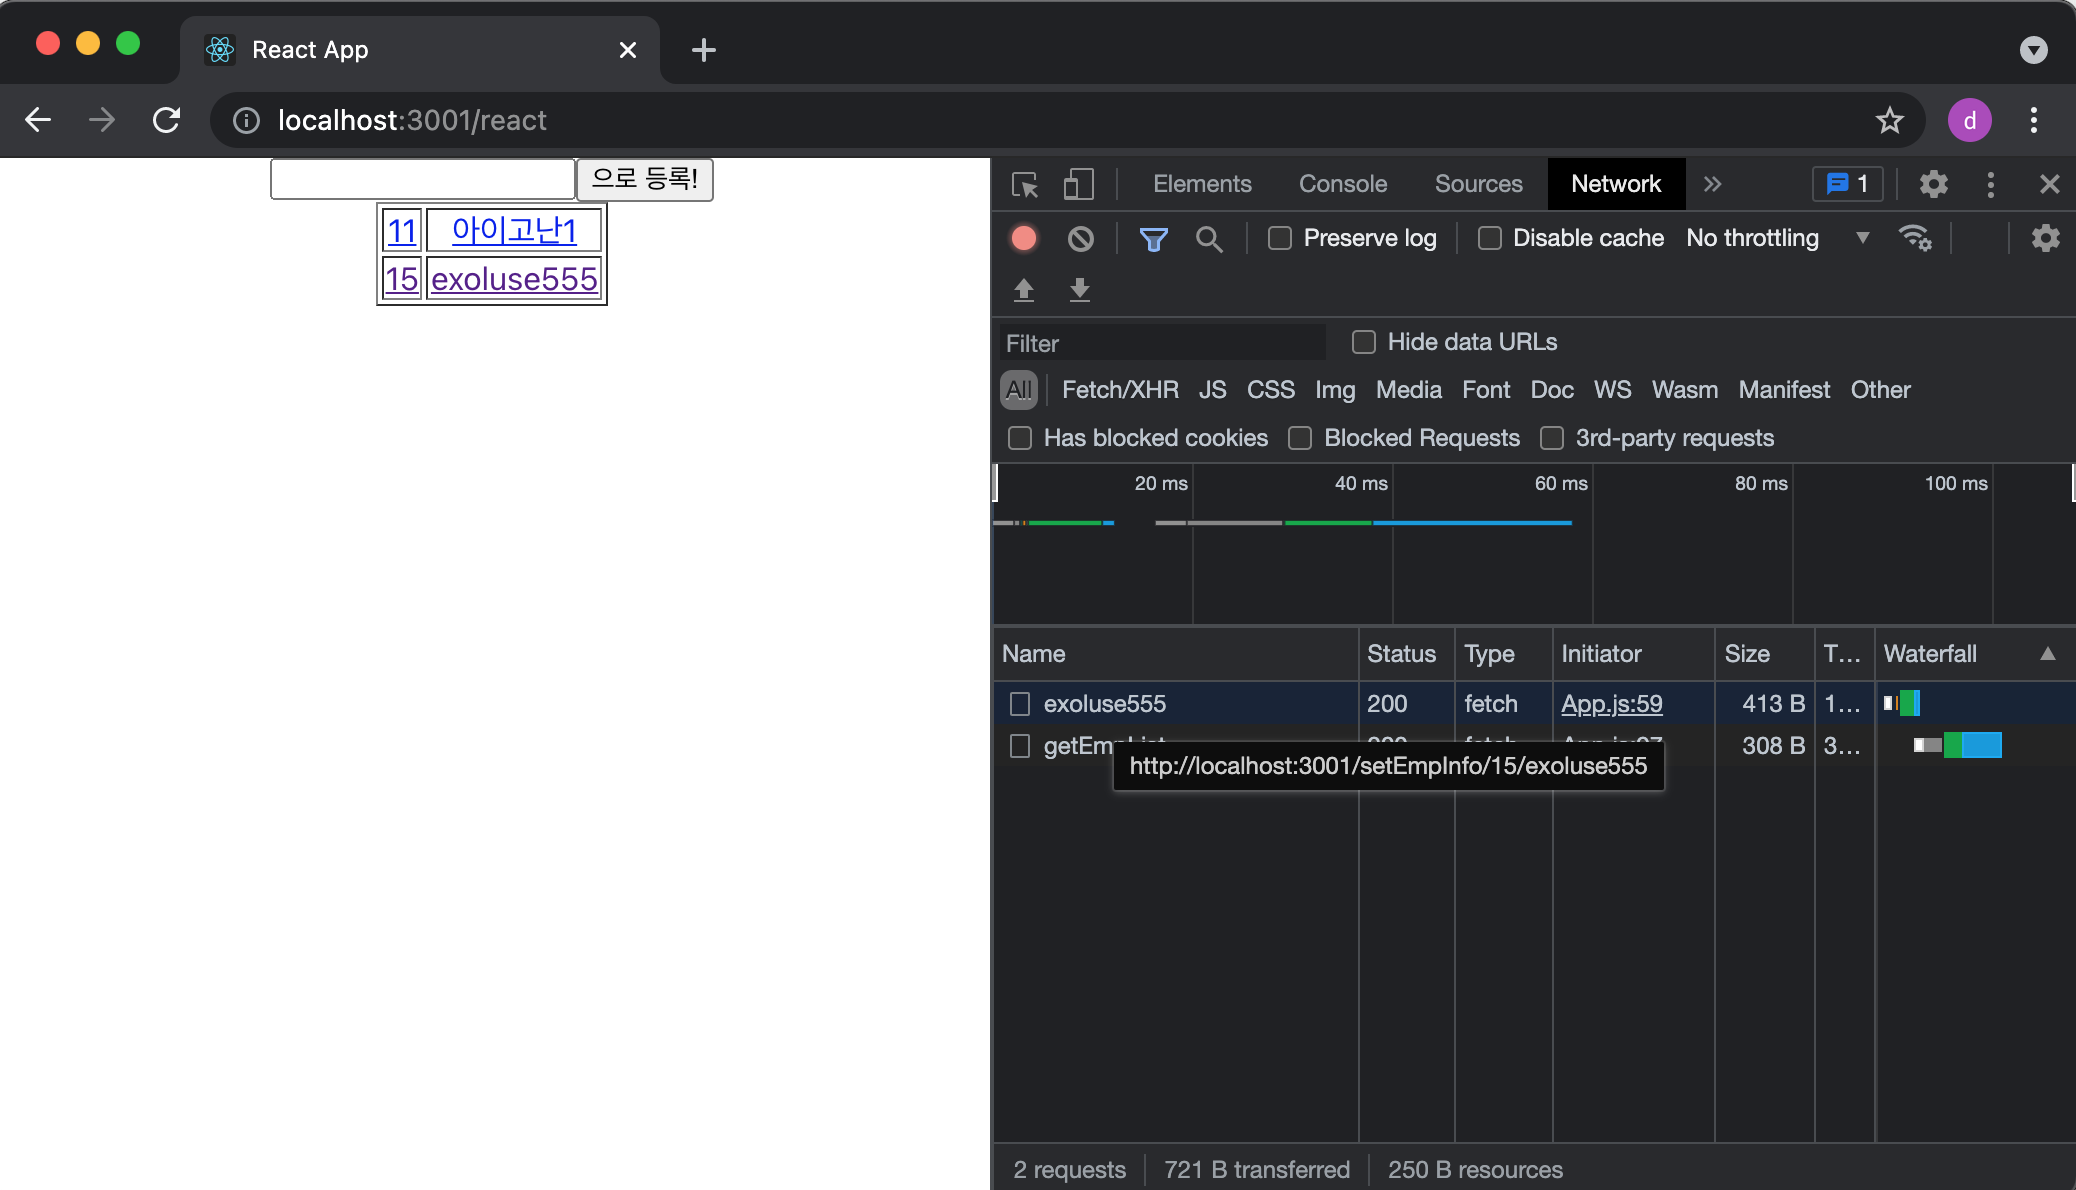
수정 버튼을 누른 후는 이렇다. name 을 exoluse555로 변경 후 메인페이지로 돌아온 모습이다.
-
삭제 버튼 클릭 후

간단한 기능 구현이었지만 그래도
지금까지 배우고 연습했던 리액트의 기능들을 대부분 써 보았다. 물론 리덕스는 쓸 필요가 없어서 제외되긴 했지만 조금더 보강하면 괜찮지 않을까 싶다. 다음 포스팅은 실제로 부트스트랩을 이용하여 디자인도 같이 곁들이는 시간을 가져볼까 한다. 다음 포스팅은 파일 업로드 기능 구현이다. 끝

인공지능이라는 옷을 입었습니다. 뭔가 멋지면서도 잘 맞습니다.