- main 태그 아래에 문장 제목 넣기 h2
    <div class="content-area group">
      <main class="main-area">
<h2>Main Column Heading</h2>-
img 태그 본문에서 첫번째 문장 뒤에 넣기
이미지는 원하는 것으로 넣어도 된다.
픽사베이
언스플래시 -
img 태그 CSS 위치는 body 아래에 넣기
img{
  max-width: 100%;
  height: auto;
}- div( img 태그 + div( 겹쳐질 문장 ) )
<div class="image-banner">
<img src="이미지 주소">
<div class="banner-description">
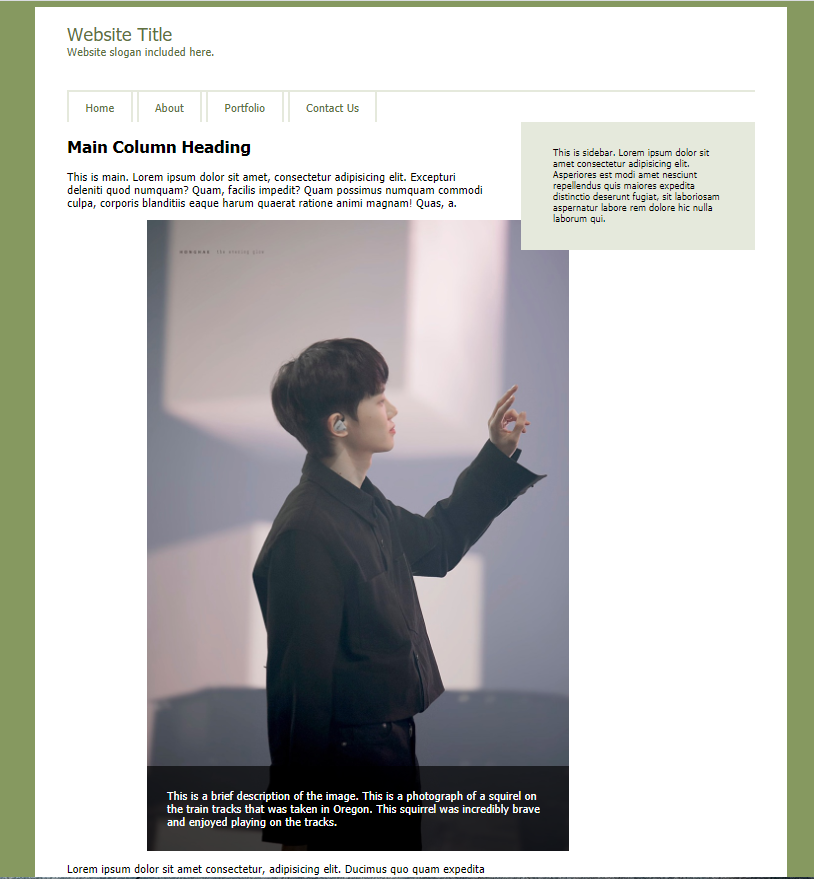
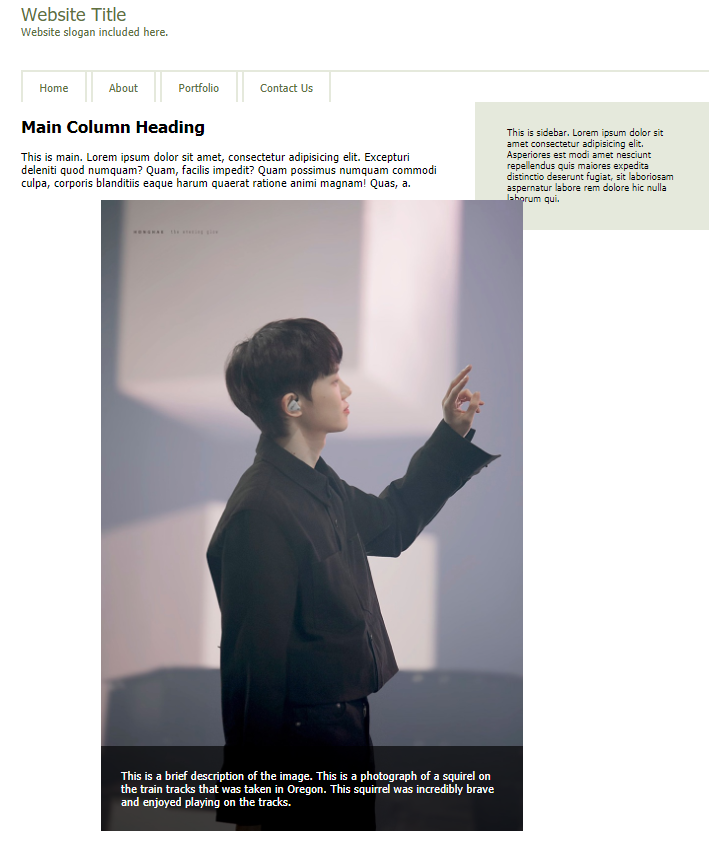
<p>This is a brief description of the image. This is a photograph of a squirel on the train tracks that was taken in Oregon. This squirrel was incredibly brave and enjoyed playing on the tracks.</p>
</div>
</div>- CSS 하기
img{
  max-width: 100%;
  height: auto;
}

/* 오버레이 */
.image-banner {
  position: relative;
}

.image-banner img {
  display: block;
}

.banner-description {
  position: absolute;
  bottom: 0;
  left: 0;
  color: #FFF;
  /* rgba는 투명도포함한 색깔  0.65가 투명도를 담당 */
  background-color: rgba(0, 0, 0, .65);
  padding: 15px 25px;
}
- 이미지 배너와 사이드 바가 겹치게
/* 오버레이 */
.image-banner {
  position: relative;
  left: 100px;
}- 사이드 바도
position: relative;- z-index로 아래쪽이 위쪽으로 올라오게 해보자
.image-banner {
z-index: 11;
}

.sidebar {
z-index: 10;
}
사진이랑 오른쪽 사이드 바가 겹치는 상황
image-banner의 z-index를 활성화 시키면 사진이 위로 올라옴
사진이랑 오른쪽 사이드 바가 겹칠 때
image-banner의 z-index는 비활성화 시키고
sidebar의 z-index만 활성화 시키면 사이드바가 위로 올라옴

리뷰
postion : absolute; 절대좌표
postion : relative; 상대좌표
z-index : 숫자; 숫자가 클수록 위로 표시
opacity : 0부터 1까지 투명도를 설정 (1일때 불투명 0일때 투명)
