
이번 포스팅에서는 저장한 글을 읽어보자.
1. show.ejs 파일 생성
게시글 본문을 렌더링하는 show.ejs 파일을 만든다.
2. show.ejs 개발
<!-- show.ejs 의 body 내부-->
<body>
<div class="container">
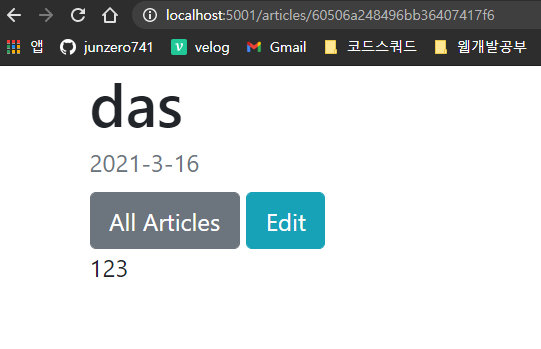
<h1 class="mb-1">
<%= article.title %>
</h1>
<div class="text-muted mb-2">
<%= article.createdAt.toLocaleDateString() %>
</div>
<a href = "/" class = "btn btn-secondary">All Articles</a>
<a href = "/articles/edit/<%= article.id %>" class = "btn btn-info">Edit</a>
<div>
<%= article.markdown %>
</div>
</div>
</body>edit 버튼을 누르면
/aritlces/edit/게시글의id의 주소로 이동한다.
3. show 라우트 설정
show.ejs 파일을 서버에 연결할 라우트를 설정한다.
// routes/articles.js
router.get('/:id', async (req, res) => {
    const article = await Article.findById(req.params.id);
    if (article == null) res.redirect('/');
    res.render(`articles/show`, {article : article});
});
응답받은 객체의 id를 인자로,
Article모델에서 id 를 기준으로 검색해article상수에 저장한다.
받아온article이 비었다는 것은 해당 id 를 갖는 데이터가 없다는 것이므로, 메인 페이지로 리다이렉션한다.
그렇지 않다면views/show.ejs를 렌더링한다.
4. 메인 페이지에 실제 article 띄우기
앞서 메인 페이지에 넣어두었던 더미 article 들을 지우고,
우리가 작성한 게시글이 실제로 목록으로 나타나게끔 해보자.
// server.js

const Article = require('./models/article');

app.get('/', async (req,res) => {
    const articles =  await Article.find().sort({createdAt:'desc'})
    res.render("articles/index", { articles: articles});
})
models에서 불러온 데이터 모델을 날짜기준 내림차순으로 정렬해서articles상수에 저장한다.render()를 통해 상수articles를 객체에 담아index.ejs로 보낸다.
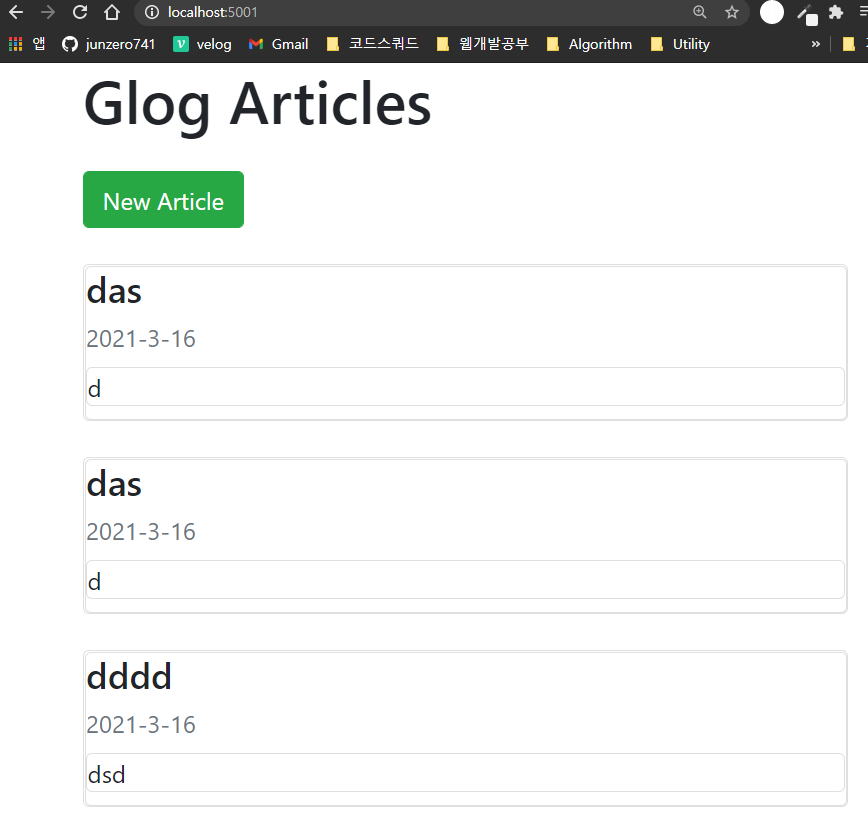
지금껏 테스트삼아 로컬주소/articles/new 에 작성했던 게시글들이 모두 리스트업 되었다.
5. 아티클 리스트에 더보기 버튼 추가
<!--- index.ejs --->

<body>
    <div class = "container">
        <h1 class = "mb-4">Glog Articles</h1>
        <a href = "/articles/new" class = "btn btn-success">New Article </a>

        <% articles.forEach(article => { %>
            <div class = "card mt-4">
                <div class = "card body">
                    <h4 class="card-title"><%= article.title %></h4>
                    <div class = "card-subtitle text-muted mb-2"><%= article.createdAt.toLocaleDateString() %></div>
                    <div class = "card text mb-2"><%= article.description %></div>
                    <a href = "articles/<%= article.id %>" class = "btn btn-primary">Read More</a>
                </div>
            </div>
        <% }) %>
    </div>
</body>
Read More 버튼을 누르면
로컬주소/articles/게시글id로 연결되는 버튼을 추가했다.
다음 포스팅에선 게시글의 제목을 주소로 받는 방법과, 게시글의 markdown 섹션에 입력한 마크다운 문법의 텍스트를 실제 마크다운으로 출력해보자.
