
이번 포스팅에서는 지난 글에 이어
메인 화면에서 new Article 버튼을 누르면 새로운 글이 생성되게 해보자.
1. 버튼 링크 확인하기
<!-- index.ejs -->
<body>
    <div class = "container">
        <h1 class = "mb-4">Glog Articles</h1>
        <a href = "/articles/new" class = "btn btn-success">New Article </a>
new Atricle버튼의 링크가/articles/new에 연결되어 있는 것을 기억하자.
2. 라우팅 설정하기
// /routes/article.js
const express = require('express');
const router = express.Router();

router.get('/new', (req, res) => {
    res.render(`articles/new`);
})

module.exports = router;
로컬주소/new 에다 articles 디렉토리의
new.ejs파일을 렌더링한다.
3. 폴더정리, 파일만들기
위 2번 작업에서 articles/new 에 연결했으나, 해당 파일이 아직 없으므로, 폴더를 만든다.
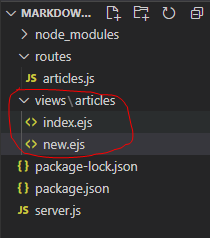
views/articles에
new.ejs를 만드는 김에,index.ejs도 해당 디렉토리로 옮겼다.
index.ejs 도 결국은 게시글들의 목록을 보여주는 화면이기 때문.
// server.js
app.get('/', (req,res) => {
    const articles = [{
        title: "Test Article",
        createdAt : new Date(),
        description: 'Test descrtiption'
    },
    {
        title: "Test Article2",
        createdAt : new Date(),
        description: 'Test descrtiption2'
    }]
    // index 파일의 위치 변경에 따라 render내 인자도 경로를 수정해줬다.
    res.render("articles/index", { articles: articles});
})
4. 새 글 view 개발하기
<!-- new.ejs 의 body 내부 -->
<body>
    <div class = "container">
       <h1 class = "mb-4">New Article</h1>
       <form action = "/articles" method="POST">

       </form>
    </div>
</body>
HTTP 의 POST 요청으로 /articles 에 form 태그 내부의 내용을 보낸다.
5. 글 에디팅 화면 템플릿 만들기
위 4번에 어떤 html을 그릴지를 잘 생각해보자.
블로그에 글을 새로 쓸 때와 이미 있는 글을 편집 할 때,
두 가지 경우 모두 같은 화면을 공유한다는 걸 알 수 있다.
따라서 새 글 과 글 편집 에 모두 사용될 html 템플릿을 따로 만들자.
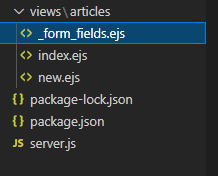
_로 시작하는 파일명은 해당 파일이 다른 ejs 파일들과 달리
페이지의 일부만 보여주는 일종의 partial view 임을 나타내기 위함이다.
<!--- _form_fields.ejs --->

<div class="form-group">
    <label for="title">Title</label>
    <input type="text" name="title" id = "title" class = "form-control">
</div>

<div class="form-group">
    <label for="description">Description</label>
    <textarea name="description" id ="description" class ="form-control"></textarea>
</div>

<div class="form-group">
    <label for="markdown">Markdown</label>
    <textarea name="markdown" id ="markdown" class ="form-control"></textarea>
</div>

<a href = "/" class="btn btn-secondary">Cancel</a>


<button type = "submit" class = "btn btn-primary">Save</button>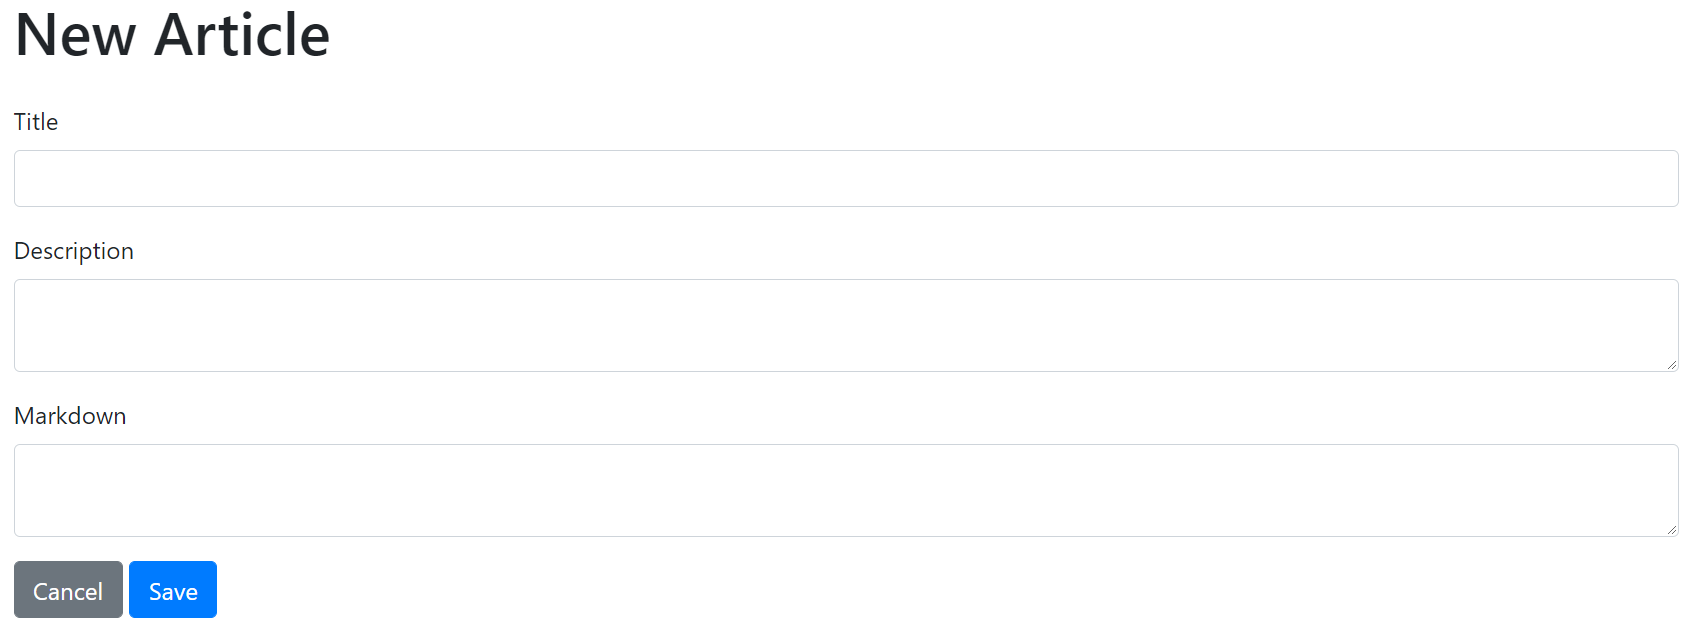
다음 포스팅에서는 로컬주소/articles/new 에서 Save 버튼을 누르면
POST 요청이 들어오도록 데이터베이스 연결을 설정해보자.

저는 New Article 제목만 나오는데 _form_fields.ejs 에서 만든 템플릿을 넣어주려면 어떻게 해댜 되나요?!