[The Killer Website Project] Section 5. The Killer Website Project 학습내용정리
#41 - 42 Building the features section
#41 Building the features section - Part 1
Section 태그 추가하기
<section>: HTML 문서의 독립적인 구획을 나타내며, 더 적합한 의미를 가진 요소가 없을 때 사용.
<header>태그와 동일하게 컨테이너 역할(인덴테이션 같게!)을 하는 <section>태그를 body 내부에 추가한다.
[ HTML ]
<body>
    <header></header>
    <section></section>
</body>
HTML Special Characters / Special Entities 사용하기
html에는 특수문자를 나타낼 수 있는 html special characters(a.k.a special entities)문법이 존재한다.
일반적인 -대신에 &mdash를 입력해 —(좀 더 긴 하이픈)를 추가한다.
[ HTML ]
&NamedCode(혹은 &NumericCode)//Ex. /*html*/ <h2>Get food fast — not fast food</h2>
output ⬇️
+더 많은 html special characters 보기
Grid 만들기
[ HTML ]
//Ex.
/*html*/
      <div class="row"> <--❗️만일 브라우저의 width 100%를 모두 채우는 넓이라면 row 클래스가 필요없다❗️
        <div class="col span-1-of-4">
          <h3>Up to 365 days/year</h3>
          <p>
            //본문 생략..
          </p>
        </div>
        <div class="col span-1-of-4">
          <h3>Ready in 20 minutes</h3>
          <p>
            //본문 생략..
          </p>
        </div>
        <div class="col span-1-of-4">
          <h3>100% organic</h3>
          <p>
            //본문 생략..
          </p>
        </div>
        <div class="col span-1-of-4">
          <h3>Order anything</h3>
          <p>
            //본문 생략..
          </p>
        </div>
      </div>
/*css - grid column setup(preset css 파일 사용)*/
.col {
  display: block;
  float: left;
  margin: 1% 0 1% 1.6%;
}
.col:first-child {
  margin-left: 0;
}
.span-1-of-4 {
  width: 23.8%;
}
output ⬇️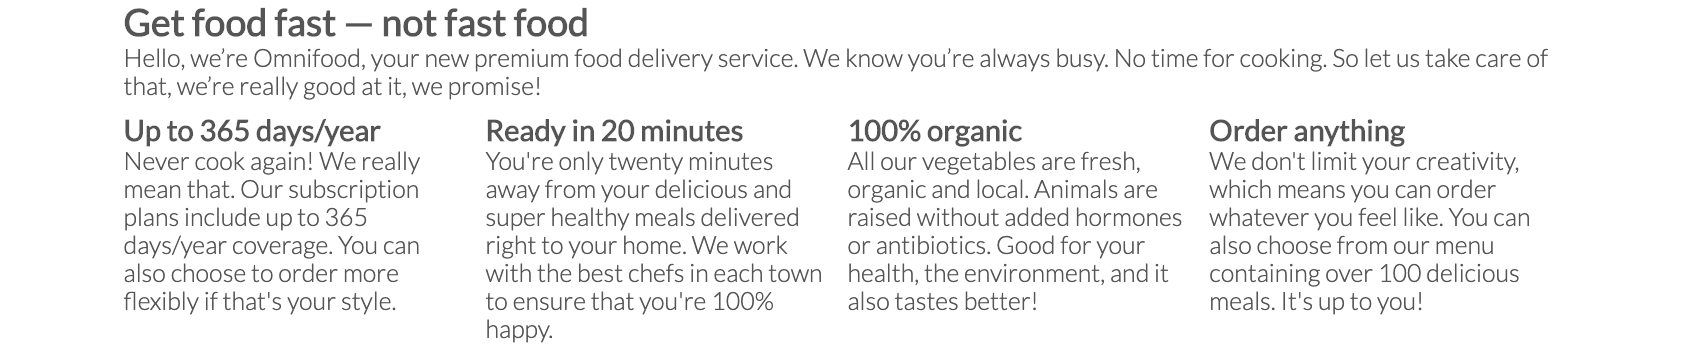
Icon font 추가하기
icon font 제공 웹사이트(대표적으로 https://ionicons.com/)에서 원하는 아이콘 이름(혹은 코드)을 복사해온 후 형식에 맞춰 기재한다.
[ HTML ]
body종료태그 전에 기재:<script src="https://unpkg.com/ionicons@5.2.3/dist/ionicons.js"></script>
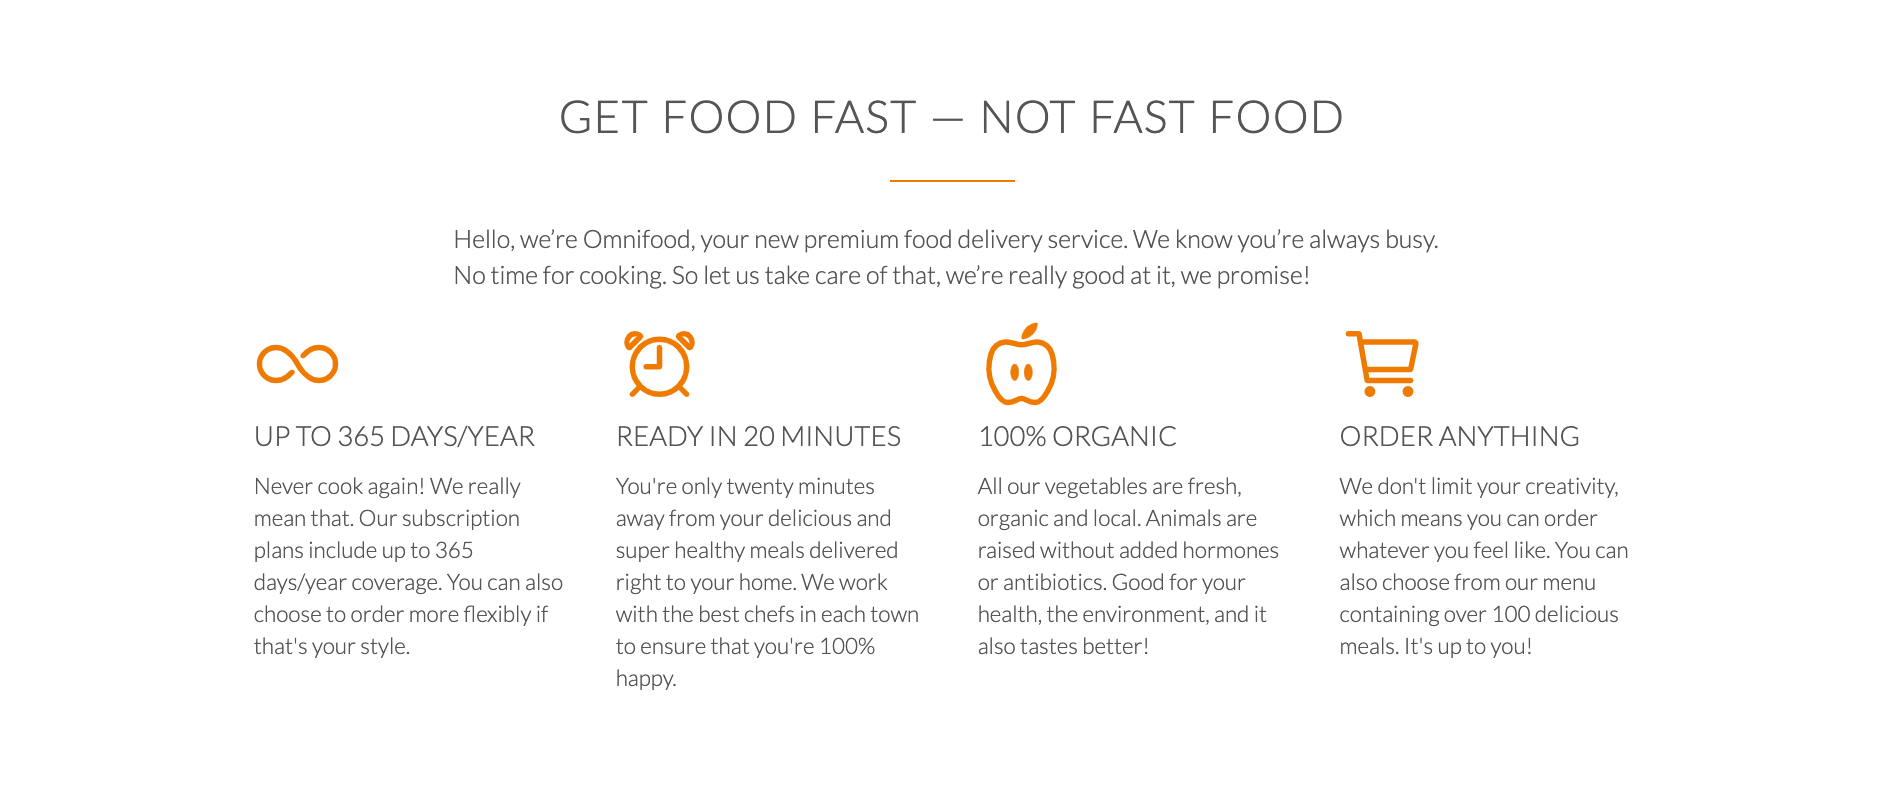
icon 위치에 기재:<ion-icon name="아이콘명칭"></ion-icon>//Ex. /*html*/ <div class="col span-1-of-4"> <ion-icon name="accessibility-outline"></ion-icon> ⭐️⭐️⭐️ <h3>Up to 365 days/year</h3> <p> Never cook again! We really mean that. Our subscription plans include up to 365 days/year coverage. You can also choose to order more flexibly if that's your style. </p> </div> . . . //중간 내용 생략 <script src="https://unpkg.com/ionicons@5.2.3/dist/ionicons.js"></script> ⭐️⭐️⭐️ </body> /*css*/ ion-icon { font-size: 64px; <---❗️아이콘 속성을 바꾸고싶을 때❗️ color: #e67e22; /*font이기 때문에 색상도 바꿀 수 있다*/ }
output ⬇️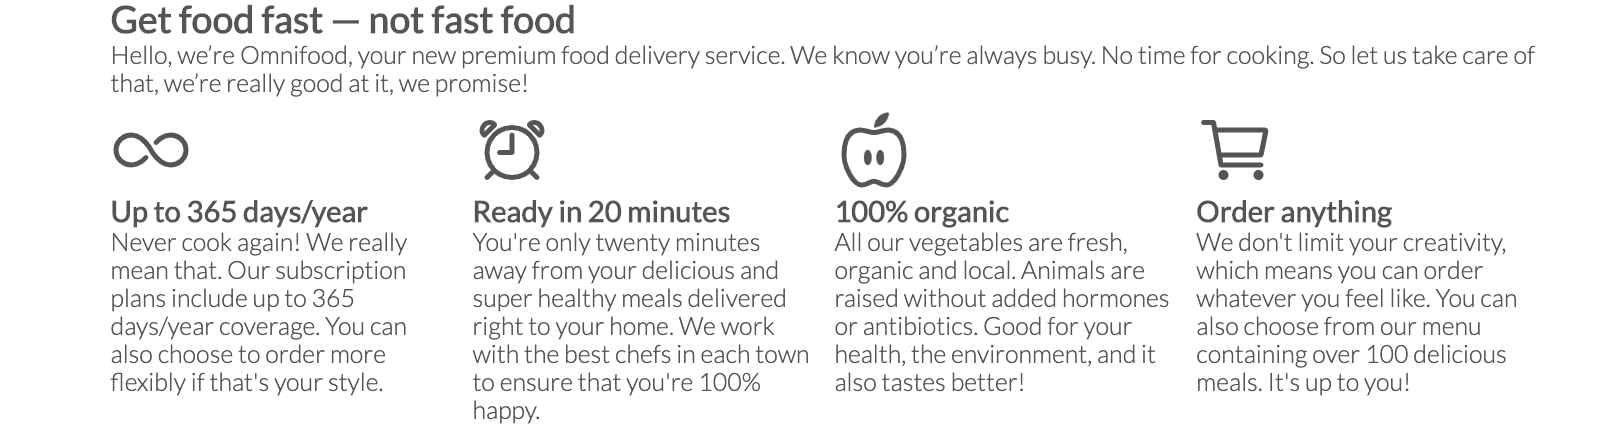
#42 Building the features section - Part 2
white space(공백) 만들기
[ CSS ]
padding: __px;//Ex. /*html*/ <section class="section-features"> /*css*/ section { padding: 80px 0; ⭐️⭐️⭐️ //top&bottom:80px, left&right:0px }
output ⬇️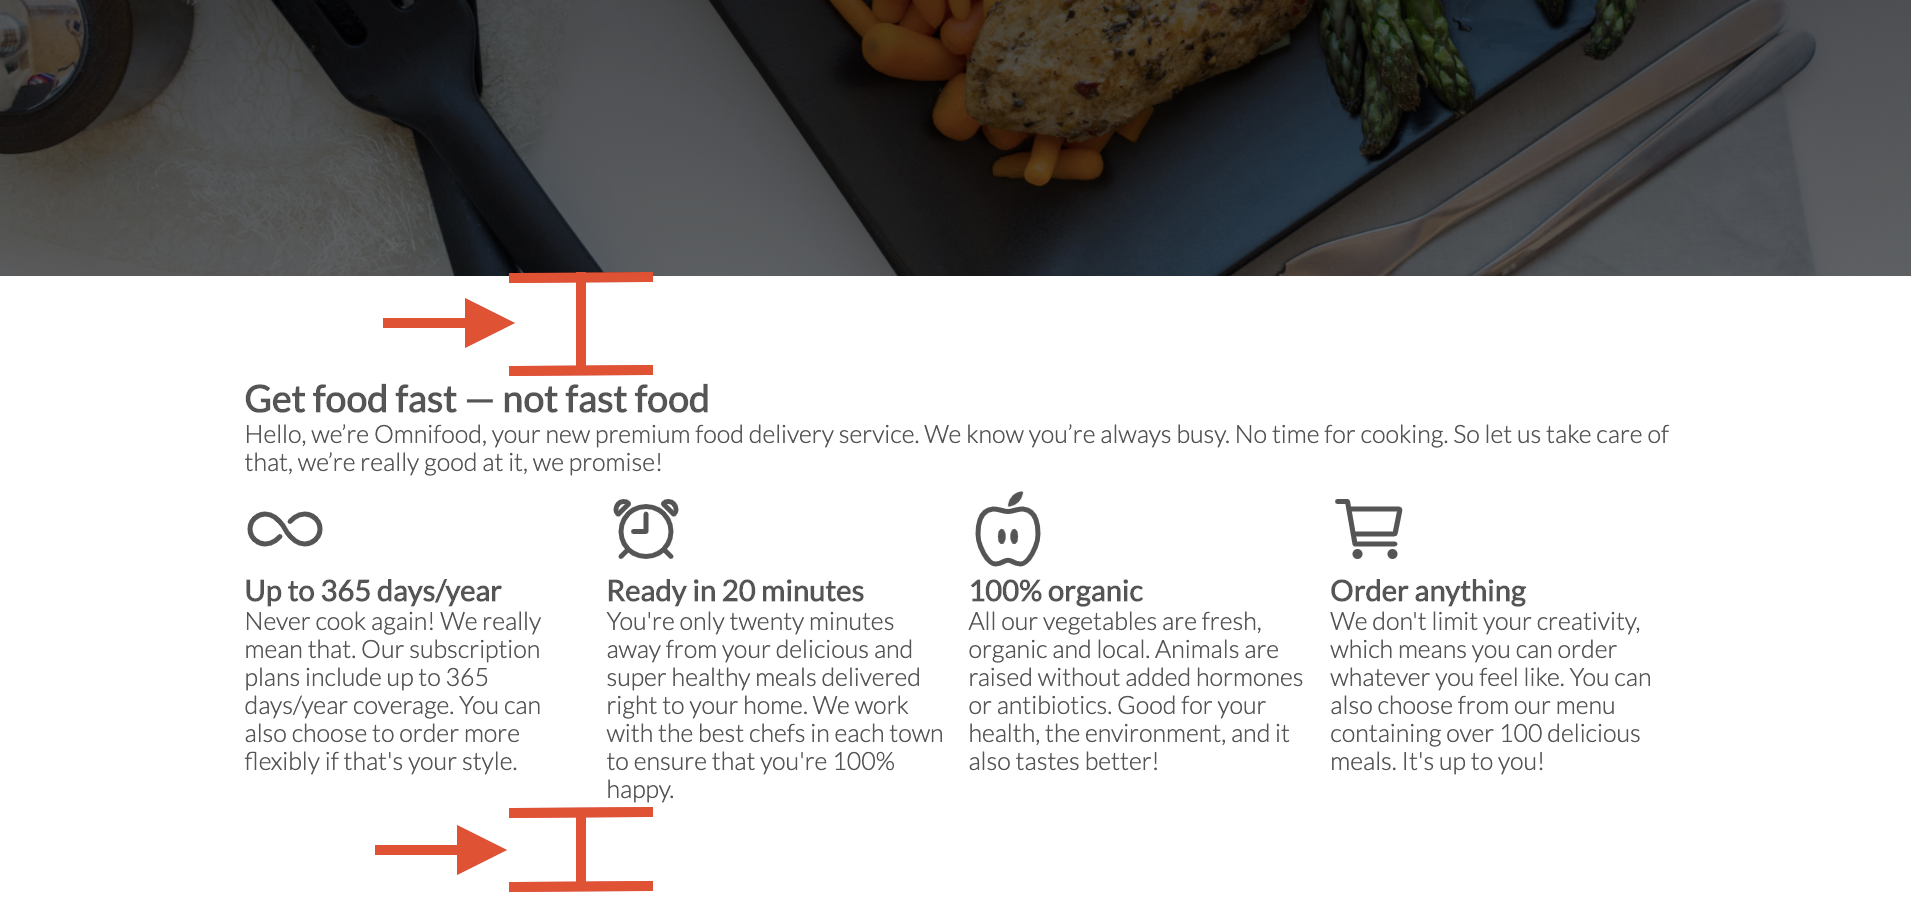
'After' Pseudo-class로 Content 추가하기
Pseudo element(의사 요소)를 이용하면 CSS만으로 본문에 content를 추가하는 것이 가능하다.
[ CSS ]
a::after {
content: "추가할 내용";
}//Ex. /*html*/ <h2>Get food fast — not fast food</h2> /*css*/ h2::after { /*h2 뒤에 오렌지 border추가하는 코드*/ ⭐️⭐️⭐️ display: block; height: 2px; background-color: #e67e22; content: " "; ⭐️⭐️⭐️ <--❗️넣을 텍스트가 없을 때는 " "로❗️ width: 100px; margin: 0 auto; /*센터링하기*/ margin-top: 30px; /*h2랑 line사이 간격*/ }
output ⬇️ 
Paragraph(문단) 넓이 조절하기
p태그로 감싸진 텍스트 문단의 넓이를 조절하기 위해서는 width가 총합 100%를 만드는 것을 염두해두고 margin의 크기를 조절해야한다.
문단넓이(100%) = width(n%) + 양옆margin(n%)
[ CSS ]
width: __%;
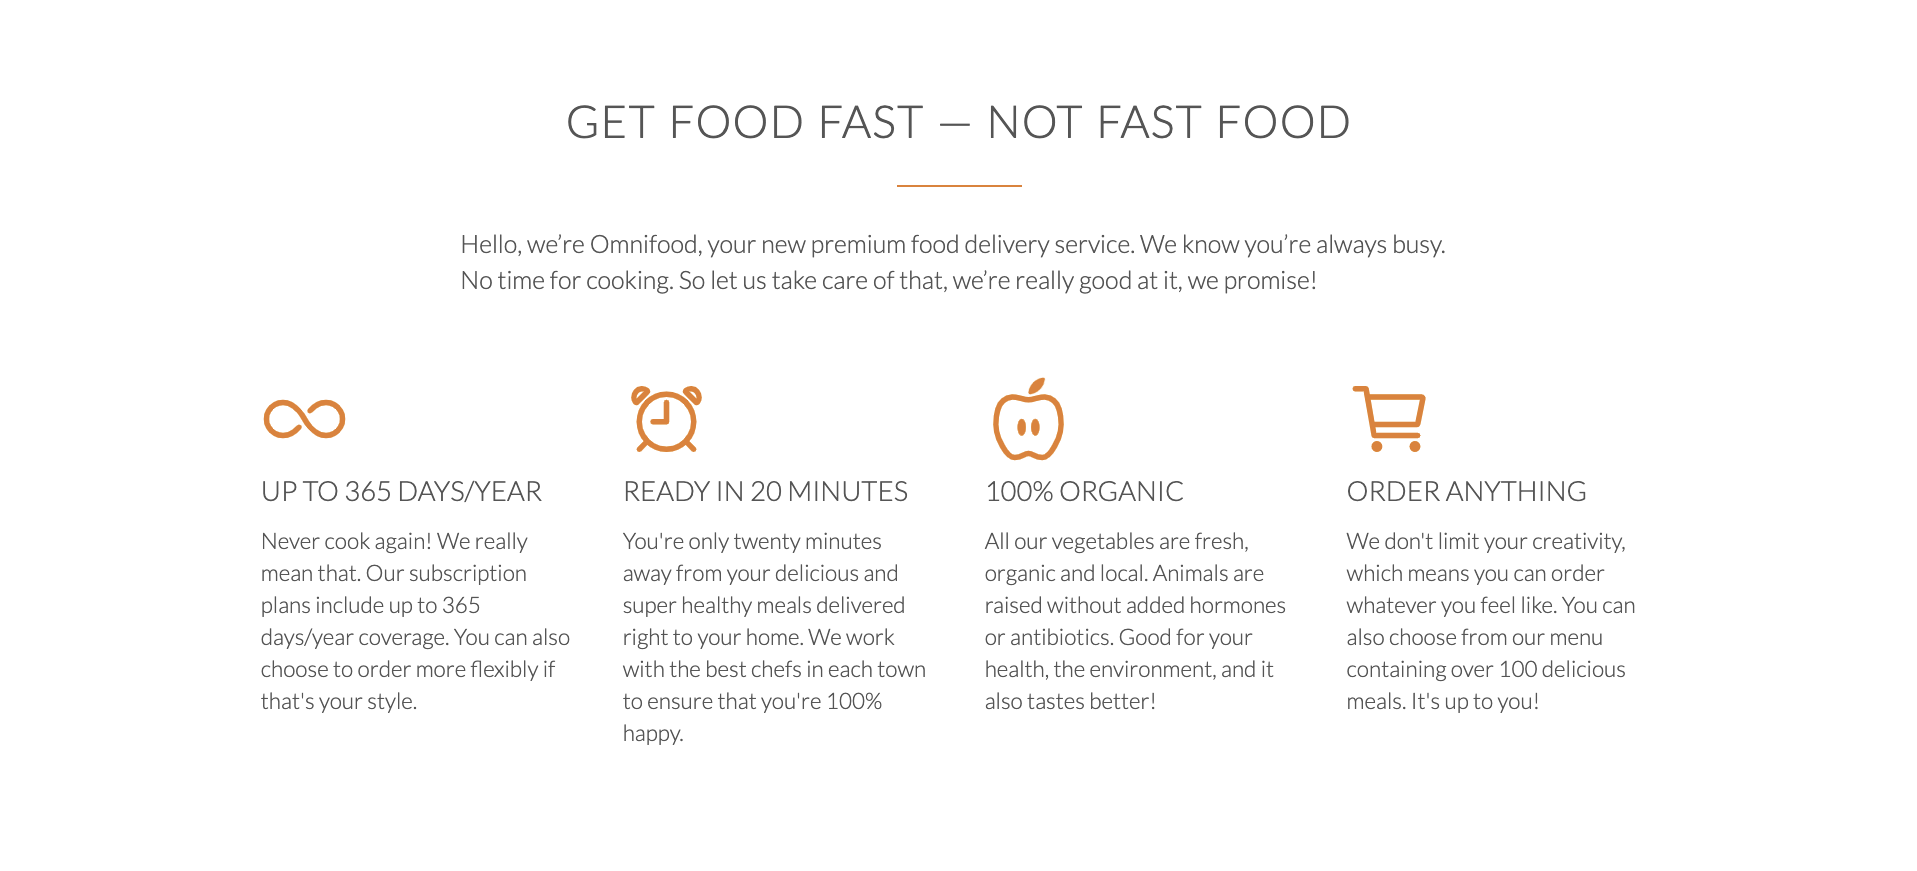
margin-left(or right): ((100 - width) / 2 )%//Ex. /*css*/ .long-copy { line-height: 145%; /*120 ~ 145% 권장*/ width: 70%; ⭐️⭐️⭐️ margin-left: 15%; ⭐️⭐️⭐️/*total:100%이기 떄문에 width를 뺸 나머지 30을 15%씩 나누면 양쪽에 15%씩 margin이 생긴다.*/ }
Before ⬇️
After ⬇️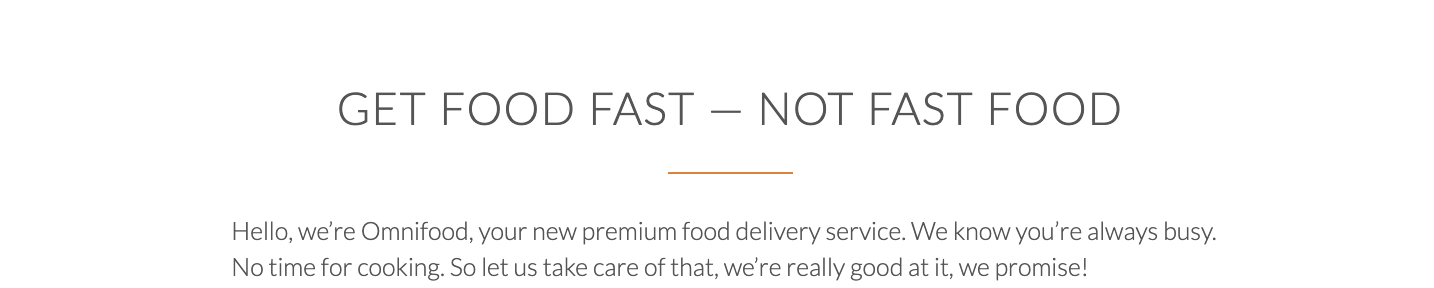
CSS선택자: 하위요소 클래스명으로 불러오기
원하는 요소와 같은 클래스 이름을 가진 요소들이 여럿일 때, 해당 요소 하나만 선택하고자 한다면 .부모클래스명 .자식클래스명(원하는 클래스명) {}으로 불러올 수 있다.
[ CSS ]
.부모클래스명 .자식클래스명 {
}//Ex. /*html*/ <section class="section-features"> <div class="row"> <h2>Get food fast — not fast food</h2> <p class="long-copy"> Hello, we’re Omnifood, your new premium food delivery service. We know you’re always busy. No time for cooking. So let us take care of that, we’re really good at it, we promise! </p> </div> </section> /*css*/ .section-features .long-copy { ⭐️⭐️⭐️ margin-bottom: 40px; }
long-copy 라는 클래스명을 가진 요소는 여럿이지만 section-features클래스명을 가진 section태그 하위의 long-copy클래스는 하나이기 때문❗️
output ⬇️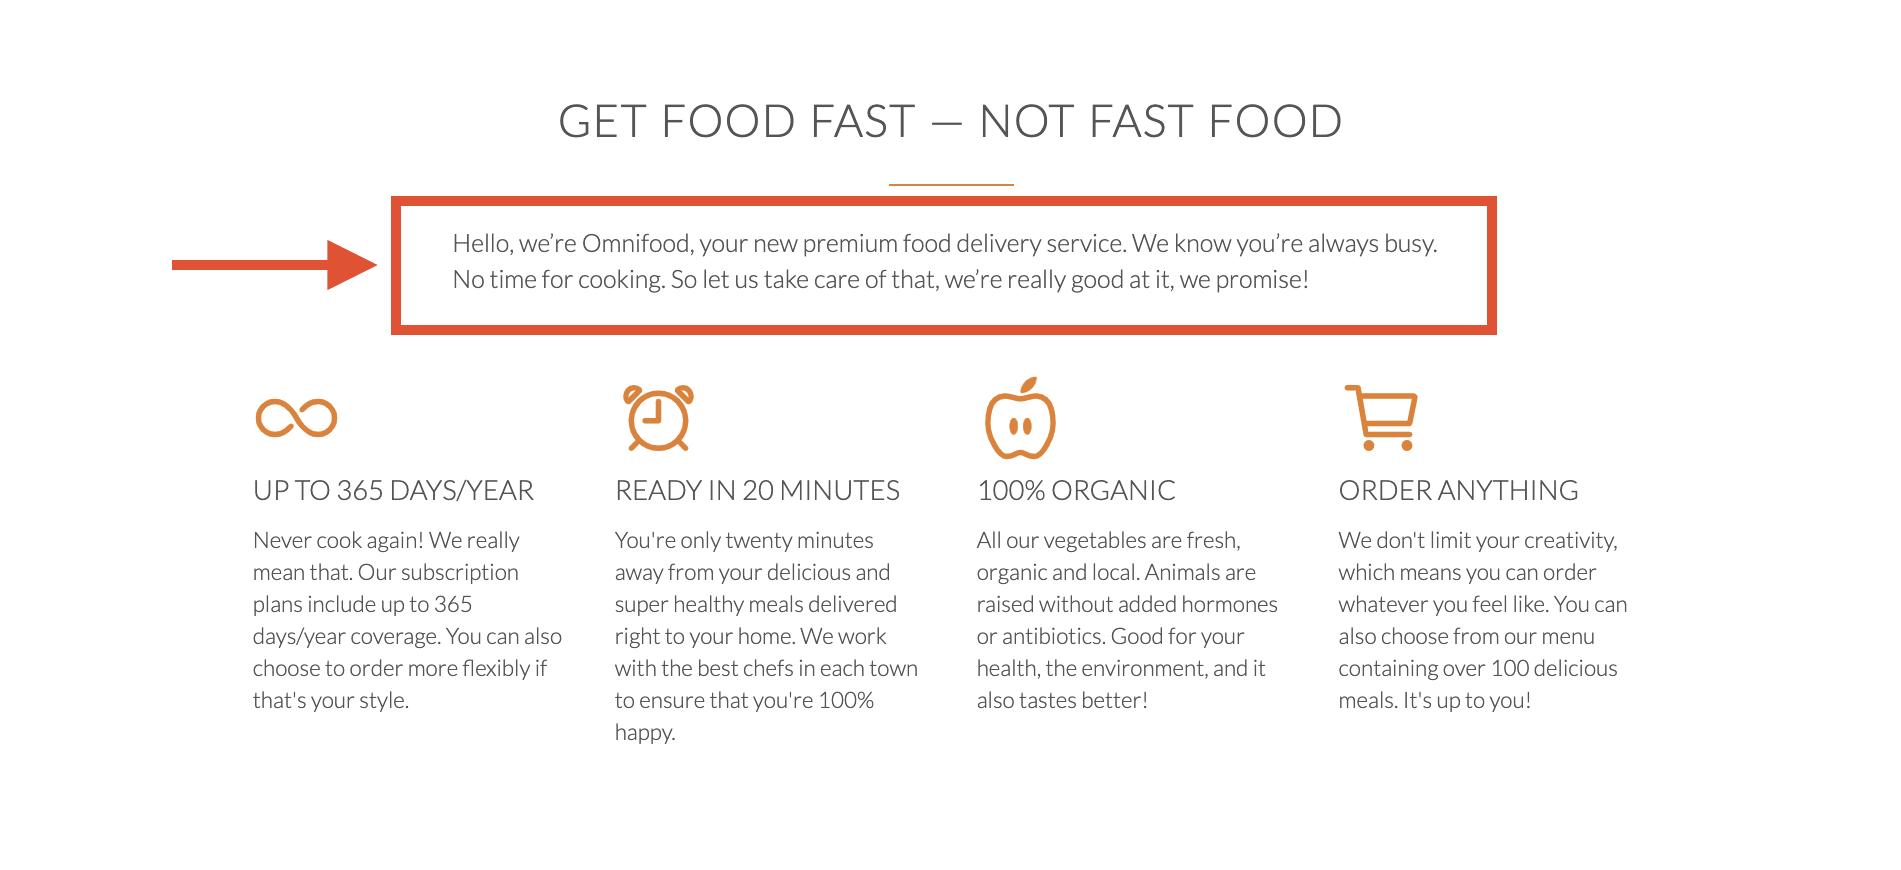
Features Section 완성
Reference
*본 게시물은 Udemy의 'Build Responsive Real World Websites with HTML5 and CSS3'강좌 내용을 포함하고 있습니다.
https://www.udemy.com/course/design-and-develop-a-killer-website-with-html5-and-css3/
https://developer.mozilla.org/ko/docs/Web/HTML/Element/section
https://www.rapidtables.com/web/html/html-codes.html
https://ionicons.com/
