Prerequisites(전제 조건)
- Node.js(and npm)
Procedure
install
npm install --save @tinymce/tinymce-react
example
import React, { useRef } from 'react';
import { Editor } from '@tinymce/tinymce-react';
export default function App() {
const editorRef = useRef(null);
const log = () => {
if (editorRef.current) {
console.log(editorRef.current.getContent());
}
};
return (
<>
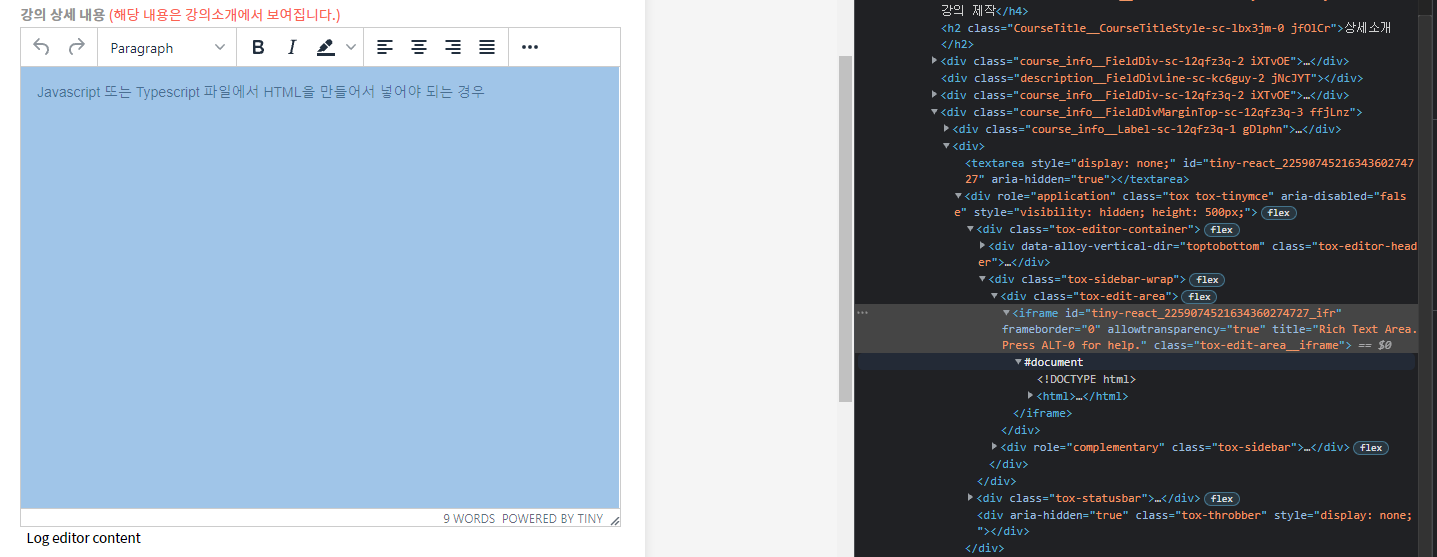
<Editor
onInit={(evt, editor) => editorRef.current = editor}
initialValue="<p>This is the initial content of the editor.</p>"
init={{
height: 500,
menubar: false,
plugins: [
'advlist autolink lists link image charmap print preview anchor',
'searchreplace visualblocks code fullscreen',
'insertdatetime media table paste code help wordcount'
],
toolbar: 'undo redo | formatselect | ' +
'bold italic backcolor | alignleft aligncenter ' +
'alignright alignjustify | bullist numlist outdent indent | ' +
'removeformat | help',
content_style: 'body { font-family:Helvetica,Arial,sans-serif; font-size:14px }'
}}
/>
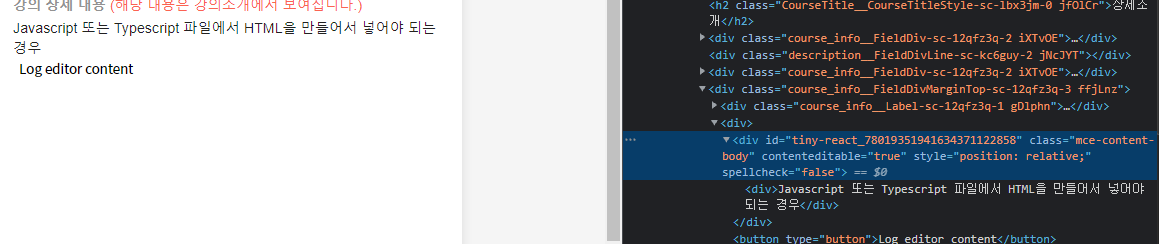
<button onClick={log}>Log editor content</button>
</>
);
}
TinyMCE에 대한 접근 방법 : Tiny Cloud, self-hostng
Tiny cloud
- apiKey prop에 키를 전달
<Editor apiKey='your-api-key' init={{ /* your other settings */ }} />TinyMCE Self-hosted
- tinymceScriptSrc를 사용하여 React 앱과 독립적으로 TinyMCE를 배포
- tinymceScriptSrc prop에 구체적인 TinyMCE script 경로를 지정
<Editor tinymceScriptSrc="/path/to/tinymce.min.js" />- 이 외에도 여러가지 self-hosted 방법이 있지만 Tiny Cloud를 이용하는 방식을 사용할 것이기 때문에 이 포스트엔 더 이상 다루지 않음
TinyMCE React technical reference
Installing the TinyMCE React integration using NPM or Yarn
// npm
$ npm install --save @tinymce/tinymce-react
// yarn
$ yarn add @tinymce/tinymce-react
Configuring the editor
Configuring editor source
tinymce-react integration은 다음과 같이 이루어집니다.
1. 전역(global) tinymce가 페이지에 있는 경우 그것이 사용됩니다.
2. tinymceScriptSrc prop이 있으면 script 태그가 페이지에 추가되어 주어진 URL에서 TinyMCE를 불러옵니다.
3. 만약 위 1, 2번 조건들이 적용되지 않았다면, 페이지에 Tiny Cloud로 부터 TinyMCE를 불러오기 위한 스크립트 태그가 추가 됩니다.
다음 props들은 에디터를 구성하는 데 사용됩니다.
-
apiKey : Tiny Cloud API key.
- Tiny Cloud로 부터 불러올 때, 이 prop은 "This domain is not registered..." 경고 메세지를 없애는 데 사용됩니다.
-
cloudChannel : TinyMCE가 Tiny Cloud로 부터 불러올 때 사용되는 채널
-
scriptLoading : 스크립트 로딩 동작 prop
- asnyc와 defer 속성의 세팅을 허용합니다.
- 추가적인 지연 시간 milliseconds 단위로 추가할 수 있습니다.
-
tinyScriptSrc : The URL to use for sourcing TinyMCE, when loading a self-hosted version of TinyMCE
Configuring page elements
아래 props 들은 react integration이 생성하는 페이지 요소에 대한 일부 제어를 제공합니다.
id : The id attribute of the element that the editor is initialized on.
- 편집기가 초기화되는 요소의 id 속성입니다.
- textarea 태그의 id 매칭되는 부분이고 React에서 사용하는 경우 따로 설정하지 않아도 된다.
inline : 에디터를 페이지의 일부분으로 로드합니다.(페이지 스타일 공유)
- boolean


- inline 속성을 사용한 경우(그냥 보면 일반적인 웹페이지 처럼 보인다.)
- editor로 작성된 page영역을 클릭하면 에디터가 나온다.

- inline 속성을 사용하지 않은 경우, 일반적으로 우리가 생각하는 에디터화면이 나온다.
tagName : 인라인 에디터를 만드는 데 사용되는 태그
- 클래식한 iframe 방식의 에디터에서는 무시됩니다.
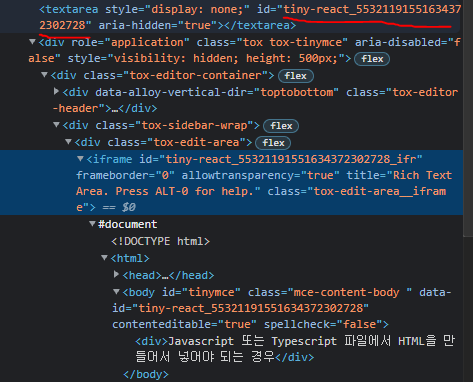
- 일반적으로 우리가 사용하는 에디터 모양은 tinyMCE에선 iframe방식으로 제공되는 것 같다.
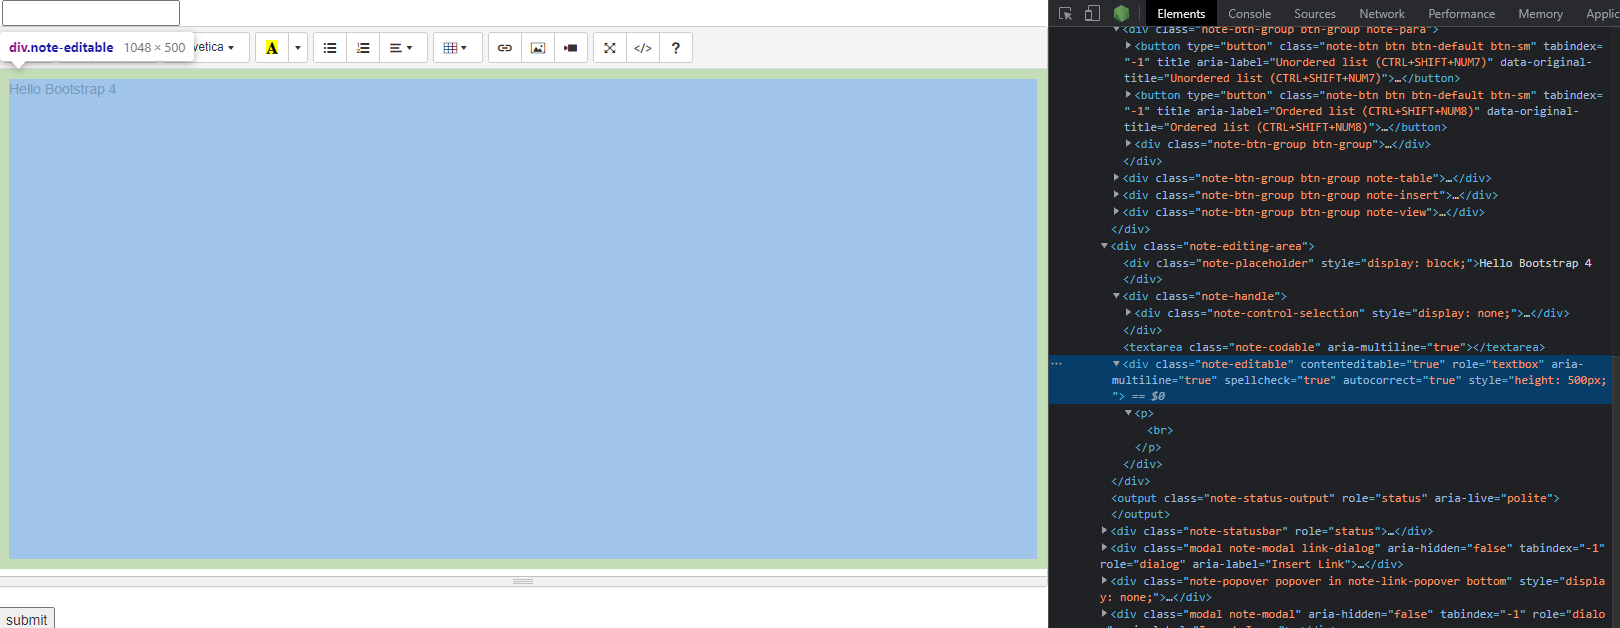
- 다른 예제코드로 해보았던 summernote에선 iframe을 사용하지 않았다.
- iframe에 대한 포스트
// inline과 tagName을 사용한 경우
<Editor
	inline
    tagName="aTagNameOfEditor"
	// ...
/>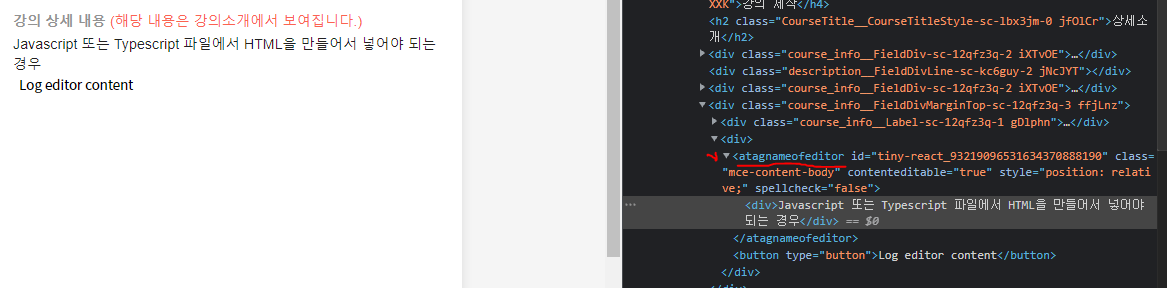
- iframe으로 에디터가 들어가지 않고 지정한 태그로 에디터가 들어갔다.
- default 태그는 div 이다.
textareaName
- textarea 태그(HTML 요소)의 name 속성입니다. 클래식(iframe) 편집기를 만드는 데 사용됩니다. 인라인 편집기에서는 무시됩니다.
- form태그로 에디터를 감싸고 submit 버튼으로 전송하려는 경우에 사용할 수 있을 것 같다.
Configuring editor settings
아래 props들은 에디터가 초기화 될 때 사용됩니다.
에디터가 시작된 후 변경사항들은 무시됩니다.
init
- TinyMCE가 초기화 될 때 전달되는 추가 옵션
plugins
- 에디터 플러그인을 지정
- init prop의 플러그인과 결합됨
toolbar
- 에디터 도구 모음을 지정
- init prop의 toolbar를 override 함
(여기에서 각종 에디터에 필요한 아이콘을 추가할 수 있는 것 같다.)
Managing the editor
아래 props들은 에디터가 초기화된 후 업데이트 될 수 있다.
disabled
- 읽기 전용 모드
initialValue
- 에디터의 시작 값
- 에디터가 로드된 후 이 값을 변경하면 에디터가 재설정 됨(에디터 내용 포함)
onBeforeAddUndo
- 에디터가 실행취소 단계를 생성하려 할 때 작동하는 이벤트 핸들러
- 필요한 경우 실행취소를 방지하기도 한다.
onEditorChange
- 에디터 변화를 감지하는 이벤트핸들러
- TinyMCE가 controlled component로써 구현될 때 유용하다.
onInit
- 에디터가 초기화되었을 때 알려주는 이벤트 핸들러
- 에디터의 초기값을 가져올 때 유용
- 제어되지 않는 구성요소에서 사용되는 에디터에 대한 참조를 얻는데 유용
value
- 에디터의 값을 설정하는데 사용
- 오직 controlled component에서만 사용됨
Available props
TinyReact component에서 필수 prop은 없지만 apiKey prop을 구성하지 않은 경우 Tiny Cloud에서 로드할 때 에디터에 대한 경고 메세지가 표시 됨
apiKey
- 이 도메인은 동록되지 않았습니다... 라는 메세지를 없애는 데 사용(Tiny Cloud를 사용할 때)
cloudChannel
- 에디터에 사용되는 TinyMCE빌드를 '특정 버전 또는 안정성 수준을 나타내는 채널'로 변경
- default로 설정된 값 : 5-stable
- 적용 가능한 값들 : 5-stable, 5-testing, 5-dev, 5.10
- 5-stable : TinyMCE의 현재 enterprise release
- 5-testing : TinyMCE의 다음 enterprise release에 대한 현재 후보
- 5-dev : The nightly-build version of TinyMCE.
- A version number such as 5.10: The specific enterprise release version of TinyMCE.
disabled
read-only mode(true)와 standard editable mode(false) 중 선택 가능하게 함
- default : false
id
- tinymce.get('ID') 메소드로 에디터 인스턴스를 검색하는데 사용
- default으로 UUID가 생성 됨
init
- 에디터를 초기화하는데 사용
- tinymce.init({...}) 메서드로 설정
- basic settup
- tinymce-react의 init은 selector, target, readonly 옵션들이 필요가 없습니다.
- 만약 init에 selector, target, readonly 옵션들이 전달이 되더라도 integration에 의해 재정의 됩니다.
<Editor
  init={{
    plugins: [
     'lists link image paste help wordcount'
    ],
    toolbar: 'undo redo | formatselect | bold italic | alignleft aligncenter alignright alignjustify | bullist numlist outdent indent | help'
  }}
/>
initialValue
- 에디터의 초기 HTML
- initialValue는 에디터의 undo state와 cursor pointer를 재설정합니다.
- 에디터가 로드되기 전 또는 로드 후 비동기 프로세스에 의해 설정될 수 있음
const [initialValue, setInitialValue] = useState(undefined);
useEffect(() => {
  // a real application might do a fetch request here to get the content
  setTimeout(() => setInitialValue('<p>Once upon a time...</p>'), 500);
}, []);

return (
  <Editor
    initialValue={initialValue}
  />
);
inline
- 편집기를 인라인 모드로 설정하는 데 사용됩니다.
<Editor inline={true} />를 사용하는 것은 TinyMCE tinymce.init({...}) 메서드에서 {inline: true}를 설정하는 것과 같습니다.
onEditorChange
- TinyMCE의 컴포넌트 밖에서 에디터의 state를 저장하는데 사용 됨
- 이 prop은 TinyMCE React 컴포넌트를 제어 컴포넌트로 사용할 때 일반적으로 사용됩니다
- controlled component vs uncontrolled component 차이?
- value : 현재 에디터의 값(HTML)
- editor : 에디터에 대한 참조(reference)
- Using the TinyMCE React component as a controlled component.
plugins
<Editor
  plugins='lists code'
/>
scriptLoading
async
- TinyMCE를 로드하기 위해 생성된 스크립트 태그에 async 속성을 설정합니다.
- default value : false
defer
- TinyMCE를 로드하기 위해 생성된 스크립트 태그에 defer 속성을 설정합니다.
- default value : false
<Editor scriptLoading={{ async: true }}>tagName
<Editor inline={true} />인 경우에만 유효합니다. 인라인 모드에서 편집기의 HTML 요소를 정의하는 데 사용됩니다.
<Editor
  inline={true}
  tagName='section'
/>
textareaName
- 편집기가 클래식(iframe) 모드일 때만 유효합니다. 양식의 편집기에 사용되는 텍스트 영역 요소의 이름 속성을 설정합니다.
- form 을 사용할거 아니면 안쓸 것 같다.
<form method="post">
  <Editor
    textareaName='description'
  />
  <button type="submit">Submit</button>
</form>
toolbar
- 에디터의 아이콘들
<Editor
  plugins='code'
  toolbar='bold italic underline code'
/>
value
- controlled component로 작동할 때 편집기의 HTML 콘텐츠를 설정합니다.
- 이 prop(:value)이 현재 에디터의 내용과 다르면 에디터 컨텐트(내용)은 200ms안에 맞춰지고 undo level이 생성된다.
- 에디터 값 변경 불가 - 값 변경 안되는데 쓸일이 있을까? inline으로 사용할 경우엔 쓸 수도 있을 것 같다.
Using the TinyMCE React component as a uncontrolled component
- TinyMCE React component는 uncontrolled component로 사용되도록 설계되었다. 더 큰 문서들에서 잘 동작하도록
- onInit 이벤트 핸들러는 콘텐츠 검색을 지원하기 위해 편집기가 로드될 때 편집기 참조를 저장하는 데 사용할 수 있습니다.
Using the TinyMCE React component as a controlled component
- controlled component는 각 키 입력 또는 수정 시 전체 문서를 문자열로 변환해야 하므로 대용량 문서에서 성능 문제가 발생할 수 있습니다.
-에디터를 controlled component로 사용하려면 value 및 onEditorChange 소품이 모두 필요합니다. - value prop은 편집기 내용을 설정하고 재설정하는 데 사용됩니다. 최신 버전의 편집기 콘텐츠로 업데이트되지 않은 경우 편집기는 모든 변경 사항을 롤백합니다.
- onEditorChange prop은 에디터 내용이 변경될 때 실행될 이벤트 핸들러를 제공하는 데 사용됩니다. 변경 사항이 롤백되는 것을 방지하려면 편집기에 대한 변경 사항을 200밀리초 이내에 value prop에 적용해야 합니다.
고찰
- docs에 각 props에 대해서 설명을 해주는 부분에 예제 코드가 없어서 이해하는데 너무 불편하다.
- 문서를 처음부터 보다가 중반정도에서 다시 하나씩 자세히 다루는데 이때 예제 코드가 나온다.
- 모든 prop마다 예제가 다 나오는 것은 아니다.
참고 문헌