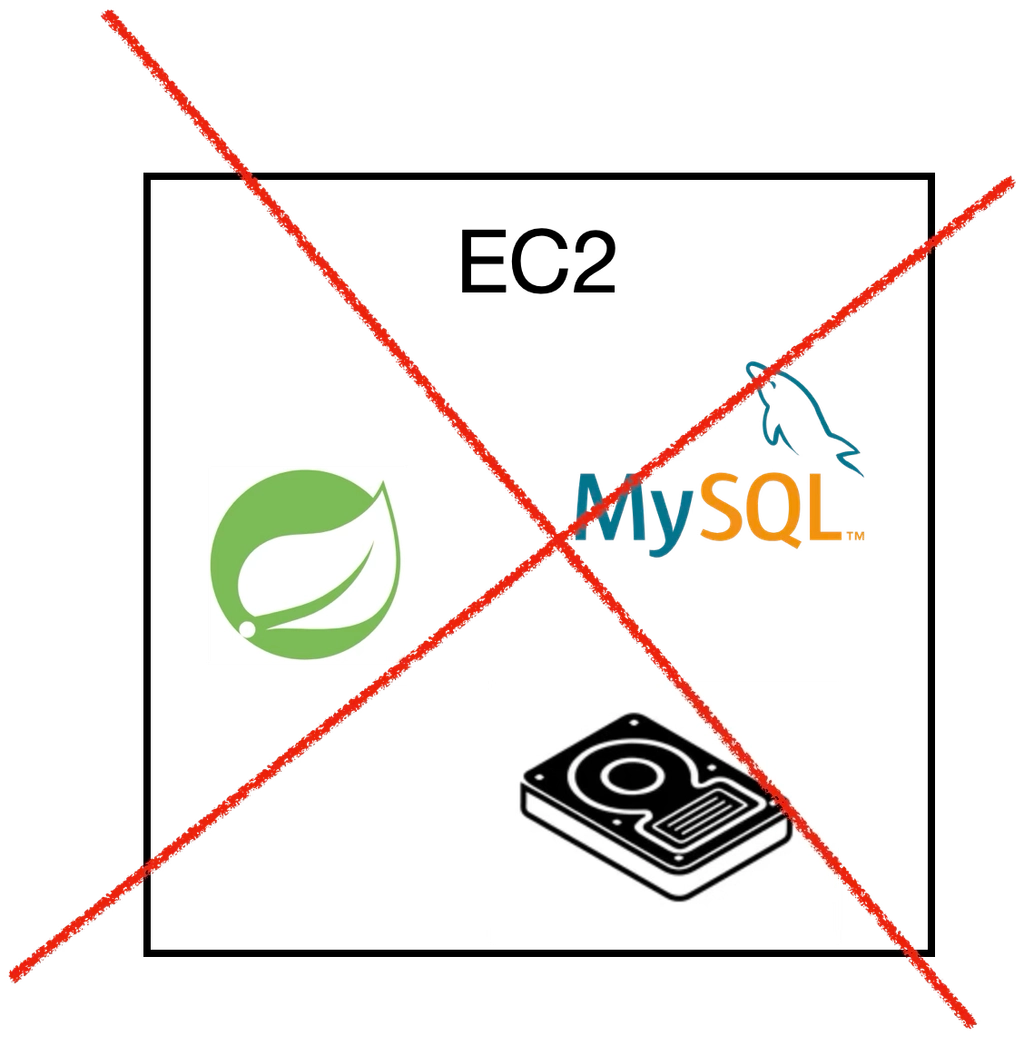
앱을 운영 환경에서 안정적으로 운영하려면 Stateless 패턴이 중요!
- 서버 유지 보수성
- 서버 확장성
| 패턴 | 의미 | 특징 |
|---|---|---|
| Stateless (상태 없음) | 앱이 상태를 저장하지 않음 | 서버 교체/확장 용이 |
| Stateful (상태 있음) | 앱이 상태를 저장함 | 서버 교체 시 데이터 유실 위험 |
Stateless 패턴의 핵심
- 앱은 언제든지 교체 가능하게
- 데이터는 외부에
S3와 RDS, Elasticache를 이용한 상태 분리
| 서비스 | 역할 | 해결하는 문제 |
|---|---|---|
| S3 (Simple Storage Service) | 외부 파일 저장소 | 파일 유실, 확장 문제 |
| RDS (Relational Database Service) | 외부 DB 서비스 | DB 관리 부담 |
| Elasticache | 외부 Redis 서비스 | Redis 관리 부담 |
| Stateful | Stateless |
|---|---|
 |  |
S3
Simple Storage Service
구조 예시
s3://my-app-bucket/
    ├── uploads/
    │   ├── profile/user1.jpg
    │   └── docs/report.pdf
    └── static/
└── logo.png - 버킷: 파일을 담는 저장소 컨테이너(폴더)
- 오브젝트: 저장된 파일 자체(파일)
- 키: 오브젝트의 고유 경로/이름(파일 경로)
user1.jpg에 접근할 때, uploads/profile/user1.jpg 전체가 하나의 키로 쓰인다.
버킷의 종류
- 범용 버킷
- 디렉터리 버킷
- 테이블 버킷
- 벡터 버킷
보편적으로 범용 버킷을 사용한다. (다른 버킷은 특수한 용도에 최적화된 형태라, 해당 목적 이외에는 거의 사용되지 않는다)
S3 보안
1. 퍼블릭 액세스 차단
기본적으로 모든 퍼블릭 접근을 차단
- 버킷 생성 시 기본값으로 적용 (따로 안건드려도 됨)
- 과거 퍼블릭 버킷으로 대량의 데이터가 유출된 사고 사례가 있음
- 2017년: 미국 유권자 1억 9천만 명 데이터 노출
- 2019년: 페이스북 사용자 5억 4천만 명 데이터 노출
ACL(Access Control List)
- 버킷/오브젝트별 접근 권한을 설정하는 기능
- 레거시 방식으로, 현재는 IAM 정책 사용 권장
2. 최소 권한
필요한 권한만 부여
- 기본적인 보안 원칙
버킷 생성 실습
- 버킷 이름:
camp-health-p4ngmin-files - 글로벌 네임스페이스로 생성
- 계정 리전 네임스페이스는 비교적 최근에 추가된 새 방식
- 큰 차이는 없고, 이름 규칙 관련한 내용이 다른 것으로 보임
- 기존 방식인 글로벌 네임스페이스가 보다 널리 쓰이고 자료가 많아 이걸로 진행
- 모든 퍼블릭 액세스 차단
- 이미 기본값으로 설정되어 있으니 건드리지 않고 확인만
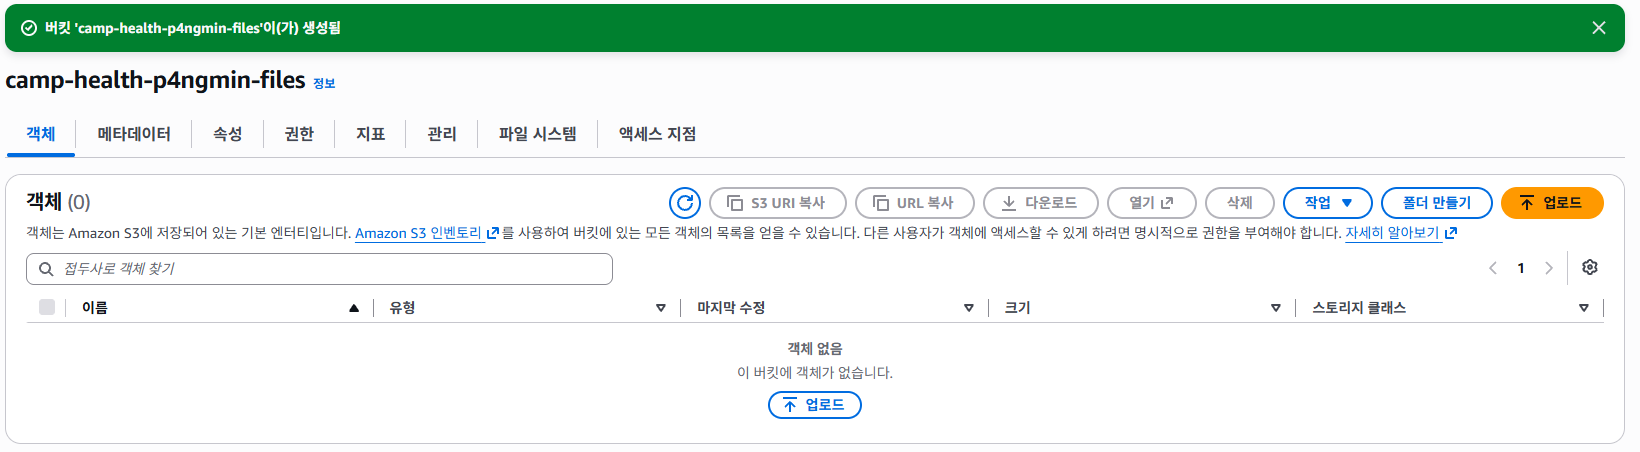
- 이제 파일 수동 업로드 가능 (다른 클라우드 스토리지 서비스처럼 사용할 수도 있다)
Presigned URL
임시로 접근을 허용하는 서명된 URL
- 유효 시간 설정 가능
- 유효 시간 내에는 누구나 해당 URL로 접근 가능
S3 버킷은 기본적으로 퍼블릭 액세스 차단이 되어있어(프라이빗 버킷), URL로 직접 접근할 수 없다.
Spring 연동: AWS 의존성 통합 관리
이전에 Parameter Store를 연동할 때와 같이, S3도 의존성을 필요로 한다.
이때, Parameter Store와 S3는 모두 aws에서 제공하는 서비스인데, 의존성 버전을 따로 명시하면 관리가 번거롭다. 버전 업그레이드 시 여러 의존성을 함께 수정해야 하고, 실수할 경우 버전이 달라 충돌할 수도 있다.
// 버전을 각각 명시 - 관리가 어려움
implementation 'io.awspring.cloud:spring-cloud-aws-starter-parameter-store:0.0.0'
implementation 'io.awspring.cloud:spring-cloud-aws-starter-s3:0.0.0'
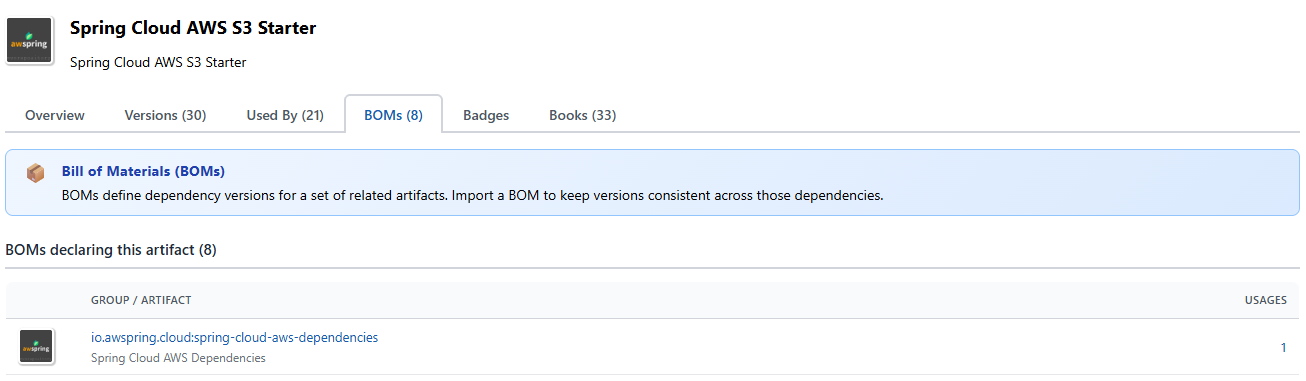
BOM (Bill Of Materials)
관련 의존성 라이브러리들의 버전을 한 곳에서 관리하는 명세서
// BOM으로 Spring Cloud AWS Starter 버전 통합 관리
implementation platform('io.awspring.cloud:spring-cloud-aws-dependencies:4.1.1-RC1')
implementation 'io.awspring.cloud:spring-cloud-aws-starter-parameter-store'
implementation 'io.awspring.cloud:spring-cloud-aws-starter-s3'
BOM을 불러와 버전을 명시해주면, 해당 명세서에 속한 의존성들은 자동으로 해당 버전으로 설정된다.
BOM도 Maven Repository에서 찾아서 사용하면 된다.
S3Template
Spring Cloud AWS가 S3Template를 빈으로 등록해주므로, DI해서 바로 사용 가능하다.
@RequiredArgsConstructor
public class XxxClass {
		private final S3Template s3Template; // DI
}
코드 한 줄로 간단히 파일을 업로드할 수 있다.
// 파일 업로드
s3Template.upload("my-bucket", "uploads/file.txt", inputStream);
실습용 사전 설정
application.properties
server.port=8080

# AWS Region
spring.cloud.aws.region.static=ap-northeast-2

# 파일 업로드 크기 제한
spring.servlet.multipart.max-file-size=10MB
application-local.properties
# 버킷 이름
spring.cloud.aws.s3.bucket=camp-health-p4ngmin-files.gitignore에application-local.properties추가- 로컬 설정은 깃으로 관리되어선 안됨
# properties
application-local.properties
DTO 정의
@Getter
@RequiredArgsConstructor
public class FileUploadResponse {
    private final String key;
}

@Getter
@RequiredArgsConstructor
public class FileDownloadUrlResponse {
    private final String url;
}
서비스 클래스
@Service
@RequiredArgsConstructor
public class S3Service {
    private static final Duration PRESIGNED_URL_EXPIRATION = Duration.ofMinutes(10); // 서명 URL 유효 시간 10분

    private final S3Template s3Template; // DI해서 사용

    @Value("${spring.cloud.aws.s3.bucket}")
    private String bucket;

    public String upload(MultipartFile file) {
        try {
            String key = "uploads/" + UUID.randomUUID() + "_" + file.getOriginalFilename();
            // 파일명이 중복되지 않도록 랜덤한 UUID를 붙여서 사용
            // UUID는 긴 랜덤값을 O(1)로 생성할 수 있음
            // UUID 자체가 유일성을 보장하지는 않음
            // 이론상 겹칠 수도 있지만, 확률이 희박함
            s3Template.upload(bucket, key, file.getInputStream());
            return key;
        } catch (IOException e) {
            // 적절한 커스텀 예외로 바꾸고, GlobalExceptionHandler로 핸들링 필요
            throw new RuntimeException("파일 업로드 실패", e);
        }
    }

    public URL getDownloadUrl(String key) {
        return s3Template.createSignedGetURL(bucket, key, PRESIGNED_URL_EXPIRATION);
    }
}
컨트롤러 클래스
@RestController
@RequiredArgsConstructor
public class FileController {
    private final S3Service s3Service;

    @PostMapping("/files/upload")
    public ResponseEntity<FileUploadResponse> upload(@RequestParam("file") MultipartFile file) {
        String key = s3Service.upload(file);
        return ResponseEntity.ok(new FileUploadResponse(key));
    }

    @GetMapping("/files/download-url")
    public ResponseEntity<FileDownloadUrlResponse> getDownloadUrl(@RequestParam String key) {
        URL url = s3Service.getDownloadUrl(key);
        return ResponseEntity.ok(new FileDownloadUrlResponse(url.toString()));
    }
}
S3 연동 로컬 테스트
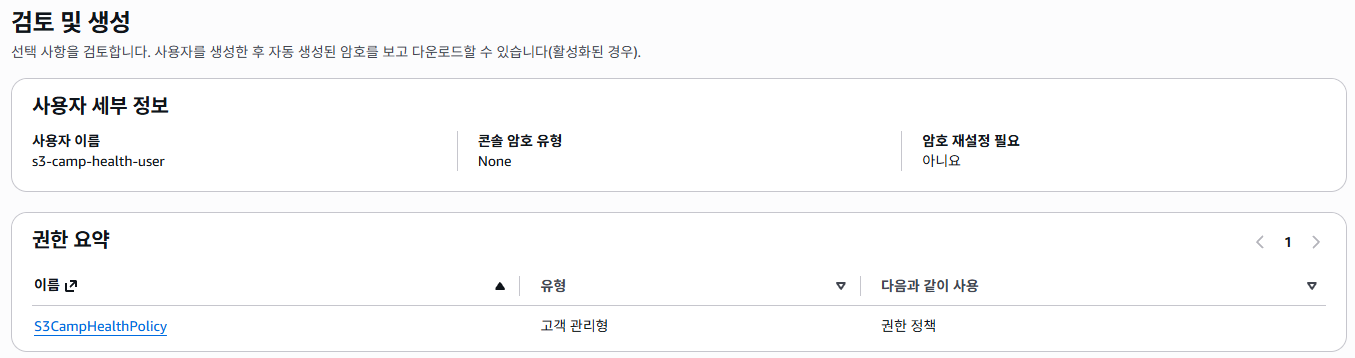
IAM 정책 생성
S3CampHealthPolicy라는 이름으로 생성
{
    "Version": "2012-10-17",
    "Statement": [
        {
            "Effect": "Allow",
            "Action": ["s3:PutObject", "s3:GetObject"],
            "Resource": "arn:aws:s3:::camp-health-p4ngmin-files/uploads/*"
        }
    ]
}
IAM 사용자 생성
- 생성 시 직전에 생성한 권한과 연결
액세스 키 생성
- 로컬 코드 용으로 생성
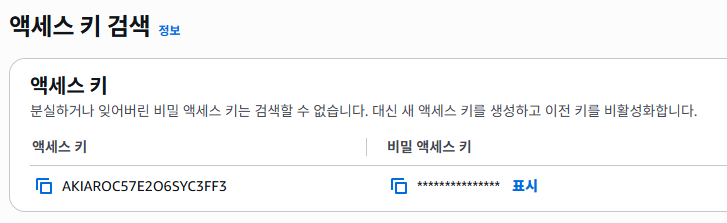
이 화면 이후 다시 확인할 수 없기에 복사해두어야 함
설정값(application-local.properties)에 액세스 키(환경 변수) 추가
spring.cloud.aws.credentials.access-key=AKIAROC57E2O6SYC3FF3
spring.cloud.aws.credentials.secret-key=...
Postman API 호출 테스트
트러블슈팅: 실행 프로필을
local로 설정해야 환경변수가 적용된다. 해당 설정을 누락하여 서버 앱 실행이 안되는 문제를 겪었다.
| 업로드할 파일 |
|---|
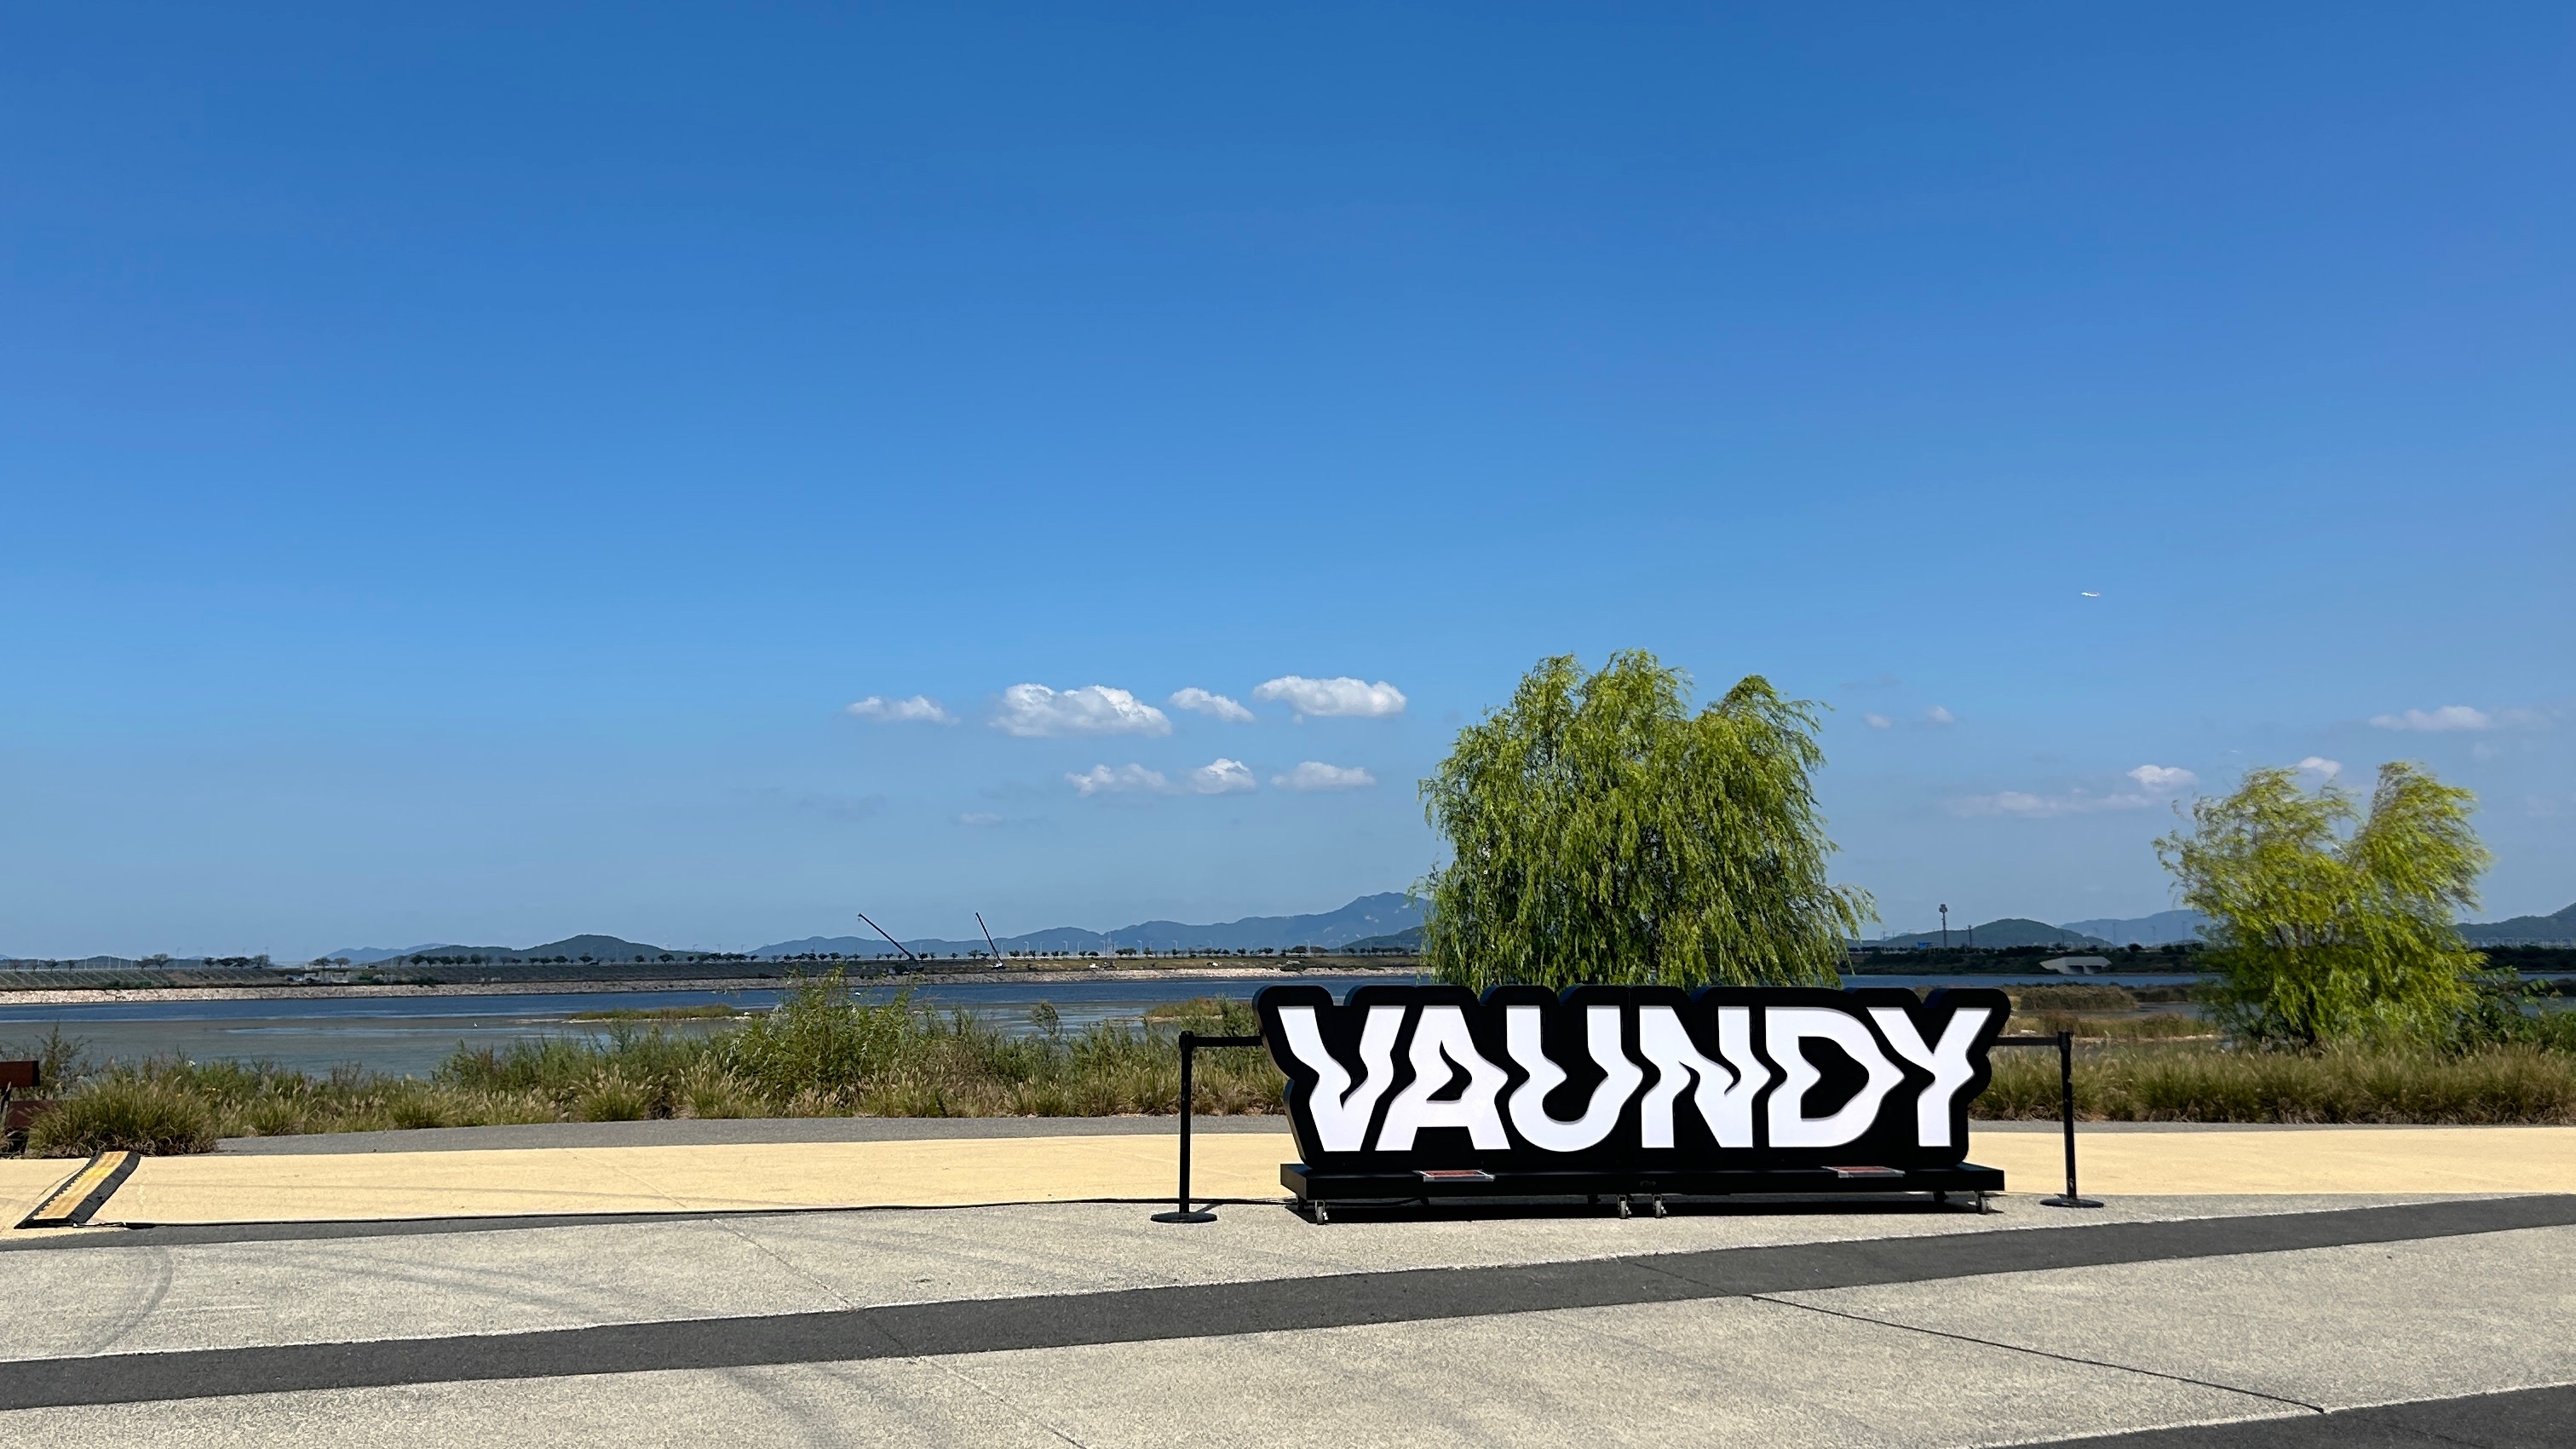 |
| 업로드 API 요청 | 다운로드 URL 요청 |
|---|---|
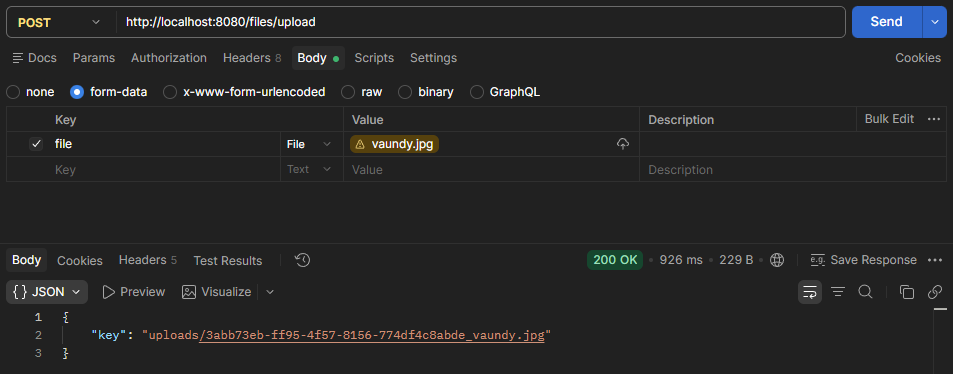 | 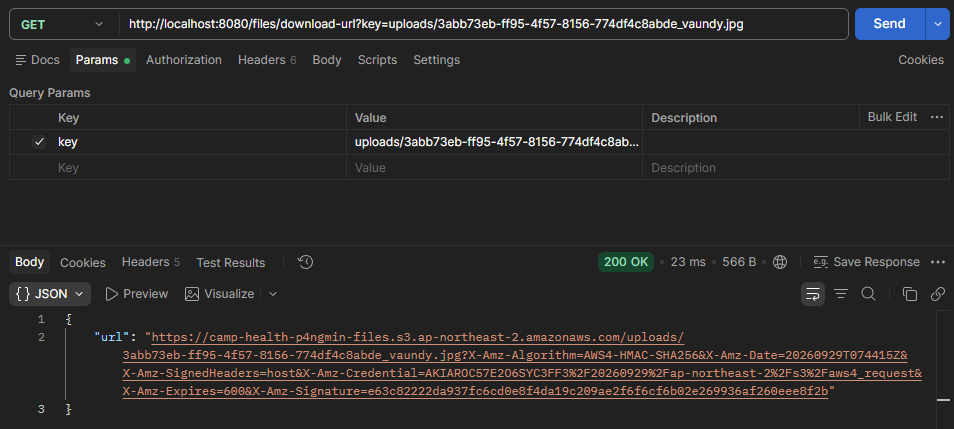 |
| S3 확인 |
|---|
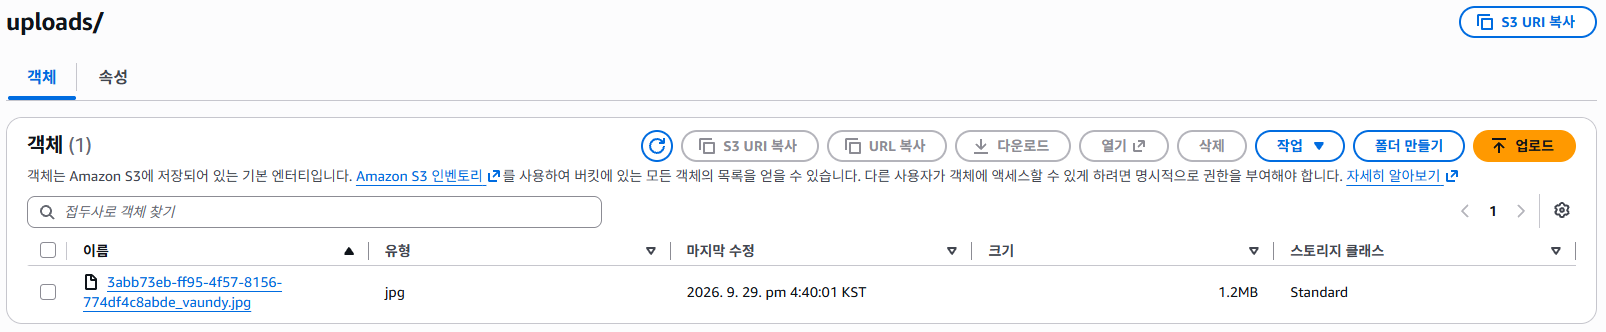 |
| 응답받은 서명 URL 접속 | 나중에(10분 이상 흐른 뒤) 재접속 시 |
|---|---|
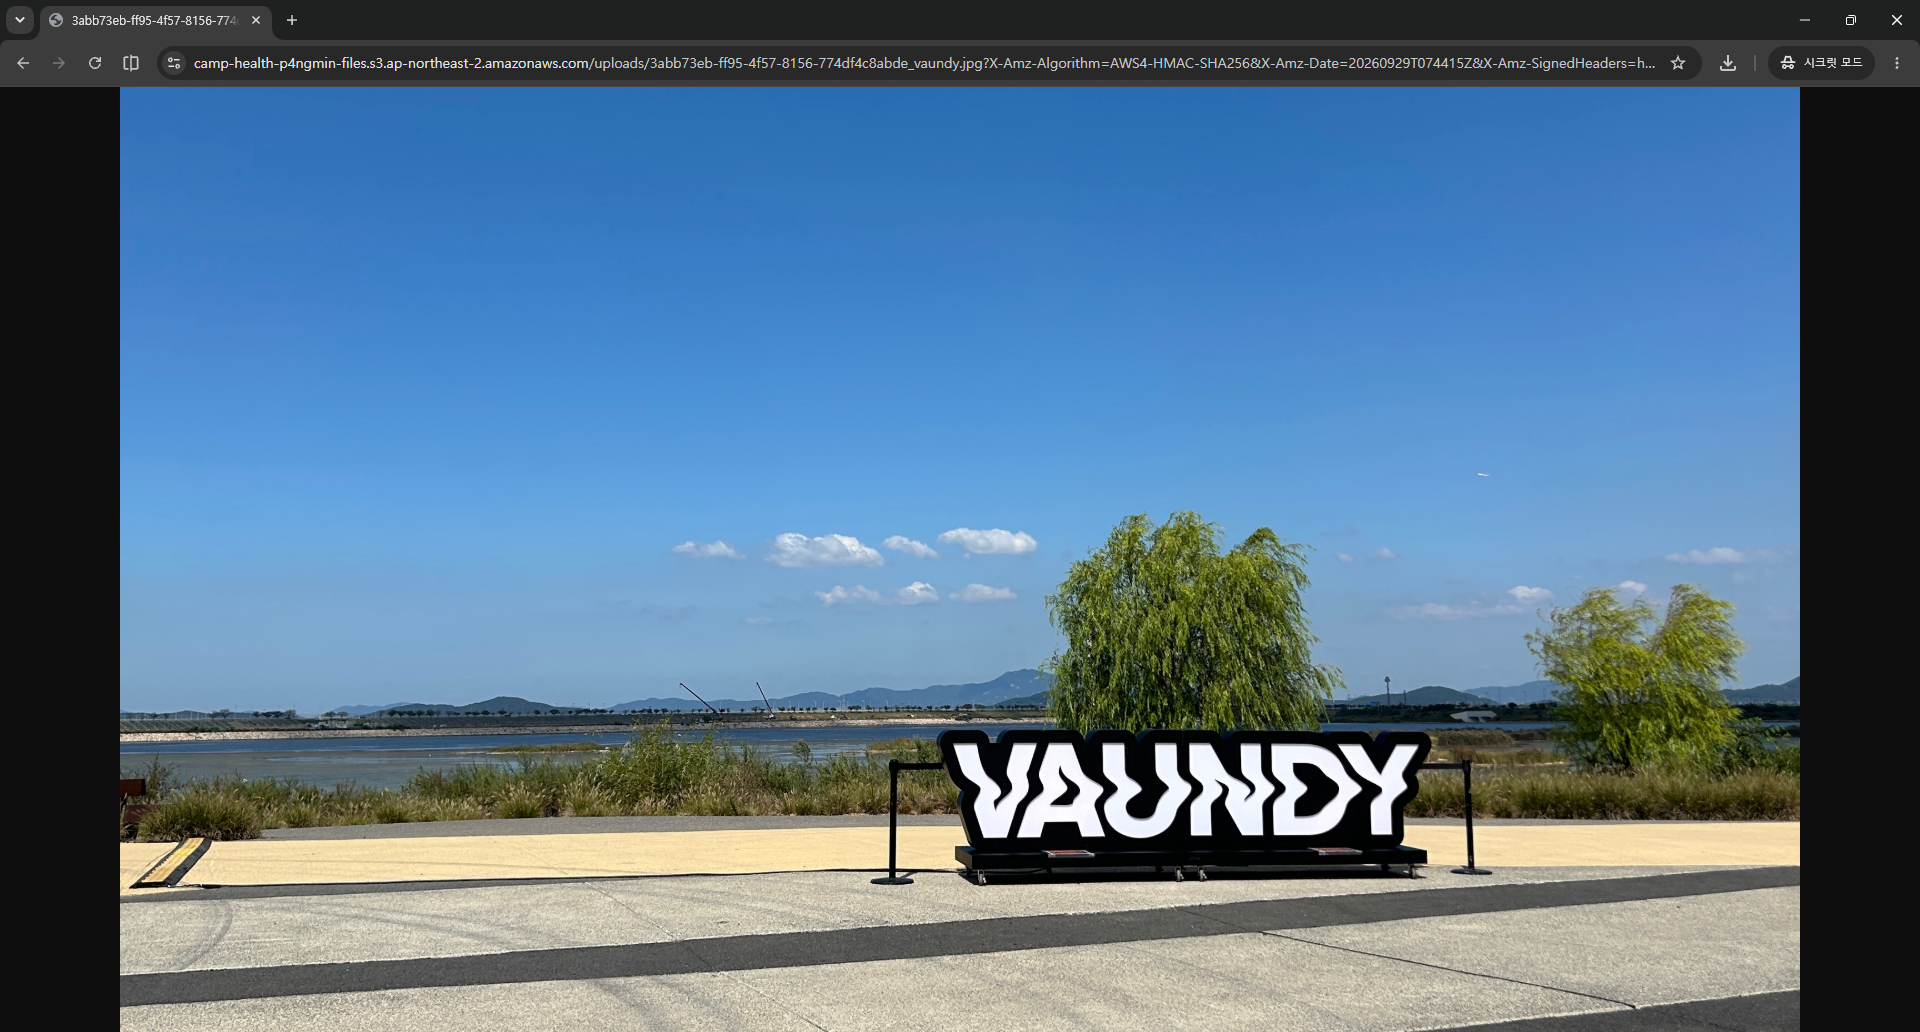 | 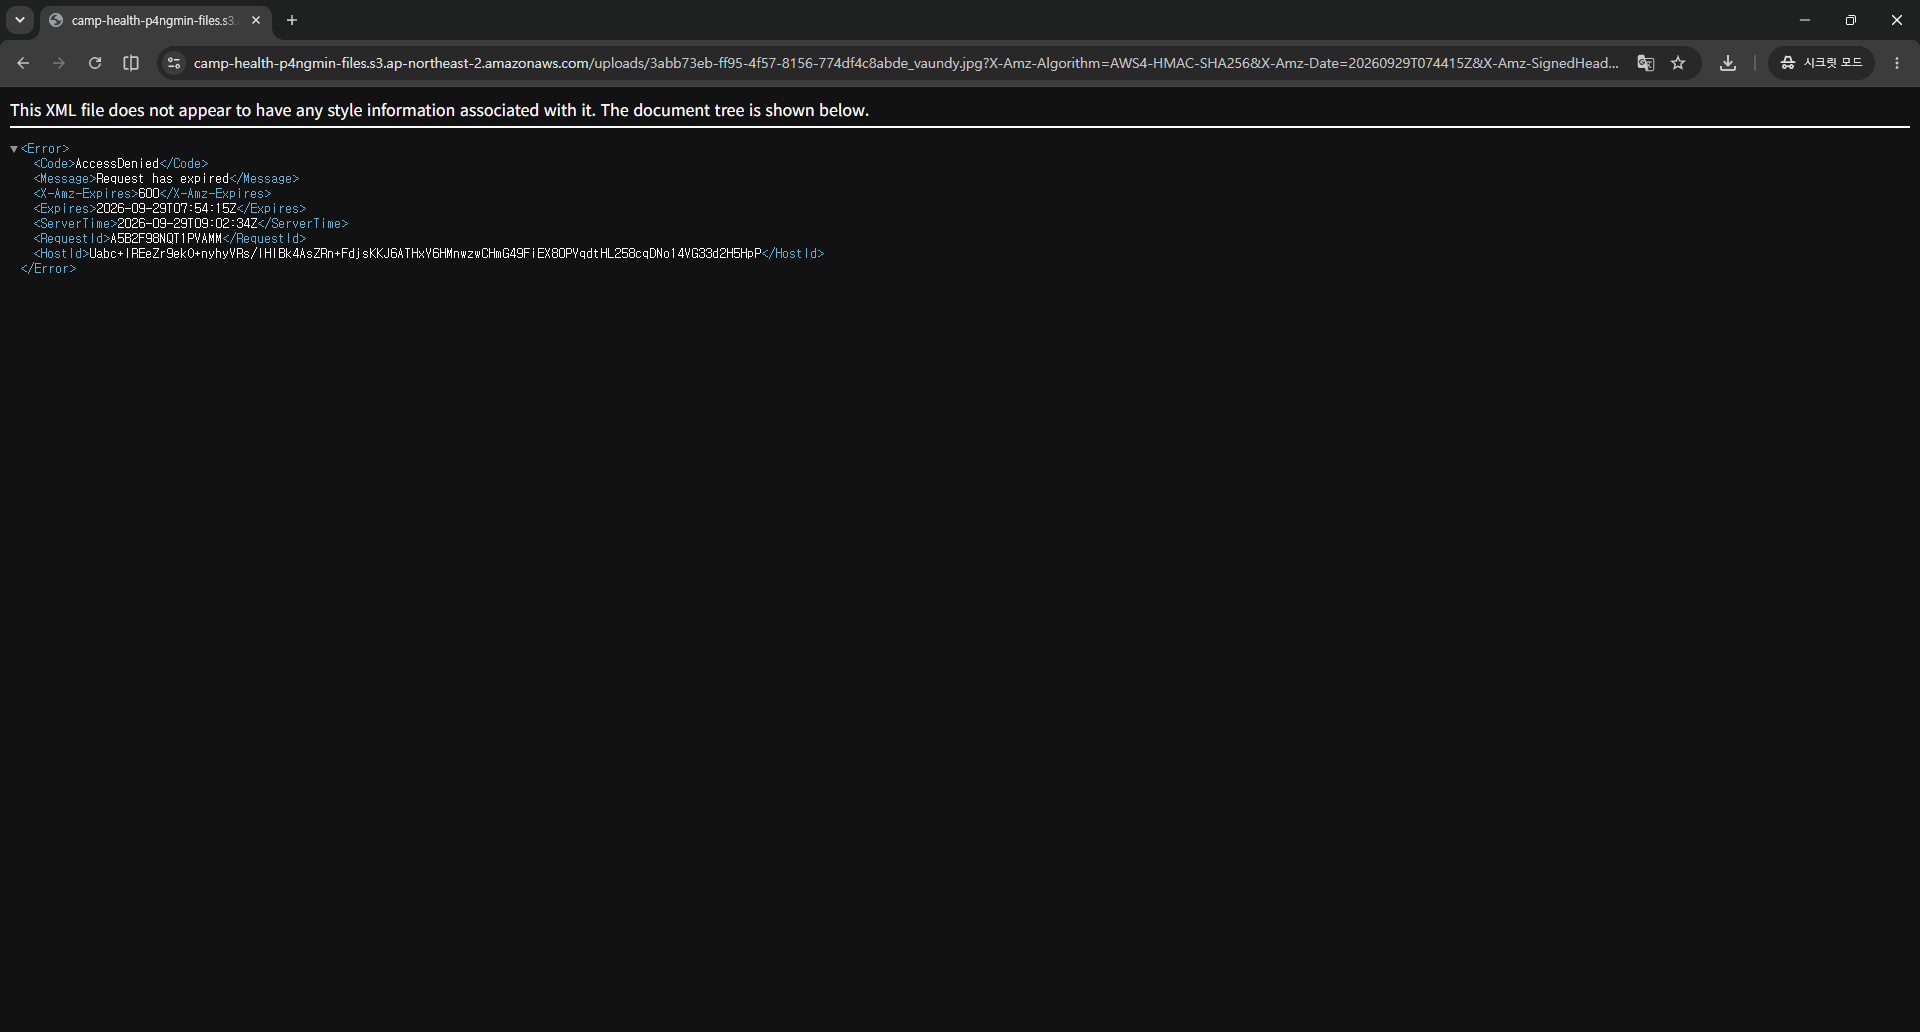 |
RDS
EC2 DB vs RDS
| 운영부담 | EC2 DB | AWS RDS |
|---|---|---|
| 백업 | cron으로 백업 스크립트 작성 | 자동 데이터 백업 |
| 패치 | MySQL 보안 업데이트 직접 적용 | 유지 관리 기간에 자동 적용 |
| 장애 | 서버 다운 시 복구 직접 수행 | Multi-AZ(여러 가용 영역에 복제본 유지) 구성 시 자동 장애 조치 |
MySQL RDS 인스턴스 생성
서브넷 그룹 생성
프라이빗 서브넷으로 설정해야 한다
현재는 로컬에서 해보는 간단한 실습이라 접근을 위해 퍼블릭 서브넷 그룹으로 생성한다
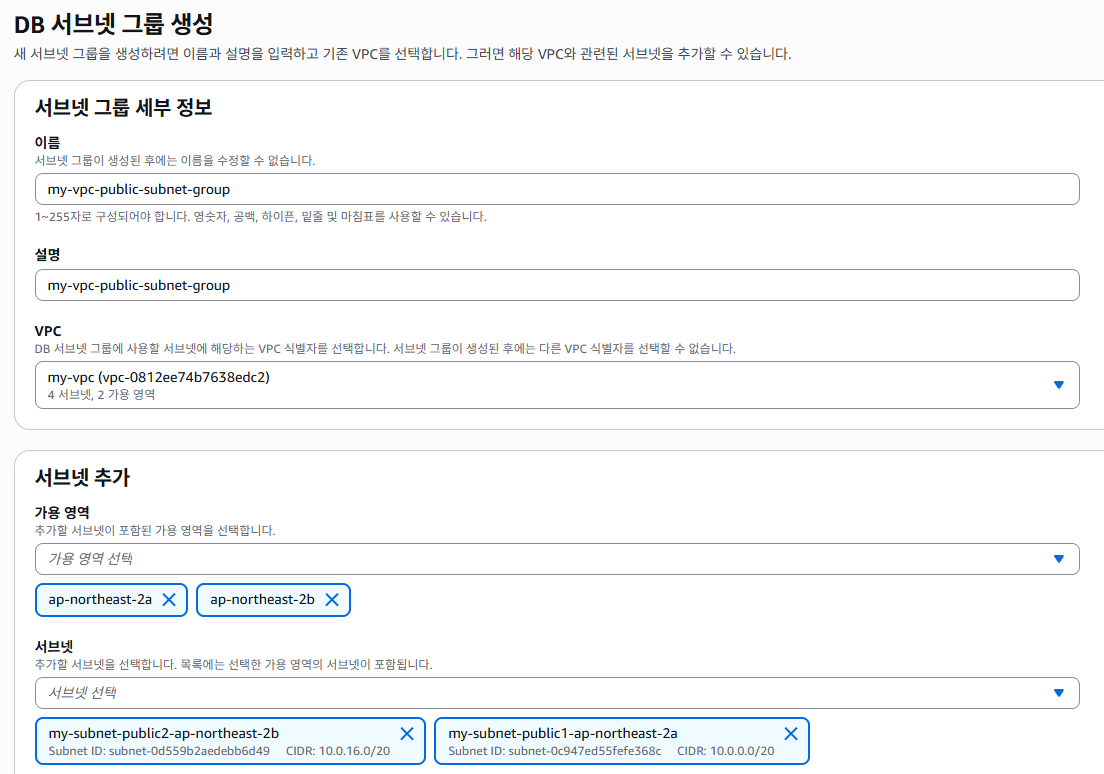
RDB 생성
- MySQL
- 퍼블릭 액세스 허용 (퍼블릭 서브넷과 별도로 설정해주어야 함)
- default 보안 그룹 (모든 트래픽 허용)
- 여기서 모든 트래픽은 소스가 자기 자신인 경우에만 해당
- MySQL 포트인 3306에 한해 모든 소스 허용하도록 규칙 추가

- 3306 포트 (기본 포트)
- 초기 데이터베이스 이름 (미리
CREATE DATABASE ...하는 개념)

자바 프로젝트 생성, DB 접속 확인
이제 localhost가 아닌 aws rds 엔드포인트로 지정해주어야 함
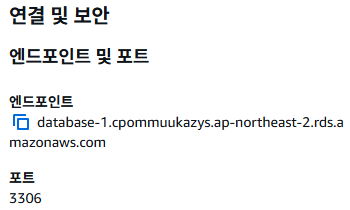
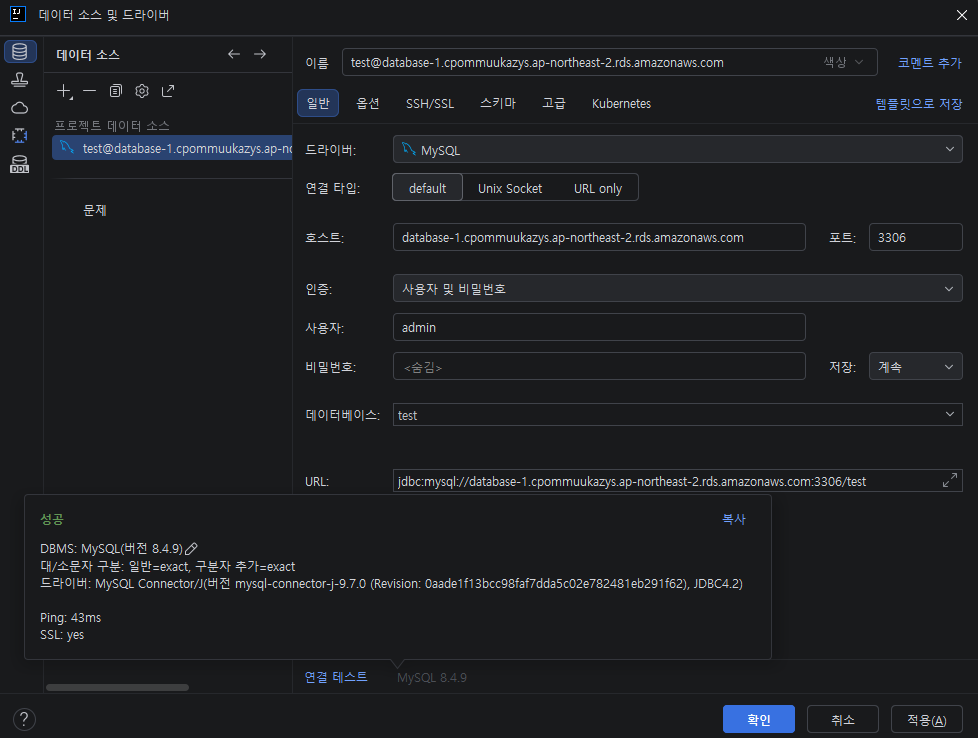
트러블슈팅: AWS RDS 호스트 차단 에러 (Error 1129)
접속 시도 시 다음 에러 발생
Host '14.57.166.223' is blocked because of many connection errors; unblock with 'mysqladmin flush-hosts'원인 파악
아래는 AI가 파악한 문제 상황 시나리오이다.
- 드라이버 불일치로 인한 다량의 연결 실패: 최초 접속 시 IntelliJ에서 실제 RDS 엔진(일반 MySQL)과 맞지 않는 Amazon Aurora MySQL (AWS Wrapper) 드라이버를 선택한 상태로 접속을 시도했다. IntelliJ가 해당 드라이버를 제안했기에 해당
- 보안 임계값 초과: 호환되지 않는 드라이버와 잘못된 설정값으로 인해 단시간에 연속적인 접속 실패가 발생했다.
- 서버 측 IP 차단: MySQL은 보안을 위해 동일 IP에서 연속 실패 횟수가 임계값(max_connect_errors, 기본값 100회)을 넘으면, 해당 호스트를 비정상적인 공격 시도로 간주하고 자동으로 접속을 차단(Block)한다. 이후에 MySQL 드라이버로 접속을 시도했을 때도 동일한 에러가 발생한 것이 이 때문이다.
해결
- 드라이버 정상화: IntelliJ의 데이터베이스 드라이버를 일반 MySQL로 올바르게 수정했다.
- 호스트 캐시 초기화: AWS RDS는 OS CLI 접근이 불가능하므로, RDS 인스턴스를 재부팅하여 메모리에 남아있던 호스트 차단 블랙리스트 캐시를 초기화하여 해결했다.
RDS 연동 로컬 테스트
앱 실행은 로컬에서 하지만, 클라우드에 배포된 라이브 상황(prod 프로필)이라는 가정 하에 진행

환경 변수 주입
application.properties
spring.datasource.driver-class-name=com.mysql.cj.jdbc.Driver
spring.jpa.properties.hibernate.dialect=org.hibernate.dialect.MySQLDialect
application-prod.properties
- 각 항목에 실습용으로 생성한 RDS 정보를 입력
spring.datasource.url=jdbc:mysql://{RDS엔드포인트}:3306/{데이터베이스명}
spring.datasource.username={유저네임}
spring.datasource.password={비밀번호}
spring.jpa.hibernate.ddl-auto=validate
코드 작성
엔티티(User)
@Getter
@Entity
@Table(name = "users")
@NoArgsConstructor(access = AccessLevel.PROTECTED)
public class User {

    @Id
    @GeneratedValue(strategy = GenerationType.IDENTITY)
    private Long id;
    @Column(nullable = false)
    private String name;

    public User(String name) {
        this.name = name;
    }
}
UserRepository
public interface UserRepository extends JpaRepository<User, Long> {
}
UserService
@Service
@RequiredArgsConstructor
public class UserService {

    private final UserRepository userRepository;

    @Transactional
    public void save() {
        User user = new User(
                UUID.randomUUID().toString()
        );
        userRepository.save(user);
    }
}
UserController
@RestController
@RequiredArgsConstructor
public class UserController {

    private final UserService userService;

    @PostMapping("/users")
    public void create() {
        userService.save();
    }
}
스키마 적용
- 라이브 환경에서는
spring.jpa.hibernate.ddl-auto를create나update가 아닌validate로 둔다. 의도치 않은 테이블의 변경을 방지하기 위함이다. - 현재 prod 프로필에서의 설정도 그렇게 되어 있으니, 이대로는 다음과 같은 에러 로그와 함께 실행이 멈춘다.
SchemaManagementException: Schema validation: missing table [users]따라서 다음 쿼리를 통해 User 엔티티에 맞는 스키마를 DB에 만들어줘야 한다.
CREATE TABLE users (
    id BIGINT AUTO_INCREMENT PRIMARY KEY,
    name VARCHAR(255) NOT NULL
);
개발 시 변경된 테이블 내역에 대해 운영 서버 DB에 변경분을 업데이트하는 것을 마이그레이션이라고 한다.
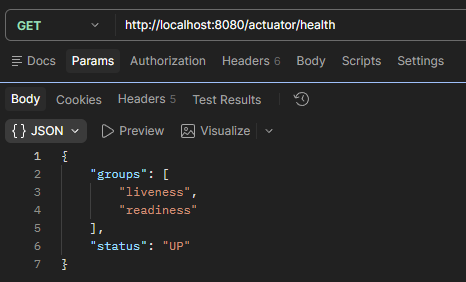
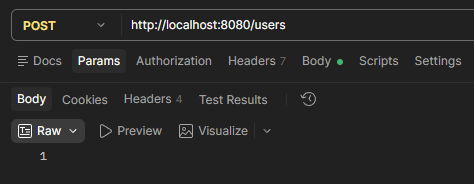
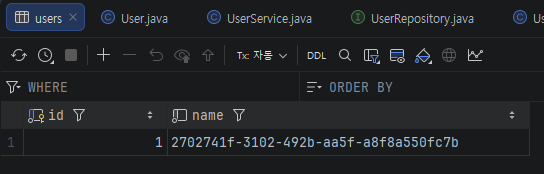
실행 후 Postman 테스트
| 헬스체크 | 유저 생성 | 생성된 유저 확인 |
|---|---|---|
 |  |  |
Elasticache
RDS의 Redis 버전!
- AWS에서는 Redis와 호환되는 Valkey를 사용한다.
- Redis는 구버전만 지원한다.
생성 실습
RDS와 다르게 퍼블릭 액세스 자체를 허용하지 않는다
따라서 이번엔 프라이빗 서브넷으로 그룹을 생성한다.
Elasticache 로컬 연동
실제 실습은 다음 강의에서 진행
환경 변수 주입
spring.data.redis.host={Valkey Endpoint}
spring.data.redis.port=6379
spring.data.redis.ssl.enabled=true