Project. fall
5/2 작업 내역
- 씬 매니저 구현 씬 연결
- 플레이어 오브젝트 상호작용 구현
- 맵 오브젝트 에셋 확정, 모션 수정
Player
기존의 AddForce 방식은 물리 충돌을 제대로 수행하지만, 이동이 매끄럽지 않다는 단점이 있다. 따라서 물리 충돌에 완전히 영향을 받고, 자연스러운 이동을 구현할 필요가 있어 코드를 일부 수정했다. rigid.velocity를 덮어씌우지만 target.velocity를 설정하고 MoveTowards를 통해 가속하여 해당 속도에 도달하도록 설정한다면, 물리 충돌에 영향을 받지만 더욱 매끄러운 이동 구현이 가능했다.
public class PlayerController : MonoBehaviour
{
    [SerializeField] float moveSpeed;
    [SerializeField] private Rigidbody rb;
    [SerializeField] float acceleration = 20f;
    [SerializeField] float deceleration = 15f;
    private bool isGround;

    private void Start()
    {
        rb = GetComponent<Rigidbody>();
    }

    private void FixedUpdate()
    {
        Move();
    }

    private void Move()
    {
        float moveX = Input.GetAxis("Horizontal");
        float moveZ = Input.GetAxis("Vertical");

        Vector3 velocity = rb.velocity;
        Vector3 inputDir = new Vector3(moveX, 0f, moveZ).normalized;
        Vector3 horizontalVelocity = new Vector3(velocity.x, 0f, velocity.z);

        if (inputDir != Vector3.zero)
        {
            Vector3 camForward = Camera.main.transform.forward;
            Vector3 camRight = Camera.main.transform.right;

            camForward.y = 0f;
            camRight.y = 0f;
            camForward.Normalize();
            camRight.Normalize();

            Vector3 moveDir = (camForward * inputDir.z + camRight * inputDir.x).normalized;
            Vector3 targetVelocity = moveDir * moveSpeed;

            Vector3 newVelocity = Vector3.MoveTowards(horizontalVelocity, targetVelocity, acceleration * Time.fixedDeltaTime);
            rb.velocity = new Vector3(newVelocity.x, velocity.y, newVelocity.z);
        }
        else
        {
            Vector3 reducedVelocity = Vector3.MoveTowards(horizontalVelocity, Vector3.zero, deceleration * Time.fixedDeltaTime);
            rb.velocity = new Vector3(reducedVelocity.x, velocity.y, reducedVelocity.z);
        }
    }
}
issue 템플릿 생성 방법
순서
- 템플릿을 적용시키고자 하는 레포지토리 접속
- Add file - Create new file 클릭
- Name your file에 다음과 같이 입력
.github/ISSUE_TEMPLATE/issue-template.yml
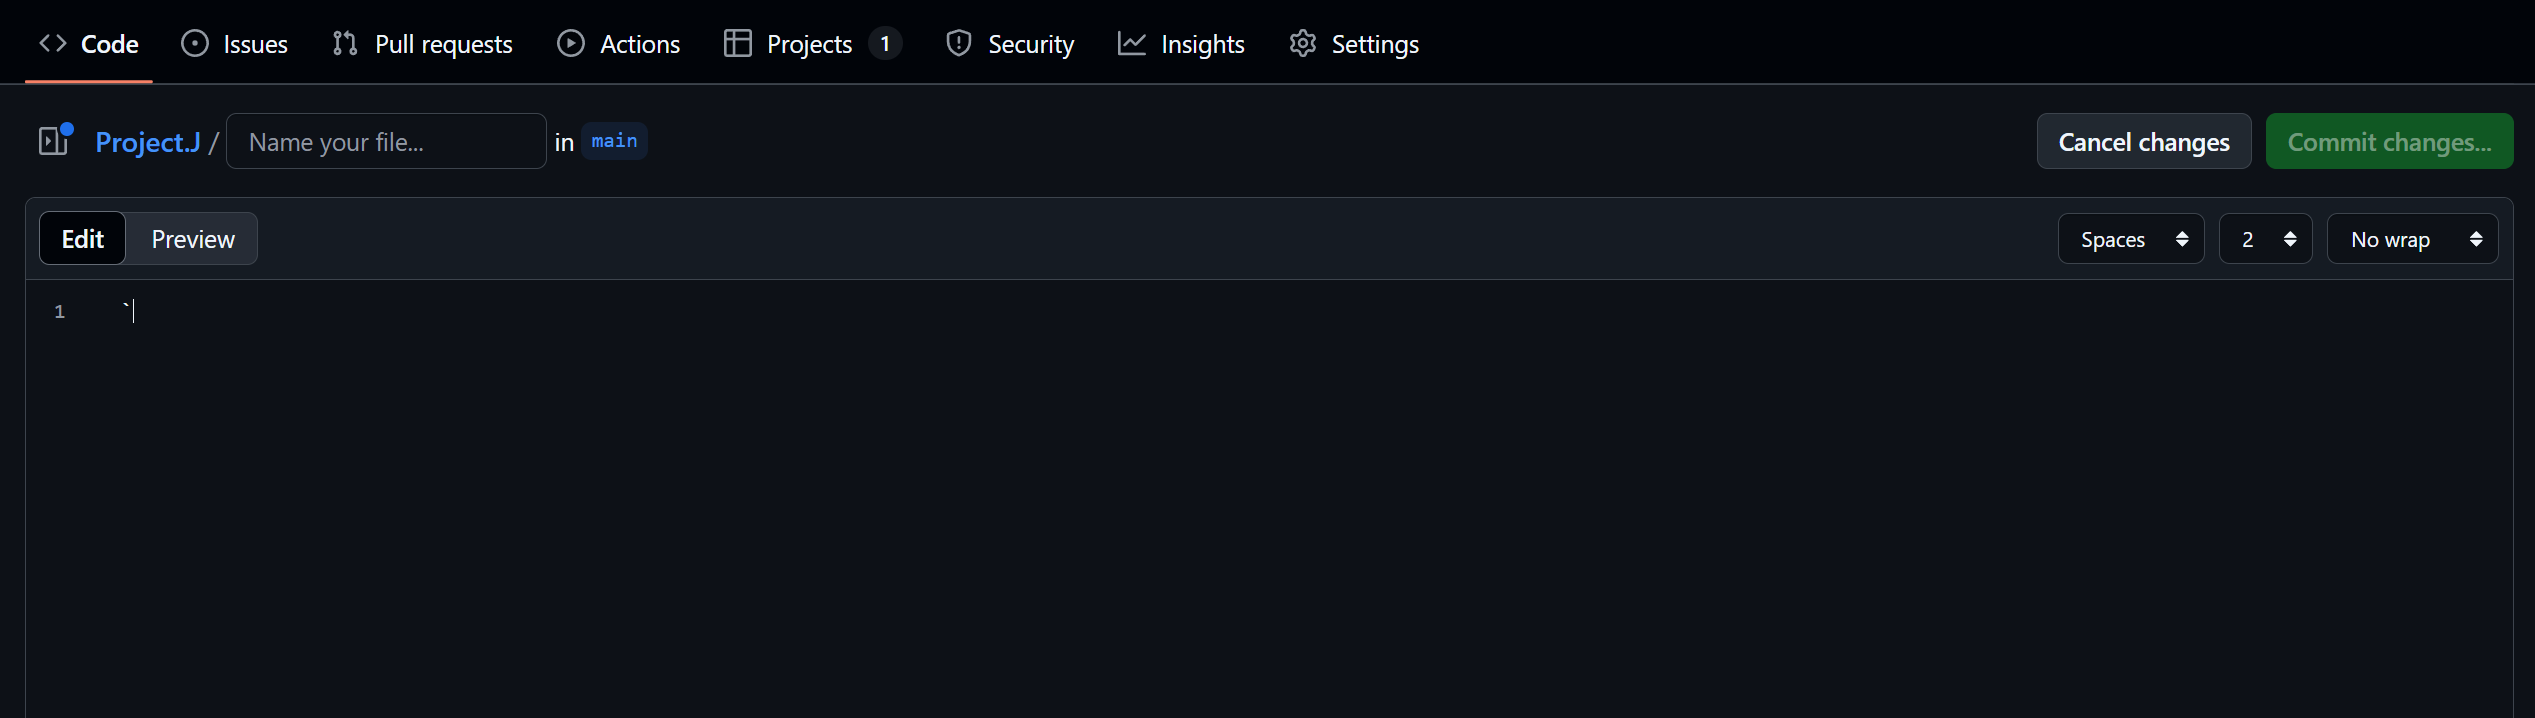
→ 루트 폴더 하위 ISSUE_TEMPLATE라는 폴더에 issue-template이름의 yml 파일을 생성하겠다는 의미
4. 내용은 yml 파일에 적용되는 코드 작성
예시 코드)
name: "Feature"
description: "새로운 기능 추가"
labels: ["feature"]
body:
  - type: textarea
    attributes:
      label: 📄 설명
      description: 새로운 기능에 대한 설명
      placeholder: 기능 세분화 최대한 많이 해주세요
    validations:
      required: true
  - type: textarea
    attributes:
      label: ✅ 작업할 내용
      description: 체크박스 형태로 작성
      placeholder: 위의 내용을 체크박스 형태로 적어주세요
    validations:
      required: true
참고
-
템플릿 구조
템플릿 파일은 크게 다음과 같은 key들로 구성된다.
name() : 템플릿 이름 설정
description() : 템플릿에 대한 설명
title : 이슈의 default 제목
body() : 배열로 템플릿 내용 정의 (아래서 자세히 다룸)
labels : 이슈 라벨 설정
assignees : 이슈 담당자 설정
projects : 이슈의 프로젝트 설정 -
body 구성
body의 하위 키는 다음과 같다.
type() : 어떤 종류의 입력을 받을 것인지 설정, type에 따라 해당 블록의 필요한 key의 종류가 달라진다.
attributes() : 해당 type의 블록의 세부 설정(title,placeholder, value 등)
id : 해당 템플릿에서 해당 블록을 구분하는 id (type이 markdown인 경우에는 X)
validations : 유효성 검사 설정 ex) required(필수항목) 설정 등