Adding Text
폰트 크기, 글꼴, 색상, 정렬 등
import SwiftUI
struct TextBootcamp: View {
var body: some View {
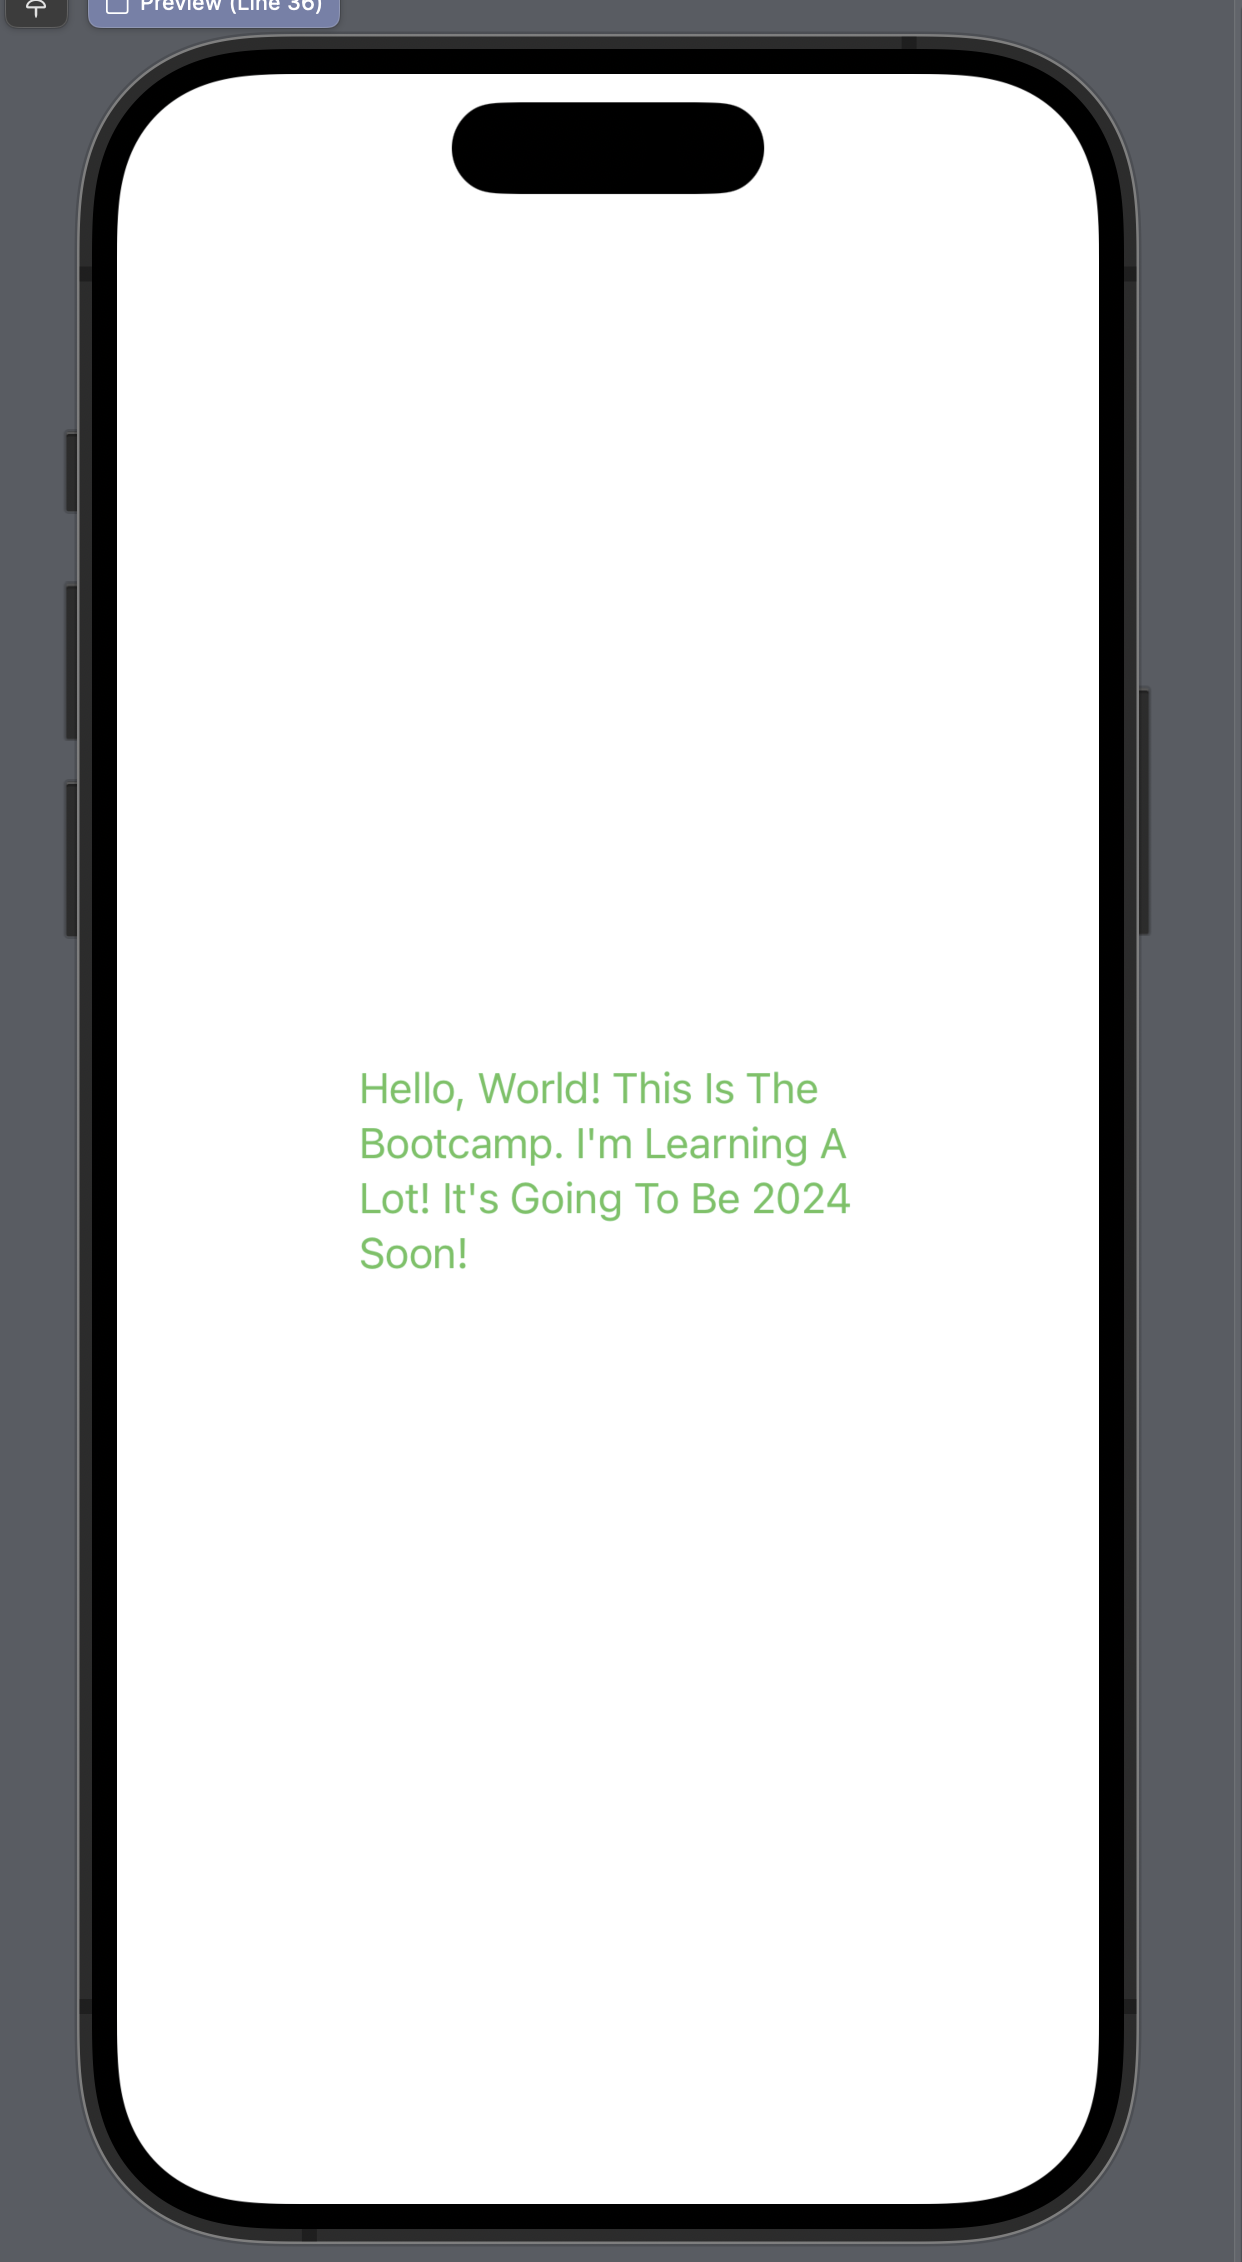
Text("Hello, World! This is the Bootcamp. I'm learning a lot! It's going to be 2024 soon!" .capitalized)
//괄호 안에 "."을 추가할 수도 있다.
//스위프트에서는 이렇게 아래와 같이 추가할때, 그 추가하는 순서가 중요하다
.font(.body)
.fontWeight(.semibold)
.bold()
.underline()
.underline(true, color: Color.red)
.italic()
.strikethrough(true, color: Color.green)
.font(.system(size: 24, weight: .semibold, design: .monospaced))
//이렇게 폰트 사이즈를 24로 고정시켜놓으면, 사용자가 폰트 크기를 변경할 수 없다는 단점이 있다.
//반면에 .font(.title)등 을 이용하면 사용자가 시스템 세팅에 따라 폰트 크기를 변경할 수 있다.
//따라서 특별한 경우가 아니라면 .font(.title)등을 사용하는 것이 좋다.
.baselineOffset(10) //텍스트 간의 위아래 간격을 조정
.kerning(1) //단어 간의 간격을 조정
.multilineTextAlignment(.leading) //텍스트가 여러줄일때 정렬하는 방식(가운데정렬 등)
.foregroundColor(.green) //폰트 색상 변경
.frame(width: 200, height: 100, alignment: .center) //텍스트 프레임 크기 변경
.minimumScaleFactor(0.1)
//텍스트 프레임이 너무 작아서 글자가 잘릴때,
//크기를 조정해서 텍스트를 프레임 안에서 잘리지 않고 다 나오게 하는것(대신 글자크기가 줄어든다)
}
}
#Preview {
TextBootcamp()Creating Shapes
원, 사각형 등 색깔 넣기, 테두리 선만 남기기 등등!
import SwiftUI

struct ShapesBootcamp: View {
    var body: some View {
        //Circle()
        //Ellipse()
        //Capsule(style: .circular)
        //Rectangle()
        RoundedRectangle(cornerRadius: 10)
            //.fill(Color.green)
            //.foregroundColor(.purple)
            //.stroke()
            //.stroke(Color.red)
            //.stroke(Color.blue, lineWidth: 30)
            //.stroke(Color.orange, style: StrokeStyle(lineWidth: 30, lineCap: .round, dash: [40]))
            .trim(from: 0.4, to: 1.0)
            //.stroke(Color.purple, lineWidth: 50)
            .frame(width: 300, height: 200)
    }
}

#Preview {
    ShapesBootcamp()
}
Color, UIColor, Color Literals, and Hex Colors
물체에 색넣고 그림자 넣는법. Assets에서 색상 만든다음에 contentview(?)에서 불러와서 사용하기
If Color literal doesn’t work do this: Go to menu bar -> Edit -> Format -> Show Color.
Then just bring the color that your want and put it inside the brackets -> Color( ).
import SwiftUI

struct ColorsBootcamp: View {
    var body: some View {
        RoundedRectangle(cornerRadius: 25.0)
            .fill(
                //Color.primary
                //Color(#colorLiteral(red: 1, green: 0.5409764051, blue: 0.8473142982, alpha: 1))
                //Color(UIColor.secondarySystemBackground)
                Color("CustomColor") //Assets에서 만든 색들을 불러올 수 있다. 다크모드 색상도 적용된다.

            )
            .frame(width: 300, height: 200)
            //.shadow(radius: 10)
            .shadow(color: Color("CustomColor").opacity(0.3), radius: 10, x: -20, y: -20)
    }
}

#Preview {
    ColorsBootcamp()
}