Intro

🔵 App.vue
App.vue에서 사용되는 코드들 추가 설명을 할게요
<template>
  <div id="app">
    <div id="nav">
      <router-link :to="{ name: 'TheLotto'}">TheLotto</router-link>
    </div>
    <router-view/>
  </div>
</template>

<style>
//....
</style>
router-link
index.js파일에 정의된 경로에 등록된 컴포넌트와 매핑된다.
- HTML5 히스토리 모드에서,
router-link는 클릭 이벤트를 차단하여 브라우저가 페이지를 다시 로드하지 않도록 한다. - a태그지만 우리가 알고 있는 GET요청을 보내는 a태그와 다르게 기본 GET요청을 날리는 이벤트를 제거한 형태로 구성되어 있다.
router-view
route와 매칭되는 컴포넌트가 렌더링 되는 자리
- 실제 component가 DOM에 부착되어 보이는 자리를 의미합니다. 이자리는
router-link와 연결되어 있습니다.
🔵 추가기능
(특정 작업 이후에) 다른 컴포넌트로 보내기 ⭐
특정 작업 이후에 다른 컴포넌트를 보여줄 수 있다!
vue 인스턴스 내부에서 라우터 인스턴스에 $router로 엑세스할 수 있다. -> this.$router.push 를 사용해보자!
- Result.vue 생성
<template>
  <div>
    <p>당신은 결과를 볼 수 없습니다ㅎㅎ;</p>
  </div>
</template>

<script>
export default {
  name: 'Result',
}
</script>

<style>
</style>- result.vue로 가기위한 포인트 설정
TheLotto.vue

//...
methods: {
    getLuckyNums() {
      const numbers = _.range(1,46)
      this.sampleNums = _.sampleSize(numbers,6)

      this.selectedLuckyNums = _.sortBy(this.sampleNums)
      this.$router.push({ name: 'Result' })
    },
}- index.js를 통해 라우트 추가
const routes = [

  {
    path: '/lotto',
    name: 'TheLotto',
    component: TheLotto
  },
  {
    path: '/result',
    name: 'Result',
    component: Result
  }
]
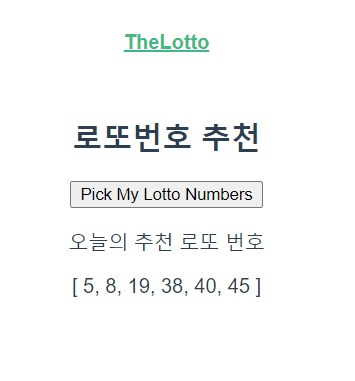
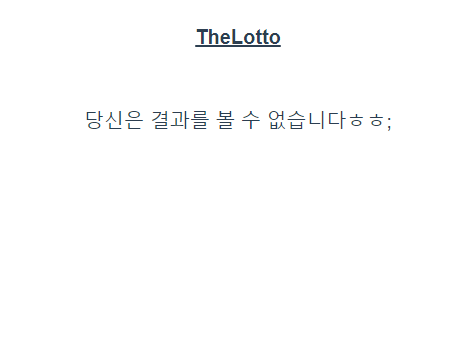
픽 마이 로또 넘버 클릭했더니....
결과

지정한 view 컴포넌트로 넘어가는 것을 확인할 수 있습니다..
(추가적으로 데이터를 함께 넘겨주기 위해선 새로운 방법이 필요! - 난중에 다시 공부할 예정입니다.)
주소창에서 넘긴 데이터를 활용하기 - 공식문서 ⭐
- Django의 Variable Routing과 유사하다.
- 이때 주소는
:으로 시작하여 동적으로 넘어가는 데이터가 담길 변수의 이름을 적어주면 된다. - 주소창의 데이터는
$route.params를 통해 접근할 수 있다.
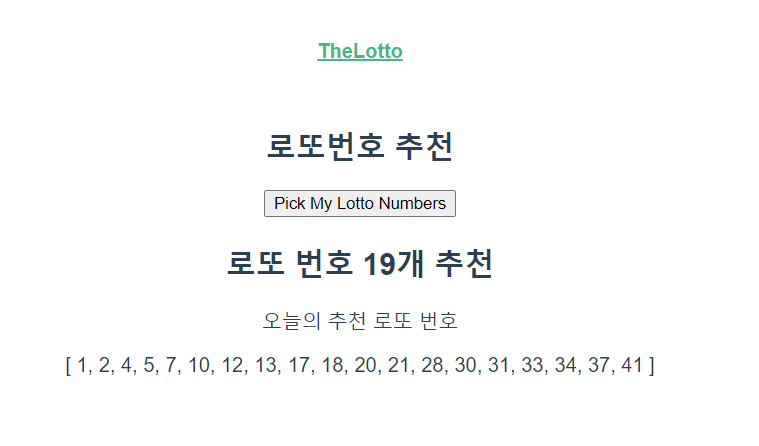
6개 숫자 로또가 아니라 사용자 지정 개수 로또를 만들어 보자!
- index.js에서 라우트 설정
const routes = [
  ...
  {
    path: '/lotto/:lottoNum',
    name: 'TheLotto',
    component: TheLotto
  },
]- lotto view 컴포넌트 수정하자!
<template>
  <div>
    <h2>로또번호 추천</h2>
    <button @click="getLuckyNums">Pick My Lotto Numbers</button>
    <h2>로또 번호 {{ $route.params.lottoNum }}개 추천</h2>
    <p>오늘의 추천 로또 번호</p>
    <p>{{ selectedLuckyNums }}</p>
  </div>
</template>

<script>
import _ from 'lodash'
export default {
  name: 'TheLotto',
  data: function() {
    return {
      sampleNums: [],
      selectedLuckyNums: [],
    }
  },
  methods: {
    getLuckyNums() {
      const numbers = _.range(1,46)
      this.sampleNums  = _.sampleSize(numbers, this.$route.params.lottoNum)
      //this.sampleNums = _.sampleSize(numbers,6)

      this.selectedLuckyNums = _.sortBy(this.sampleNums)
      // this.$router.push({ name: 'Result' })
    },
  }
}
</script>

<style>
</style>- 결과

