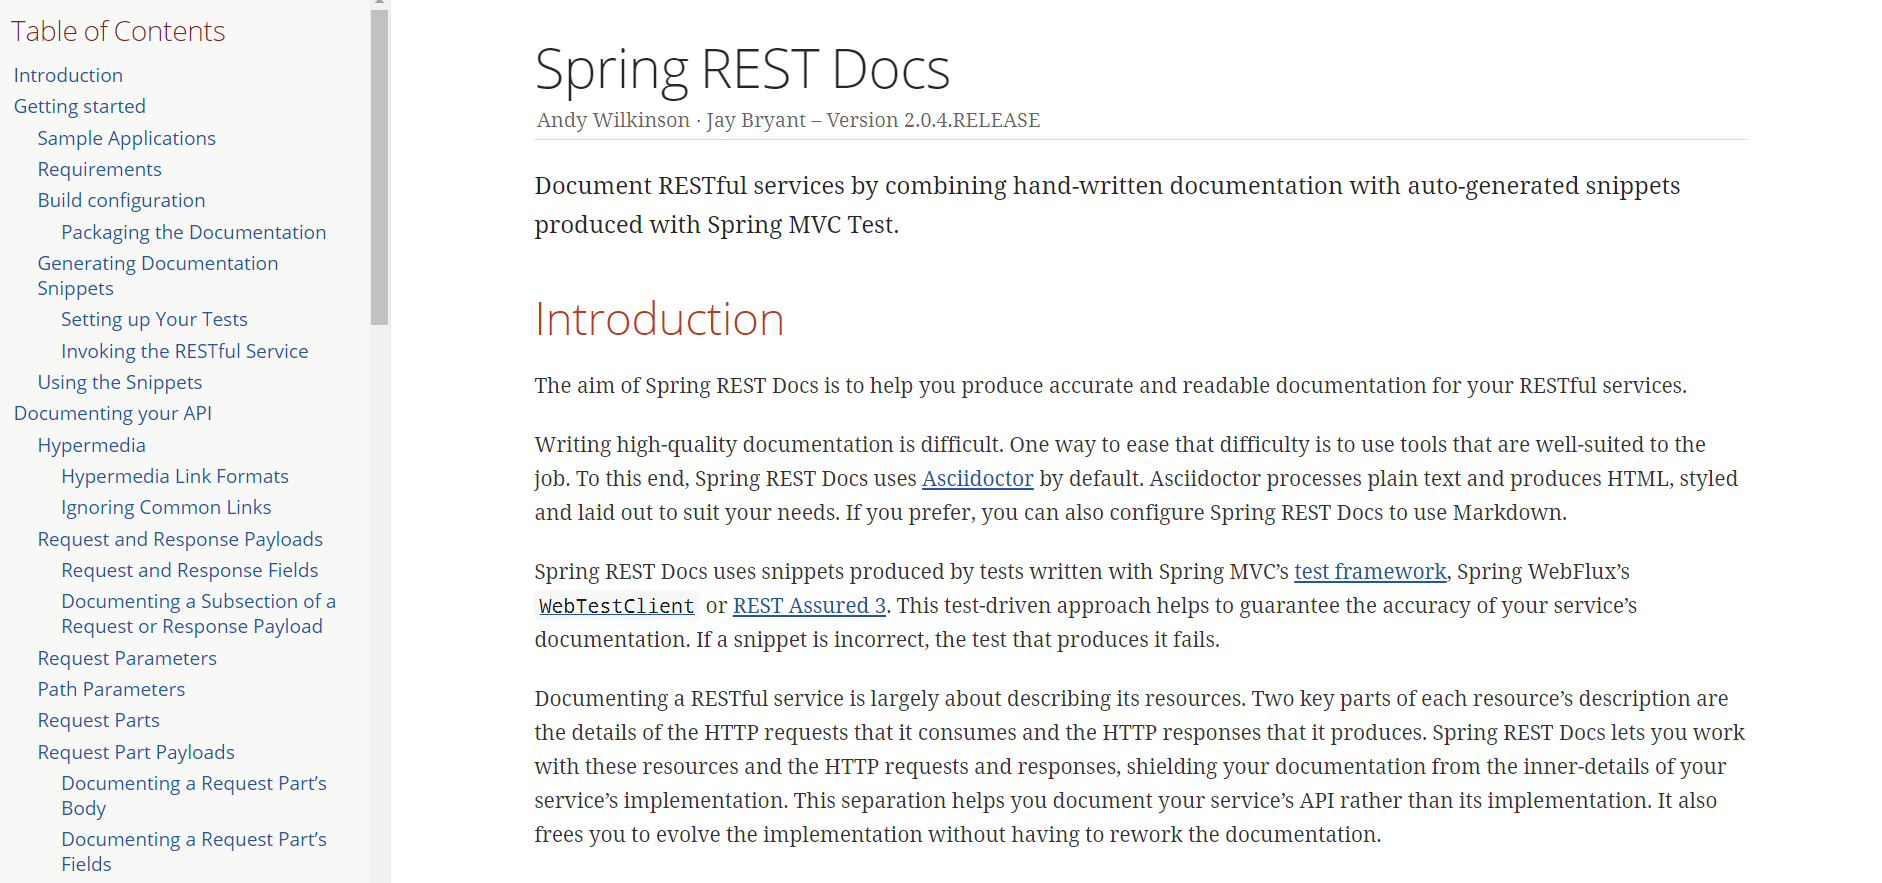
- Spring REST Docs 사용하는 이유
- Spring REST Docs 시작하기
- build.gradle
- 전체 흐름
- 테스트 작성
- 테스트 세팅 방법
- 테스트 코드에서 문서 작성 방법
- adoc(asciidoc) 작성 방법
- Spring REST Docs 심화편 (추후 업데이트 예정)
프로젝트를 만들면서 필요한 부분을 정리하고 있습니다.
모호하거나, 잘못된 부분이 있으면 댓글로 남겨주세요! 감사합니다 :)
2.3. 테스트 작성
2.3.1 세팅 방법
JUnit4와 JUnit5 세팅 방법이 조금 다릅니다. JUnit 4하고 5가 혼동된 자료들이 많아서 JUnit4 와 비교하면서 세팅 방법을 알아봅시다.
JUnit4
@RunWith(SpringRunner.class)
@SpringBootTest
public class JUnit4ExampleTests {

    @Rule
    public final JUnitRestDocumentation restDocumentation = new JUnitRestDocumentation(); // (1)

    @Autowired
    private ObjectMapper objectMapper;

    @Autowired
    private WebApplicationContext context;**

    private MockMvc mockMvc;**

    @Before
    public void setUp() {
        this.mockMvc = MockMvcBuilders.webAppContextSetup(this.context)
        .apply(documentationConfiguration(this.restDocumentation))       // (2)
        .build();
    }
}
(1) JUnit4 를 사용할 때 문서 스니펫 생성의 첫 번째 단계는 JUnit 애노테이션인 @Rule 을 사용하여 JUnitRestDocumentation 필드를 선언하는 것입니다.
(2) MockMvc 인스턴스는 MockMvcRestDocumentationConfigurer 를 사용하여 구성됩니다. org.springframework.restdocs.mockmvc.MockMvcRestDocumentation 의 static 메서드인 documentConfiguration() 를 이용하여 이 클래스의 인스턴스를 얻을 수 있습니다.
JUnit 5 (MockMvc 사용)
@SpringBootTest
@ExtendWith({RestDocumentationExtension.class, SpringExtension.class}) // (1)
public class JUnit5ExampleTests {

    @Autowired
    private WebApplicationContext context;**

    private MockMvc mockMvc;**

    @BeforeEach
    public void setUp(RestDocumentationContextProvider restDocumentation) {
        this.mockMvc = MockMvcBuilders.webAppContextSetup(context)
        .apply(documentationConfiguration(restDocumentation))  // (2)
        .build();
    }
}
(1) JUnit 5 를 사용할 때 문서 스니펫 생성의 첫 번째 단계는 RestDocumentationExtension 을 테스트 클래스에 적용하는 것입니다. 그리고 일반적인 Spring application을 테스트 할 때 SpringExtension 을 적용해야 합니다.
(2) MockMvc 인스턴스는 MockMvcRestDocumentationConfigurer 를 사용하여 구성됩니다. org.springframework.restdocs.mockmvc.MockMvcRestDocumentation 의 static 메서드인 documentConfiguration() 를 이용하여 이 클래스의 인스턴스를 얻을 수 있습니다.
2.3.2 테스트 코드에서 문서 작성 방법
우리의 학습을 도와줄 전체 예제 코드부터 음미해봅시다.
Rare 서비스 실제 테스트 코드
@DisplayName("메인 페이지 조회 (생성 시간 기준 오름차순 정렬")
  @Test
  void find_all_posts() throws Exception {

    //given
    Random random = new Random();

    Account won = Account.builder()
        .id(1L)
        .name("won")
        .avatarUrl("https://img.hankyung.com/photo/201906/03.19979855.1.jpg")
        .build();

    Post post1 = Post.builder()
        .id(1L)
        .title("1번째 포스팅 입니다")
        .content("이런 저런 내용이 담겨있어요")
        .author(won)
        .likes(random.nextInt(99))
        .tags("1번")
        .views(random.nextInt(999))
        .createdAt(LocalDateTime.now())
        .thumbnail("https://i.ytimg.com/vi/FN506P8rX4s/maxresdefault.jpg")
        .build();

    Post post2 = Post.builder()
        .id(2L)
        .title("2번째 포스팅 입니다")
        .content("이런 저런 내용이 담겨있어요")
        .author(won)
        .likes(random.nextInt(99))
        .tags("2번")
        .views(random.nextInt(999))
        .createdAt(LocalDateTime.now())
        .thumbnail("https://i.ytimg.com/vi/FN506P8rX4s/maxresdefault.jpg")
        .build();

    List<Post> posts = Arrays.asList(post1, post2);
    given(postController.findAllInLatestOrder()).willReturn(OK(posts));  // (1)

    //when
    ResultActions result = mockMvc.perform(get("/posts")                 // (2)
        .contentType(MediaType.APPLICATION_JSON));

    //then
    result.andExpect(status().isOk())                                    // (3)
        .andDo(print())
        .andDo(document("{class-name}/{method-name}",                    // (4)
            getDocumentRequest(),
            getDocumentResponse(),
            responseFields(
                fieldWithPath("success").description("성공 여부").type(JsonFieldType.BOOLEAN),
                fieldWithPath("error").description("에러 메세지").type(JsonFieldType.NULL),
                subsectionWithPath("response").description("응답"),
                fieldWithPath("response.[].id").description("포스트 ID 번호(고유한 값)").type(JsonFieldType.NUMBER),
                fieldWithPath("response.[].title").description("포스트 제목").type(JsonFieldType.STRING),
                fieldWithPath("response.[].content").description("포스트 내용").type(JsonFieldType.STRING),
                fieldWithPath("response.[].thumbnail").description("포스트 썸네일").type(JsonFieldType.STRING),
                fieldWithPath("response.[].author").description("포스트 저자").type(JsonFieldType.OBJECT),
                fieldWithPath("response.[].views").description("포스트 조회").type(JsonFieldType.NUMBER),
                fieldWithPath("response.[].likes").description("포스트 좋아요 수").type(JsonFieldType.NUMBER),
                fieldWithPath("response.[].tags").description("포스트 태그").type(JsonFieldType.STRING),
                fieldWithPath("response.[].createdAt").description("포스트 생성 시간").type(JsonFieldType.STRING)
            )));
}- Spring REST Docs 테스트 코드에서 중요하게 봐야 할 건 given().willReturn() 과 perform() 메서드 두 부분입니다.
(1) given().willReturn() : Spring Rest Docs에서 예시로 출력하고 싶은 부분. Mock 데이터를 넣는 것과 같습니다.
(2) this.mockMvc.perform : HTTP Request 부분
(3) this.mockMvc.perform.andExpect() : HTTP Response 부분
(4) this.mockMvc.perform.andDo() : 이 메서드를 이용해 문서로 전달하고 싶은 내용을 적을 수 있습니다.
※ 참고 : this.mockMvc.perform.andReturn() : HTTP 통신 시 값을 변수에 담아 사용할 수 있습니다.
(1) given().willReturn()
- 어떤 행동을 취하면 어떤 결과를 반환한다를 선언하는 부분입니다.
- given() 뒤 willReturn() 안에 값을 주면 그 값의 결과를 문서에 반영 할 수 있습니다.
- (중요) willReturn() 의 값 형태가 밑에서 작성되는 문서 작성 형태와 맞아야 합니다.
given(postController.findAllInLatestOrder()).willReturn(OK(posts));(2) this.mockMvc.perform() - HTTP Request
perform 메서드 작성법
1. HTTP Method : 테스트하려는 API의 HTTP 메서드를 넣으면 됩니다.
2. HTTP URL : 테스트하려는 엔드포인트를 넣으면 됩니다.
3. HTTP Header :  HTTP 헤더로 사용할 옵션을 넣으면 됩니다.
4. 'HTTP Request 로 이 응답 객체를 보낸다' 라는 것을 문서에 적고 싶다면 이 메서드를 활용하면 됩니다.예시1
this.mockMvc.perform(get("/"))
예시2
this.mockMvc.perform(get("/crud")
.contentType(MediaTypes.HAL_JSON)
.content(this.objectMapper.writeValueAsString(crud)))
예시3
this.mockMvc.perform(get("/api/book/list")
.contentType(MediaType.APPLICATION_JSON)
.accept(MediaType.APPLICATION_JSON));
※ HTTP Mehotd(GET, HEAD, POST, PUT, DELETE, OPTIONS, TRACE, PATCH)※ HTTP Request 를 생각하면 됩니다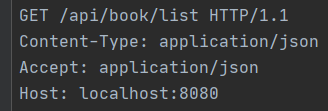
※ Perform 메서드에 넣을 수 있는 다양한 옵션들 
(3) this.mockMvc.perform.andExpect() - HTTP Response
andExpect 메서드 작성법
1. HTTP Status Code : 테스트하려는 API의 기대하는 HTTP 상태 코드를 넣으면 된다.
2. HTTP Header :  HTTP 헤더로 사용할 옵션을 넣으면 된다.
3. HTTP Response 에 관한 건 거의 다 되지만 응답 객체는 밑에 andDo() 메서드 안에서 작성됩니다.예시1
this.mockMvc.perform(get("/"))
.andExpect(status().isOk())
예시2
this.mockMvc.perform(post("/form"))
.andExpect(matchAll(status().isOk(),
redirectedUrl("/person/1"),
model().size(1),
model().attributeExists("person"),
flash().attributeCount(1),
flash().attribute("message", "success!"))
);※ HTTP Response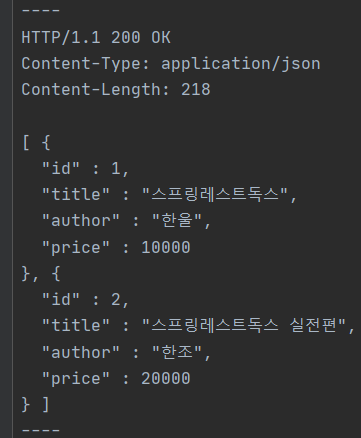
※ Perform.andExpect() 메서드에 넣을 수 있는 다양한 옵션들! 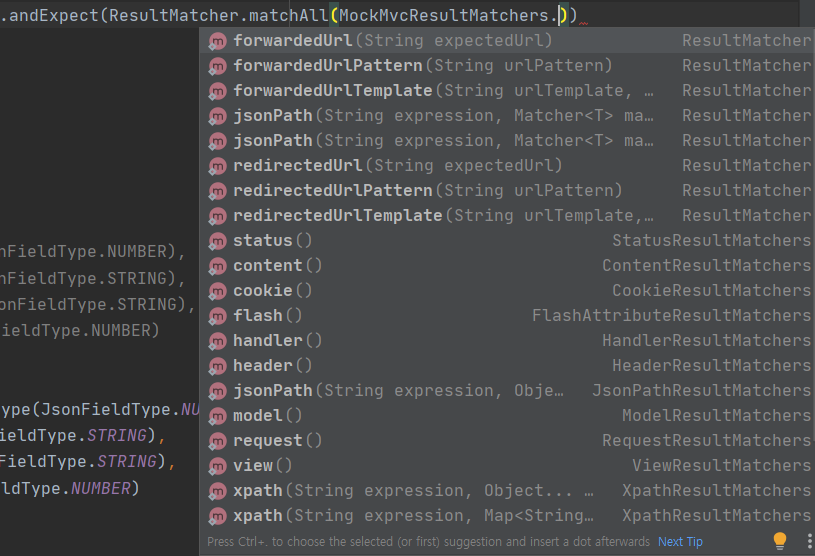
(4) this.mockMvc.perform.andDo()
-
문서의 세부적인 부분을 직접적으로 작성할 수 있는 메서드로 문서에 들어갔으면 하는 것들을 적으면 됩니다.
-
참고로 위에서 배운 메서드들과 의존적이기 때문에 하나라도 제대로 적어주지 않으면 에러가 납니다.
이해를 위해 예제 코드에서 pathParamter, requestFields 를 추가한 코드
andDo(document("/{class-name}/{method-name}",
	preprocessRequest(prettyPrint()),
	preprocessResponse(prettyPrint()),
    	pathParameters(parameterWithName("id").description("포스트 ID")),
        requestFields(
        	fieldWithPath("title").description("포스트 제목").type(JsonFieldType.STRING),
        	fieldWithPath("content").description("포스트 내용").type(JsonFieldType.STRING),
            	fieldWithPath("thumbnail").description("포스트 썸네일 이미지").type(JsonFieldType.STRING)
	),
    	responseFields(
        	fieldWithPath("success").description("성공 여부").type(JsonFieldType.BOOLEAN),
            	fieldWithPath("error").description("에러 메세지").type(JsonFieldType.NULL),
            	subsectionWithPath("response").description("응답"),
                fieldWithPath("response.[].id").description("포스트 ID 번호(고유한 값)").type(JsonFieldType.NUMBER),
                fieldWithPath("response.[].title").description("포스트 제목").type(JsonFieldType.STRING),
                fieldWithPath("response.[].content").description("포스트 내용").type(JsonFieldType.STRING),
                fieldWithPath("response.[].thumbnail").description("포스트 썸네일").type(JsonFieldType.STRING),
                fieldWithPath("response.[].author").description("포스트 저자").type(JsonFieldType.OBJECT),
                fieldWithPath("response.[].views").description("포스트 조회").type(JsonFieldType.NUMBER),
                fieldWithPath("response.[].likes").description("포스트 좋아요 수").type(JsonFieldType.NUMBER),
                fieldWithPath("response.[].tags").description("포스트 태그").type(JsonFieldType.STRING),
                fieldWithPath("response.[].createdAt").description("포스트 생성 시간").type(JsonFieldType.STRING)
		))
);
preprocessRequest, preprocessResponse
이 안에 파라미터로 주는 prettyPrint() 는 요청이나 응답 시 내용을 쉽게 읽을 수 있도록 형식화합니다.
document
- 문서를 저장할 패키지의 이름을 지정합니다.
preprocessRequest, preprocessResponse
- 이 안에 파라미터로 주는 prettyPrint() 는 요청이나 응답 시 내용을 쉽게 읽을 수 있도록 형식화합니다.
preprocessRequest(prettyPrint()),
preprocessResponse(prettyPrint())
pathParamter
- API의 Path Parameter 에 대한 Snippet을 생성합니다.
- /build/grenetated-snippets/<테스트코드-클래스명>/<테스트코드-메서드명>/path-parameters.adoc 파일명으로 생성됩니다.
- pathParameter(parameterWithName("key 명칭").description("key 가 의미하는 내용"))으로 코드가 작성됩니다.
- this.perform() 메서드 작성 시 pathParameter 값을 주지 않으면 에러가 날 수 있습니다.
pathParameters(parameterWithName("id").description("포스트 ID"))requestFields
- API의 HTTP request body에 담긴 객체의 필드들을 문서에 적시 할 수 있습니다.
- /build/grenetated-snippets/<테스트코드-클래스명>/<테스트코드-메서드명>/requst-boby.adoc 파일명으로 생성됩니다.
- requestFields(fieldWithPath("key 명칭").description("key가 의미하는 내용").type(JsonFieldType.[원하는타입]))
requestFields(
    fieldWithPath("title").description("포스트 제목").type(JsonFieldType.STRING),
    fieldWithPath("content").description("포스트 내용").type(JsonFieldType.STRING),
    fieldWithPath("thumbnail").description("포스트 썸네일 이미지").type(JsonFieldType.STRING)
)
responseFields
- API의 HTTP response body에 담긴 객체의 필드들을 문서에 적시 할 수 있습니다.
- /build/grenetated-snippets/<테스트코드-클래스명>/<테스트코드-메서드명>/response-boby.adoc 파일명으로 생성됩니다.
- responseFields(fieldWithPath("key 명칭").description("key가 의미하는 내용").type(JsonFieldType.[원하는타입]))
responseFields(
      fieldWithPath("success").description("성공 여부").type(JsonFieldType.BOOLEAN),
      fieldWithPath("error").description("에러 메세지").type(JsonFieldType.NULL),
      subsectionWithPath("response").description("응답"),
      fieldWithPath("response.[].id").description("포스트 ID 번호(고유한 값)").type(JsonFieldType.NUMBER),
      fieldWithPath("response.[].title").description("포스트 제목").type(JsonFieldType.STRING),
      fieldWithPath("response.[].content").description("포스트 내용").type(JsonFieldType.STRING),
      fieldWithPath("response.[].thumbnail").description("포스트 썸네일").type(JsonFieldType.STRING),
      fieldWithPath("response.[].author").description("포스트 저자").type(JsonFieldType.OBJECT),
      fieldWithPath("response.[].views").description("포스트 조회").type(JsonFieldType.NUMBER),
      fieldWithPath("response.[].likes").description("포스트 좋아요 수").type(JsonFieldType.NUMBER),
      fieldWithPath("response.[].tags").description("포스트 태그").type(JsonFieldType.STRING),
      fieldWithPath("response.[].createdAt").description("포스트 생성 시간").type(JsonFieldType.STRING)
))
(참고) this.mockMvc.perform.andReturn()
HTTP 통신 시 주고 받는 값을 가져올 수 있는 기능입니다. HTTP Request, HTTP Response 에 담겨있는 값을 그대로 변수에 담아 사용 할 수 있습니다.
예시1
String tagLocation = this.mockMvc.perform(get("/crud")
                                 .contentType(MediaTypes.HAL_JSON)
                                 .content(this.objectMapper.writeValueAsString(crud)))
                                 .andExpect(status().isOk())
                                 .andReturn()
                                 .getResponse()
                                 .getHeader("Location");

예시2
MockHttpServletRequest request =
        this.mockMvc.perform(get("/crud")).andReturn().getRequest();

System.out.println(request.getMethod());          // GET
System.out.println(request.getRequestURI());      // /

MockHttpServletResponse response =
        this.mockMvc.perform(get("/crud")).andReturn().getResponse();

System.out.println(response.getStatus());         // 200
System.out.println(response.getContentType());    // hal/json**
※ andReturn() 으로 사용할 수 있는 메서드들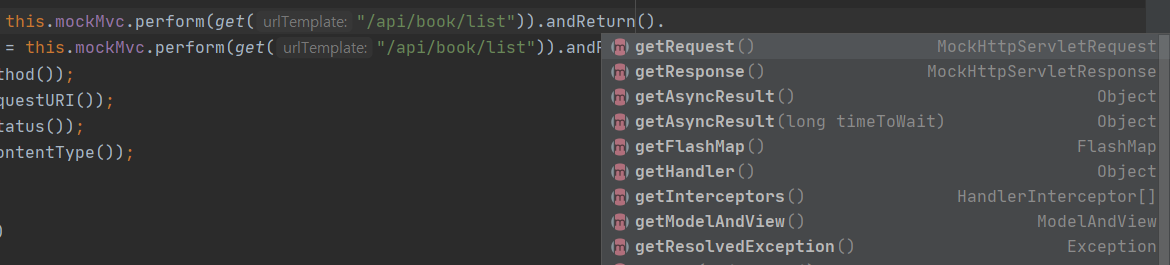
※ (예시) andReturn().getRequest() 로 사용할 수 있는 메서드들. 추가나 변경,삭제도 할 수 있는 것 같다.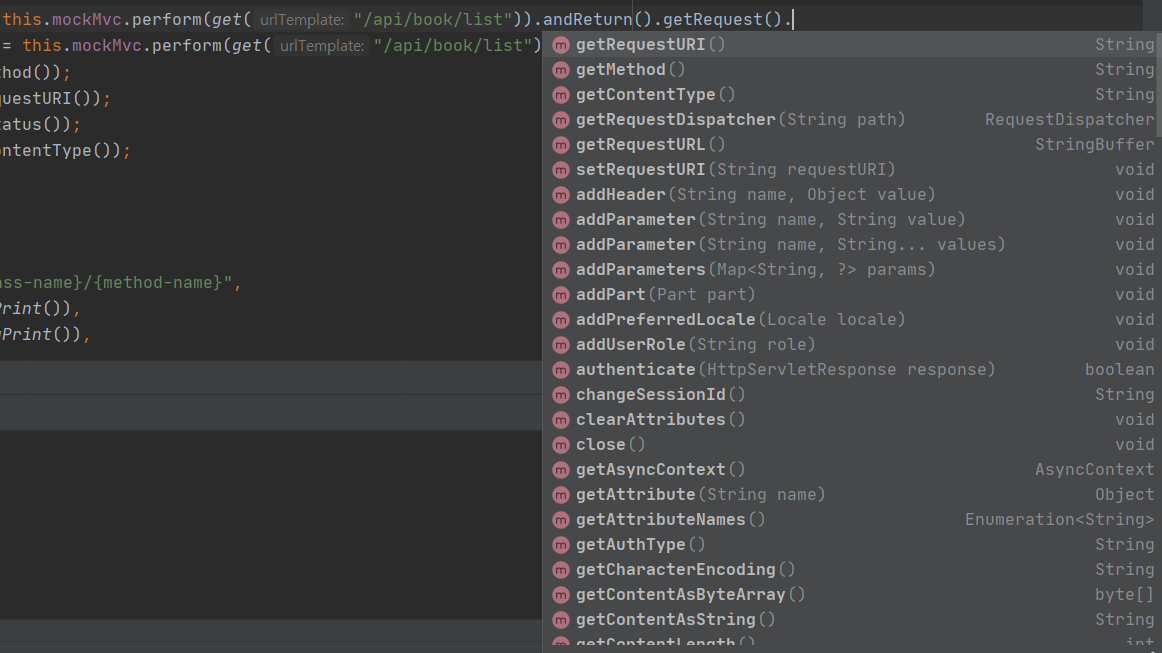
다음 [BE/3주차] Spring Rest Docs 적용기 (3)