📍 오늘의 공부
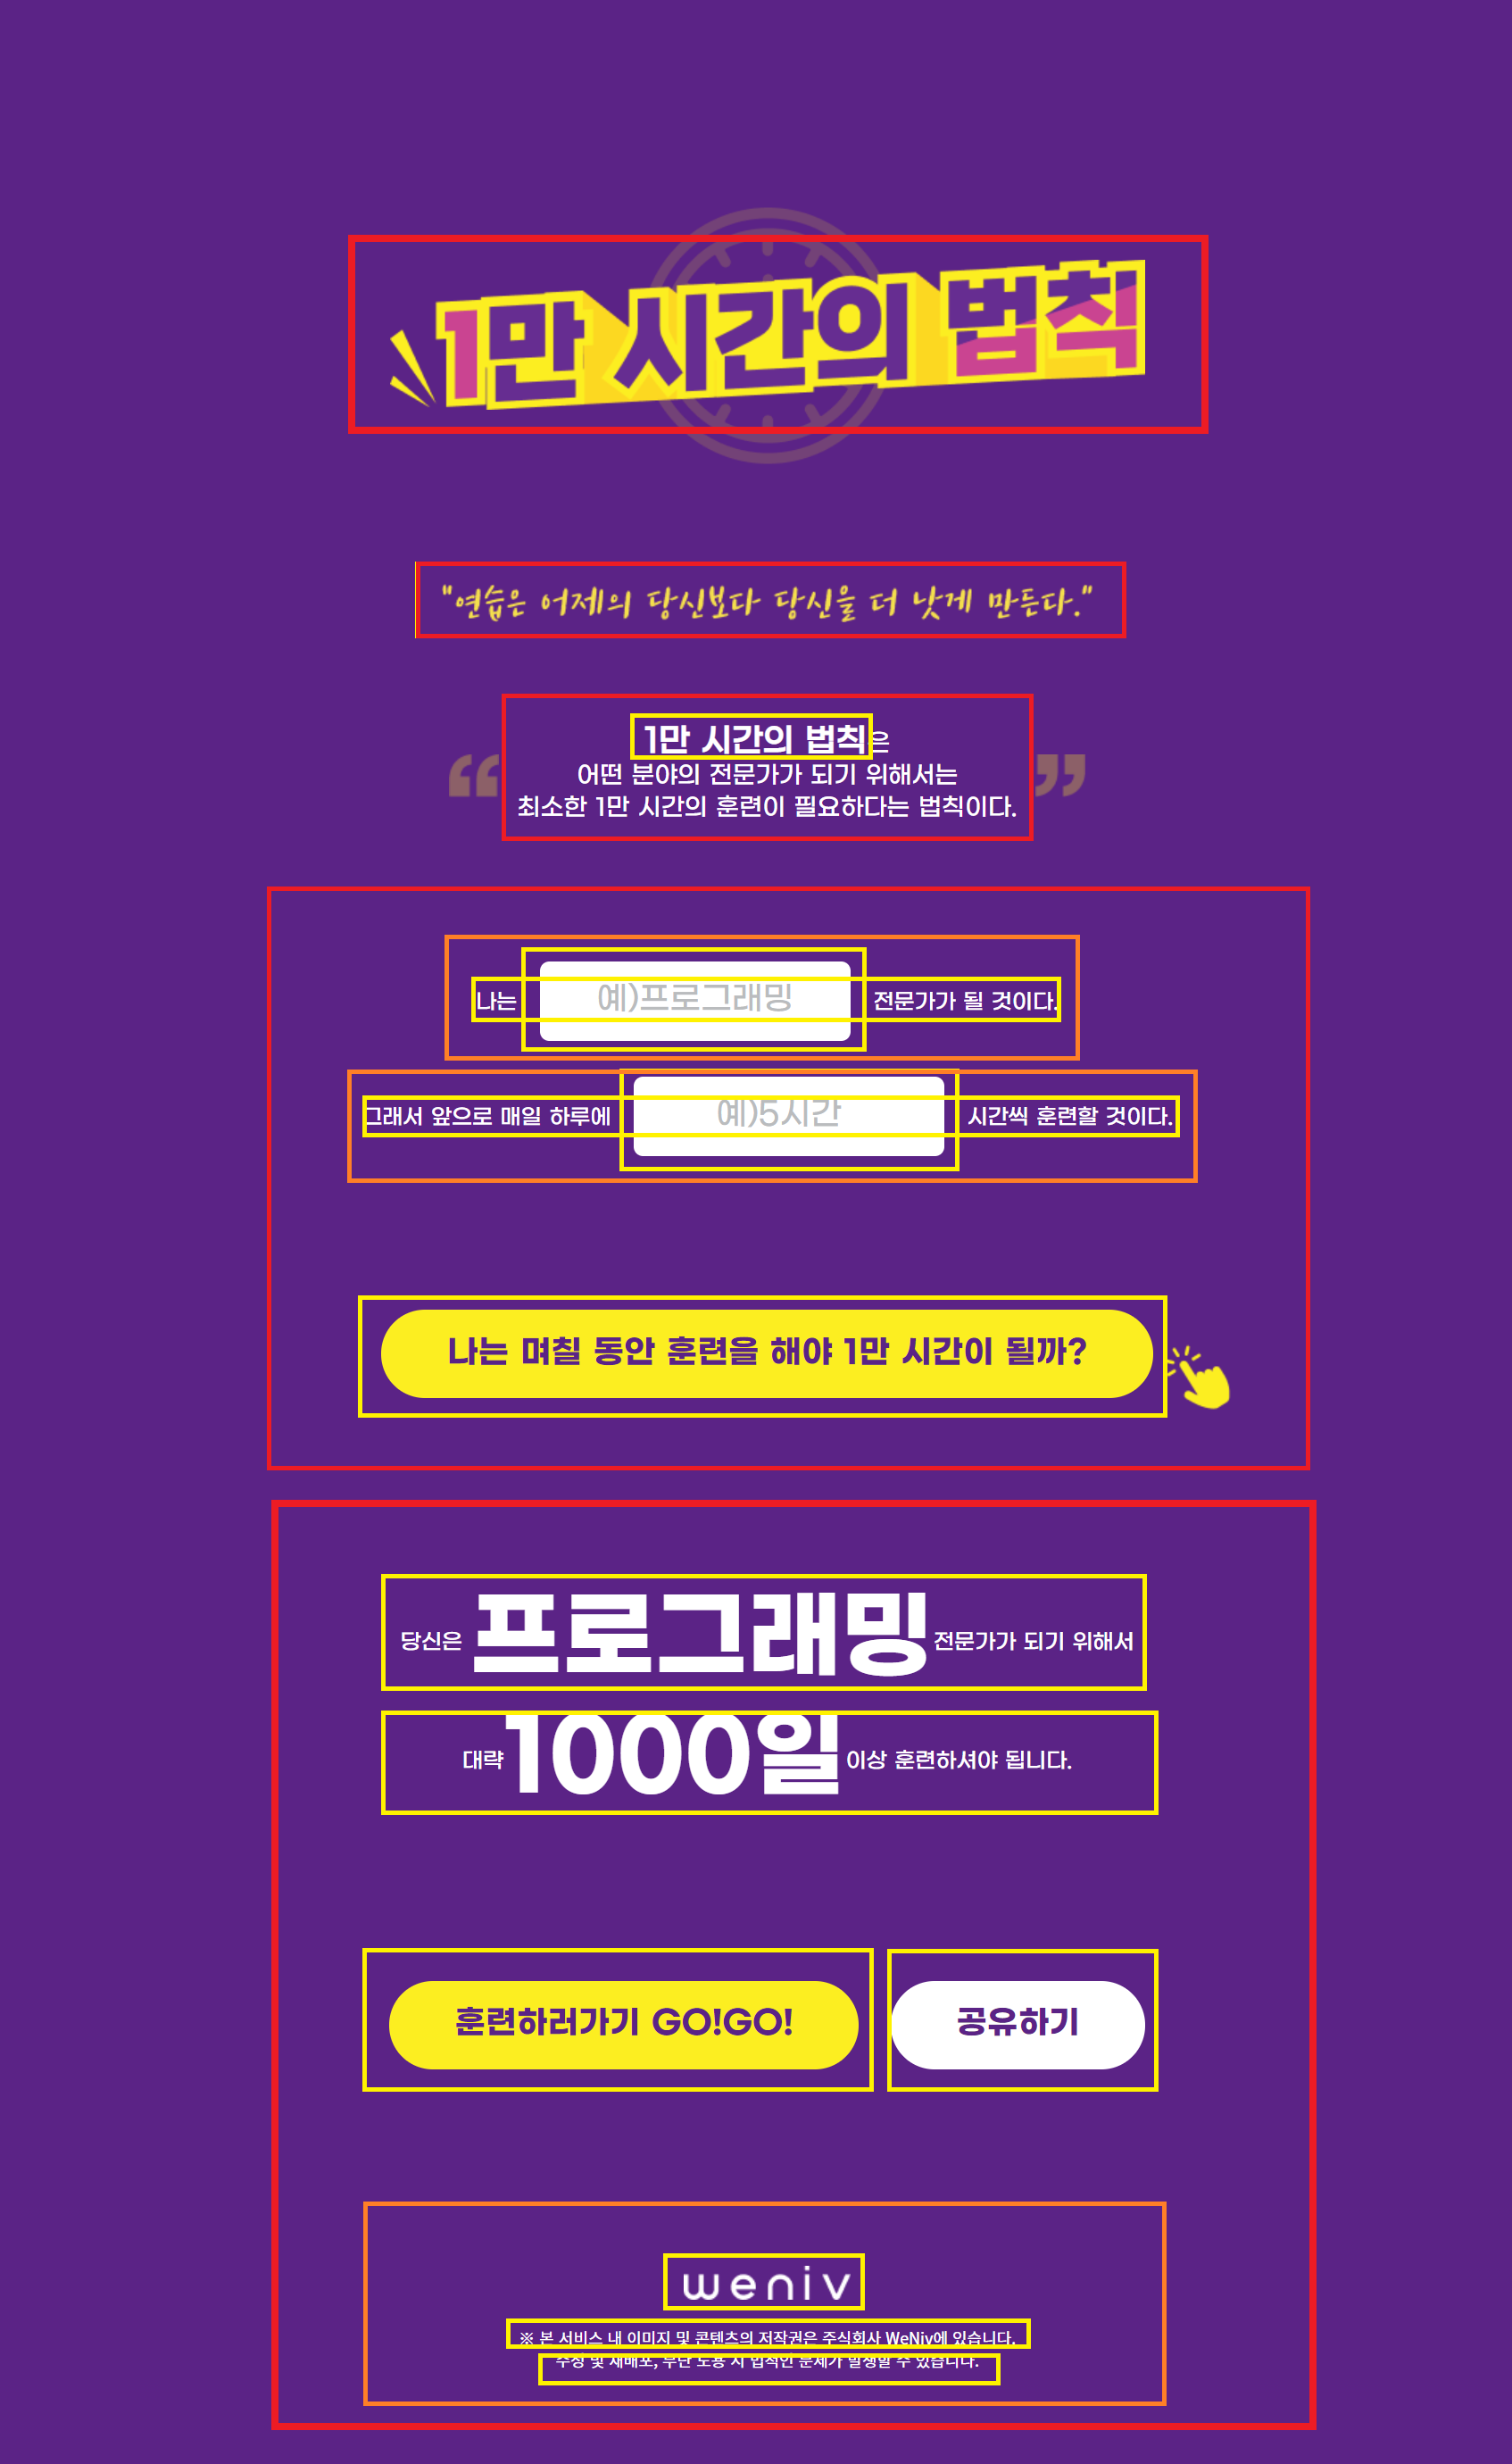
1만 시간의 법칙이라는 페이지를 똑같이 구현해본 날 !
1. HTML 마크업

2. HTML 구조 만들기
<body>
<main>
<h1>⭐
<img src="images-law/title.png" alt="1만 시간의 법칙">
</h1>
<img src="images-law/txt_subtitle.png" alt="연습은 어제의 당신보다 당신을 더 낫게 만든다." class="img-txt">
<p>
<strong>1만 시간의 법칙</strong>은<br>
어떤 분야의 전문가가 되기 위해서는<br>
최소한 1만 시간의 훈련이 필요하다는 법칙이다.
</p>
<form>⭐
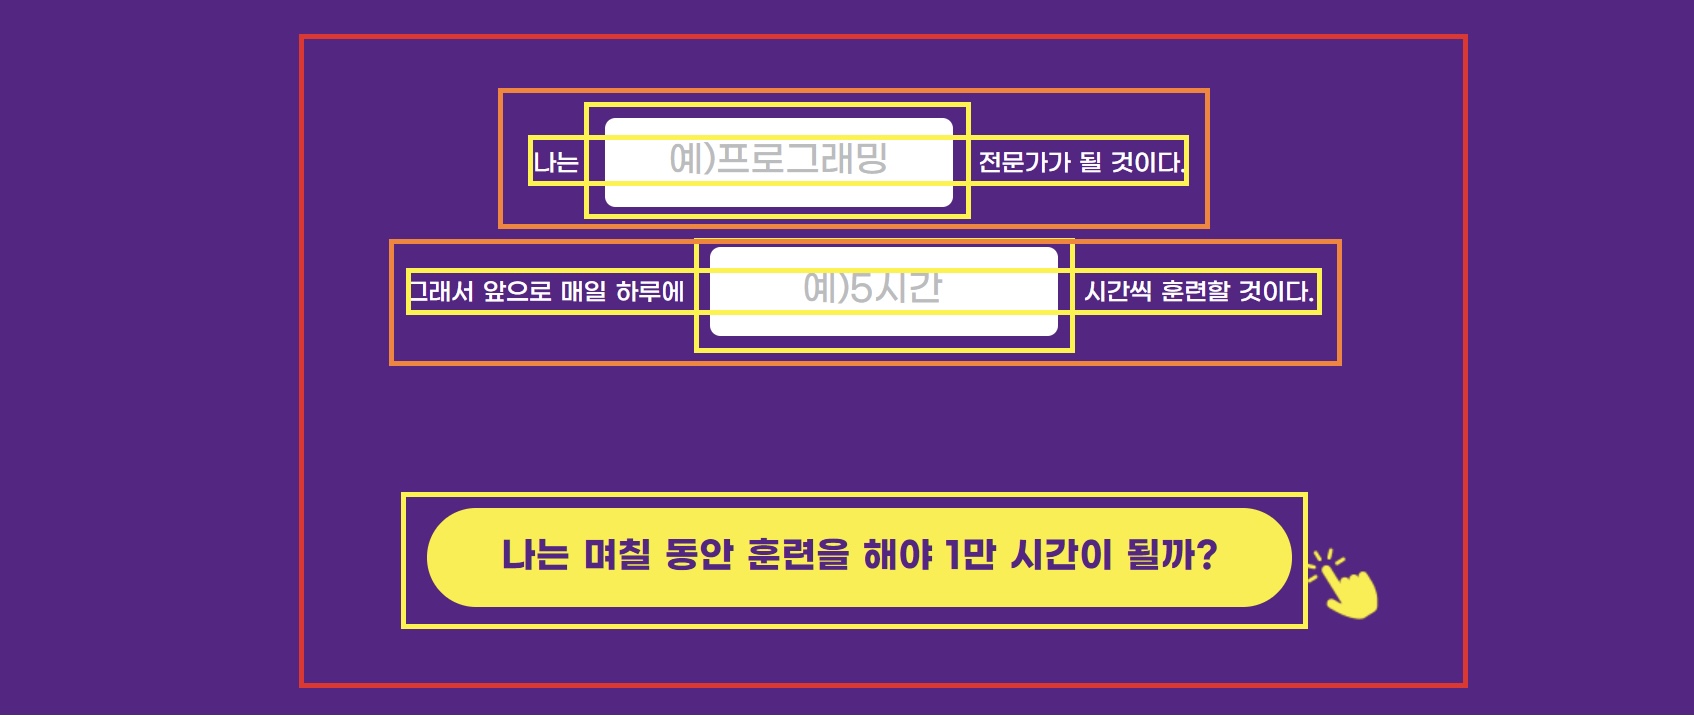
<p>나는<input type="text" placeholder="예)프로그래밍" required>전문가가 될 것이다.</p>
<p>그래서 앞으로 매일 하루에<input type="number" placeholder="예)5시간" required>시간씩 훈련할 것이다.</p>
<button>나는 며칠 동안 훈련을 해야 1만 시간이 될까?</button>
</form>
<section>
<h2>결과 확인</h2>⭐
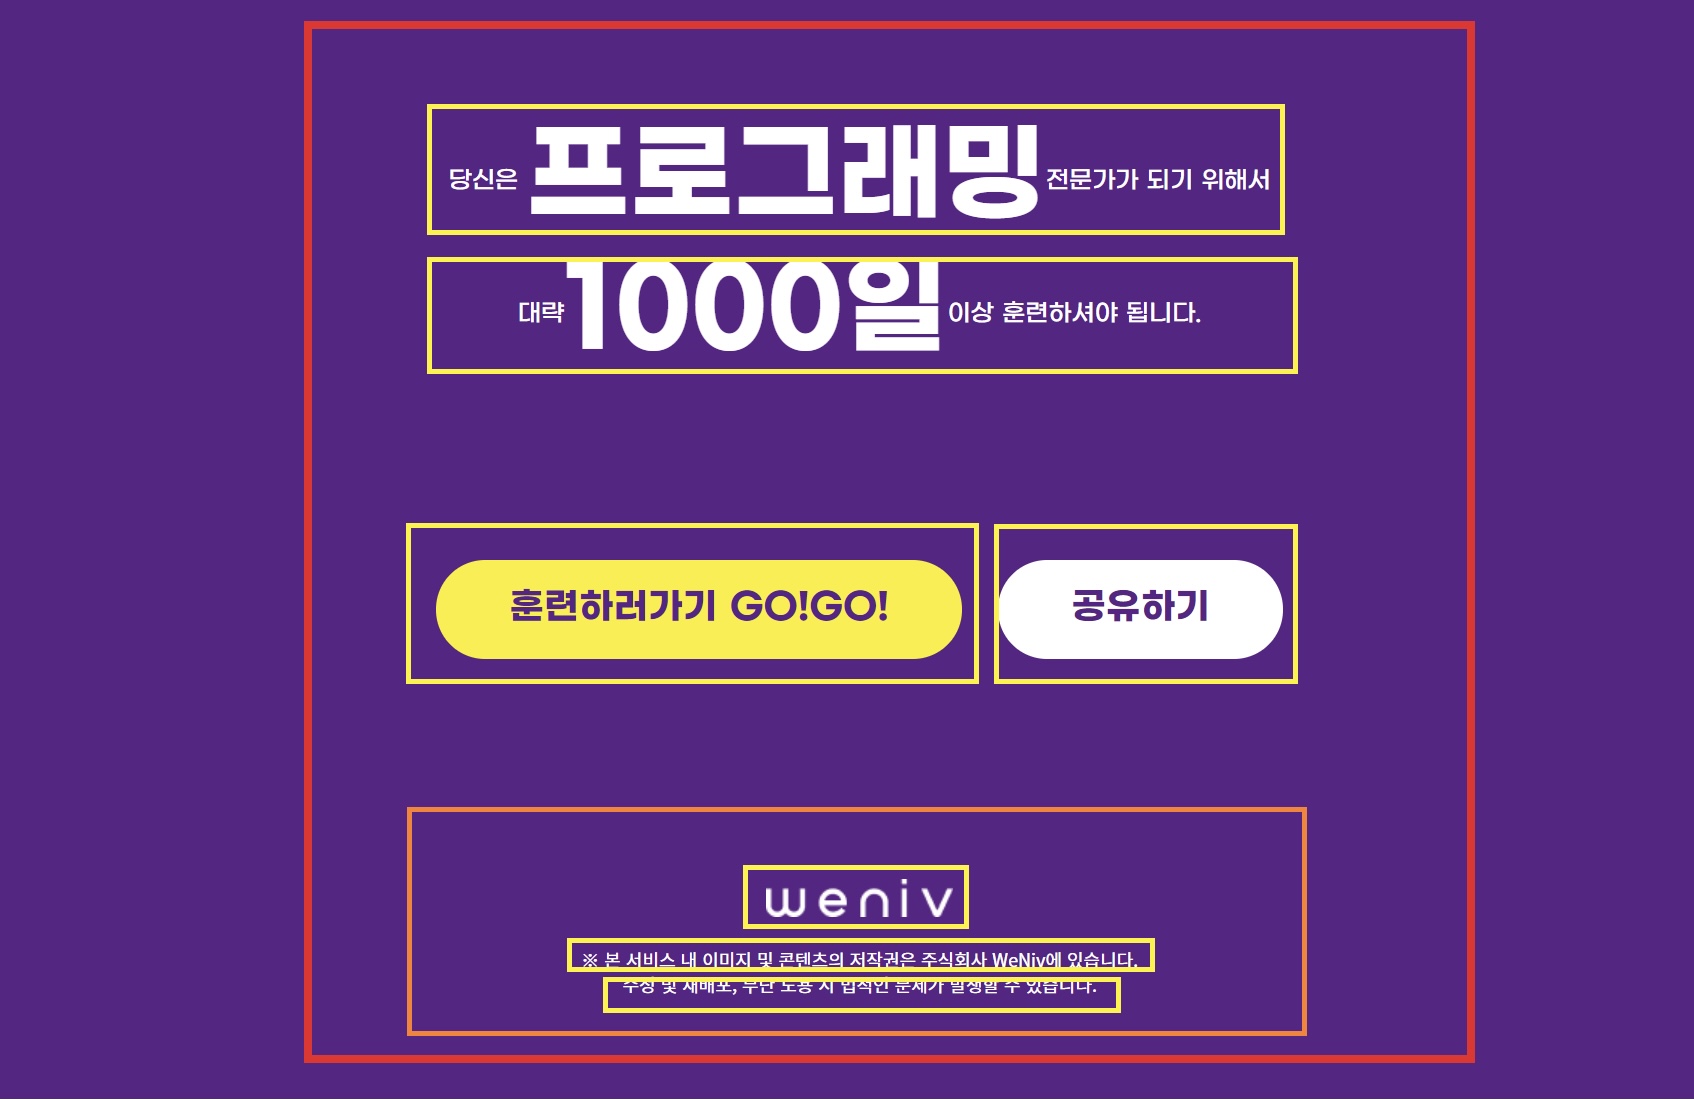
<p class="txt-wannabe">당신은 <strong>프로그래밍</strong>전문가가 되기 위해서</p>
<p>대략<strong>1000일</strong>이상 훈련하셔야 됩니다.</p>
<button type="button">훈련하러가기 GO!GO!</button>⭐
<button type="button">공유하기</button>
<footer>
<img src="images-law/weniv.png" alt="위니브">
<p>※ 본 서비스 내 이미지 및 콘텐츠의 저작권은 주식회사 WeNiv에 있습니다.</p>
<p>수정 및 재배포, 무단 도용 시 법적인 문제가 발생할 수 있습니다.</p>
</footer>
</section>
</main>
</body>2-1. 배운점
- 텍스트 이미지를
<h1>에 넣는 경우도 있다는 것<form>의input을 통해 사용자가 직접 타자 쳐서 삽입할 수 있게 하는 것- 굳이 모든 문장을
<p>로 감싸지 않아도 된다는 것- 나는
<section>으로 모든 구획을 나누려고 했는데, 굳이 안그래도 되는구나- 웹페이지 상에서 보이지 않아도
heading tag를 넣어줌으로써, 스크린리더가 읽을 수 있도록 해준다는 것- 버튼 요소에는
<button>사용할 것
3. CSS
🙋 Figma를 꼼꼼하게 살펴보며 레이아웃 및 디자인을 적용해주었다
(1) main태그
#app {
    font-family: GmarketSansMedium;
    background-color: #5b2386;
    color: white;
    text-align: center;
    padding-bottom: 70px;
}
- 이 페이지를 대표하는 id는 app으로 처리해준 뒤 효과를 주었다
<footer>에 margin을 주면 margin겹침 현상이 일어나서<main>에 padding을 주었다
(2) 타이틀

.tit-law {
    display: inline-block;  /* 자식요소와 마진겹침 해결을 위해 */
    position: relative;
    margin-top: 194px;
}

.tit-law::after {
    display: block;  /* 가상요소 사용할 때 필요한 것 */
    content: '';    /* 가상요소 사용할 때 필요한 것 */
    position: absolute;
    top: 50%;
    left: 50%;
    width: 225px;
    height: 225px;
    margin: -112px 0 0 -112px;
    background-image: url(../images-law/title_bg.png);
    background-size: 225px 225px;
}
💡 '1만 시간의 법칙' 텍스트 이미지 뒤에 있는 '시계 이미지'는 가상요소를 사용해 배치시켜줬다. 이 웹페이지에서 ' 시계 이미지'는 그리 중요한 요소가 아니었으므로, 가상요소를 사용하는 것은 정말 좋은 아이디어라고 생각했다.
(3) 타이틀2

.tit-law .img-tit {
    position: relative;
    z-index: 10;
}
💡
z-index: 10;
- 타이틀 이미지를 맨 앞으로 오게 해줌
- 계산하기 편하게 하기 위해 큰 수로 줌
position값이 있어야만z-index적용됨
.img-txt {
    max-width: 486px;
    margin: 125px auto 78px;
}
💡
max-width: 486px;
- 최대 486까지 늘어난다는 것
- 화면조정 할 때 유용
(4) 내용1

.txt-desc {
    position: relative;
    width: 475px;
    margin: 0 auto 102px;
    line-height: 24px;
    font-size: 18px;
}
💡 margin으로 한쪽 쏠림 현상 해결법
- width 가운데 정렬을 위해 margin 0 auto 주기
.txt-desc .tit-desc {
    font-size: 24px;
    font-weight: bold;
}

/* 2가지 공통 적용 */
.txt-desc::before, .txt-desc::after {
    position:absolute;
    top: 50%;
    display: block; /*끝에서끝까지 넓이 차지함*/
    content: '';
    width: 37px;
    height: 32px;
    margin-top: -16px;
}

/* 첫번째 자식요소 */
.txt-desc::before {
    left: 0;
    background-image: url(../images-law/txt-left.png);
}

/* 두번째 자식요소 */
.txt-desc::after {
    right: 0; /*오른쪽에 붙어야 하니까*/
    background-image: url(../images-law/txt-right.png);
💡 두 따옴표 이미지, 텍스트의 가상요소로 처리하기
(4) 내용2

.cont-inp .txt-wannabe input, .cont-inp .txt-time input {
    width: 228px;
    height: 57px;
    border: none;
    border-radius: 7px;
    text-align: center;
    font-size: 24px;
    margin: auto 17px;
    font-family: 'GmarketSansMedium';

}

input::placeholder{
    color: #BABCBE;
  }
<input>을 사용함으로써, 사용자가 빈칸에 직접 텍스트를 입력할 수 있다
.cont-inp .btn-exc, .btn-go, .btn-share {
    padding: 21px 49px;
    margin-bottom: 147px;
    font-size: 24px;
    line-height: 24px;
    font-family: GmarketSansBold;
    font-style: normal;
    color: #5B2386;
    background: #FCEE21;
    border-radius: 56px;
    cursor: pointer;
    border: none;
}

.btn-exc {
    position: relative;
}

.cont-inp .btn-exc::after {
    position: absolute;
    top: 15px;
    right: -65px;
    display: block;
    content: '';
    width: 64px;
    height: 72px;
    background-image: url(../images-law/hand.png);
}
- 레이아웃에 직접적으로 영향 미치는 속성은 위로 빼주는 것이 좋다
- 노란색 클릭창은
padding값과 함께 박스 크기 결정하고 있기 때문에width는 없어도된다
(5) 내용3

- 2개의 버튼은 위에 있는 버튼과 한꺼번에 처리해주었다
- 나머지는 font, line-height, margin, padding등을 주어서 폰트와 위치 및 간격을 적절하게 변경시켜주었다
4. 🔗 배포 링크
📍 느낀점
- 이론을 공부하는 것보다 훨씬 더 와닿고 재미있었던 실습시간
- 이번주 주말에 무조건 백지상태에서 처음부터 다시 만들어볼 것💪
(이렇게 완성한 결과물은 얼마나 더 뿌듯할지ㅎㅎ) - 아직 배운 이론을 실습에 그때그때 알맞게 적용해내는 것이 익숙하지 않다
(충분한 시간을 가지고 꾸준히 연습만이 살 길이겠거니!)

