설치
https://github.com/tzutalin/labelImg
window 파트 참고
설치 과정 참고
https://uhhyunjoo.tistory.com/6
1. python 설치
+) labelimg 폴더 생성하고 그 안에 설치해야 함
C:\WINDOWS\system32>cd C:\Users\pothole\Desktop\labelImg-master2. PyQt5 설치
https://www.riverbankcomputing.com/software/pyqt/download
pip install PyQt53. lxml 설치
https://lxml.de/installation.html
pip install lxml4. OSGeo4W 설치
pyrcc5 을 사용하기 위해 필요
https://trac.osgeo.org/osgeo4w/
pyrcc5 -o libs/resources.py resources.qrc5. 실행
python labelImg.py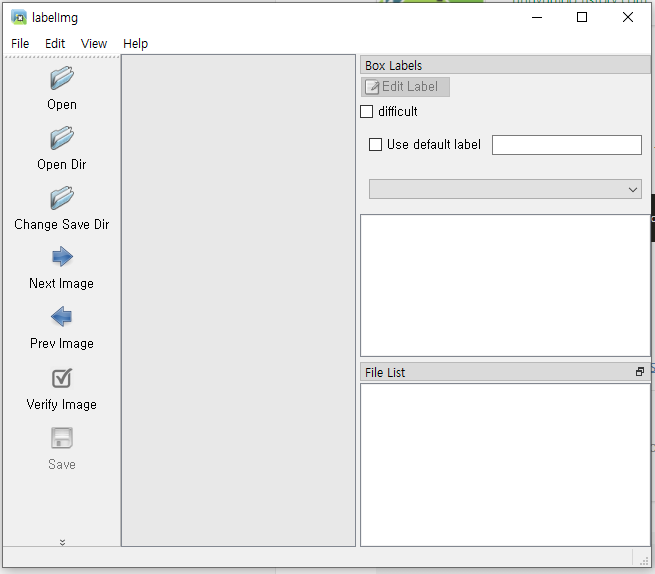
Steps (YOLO)
1. In data/predefined_classes.txt define the list of classes that will be used for your training.
2. Build and launch using the instructions above.
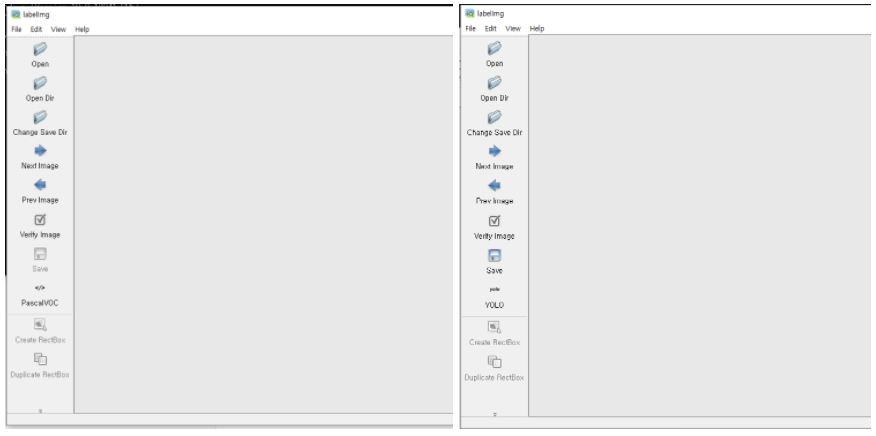
3. Right below "Save" button in the toolbar, click "PascalVOC" button to switch to YOLO format.
4. You may use Open/OpenDIR to process single or multiple images. When finished with a single image, click save.
A txt file of YOLO format will be saved in the same folder as your image with same name. A file named "classes.txt" is saved to that folder too. "classes.txt" defines the list of class names that your YOLO label refers to.
Note:
- Your label list shall not change in the middle of processing a list of images. When you save an image, classes.txt will also get updated, while previous annotations will not be updated.
- You shouldn't use "default class" function when saving to YOLO format, it will not be referred.
- When saving as YOLO format, "difficult" flag is discarded.
Create pre-defined classes
You can edit the data/predefined_classes.txt to load pre-defined classes
1. data/predenfined_classes.txt 파일 수정
내가 학습시킬 클래스 명으로 수정하여 저장한다
2. 다시 실행
python labelImg.py3. 왼쪽 툴박스 세이브 저장 버튼 밑에 클릭해서 욜로 포맷으로 바꾸기
4. 바운딩박스 만들기
Create RectBox 눌러서 객체 지정 후 라벨 선택
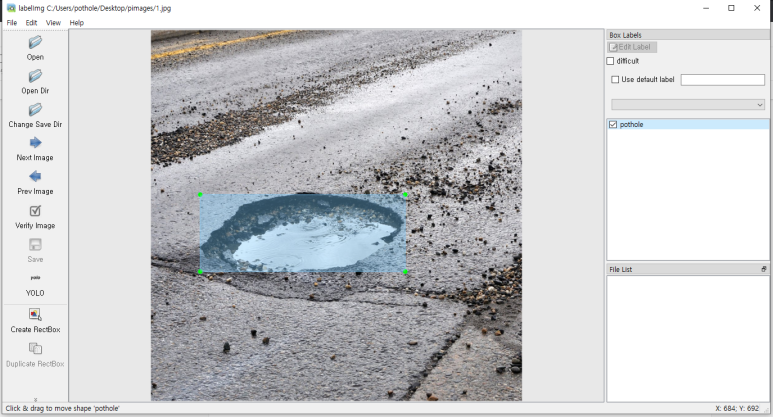
5. 저장
사진이 있던 경로에 가보면
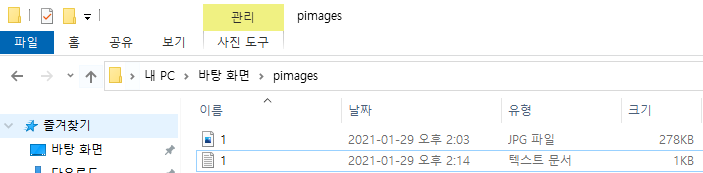
새로운 텍스트파일 폴더가 생겼음을 알 수 있음
열어보면
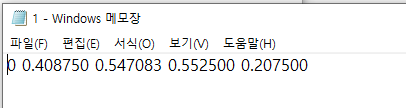
바운딩 박스의 좌표가 들어있음을 알 수 있음