Intro
전 post에서 간략하게 프로젝트에 이메일 인증이 필요한 이유와 setup 과정까지 소개했다. 이번 post에서는 본격적으로 express server 환경에서 nodemailer 모듈을 이용한 회원가입시 이메일 인증 구현 과정을 설명하겠다!
💡 현재 개발 중인 repository github는 private여서 추후에 어느정도 개발이 완료되면 공개 예정...회원가입 이메일 인증
이제 gmail api 연동을 완료했으니 실제 이메일 인증이 필요한 기능에 추가해보자. 먼저 회원가입전에 이메일 인증을 먼저 완료해야 회원가입이 승인되도록 구현할 예정이다.
대략적인 회원가입 과정에서 이메일 인증 시나리오는 다음과 같다.
- 사용자가 회원가입 페이지에 접속
- 회원가입에 사용할 이메일에 대한 인증 요청
- 요청한 이메일로 접속해 이메일 코드 확인
- 올바른 인증 코드 값 입력
- 이메일 인증 완료
- 회원가입 진행
1. 인증 코드 생성
- 안전하고 random한 인증 코드 생성하기
Crypto | Node.js v21.7.3 Documentation (nodejs.org)
Math.random으로 생성된 난수 값은 실제 “random” 하지 않다!
node의 seed 값만 알 수 있다면 얼마든지 random 값을 유추 가능
→ 보안적으로 안전하지 X
nodejs의 내장 모듈 crypto의 randomBytes 모듈을 사용!
// service/verificationCodeService.js

function generateVerificationCode() {
  const codeSize = 8;
  const bytes = crypto.randomBytes(codeSize);
  const verificationCode = bytes.toString("base64").slice(0, codeSize); // 숫자로 변환 후 문자열 슬라이싱

  return verificationCode;
}- base64로 인코딩해 8자리 값만 slice해서 반환
2. Email Code 저장
generateVerificationCode() 메소드로 생성한 8자리 인증 번호를 사용자에게 전송하고 서버 측에서도 저장이 필요해 아래와 같은 의문점이 든다.
Question
1. 어디에 인증번호를 저장?
- db or session? or 단순히 Js의 Map이나 list를 사용해 메모리에 저장? 아님 redis를 이용해 memory db를 사용?
- 얼만큼 시간동안 인증번호 값을 저장?
- 일정 시간이 지나면 자동 삭제?
현재 프로젝트에서 redis를 추가적으로 사용하기엔 번거로워 db table에 저장해 불러오도록 결정
create table VerificationCode (
		id INT AUTO_INCREMENT PRIMARY KEY,
    email VARCHAR(255) NOT NULL,
    verification_code CHAR(8) NOT NULL,
    verified BOOLEAN NOT NULL DEFAULT FALSE,
    expiration TIME,
    created_at DATETIME NOT NULL DEFAULT CURRENT_TIMESTAMP
)- expiration + created_ad 값을 이용해 인증코드 만료 시간 계산
- verified 속성으로 한번 사용된 인증 코드인지 판단
VerificationCode table과 data를 주고 받을 repository module 생성
// repository/VerificationCode.js
const VerificationCode = {
  insertVerificationCode(email, verification_code, expiration, callback) {
    const sql =
      "insert into VerificationCode(email, verification_code, expiration) value(?, ?, ?)";
    const params = [email, verification_code, expiration];

    db.asynQuery(sql, params, callback);
  },
  .
  .
  .
}- 인증코드는 사용자가 이메일 인증 버튼을 클릭 뒤 생성이 되므로 정상적인 상황에서는 사용자는
인증코드 요청 → 해당 email 접속 → email code 확인의 과정을 거침 - table에 insert하는 query는 굳이 동기로 처리해 사용자의 경험 속도를 낮출 필요가 없다고 판단해 비동기로 쿼리 실행!
3. Email 발송
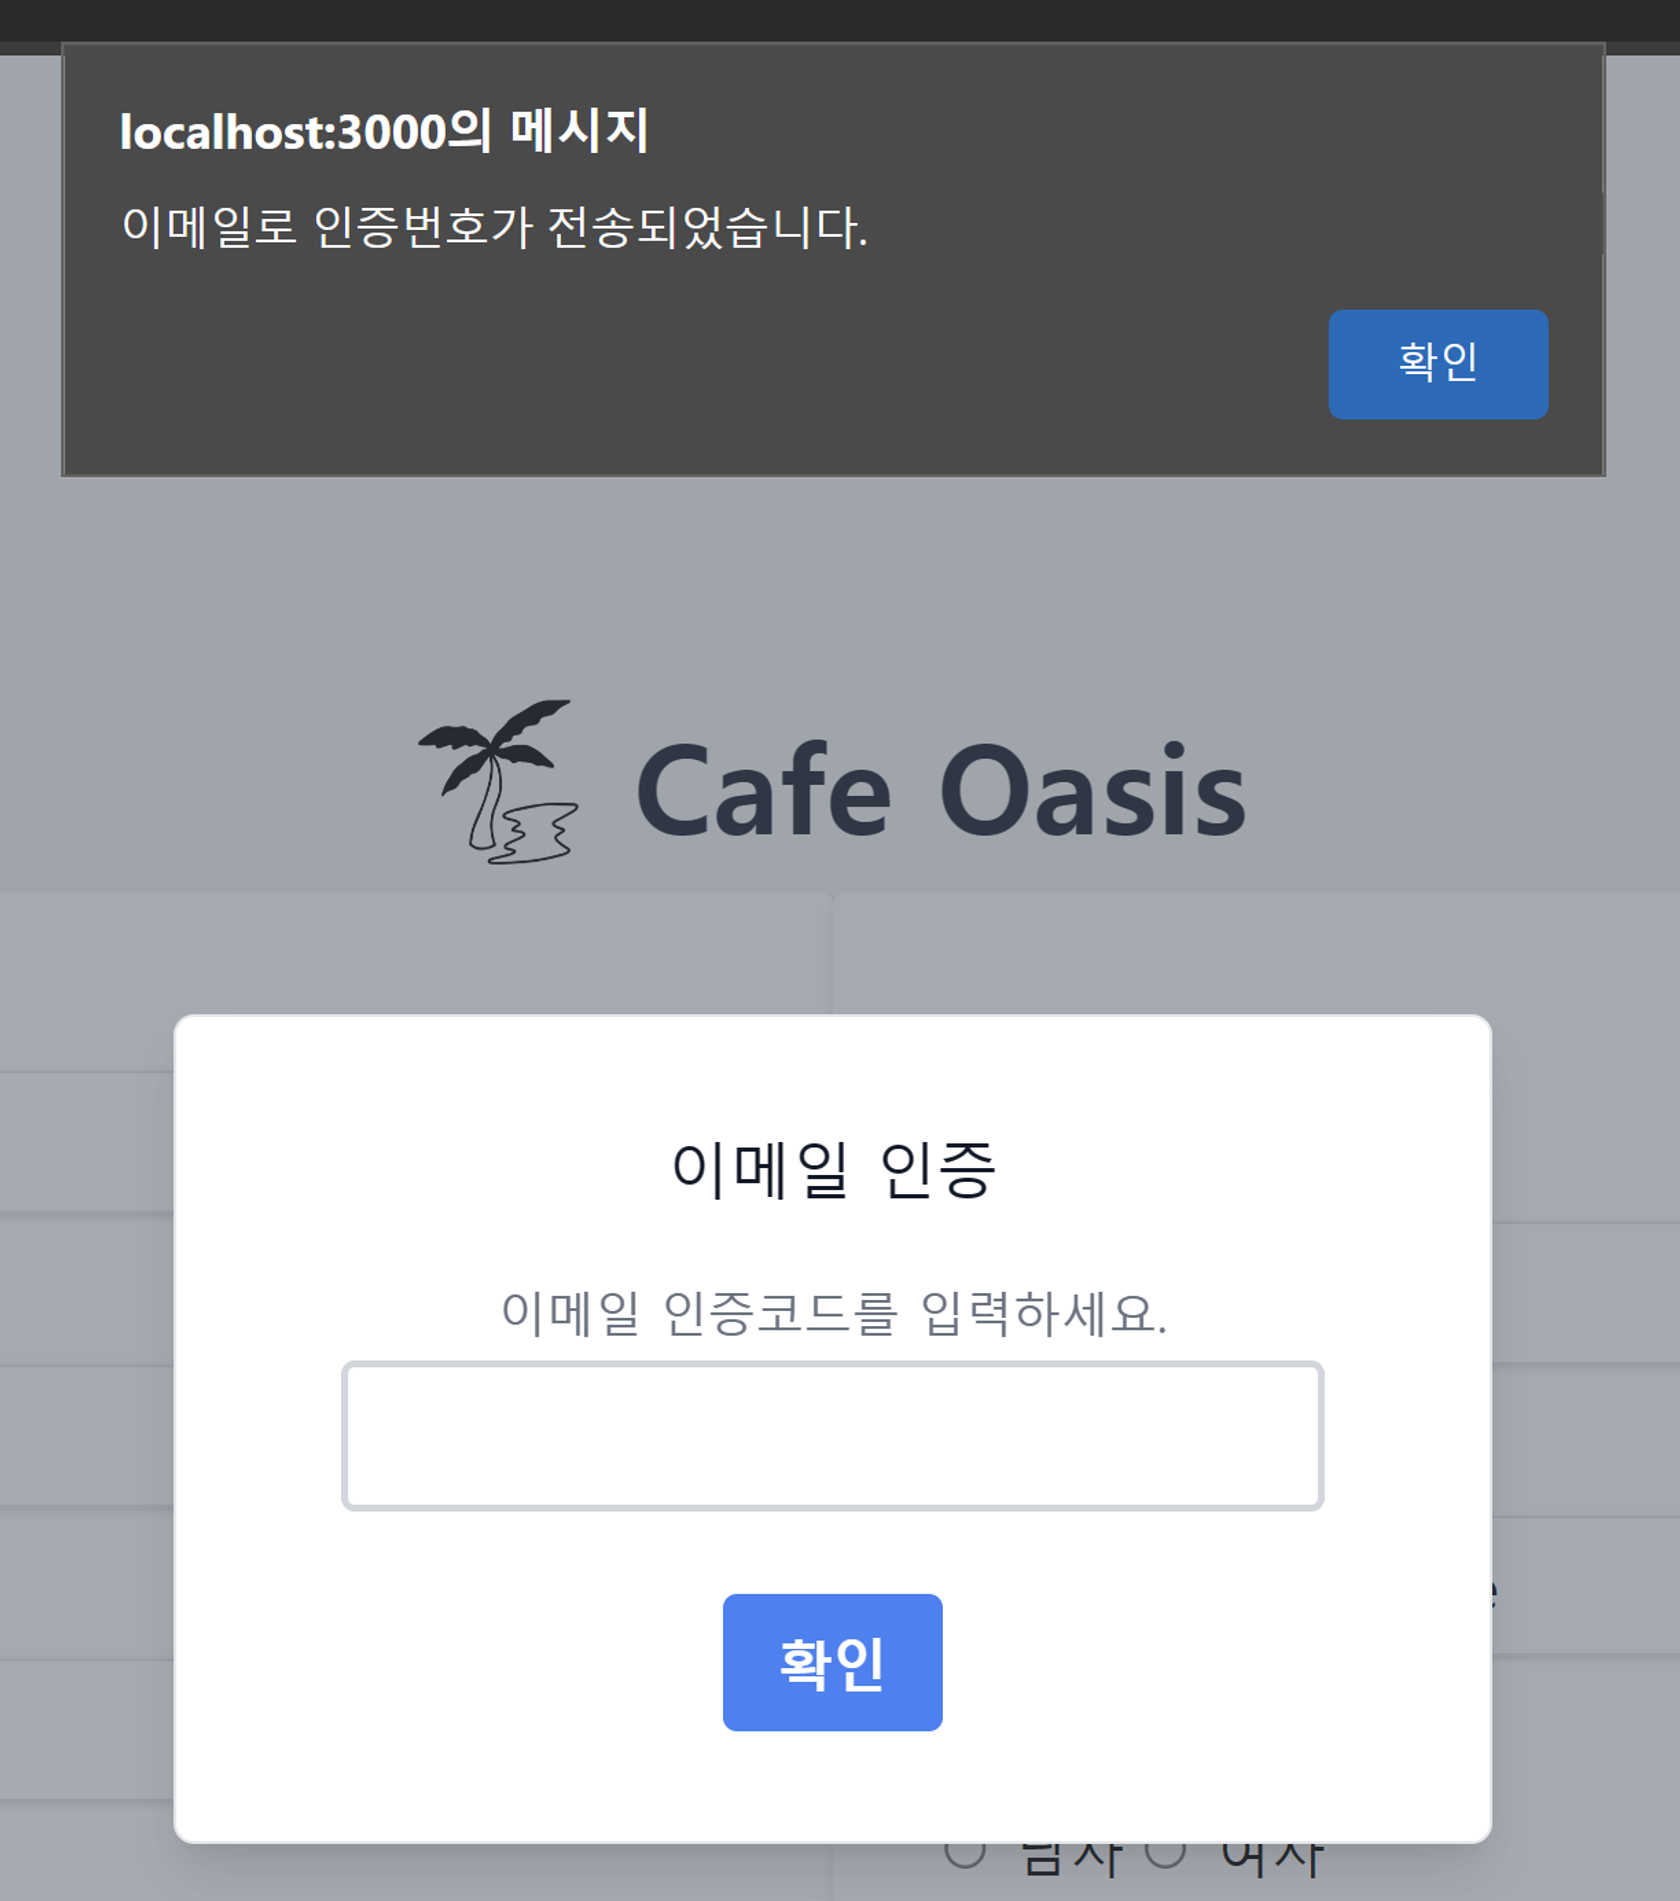
사용자가 아래와 같이 email 인증 버튼을 클릭함과 동시에 server에서 email 요청이 이루어져야 함

|
|
verificationCodeService 객체에 emailService 의존성을 주입해 사용자의 이메일로 인증 코드를 전송하도록 구현
    //service/verificationCodeService.js

async verifyUserCode(email, userCode) {
    try {
      const row = await VerificationCode.getVerificationCode(email);
      const now = new Date();

      if (
        !row ||
        row.verification_code != userCode ||
        new Date(row.expiration_time) <
          new Date(now.getTime() - now.getTimezoneOffset() * 60000) // 현재 시간보다 인증 만료시간이 더 커야함, UTC -> Asia/Seoul 시간대로 변경
      )
        return false;

      VerificationCode.updateCodeAsVerified(row.id, (err) => {
        if (err) console.error(err);
      });
      return true;
    } catch (err) {
      console.error(err);
      return false;
    }
},- random한 8자리 인증 코드를 생성하고 emailService의 sendEmail 함수로 전송
- 인증 코드 전송과 함께 생성한 인증 코드 값을 table에 insert
- 임의로 만료 시간은 30분으로 설정 → 추후 고려 후 시간 조정 필요
- 성공적으로 메일을 전송하면 true 반환
- but, sendEmail 함수와 insertVerificationCode 함수 둘 다 비동기적으로 return 이 이뤄지기 전에 error 검출이 될까…?
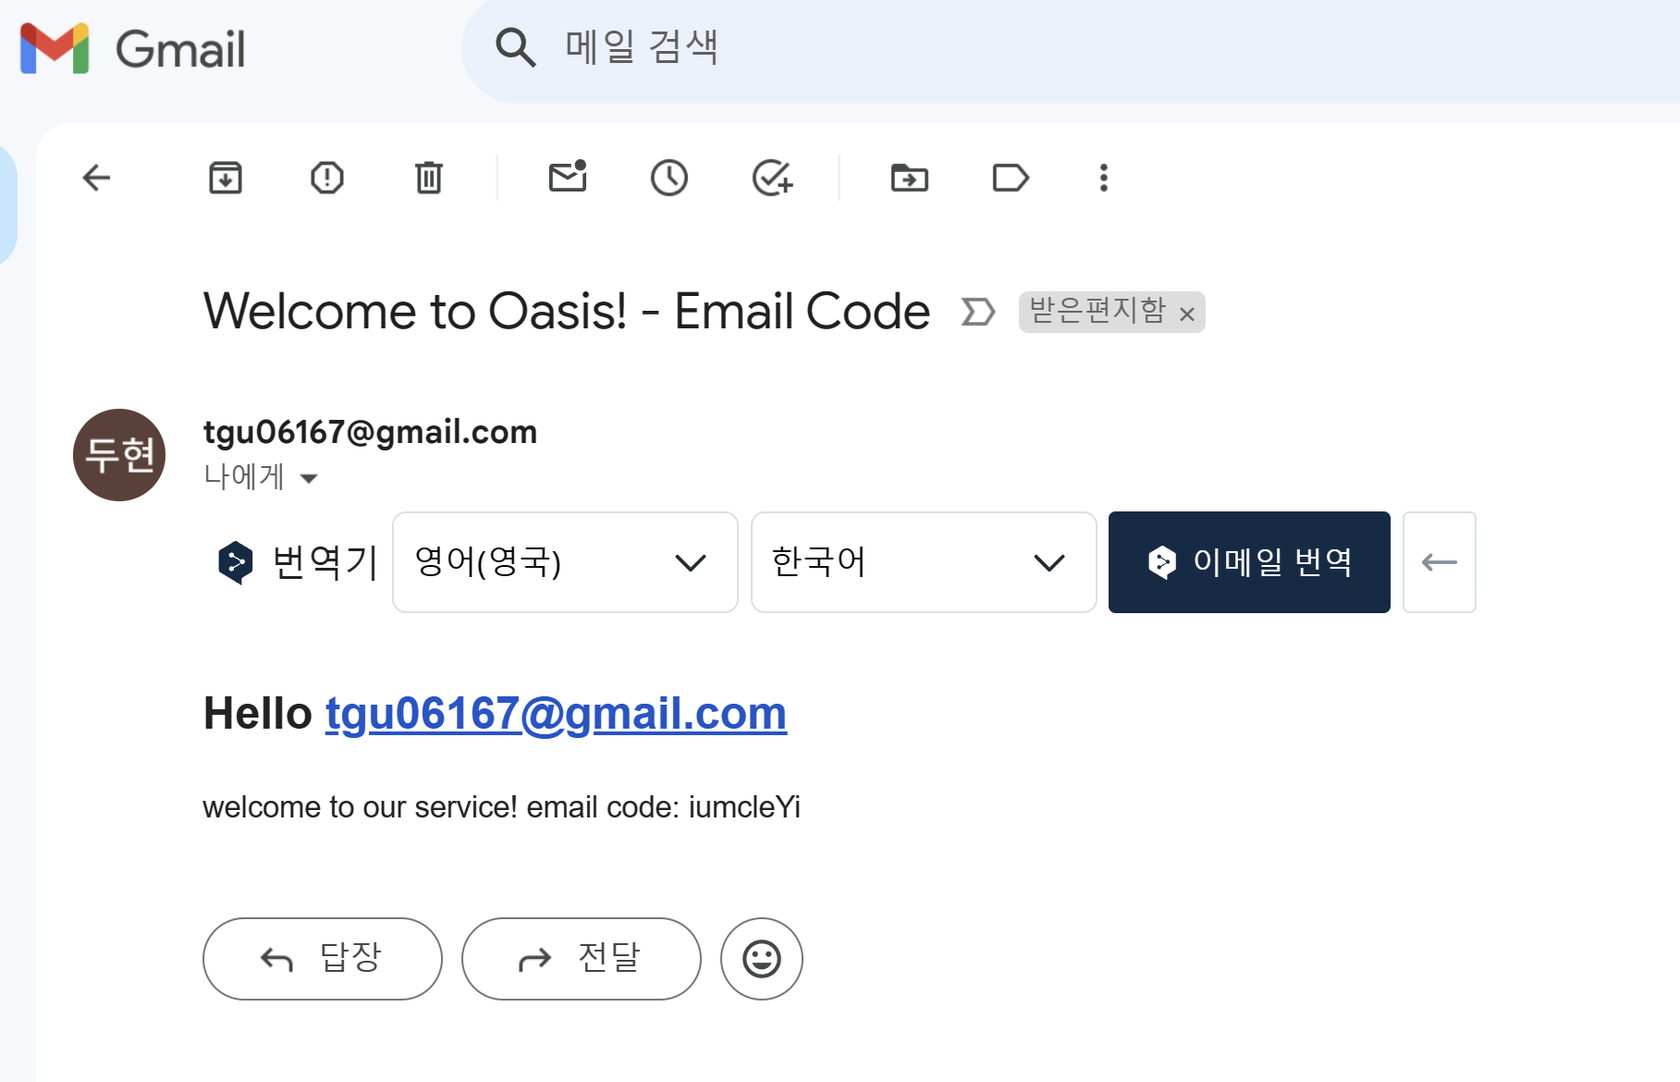
성공적으로 전송되면 다음 그림과 같이 메일을 받을 수 있다!!
4. 인증 코드 검증
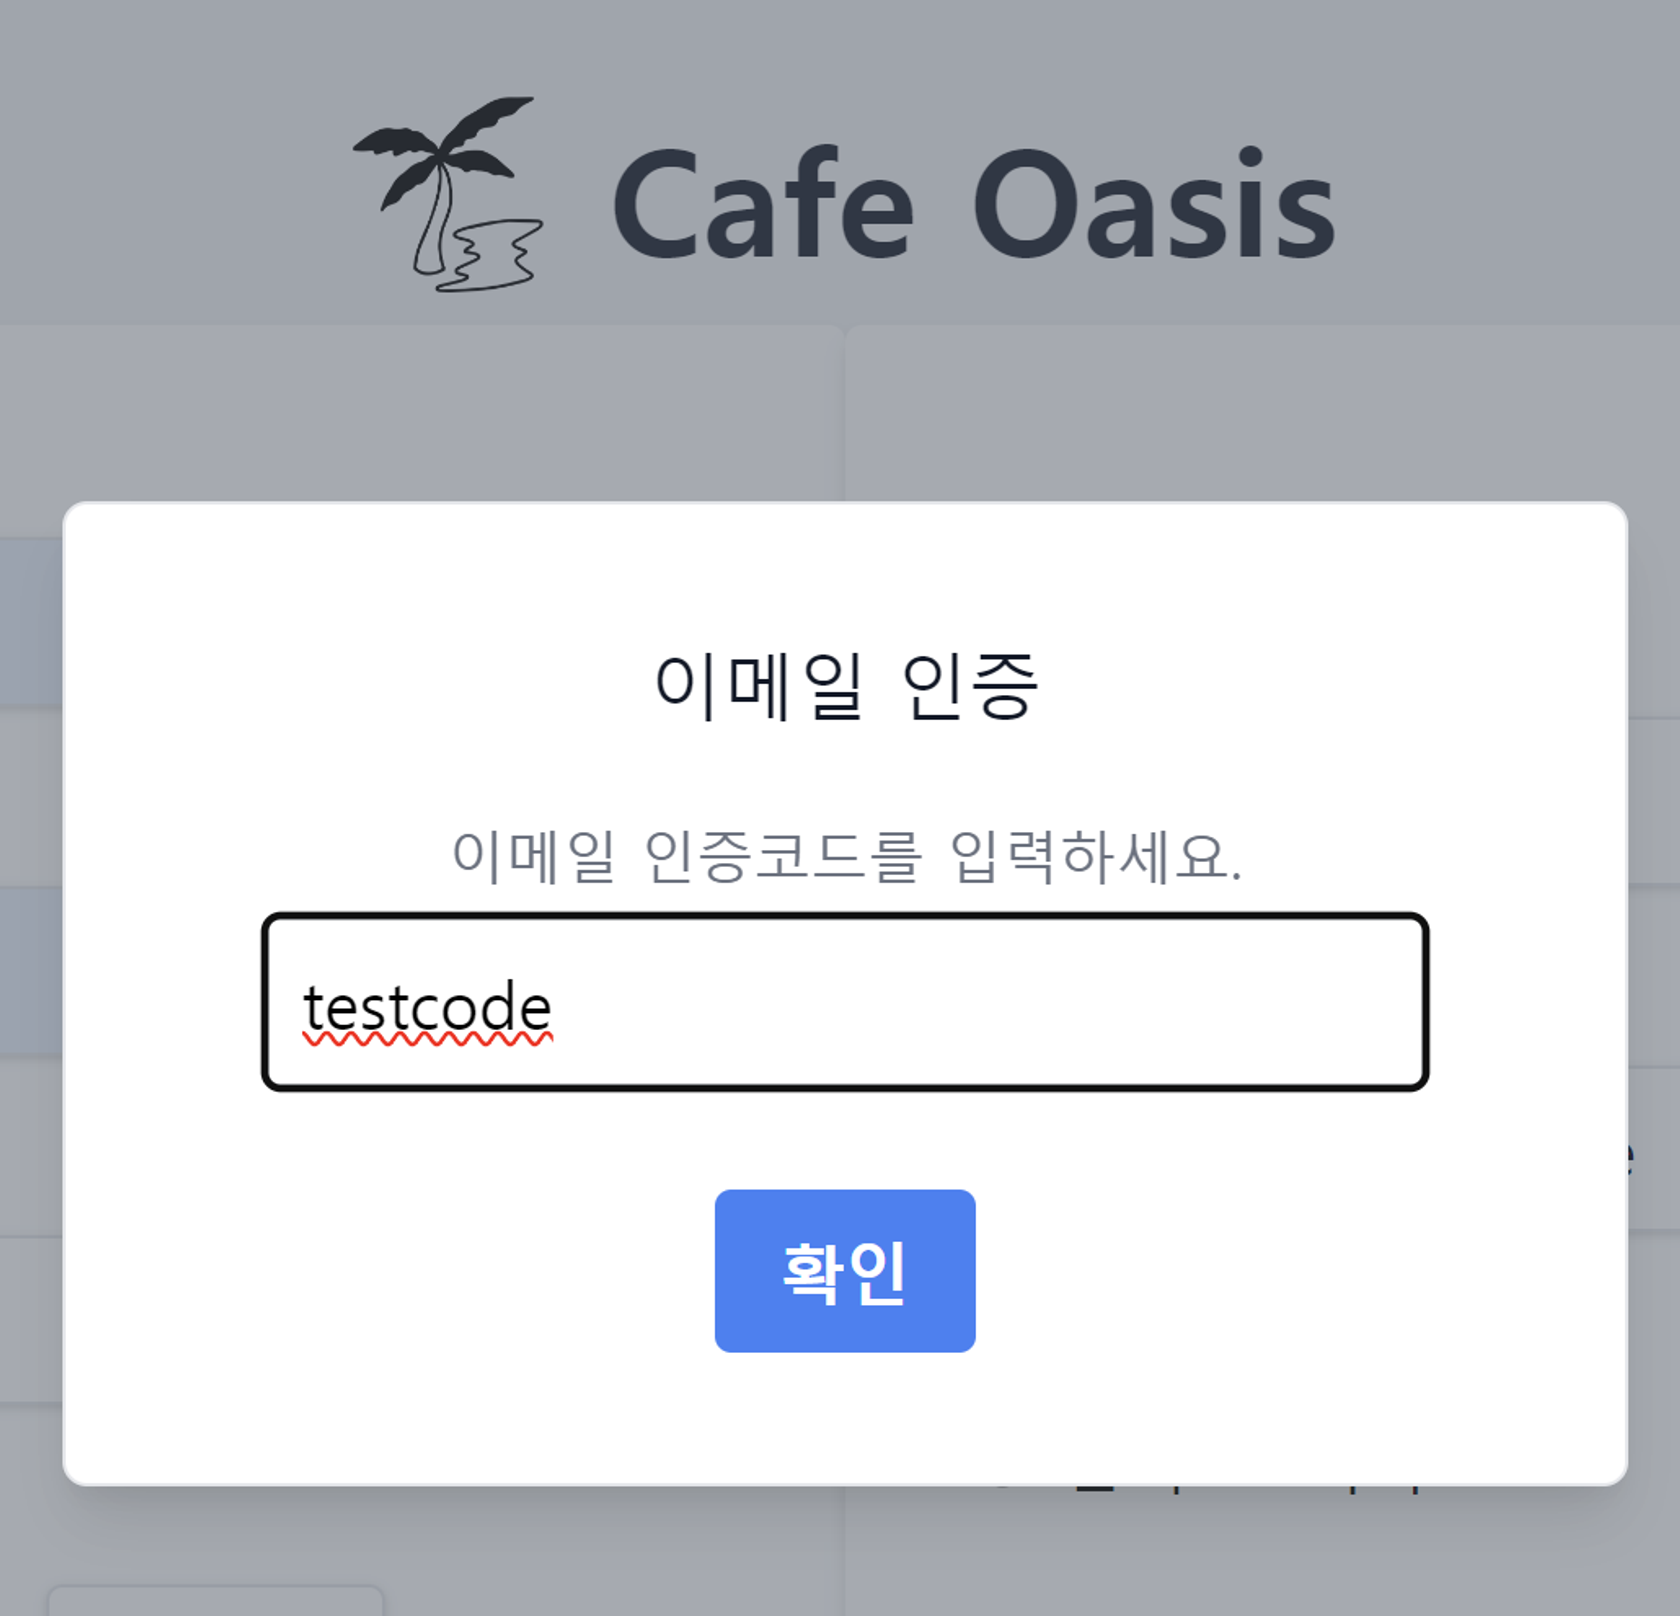
이제 이메일로 받은 인증 코드를 다시 oasis page에 입력해 해당 코드가 유효한지 검증이 필요하다.
다음 그림과 같이 이메일로 받은 인증 코드를 입력하고 확인 버튼을 누르면 서버 측으로 검증 요청이 이뤄진다.
VerificationCode table에서 user email과 일치하고 인증 상태가 아니며 생성 날짜가 가장 최신인 코드를 query한 뒤 검증 과정을 거치도록 구현
// VerificationCode Repository에 구현된 sql 문
select
      id, verification_code, (expiration + created_at) expiration_time
      from VerificationCode
      where
        email = ?
        and verified = FALSE
      ORDER BY
	      created_at DESC
      LIMIT 1;
//service/verificationCodeService.js
async verifyUserCode(email, userCode) {
try {
const row = await VerificationCode.getVerificationCode(email);
const now = new Date();
if (
!row ||
row.verification_code != userCode ||
new Date(row.expiration_time) <
new Date(now.getTime() - now.getTimezoneOffset() * 60000) // 현재 시간보다 인증 만료시간이 더 커야함, UTC -> Asia/Seoul 시간대로 변경
)
return false;
VerificationCode.updateCodeAsVerified(row.id, (err) => {
if (err) console.error(err);
});
return true;
} catch (err) {
console.error(err);
return false;
}
},- user code과 query code 값도 같아야 하지만 인증 시간 만료 여부도 체크 필요
- use code 값 일치 + 인증 시간 만료 X → true 반환
- true 반환하기 전에 해당 verification code record의 verified 필드를 인증 완료 상태로 변환
- 해당 작업은 사용자 입장에서 결과를 기다릴 필요가 없으니 비동기로 처리
5. 세션 저장
위와 같이 이메일 인증 여부가 완료되면 서버 측에서 인증 여부를 session에 저장해서 사용자가 정보를 입력한 후 최종 회원가입 할 때 사용한다.
//router/email.js

router.post("/signup/verification", async (req, res) => {
  const { email, user_code } = req.body;

  try {
    const result = await VerificationCodeService.verifyUserCode(
      email,
      user_code
    );

    if (result) {
      req.session.isEmailVerified = true;
      res.sendStatus(200);
    } else res.sendStatus(401);
  } catch (err) {
    console.error(err);
    res.sendStatus(500);
  }
});- result가 true면 정상적으로 이메일 인증이 완료된 상태
- req.session.isEmailVerfied = true 로 값을 설정해 이메일 인증 여부를 저장한다.
- session에 저장하므로 서버가 재시작되거나 사용자가 페이지를 벗어날 때 다시 이메일 인증을 거쳐야한다.
//router/user.js

router.post("/signup", async (req, res) => {
  const isEmailVerified = req.session.isEmailVerified;
  const user_type = req.body.user_type;

  if (!isEmailVerified)
    return res.render("signup/sign-up", {
      errorMessage: "인증되지 않은 이메일입니다.",
    });
.
.
.- 이메일 인증 과정을 거치면 isEmailVerfied 변수 값이 true로 설정됨
- session 값이 항상 true이므로 ‘test1@email’ 로 인증을 받고 세션을 유지한 상태로 ‘test2@email’ 로 가입이 가능할 것으로 판단
→ 추후에 다른 방법 모색 필요!
Reference