여기서는 몇 가지 Core Components 들을 간단하게 사용해볼 예정
- Text Input
- Scroll View
- Flat List
- Section List
1. Text Input
<TextInput>: html에서의 <input type="text"> 와 동일
- 유저의 텍스트 입력을 받을 수 있는 컴포넌트
예제 코드 살펴보기
import React, { useState } from "react";
import { Text, TextInput, View } from "react-native";

const PizzaTranslator = () => {
    const [text, setText] = useState(""); // 초기 텍스트는 빈 값
    return (
        <View style={{ padding: 100 }}> // css를 바로 줄수도 있음
            <TextInput
                style={{ height: 40 }}
                placeholder="Type here to translate!"
                onChangeText={(newText) => setText(newText)}
                defaultValue={text}
            />
            <Text style={{ padding: 10, fontSize: 42 }}>
                {text
                    .split(" ") // 단어 단위로 분리
                    .map((word) => word && "🍕") // word가 있으면 🍕로 치환
                    .join(" ")} // 띄어쓰기로 분리
            </Text>
        </View>
    );
};

export default PizzaTranslator;
VS code에 확인할 필요 없이 공식 홈페이지에서 제공하는 툴로도 확인 가능
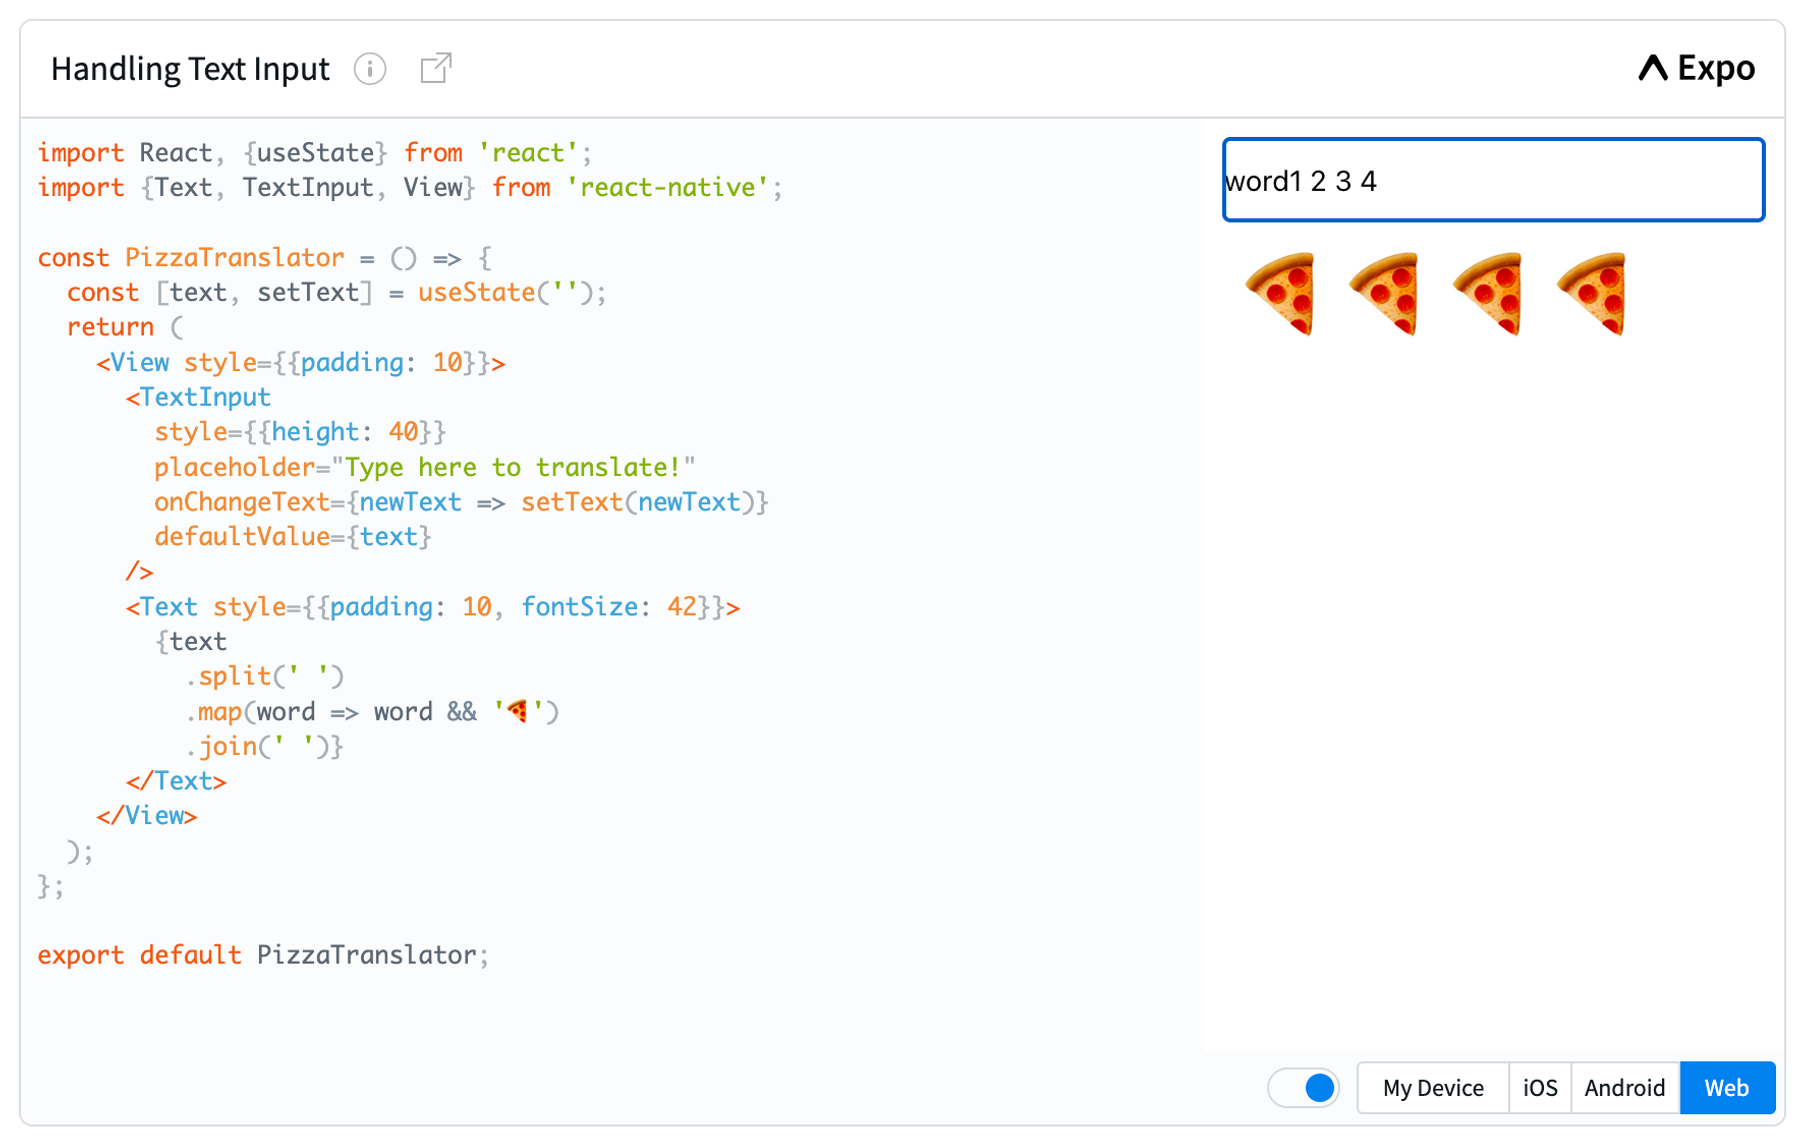
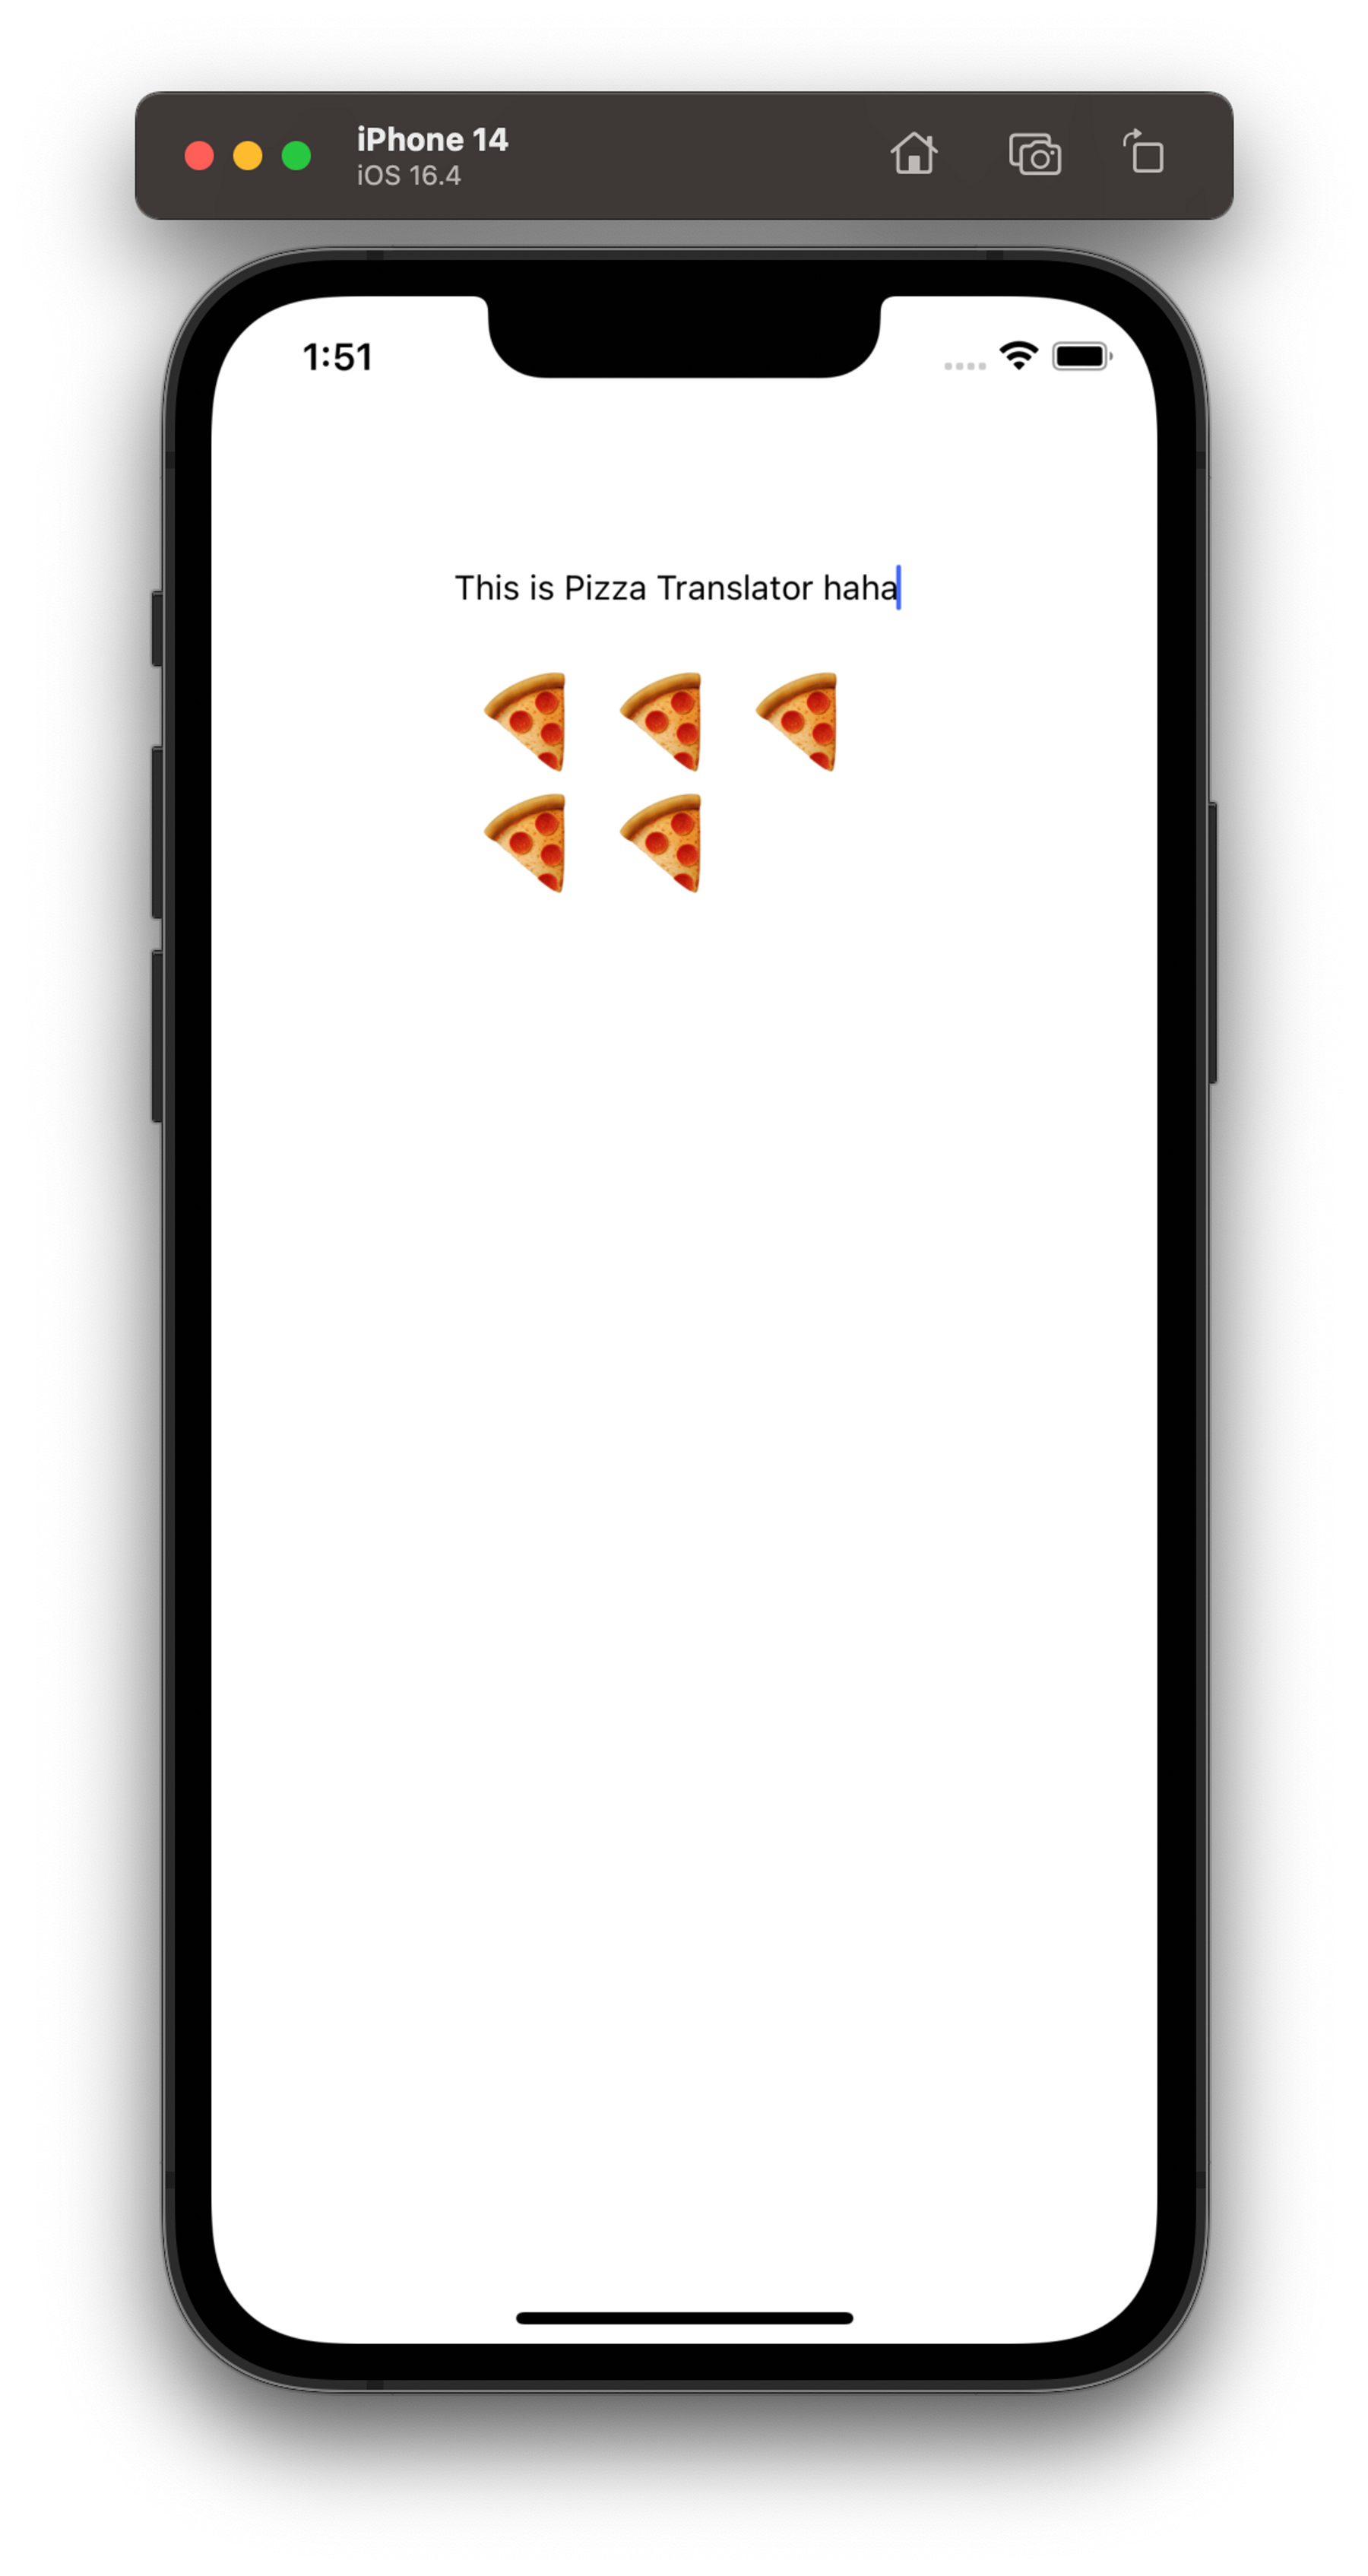
시뮬레이터로 출력하면 이런 느낌
좀 더 자세한 사항은 Textinput docs 확인!
2. Scroll View
Using a ScrollView · React Native
View는 두 가지 종류가 있음
<View>: 스크롤이 불가능한<div><ScrollView>: 스크롤 가능한<div>
스크롤 가능한 컨테이너를 만드려면 <ScrollView>를 사용해야 함
예제 코드
import React from 'react';
import {Image, ScrollView, Text} from 'react-native';

const logo = {
  uri: 'https://reactnative.dev/img/tiny_logo.png',
  width: 64,
  height: 64,
};

const App = () => (
  <ScrollView>
    <Text style={{fontSize: 96}}>Scroll me plz</Text>
    <Image source={logo} />
    <Image source={logo} />
    <Image source={logo} />
    <Image source={logo} />
    <Image source={logo} />
    <Text style={{fontSize: 96}}>If you like</Text>
    <Image source={logo} />
    <Image source={logo} />
    <Image source={logo} />
    <Image source={logo} />
    <Image source={logo} />
    <Text style={{fontSize: 96}}>Scrolling down</Text>
    <Image source={logo} />
    <Image source={logo} />
    <Image source={logo} />
    <Image source={logo} />
    <Image source={logo} />
    <Text style={{fontSize: 96}}>What's the best</Text>
    <Image source={logo} />
    <Image source={logo} />
    <Image source={logo} />
    <Image source={logo} />
    <Image source={logo} />
    <Text style={{fontSize: 96}}>Framework around?</Text>
    <Image source={logo} />
    <Image source={logo} />
    <Image source={logo} />
    <Image source={logo} />
    <Image source={logo} />
    <Text style={{fontSize: 80}}>React Native</Text>
  </ScrollView>
);

export default App;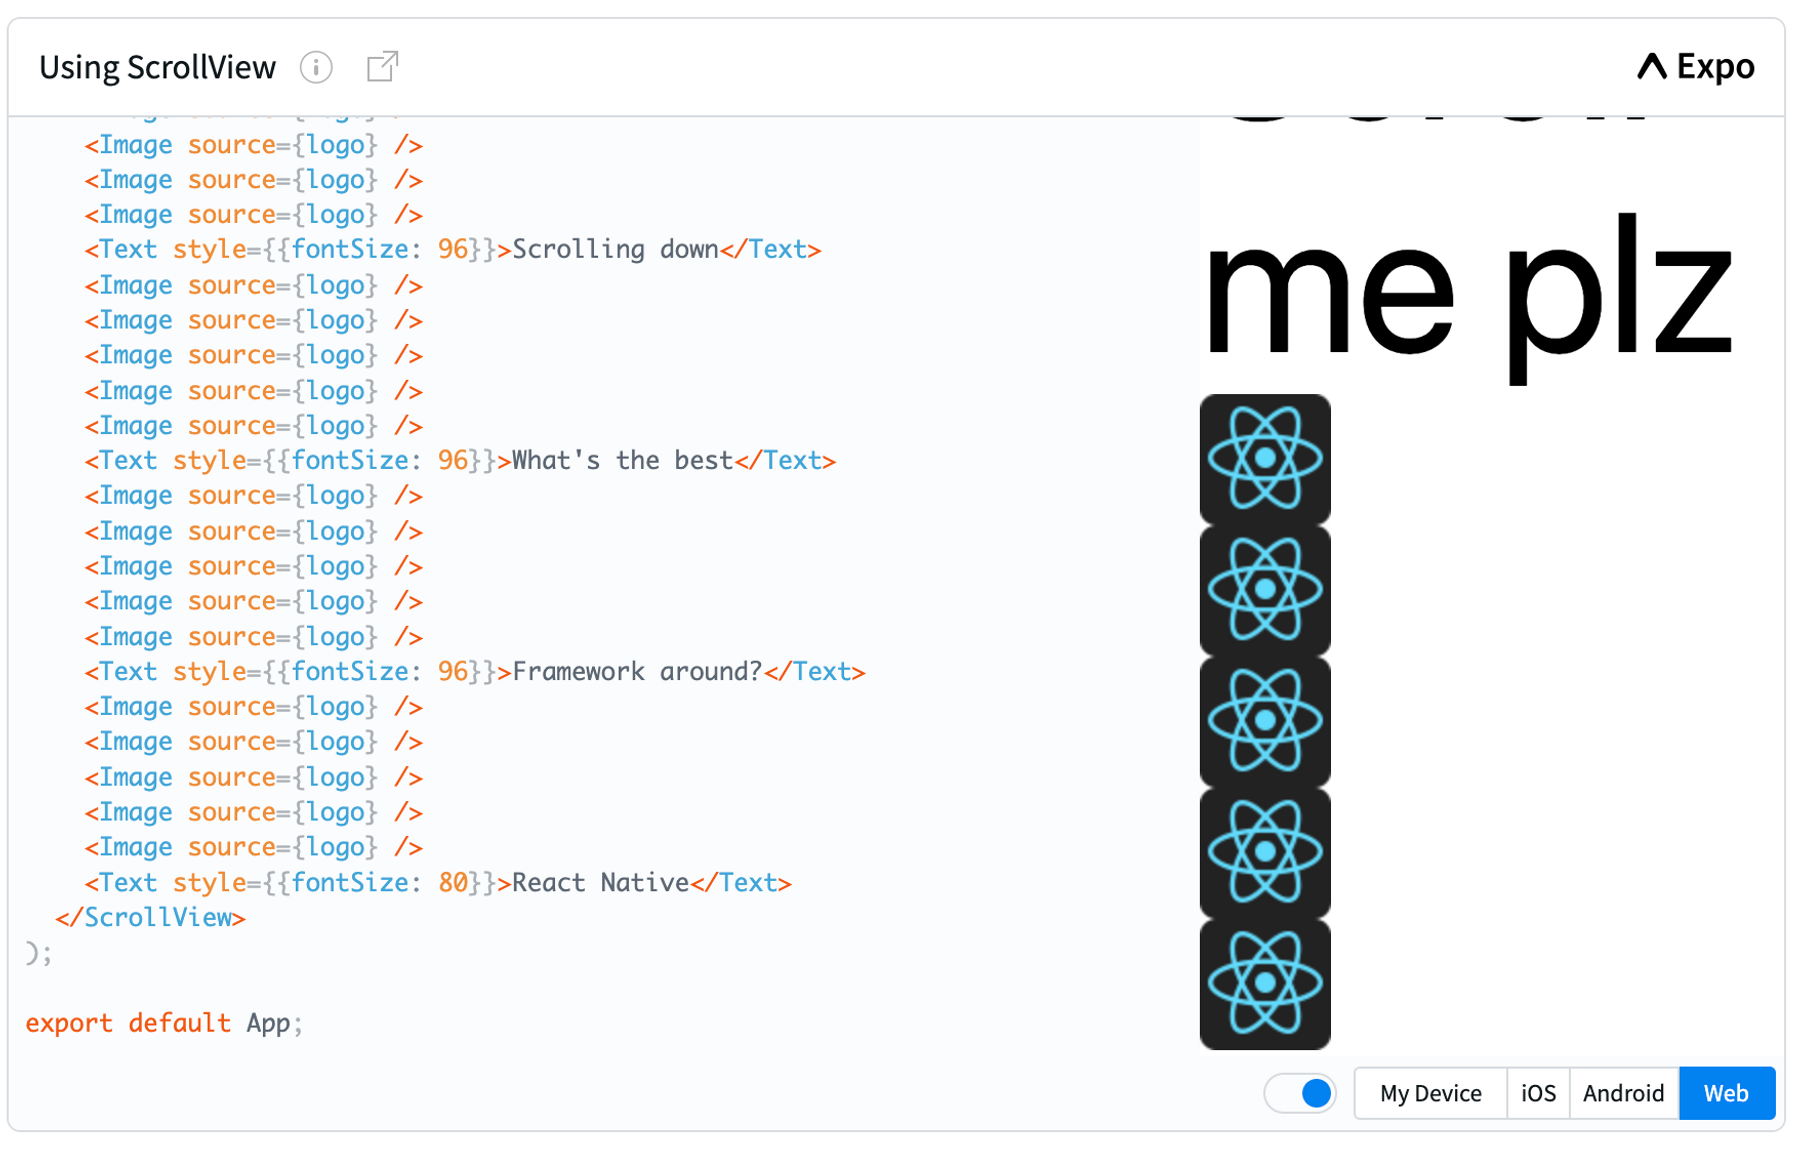
iOS의 경우, ScrollView에서 줌이 가능하게 할 수 있음
maximumZoomScale: 최대 줌 스케일 설정minimumZoomScale: 최소 줌 스케일 설정
<ScrollView minimumZoomScale={1.0} maximumZoomScale={2.0}>
		// snip
</ScrollView>
iOS 시뮬레이터에서 pinch 줌을 하려면?
- option키를 누르고 드래그
화면에 안보이는 영역 랜더링?
스크롤뷰는 화면에는 안보이는 아이템도 한번에 랜더링 해버림 → 많은 아이템이 있다면 랜더링 시간 길어짐
만약 많은 아이템이 있다면 List View를 사용하자!
3. List View
Using List Views · React Native
List View의 종류
FlatList
화면에 현재 보이는 부분만 먼저 랜더링 됨
props 설명
data: 출력하고자 하는 모든 아이템들의 정보를 array(list) 형태로 전달renderItem: 각 요소들을 어떤 포맷으로 출력할 것인지 구현하는 곳keyExtractor: 각 아이템마다 unique한 key 값을 줌 (React에서의 key와 동일한 역할)
예제 코드
import React from "react";
import { FlatList, StyleSheet, Text, View } from "react-native";

const styles = StyleSheet.create({ // style은 따로 만들기
    container: {
        flex: 1,
        paddingTop: 22,
    },
    item: {
        padding: 10,
        fontSize: 18,
        height: 44,
    },
});

const FlatListBasics = () => {
    return (
        <View style={styles.container}> // 위에서 정의한 스타일을 여기서 활용
            <FlatList
                data={[
                    // data props에 리스트 아이템을 array 형태로 입력
                    { key: "Devin" }, // 각 아이템은 object 형태
                    { key: "Dan" },
                    { key: "Dominic" },
                    { key: "Jackson" },
                    { key: "James" },
                    { key: "Joel" },
                    { key: "John" },
                    { key: "Jillian" },
                    { key: "Jimmy" },
                    { key: "Julie" },
                ]}
                renderItem={({ item }) => (
                    // 각 아이템을 어떻게 랜더링할지는 여기서 구현
                    <Text style={styles.item}>{item.key}</Text>
                )}
            />
        </View>
    );
};

export default FlatListBasics;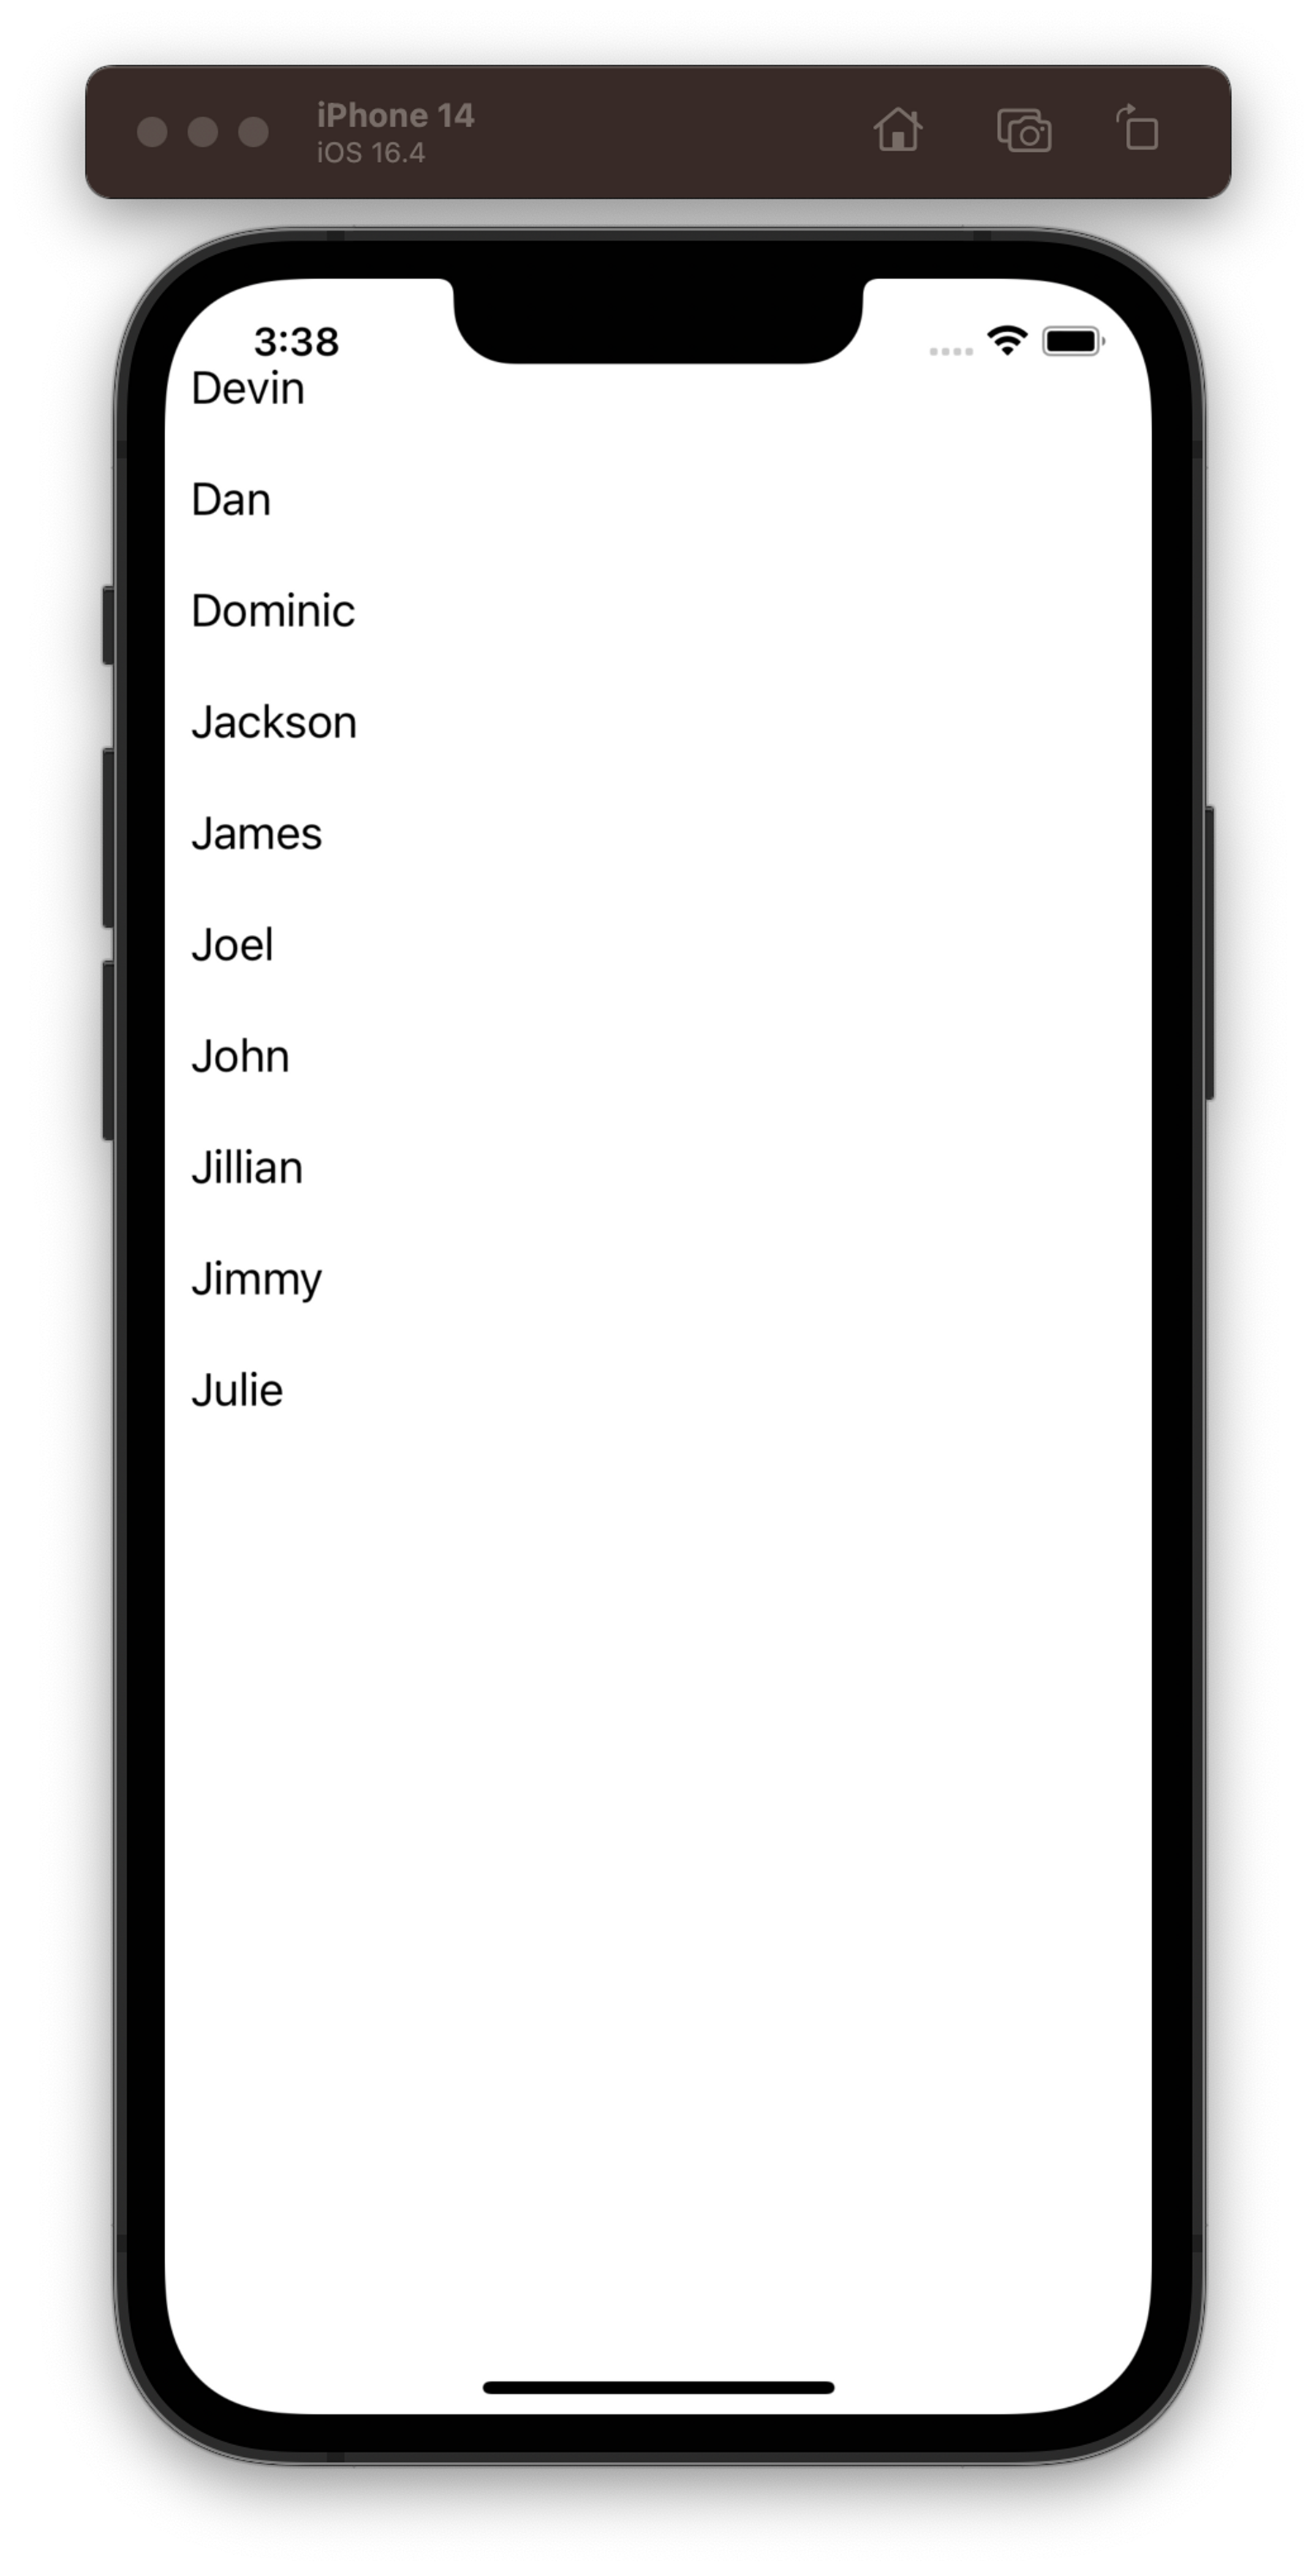
SectionList
FlatList들을 구분할 수 있는 세션 헤더가 존재 (iOS의 UITableView와 비슷함)
props 설명
sections: 출력하고자 하는 모든 Section의 정보를 array(list) 형태로 전달 (각 세션은 FlatList이기 때문에 FlatList의 props에 대한 정보를 정의해야 함)renderItem: 각 아이템들을 어떤 포맷으로 출력할 것인지 구현하는 곳renderSectionHeader: 세션을 구분하는 헤더를 구현하는 곳keyExtractor: 각 아이템마다 unique한 key 값을 줌 (React에서의 key와 동일한 역할)
예제코드
import React from "react";
import {
    StyleSheet,
    Text,
    View,
    SafeAreaView,
    SectionList,
    StatusBar,
} from "react-native";

const DATA = [
    // FlatList의 props들을 정의한 데이터들을 입력
    {
        title: "Main dishes", // 필드명은 아무거나 해도 상관 없음 (e.g., title, label, ...)
        data: ["Pizza", "Burger", "Risotto"], // data 필드는 필수!, Flat List의 데이터 필드와 동일한 역할
    },
    {
        title: "Sides",
        data: ["French Fries", "Onion Rings", "Fried Shrimps"],
    },
    {
        title: "Drinks",
        data: ["Water", "Coke", "Beer"],
    },
    {
        title: "Desserts",
        data: ["Cheese Cake", "Ice Cream"],
    },
];

const SectionListBasics = () => (
    <SafeAreaView style={styles.container}>
        <SectionList
            sections={DATA} // 위에서 정의한 세션 데이터를 넣음
            keyExtractor={(item, index) => item + index}
            renderItem={({ item }) => (
                // 출력할 아이템들을 여기서 구현 (item: DATA의 요소 중 data 필드의 하나하나의 값)
                <View style={styles.item}>
                    <Text style={styles.title}>{item}</Text>
                </View>
            )}
            renderSectionHeader={({ section: { title } }) => (
                <Text style={styles.header}>{title}</Text>
            )}
        />
    </SafeAreaView>
);

const styles = StyleSheet.create({
    container: {
        flex: 1,
        paddingTop: StatusBar.currentHeight,
        marginHorizontal: 16,
    },
    item: {
        backgroundColor: "#f9c2ff",
        padding: 20,
        marginVertical: 8,
    },
    header: {
        fontSize: 32,
        backgroundColor: "#fff",
    },
    title: {
        fontSize: 24,
    },
});

export default SectionListBasics;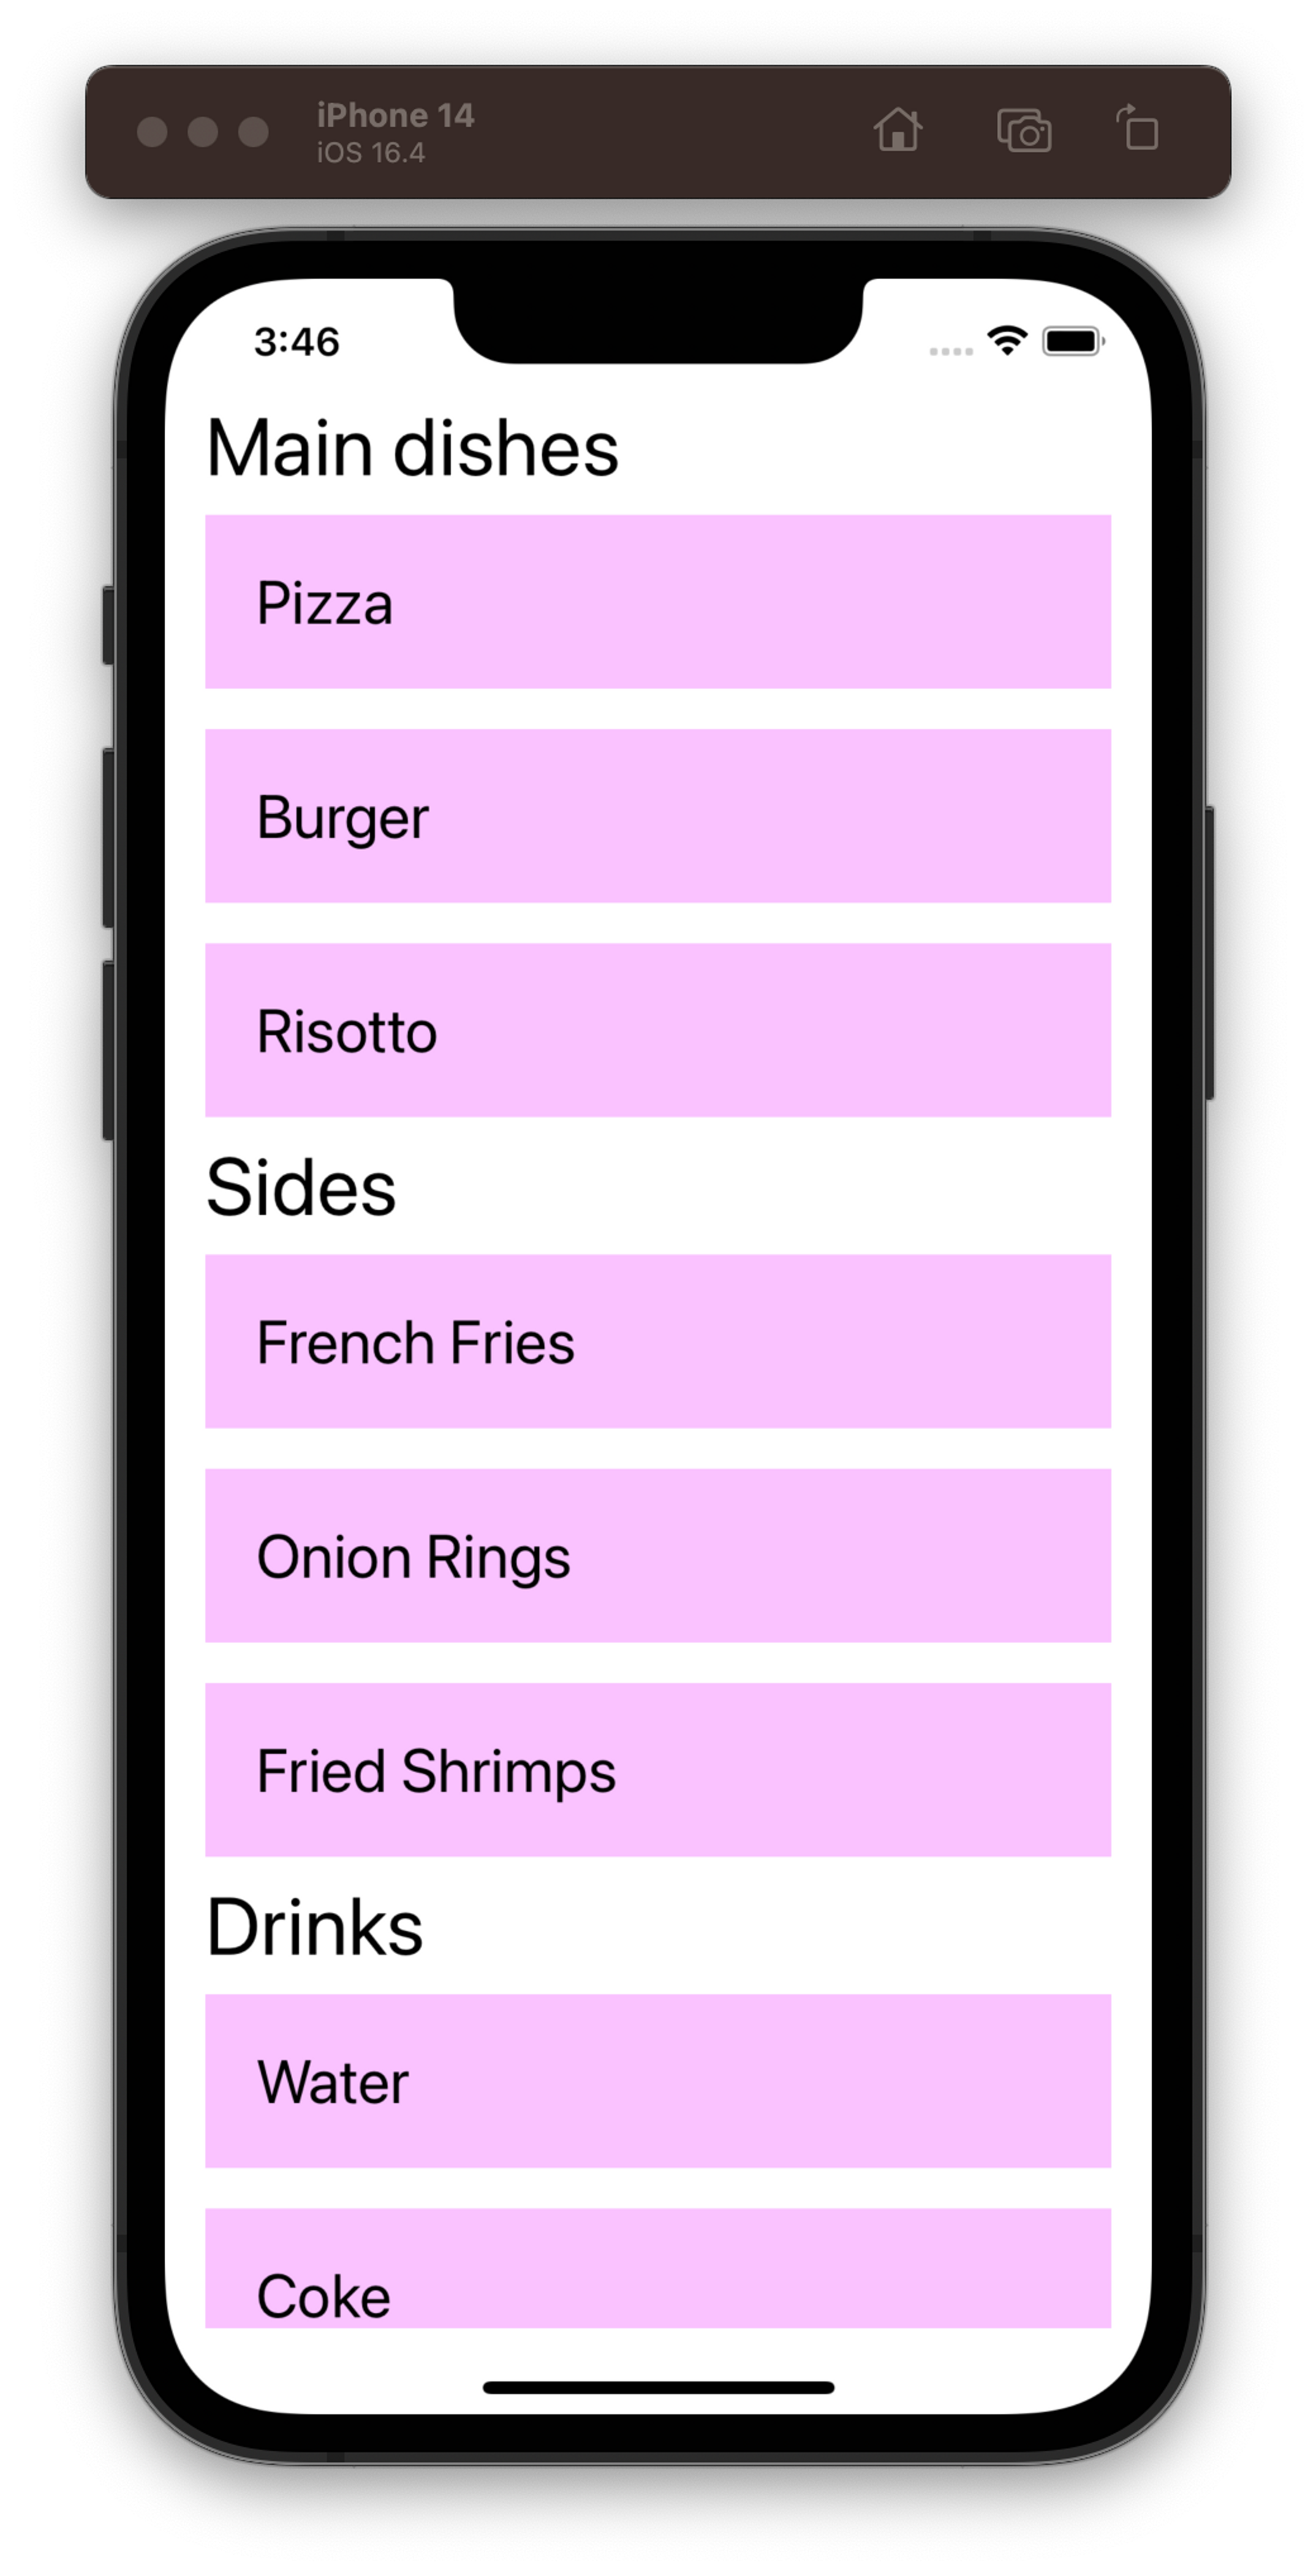

블록체인 개발자를 꿈꾸다