2024.03.30~03.31 TIL - 최종프로젝트 5,6일차 (레이아웃, nextUI 초기설정, 이미지 미리보기, 다중 이미지 스토리지 업로드, 텍스트 formData table업로드)
0
TIL(Today I Learned)
목록 보기
103/147

🧡 토요일
-
individual actioin add페이지 레이아웃 완성
-
community 레이아웃 대강 완성
-
community 디테일 페이지 고민
- ✅ 페이지 url은 바뀌는데 배경에는 이전페이지가 흐리게 보이고, 이동한 페이지는 모달창처럼 이전페이지의 위에 보여지는 그런 기능을 구현하는게 목표!!
parallell routes,intercepting routes개념이 필요하다는걸 알게됨
-
community 글쓰기 모달창 구현시도
- next ui 제대로 가져오기까지는 실패,
next ui도provider설정이 필요하다는걸 알게됨 - provider 설정은 하긴 했는데 컴포넌트가 제대로 가져와지지는 않는걸로 봐서는 뭔가 다른 추가적인 설정이 필요한가보다.
-> ⭐️⭐️ 일요일 해결 : plugins를 위에 잘못 추가했던거였다!! 아래에도 plugins가 있길래 오잉 하고 nextui()를 거기다가 옮겨봤더니 제대로 된다!!!
- next ui 제대로 가져오기까지는 실패,
📝 next UI 초기 설정하기
- root폴더에 provider파일 생성
// Provider-NextUi.tsx (root폴더에 생성)

"use client";

import * as React from "react";
import { NextUIProvider } from "@nextui-org/react";

const ProviderNextUi = ({ children }: { children: React.ReactNode }) => {
  return <NextUIProvider>{children}</NextUIProvider>;
};

export default ProviderNextUi;- root layout에서 provider 감싸주기
// layout.tsx (root)

<main>
  <ProviderNextUi>
    <QueryProvider>
      {children}
      {modal}
    </QueryProvider>
  </ProviderNextUi>
</main>- tailwind.config.js에 설정 추가하기
// tailwind.config.js

/** @type {import('tailwindcss').Config} */
const { nextui } = require("@nextui-org/react");

module.exports = {
  content: [
    "./app/**/*.{js,ts,jsx,tsx,mdx}",
    "./components/**/*.{js,ts,jsx,tsx,mdx}",
    // ⭐️⭐️ 아래 "./node_modules~" 추가
    "./node_modules/@nextui-org/theme/dist/**/*.{js,ts,jsx,tsx}",
  ],
  theme: {
    extend: {
      colors: {
        background: "hsl(var(--background))",
        foreground: "hsl(var(--foreground))",
        btn: {
          background: "hsl(var(--btn-background))",
          "background-hover": "hsl(var(--btn-background-hover))",
        },
      },
    },
    darkMode: "class",
    // plugins: [nextui()] 처음에 여기다가 잘못 적음 ㅠㅠ
  },
  // ⭐️⭐️ plugins에 nexiui 추가
  plugins: [nextui()],
};
🧡 일요일
- 이미지 미리보기 구현
- fileReader, createObjectURL 둘다 시도해봤는데 그 중 성공한걸로 채택
// ImgUpload.tsx (_components/individualAction-add)

"use client";

import { ImgUploadProps } from "@/app/_types/individualAction-add/individualAction-add";
import { Button } from "@nextui-org/react";
import React, { useState } from "react";

const ImgUpload = ({
  uploadedFileUrls,
  setUploadedFileUrls,
  files,
  setFiles,
}: ImgUploadProps) => {

  // ⭐️⭐️ 이미지 미리보기 띄우기
  const handleShowPreview = (e: React.ChangeEvent<HTMLInputElement>) => {
    const file = e.target.files?.[0];
    if (!file) {
      return;
    }
    const imageUrl = URL.createObjectURL(file);
    setUploadedFileUrls((prev) => [...prev, imageUrl]);
    setFiles((prev) => [...prev, file]);
  };

  // ⭐️⭐️ 미리보기 이미지 삭제
  const handleDeleteImage = (index: number) => {
    setUploadedFileUrls((prev) => {
      const updatedUrls = [...prev];
      updatedUrls.splice(index, 1);
      return updatedUrls;
    });
    setFiles((prev) => {
      const updateFiles = [...prev];
      updateFiles.splice(index, 1);
      return updateFiles;
    });
  };

  return (
    <>
      <div className="flex gap-2 w-full h-auto mb-8">
        {[...Array(4)].map((_, index) => (
          <div
            key={index}
            className="flex border-2 border-dashed border-gray-300 rounded-3xl w-1/4 h-[200px]"
          >
            {/* 이미지 업로드한 경우 */}
            // 참고) uploadFileUrls는 이미지 url배열
            {uploadedFileUrls[index] ? (
              <div className="relative w-full h-full">
                <img
                  src={uploadedFileUrls[index]}
                  alt={`Uploaded Image ${index}`}
                  className="w-full h-full rounded-3xl object-cover"
                />
                <Button
                  onClick={() => handleDeleteImage(index)}
                  color="default"
                  className="absolute top-1 right-3 w-4"
                >
                  x
                </Button>
              </div>
            ) : (
              // 보여줄 이미지 없는 경우
              <div className="flex flex-col w-full h-full justify-end items-center mt-auto">
                <label
                  htmlFor={`fileInput-${index}`}
                  className="mb-4 text-4xl font-thin text-gray-500 cursor-pointer"
                >
                  +
                </label>
                <input
                  id={`fileInput-${index}`}
                  type="file"
                  accept=".png, .jpg, .jpeg"
                  hidden
                  onChange={handleShowPreview}
                />
                <p className="mb-px font-medium text-gray-500">Upload Image</p>
                <p className="text-xs mb-8 text-gray-400">or drag & drop</p>
              </div>
            )}
          </div>
        ))}
      </div>
    </>
  );
};

export default ImgUpload;
-
이미지, 텍스트 formData를 어떻게 supabase에 업로드할지, 스토리지에는 어떻게 업로드할지 고민, 로직 연구
- id와 텍스트 입력값들 formData로 보내기 - insert
- id 뽑아오기 - img url들 테이블에 따로 저장할때 action_id로 써야됨
- 이미지 스토리지에 저장하기
- 스토리지에 저장된 이미지의 url 뽑아오기
- 이미지url들 table에 넣기 - action_id에 2에서 가져온 id사용
-
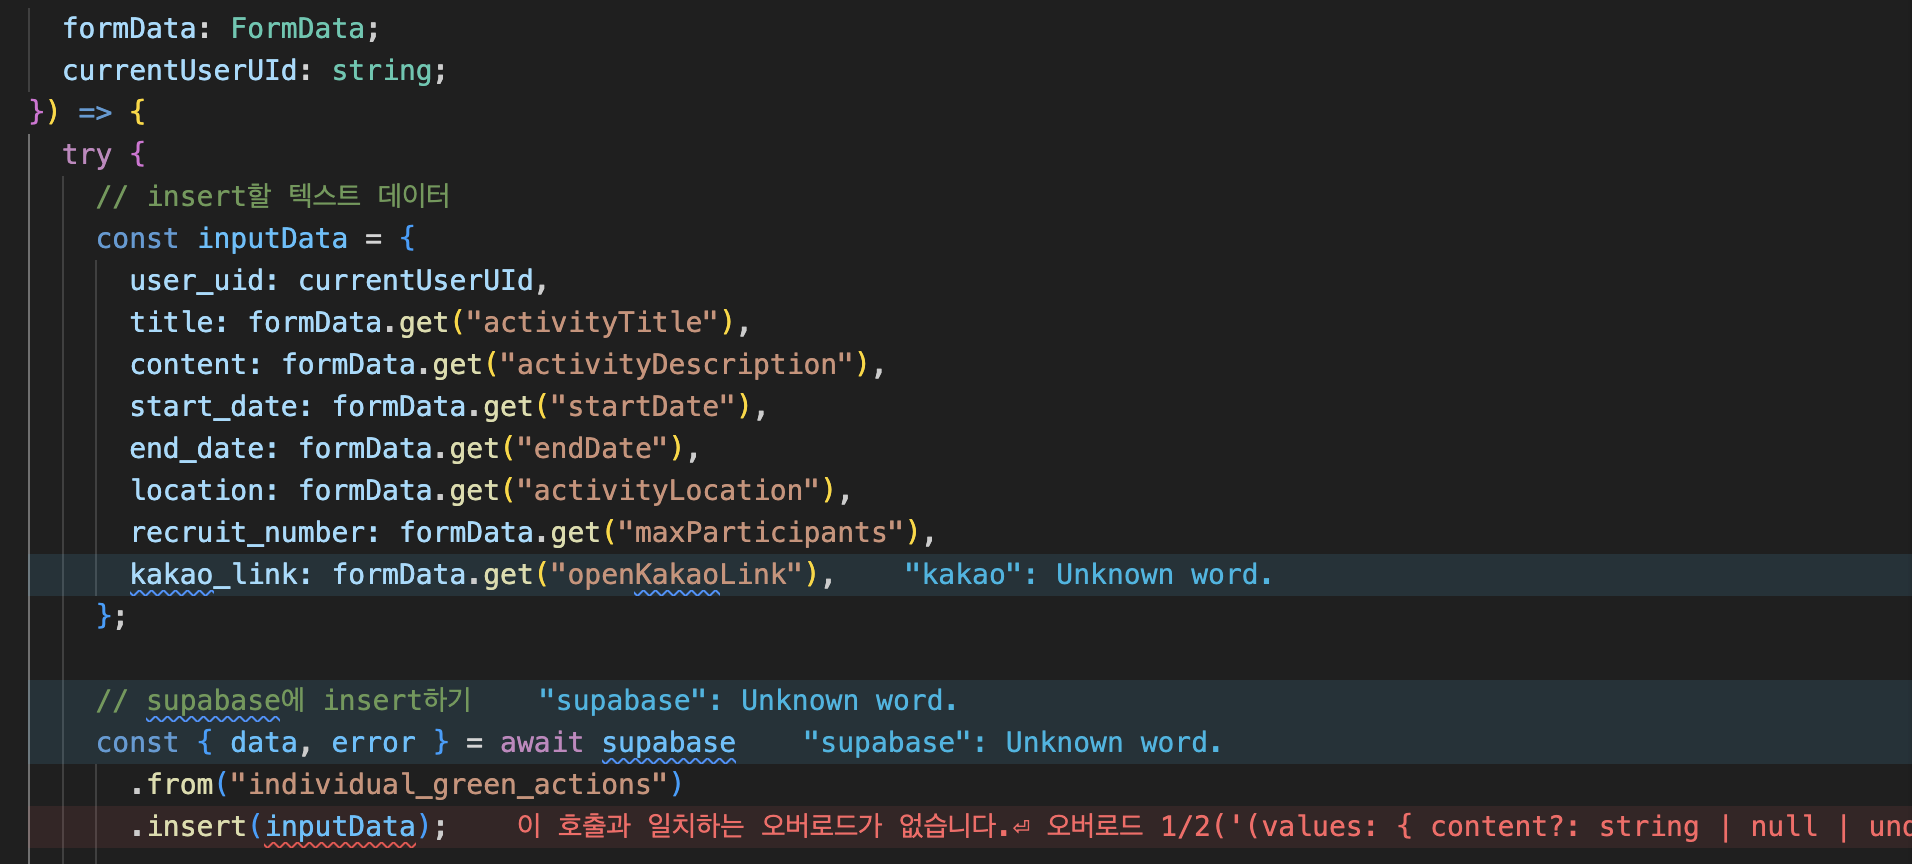
텍스트 formData insert
// add-api.ts (_api/ individualAction-add)

// 1. 텍스트 formData 삽입 함수
export const insertAction = async ({
  formData,
  currentUserUId,
}: {
  formData: FormData;
  currentUserUId: string;
}) => {
  try {
    // insert할 텍스트 데이터
    const inputData = {
      user_uid: currentUserUId,
      title: formData.get("activityTitle"),
      content: formData.get("activityDescription"),
      start_date: formData.get("startDate"),
      end_date: formData.get("endDate"),
      location: formData.get("activityLocation"),
      recruit_number: formData.get("maxParticipants"),
      kakao_link: formData.get("openKakaoLink"),
    };

    // supabase에 insert하기
    const { data, error } = await supabase
      .from("individual_green_actions")
      .insert(inputData);

    if (error) {
      throw error;
    }
    return data;
  } catch (error) {
    console.error("Error inserting data:", error);
    throw error;
  }
};
📝 인자로 받아온 formData에서 타입오류나는건 아직 해결 못함
- formData타입 FormData로 했는데 user_uid가 없다, title이 없다 이런 오류가 뜸...
(FormData가 아니라 user_uid, title,... 포함한 타입으로 만들어서 지정도 해봤는데 그 역시도 타입에러...)
- insert한 action_id가져오기
// add-api.ts (_api/ individualAction-add)

// 2. insert한 값의 action_id 가져오기
export const getActionId = async (currentUserUId: string) => {
  try {
    // 삽입된 데이터의 Primary Key 값을 가져오기 위해 쿼리 실행
    const { data: insertedData, error: selectError } = await supabase
      .from("individual_green_actions")
      .select("id")
      .eq("user_uid", currentUserUId)
      .order("created_at", { ascending: false }) // 해당 user가 등록한 데이터중 가장 최신데이터의 id 가져오기(방금 올린것)
      .limit(1);

    if (selectError) {
      throw selectError;
    }

    // 삽입된 데이터의 Primary Key 값을 반환
    const primaryKey = insertedData[0]?.id;
    return primaryKey;
  } catch (error) {
    console.error("Error inserting data:", error);
    throw error;
  }
};- 이미지 스토리지 업로드
// add-api.ts (_api/ individualAction-add)

// 3. 스토리지에 이미지 저장하기
export const uploadFilesAndGetUrls = async ({
  files,
  action_id,
}: FileUpload) => {
  try {
    const uploadFiles = await Promise.all(
      // map으로 배열의 각 파일 업로드
      files.map(async (file) => {
        if (file) {
          const uuid = crypto.randomUUID();
          // 'action_id' 폴더 생성, 파일이름은 uuid
          const filePath = `${action_id}/${uuid}`;
          const { data, error } = await supabase.storage
            // 'green_action' 버켓에 업로드
            .from("green_action")
            .upload(filePath, file, {
              cacheControl: "3600",
              upsert: true,
            });

          if (error) {
            console.error("Error uploading file:", error);
            return null;
          }
          return data;
        }
      }),
    );
    console.log("uploadFiles", uploadFiles);
    return uploadFiles;
  } catch (error) {
    console.error("Error uploading files and getting URLs:", error);
    return [];
  }
};
무서운 속도로 흡수하는 스펀지 개발자 🧽