
🔴 Let's Build Twitter with SwiftUI (iOS 15, Xcode 13, Firebase, SwiftUI 3.0)
TwitterClone: FloatingButton
구현 목표
- 플로팅 버튼 구현
구현 태스크
- 풀 모달 시트 프레젠트
- 텍스트 필드 구현
핵심 코드
Button {
                showNewTweetView.toggle()
            } label: {
                Image("tweet_pencil")
                    .resizable()
                    .renderingMode(.template)
                    .frame(width: 28, height: 28)
                    .padding()
            }
            .background(Color(.systemBlue))
            .foregroundColor(.white)
            .clipShape(Circle())
            .padding()
            .fullScreenCover(isPresented: $showNewTweetView) {
                NewTweetView()
}- 현재 피드 뷰와 함께 우측 하단 부 플로팅 버튼으로 보여줄 버튼
ZStack(alignment: .bottomTrailing) {
            ScrollView {
                LazyVStack {
                    ForEach(0...20, id: \.self) { _ in
                        TweetRowView()
                            .padding()
                    }
                }
            }
            // Button
}bottomTrailing으로 정렬하는ZStack을 통해 해당 버튼을 우측 하단 부에 위치
소스 코드
import SwiftUI

struct NewTweetView: View {
    @Environment(\.presentationMode) var mode
    @State private var caption = ""
    var body: some View {
        VStack {
            HStack {
                Button {
                    mode.wrappedValue.dismiss()
                } label: {
                    Text("Cancel")
                        .foregroundColor(Color(.systemBlue))
                }
                Spacer()
                Button {
                    print("Tweet")
                } label: {
                    Text("Tweet")
                        .bold()
                        .padding(.horizontal)
                        .padding(.vertical, 8)
                        .background(Color(.systemBlue))
                        .foregroundColor(.white)
                        .clipShape(Capsule())
                }
            }
            .padding()

            HStack(alignment: .top) {
                Circle()
                    .frame(width: 64, height: 64)
                TextArea("What's happening?", text: $caption)
            }
            .padding()

            Spacer()
        }
    }
}
- 새로운 트윗을 작성할 때 사용될 뷰
import SwiftUI

struct FeedView: View {
    @State private var showNewTweetView: Bool = false
    var body: some View {
        ZStack(alignment: .bottomTrailing) {
            ScrollView {
                LazyVStack {
                    ForEach(0...20, id: \.self) { _ in
                        TweetRowView()
                            .padding()
                    }
                }
            }
            Button {
                showNewTweetView.toggle()
            } label: {
                Image("tweet_pencil")
                    .resizable()
                    .renderingMode(.template)
                    .frame(width: 28, height: 28)
                    .padding()
            }
            .background(Color(.systemBlue))
            .foregroundColor(.white)
            .clipShape(Circle())
            .padding()
            .fullScreenCover(isPresented: $showNewTweetView) {
                NewTweetView()
            }
        }
    }
}
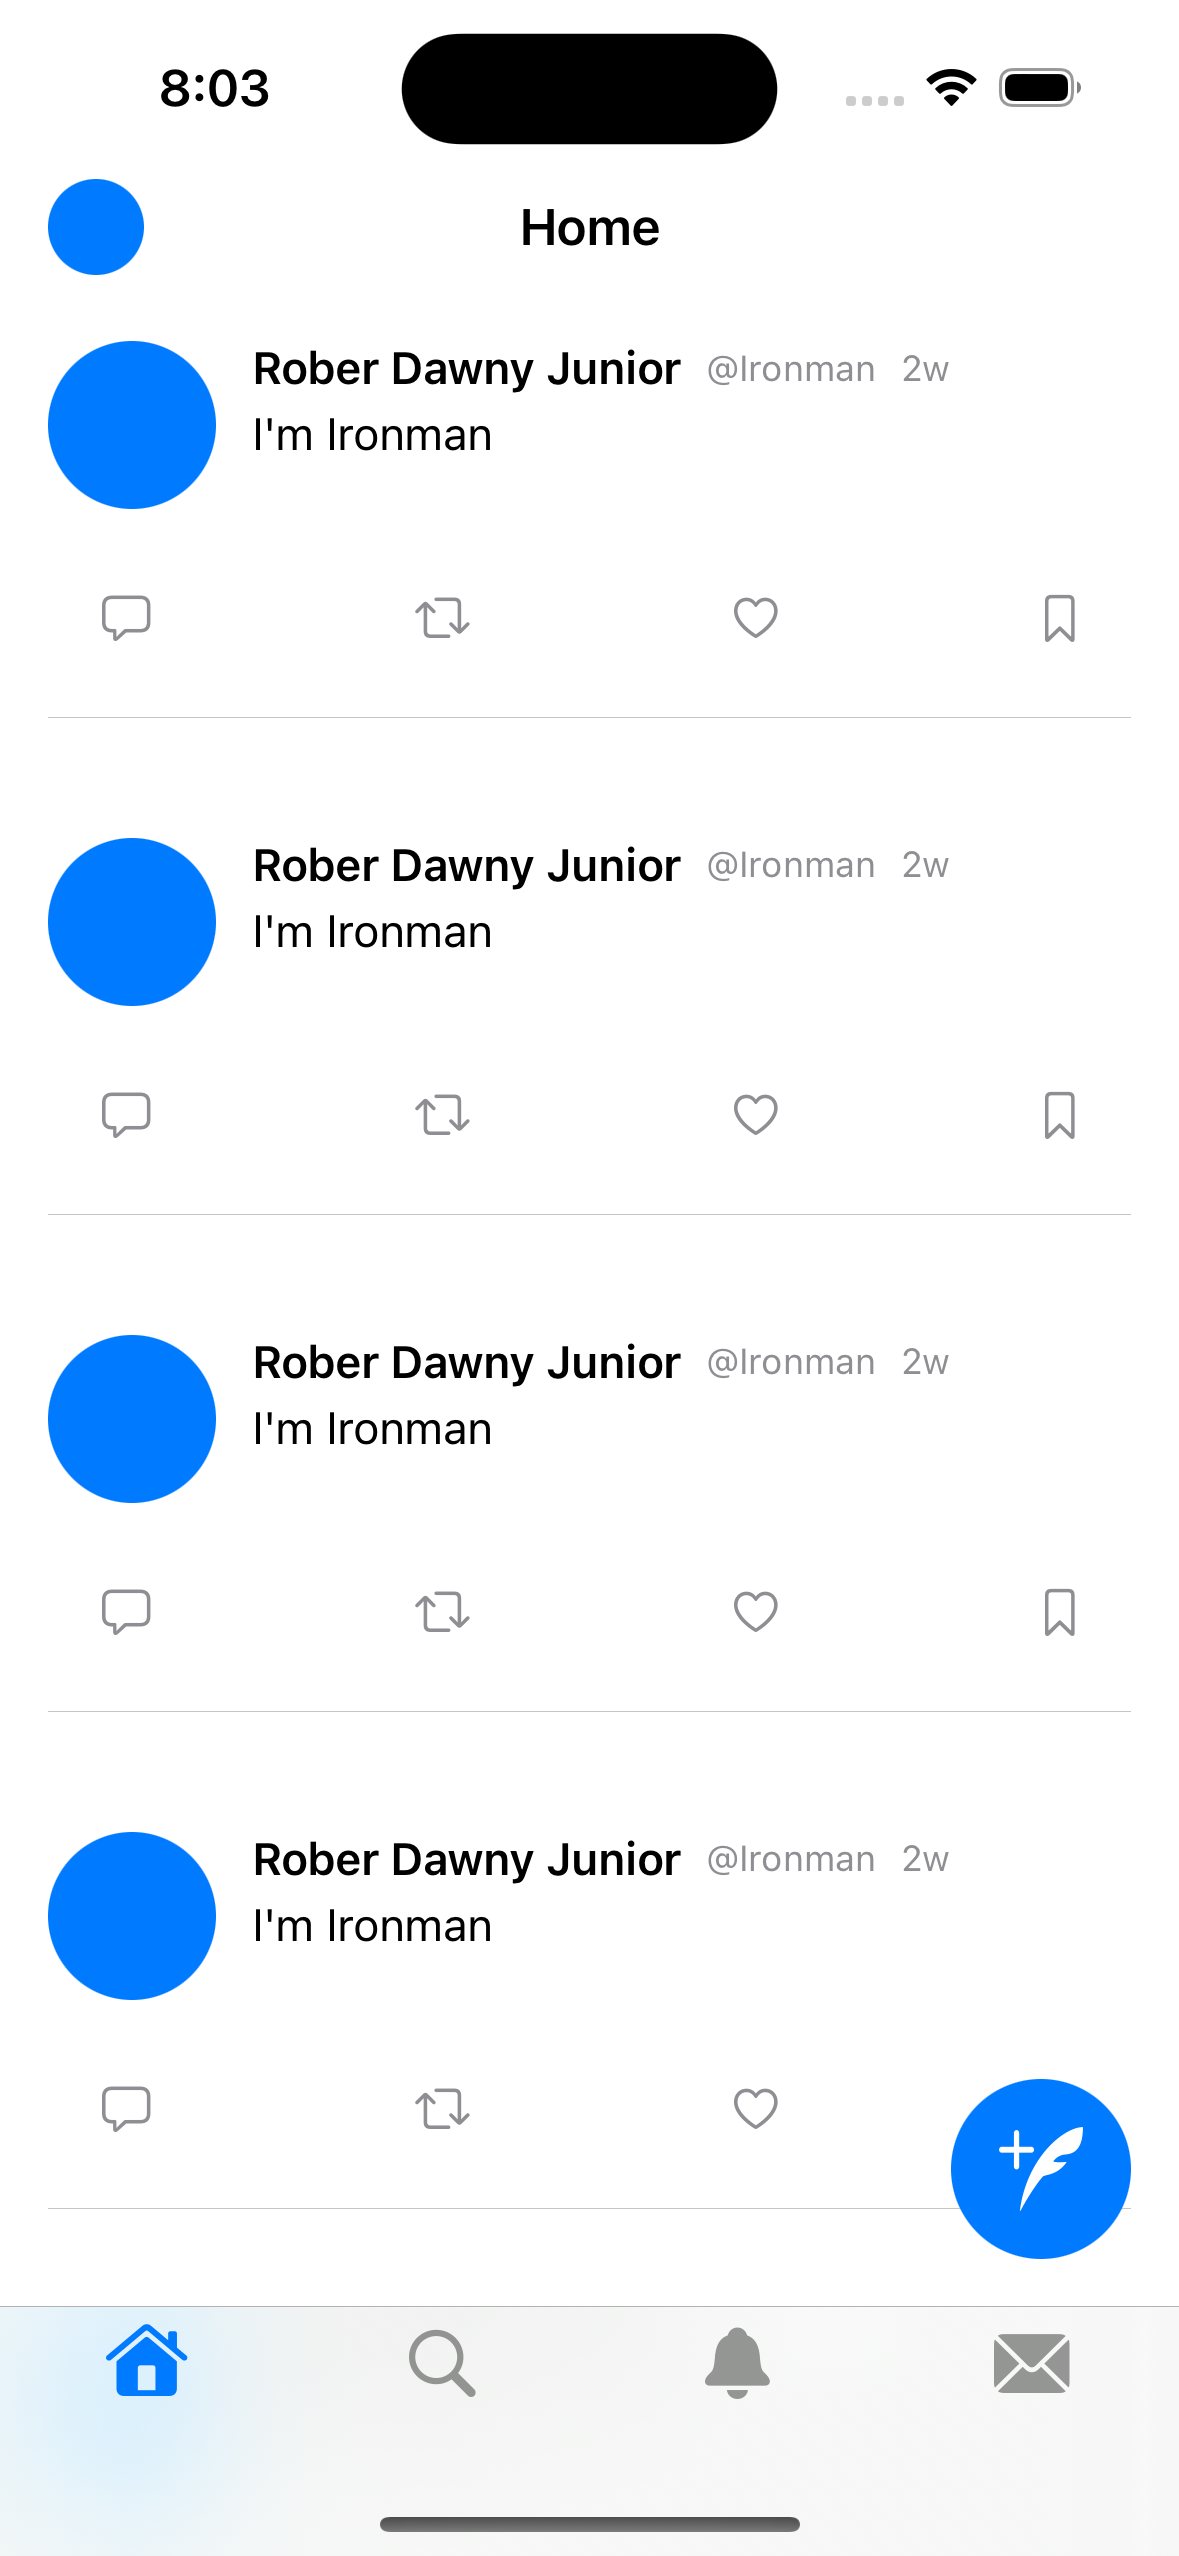
- 여러 개의 피드를 렌더링 + 스크롤 뷰의 위치에 상관없이 언제나 글쓰기에 접근하도록 플로팅 버튼을 통해 구현
import SwiftUI

struct TextArea: View {
    @Binding var text: String
    let placeholder: String

    init(_ placeholder: String, text: Binding<String>) {
        self.placeholder = placeholder
        self._text = text
        UITextView.appearance().backgroundColor = .clear
    }
    var body: some View {
        ZStack(alignment: .topLeading) {
            TextField(placeholder, text: $text, axis: .vertical)
                .padding(4)
        }
        .font(.body)
    }
}- 이니셜라이즈할 때 파라미터를 통해 건네받은 플레이스홀더로 텍스트 필드 초기화
구현 화면

JUST DO IT